All-Things-Docker-and-Kubernetes
Part 2: CICD with AWS
- Pre-requisites
- Introduction
- Setup Git and Github
- Setup Travis CI
- Create IAM User and Access Keys
- Configure the Travis CI YAML file - Part 1
- Automatic Build Creation
- Setup Elastic Beanstalk
- Configure the Travis CI YAML file - Part 2
- Simulate a Dev Team
- Cleanup
Pre-requisites
- Install Docker
- Create a Github Account
- Add your SSH keys to Github
- Install Git locally
- Configure Git
Introduction
In the previous lab, we setup production-grade workflow which uses Docker to deploy an application. In the DEV environment, we managed to:
- deploy the application as a container.
- used docker-compose to specify parameters
- isolate files outside the container.
- instruct the container to reference external files.
- ensure changes are automatically reflected on the app.
- run tests inside the container
After testing the container in DEV, we then deployed the application in a PRD environment where:
- the deployed code is immutable.
- we used a Multi-Step Docker Build
- the first phase is to build the container itself, and
- the second phase pulls the parameters from the first phase
- deployed a production version of our app
In this lab, we’ll be setting our CICD using Github and Travis CI.
Setup Git and Github
Here are the steps that we’ll follow:
- create a github repo
- create a local git repo
- connect local git to github remote
- push work to github
Let's start with creating a repository in Github
We'll be following this link on [how to setup a new public repository in Github](https://docs.github.com/en/repositories/creating-and-managing-repositories/creating-a-new-repository). I've created **testrepo2** for this lab. 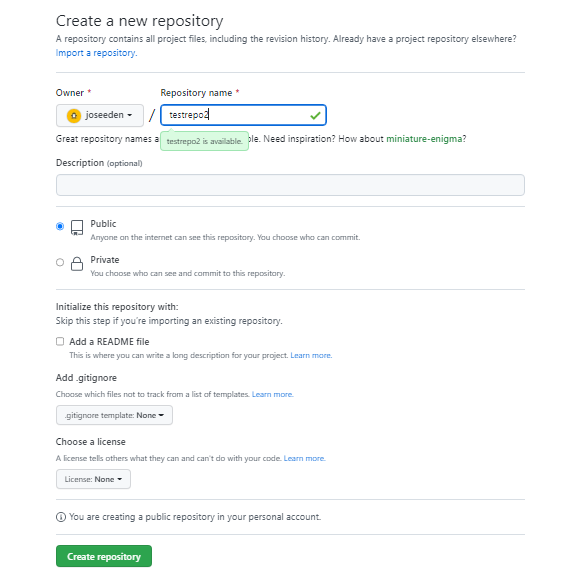 Copy the SSH link. We'll be using this later. 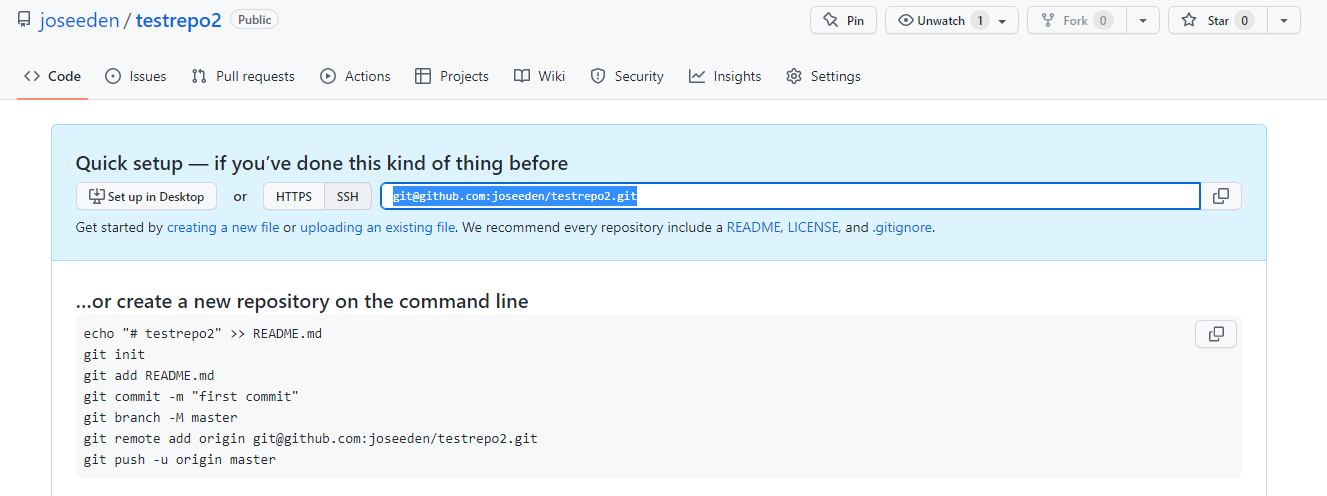 In your terminal, go to the project directory used in the previous lab. ```bash $ cd ~/lab13/proj-eden-frontend ``` Initialize git. ```bash $ git init ``` Create the .gitignore file and specify the files that shouldn't be pushed to the remote Github repository. ```bash $ cat > .gitignore node_modules ``` Create a simple README.md. ```bash $ cat > README.md # testrepo2 - Docker-react lab This repo is for my containerized React application ``` Stage all of the files in our project directory and commit with the message "Initial commit". ```bash $ git add -A; git commit -m "Initial commit" ``` We'll now connect these repo to our remote Github repo. ```bash $ git remote add origin git@github.com:joseeden/testrepo2.git ``` Verify. ```bash $ git remote -v ``` Push the files onto our remote Github repo. ```bash $ git push --set-upstream origin master ``` Back at Github, refresh the page to see all the files pushed. 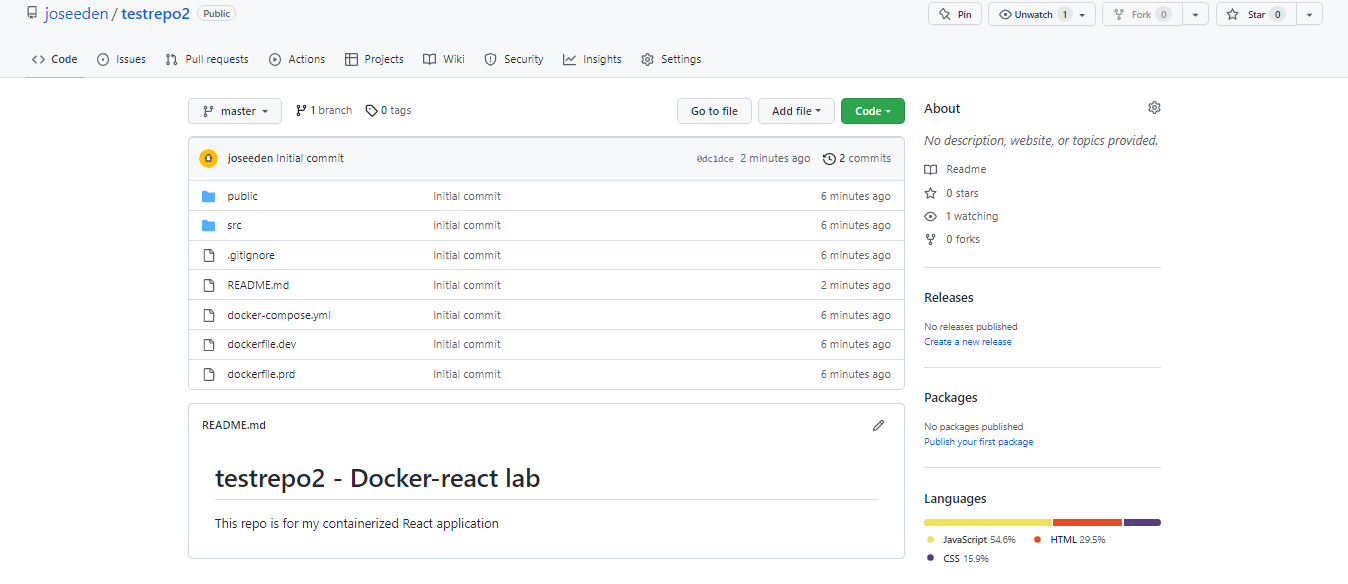
Setup Travis CI
Travis CI is an opensource CI tool which we can use to build and test our project. Wherever changes are pushed to our Github repo, Travis CI automatically pulls the code and allows us to run tests on it.
Once the code passed the test, Travis CI can automatically deploy our code to AWS.
To setup Travis CI
Go to the [Travis CI site](https://app.travis-ci.com/signup) and sign up using your SCM account. Choose **Sign up with Github**. 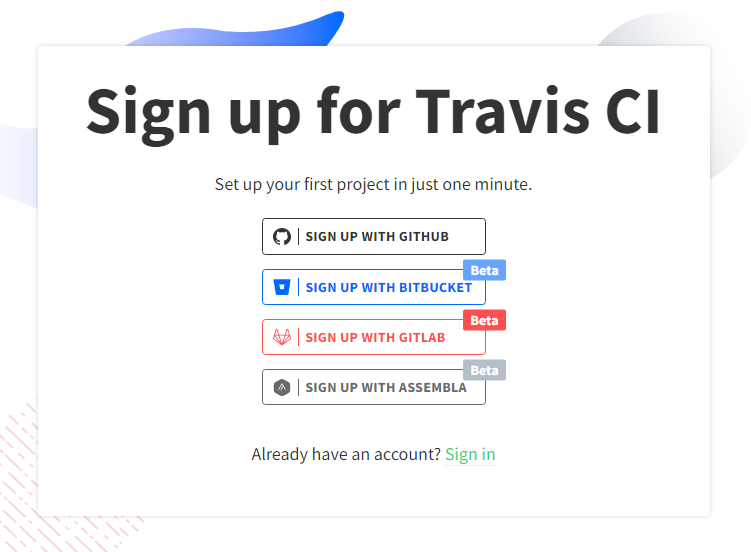 In the next page, choose **Authorize Travis CI.** You may need to confirm your account through the email sent to your email address. In the upper right, click your profile avatar and select Settings. We will need to select a plan before we can use Travis CI. Choose the **Free Trial plan** and fill up your personal details. A valid credit/debit card number is also needed to proceed. 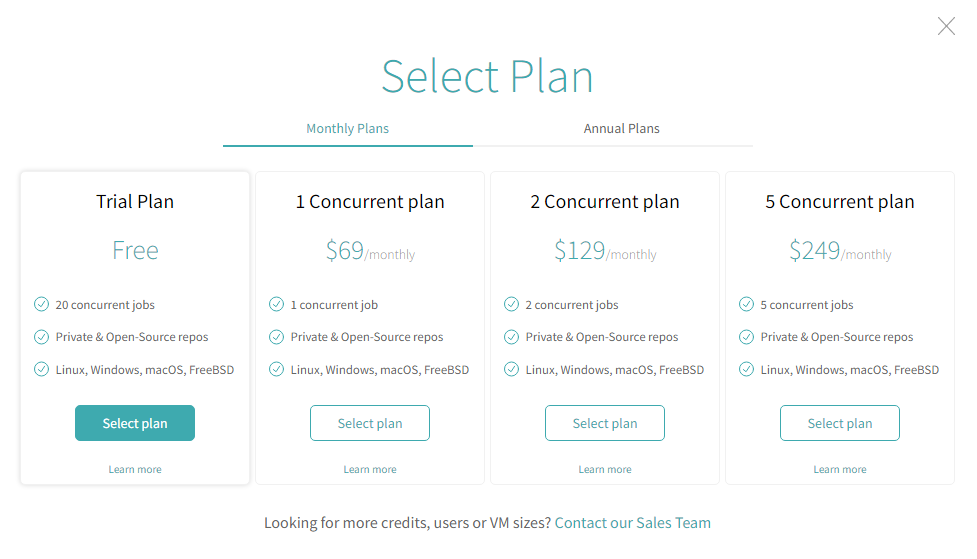 In the Repositories tab, click the green **Activate** button to integrate Travis CI with your Github account. In the next page, click **Approve and install.** 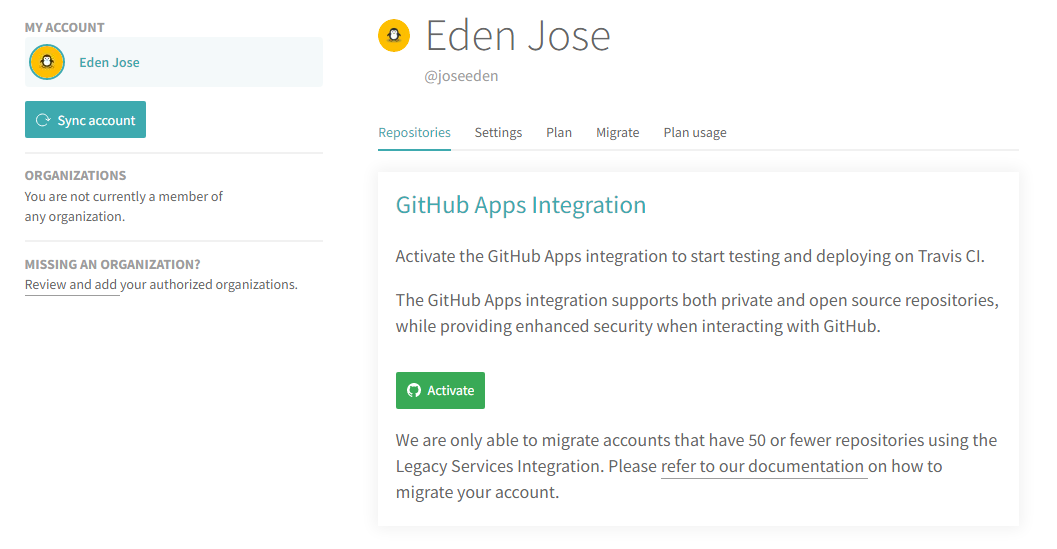 Click on the Dashboard tab at the top to view all the Github repositories that are synced with Travis CI.
Create IAM User and Access Keys
Since we’ll let Travis CI deploy the application to AWS Cloud later, we will need to create an IAM user and generate access keys for Travis CI to use.
Allow access to AWS
Log in to your AWS account and search for the IAM page. In the left panel, select Users and then click Add users. Field | Use this value :---------:|:----------: Username | travis-ci-beanstalk Select AWS access type | Access key - programmatic access Set permissions | Attach existing policies directly Filter policies | AdministratorAccess-AWSElasticBeanstalk Click **Review** and then **Create user.** In the next page, click the Download .csv file to download the access keys. We'll be using this later when we deploy our application to the cloud.
Configure the Travis CI YAML file - Part 1
To tell Travis CI what we want to do with the repositories, we need to specify the instructions inside a YAML file.
- Tell Travis we need a copy of the running container.
- Build the image using the dockerfile.dev
- Provide steps on how to run the test suite.
- Finally, deploy the code to AWS Cloud.
Create the configuration file
A little note here: the file should have the filename **".travis.yml**, with the leading ".". ```bash sudo: required services: - docker before_install: - docker build -t react-app -f dockerfile.dev . script: - docker run -e CI=true react-app npm run test ``` The **sudo:required** tells Travis to use superuser permissions to run Docker. The **services** block ensures that the a copy of the Docker CLI is installed. The **before_install** block specifies the commands that need to be run. In this case, we'll need the image built before a container can be ran. Note that we also tagged the image with the label "react-app". The **script** block defines the command that we need to run the test suite. Recall the "npm run test" command. This actually requires an input from the user. Since we'll be automating this step, a workaround that we can use is to add the environment variable "CI=true". This will force the Jest library to run in CI-mode and tests will only run once instead of launching the watcher window which prompts the user for an input. To learn more, check out this [page](https://create-react-app.dev/docs/running-tests/#linux-macos-bash). **If build fails with "rakefile not found" error" If you encounter this error message, you may try to set the language property at the top of the Travis CI config file. ```bash language: generic ```
Automatic Build Creation
Now that we have the configuration file, it’s time to take Travis CI for a spin. The steps that we’ll followed:
- Push the code to Github.
- Travis CI detects the push.
- Travis CI scans the file for the configuration file.
- Travis CI follows the steps defined in the config file.
- Verify that a build is started in the Travis CI UI.
Take it for a spin
Push the changes to Github. ```bash $ git add -A; git commit -m "Added travis yml file"; git push ``` Back at the Travis CI dashboard, we'll see that a build is started. Click the repository name to see the build process.  We can see how long the build ran. We can also see logs in the **Job log** tab. 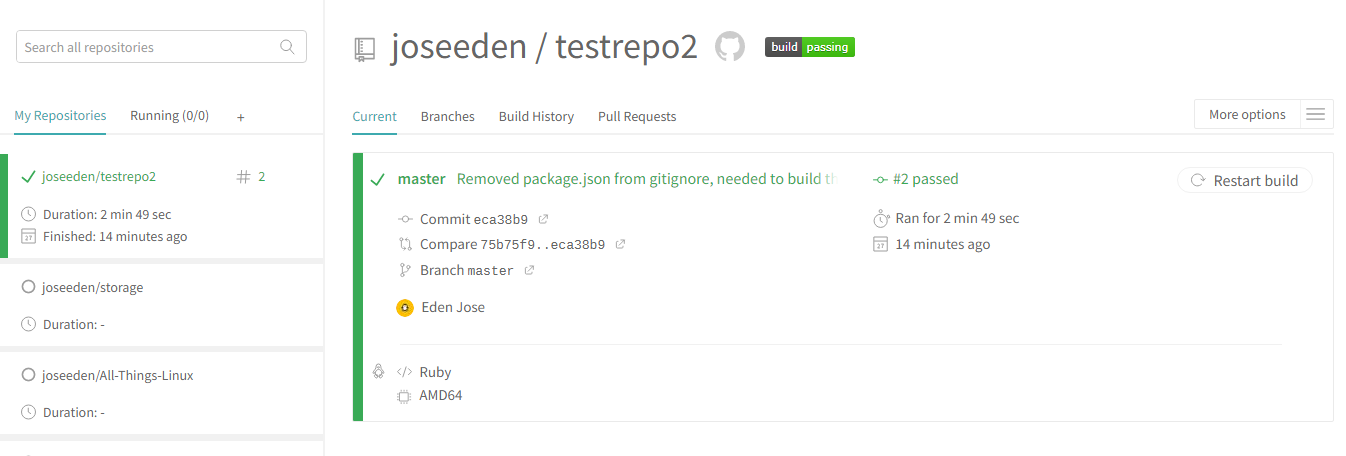 To check out the builds that was started, click **Build History**. I ran to an error during the first build because Travis CI can't find the package.json file in the repository. I previously excluded this file from being pushed to the Github by adding it in the .gitignore file. 
Setup Elastic Beanstalk
We were able to successfully run tests on our code through Travis CI. We are half-way ready to deploy our application to the cloud.
There are various way to deploy our application in AWS but Elastic Beanstalk is the fastest way to provision the underlying resources and start running production instances.
In addition to this, Elastic Beanstalk also monitors the amount of traffic coming in and scales automatically to handle the traffic.
Launch Elastic Beanstalk
When you create an environment using Elastic Beanstalk, it will provision the following for us: - an EC2 instance where we'll deploy the app - a load balancer that handles all the requests - an S3 bucket that will contain all the binaries To start using Elastic Beanstalk, log in to your AWS account and search for the Elastic Beanstalk page. Make sure that you're on the Singapore region (ap-southeast-1). Click **Create Application**. If prompted, choose **Web server** environment. Fill in the fields with these details: Fields | Use this value | :---------:|:----------:| Application name | react-app Platform | Docker Application code | Sample application Once you're done with the configuration, click **Create application**. Back at the Environments tab, we can see the environment that we just created. To view the sample application deployed, click the URL.  It should open a new tab with this display. 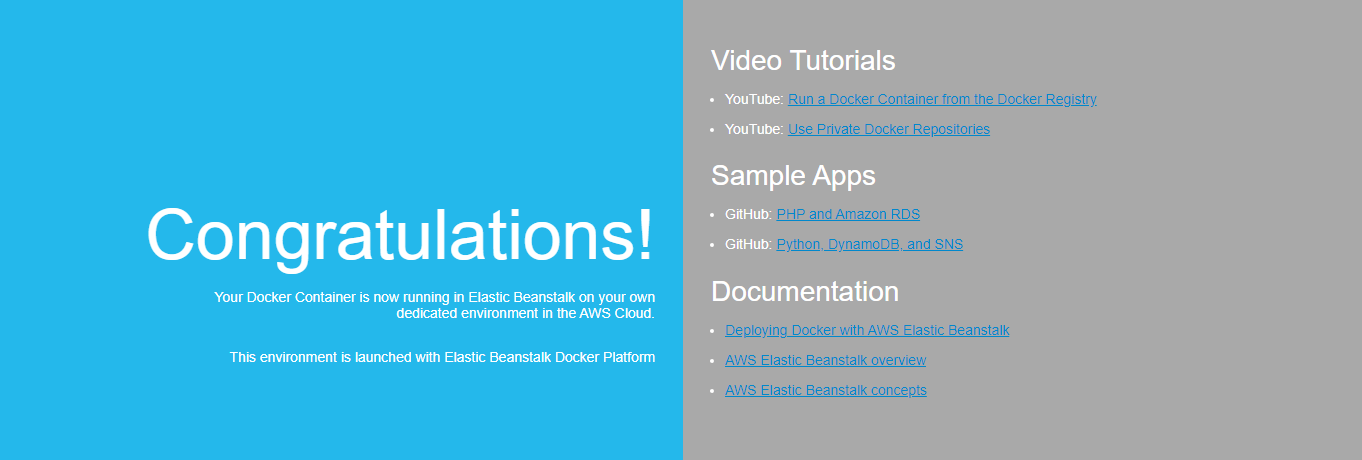 We've mentioned that Elastic Beanstalk also generates an S3 bucket for the binaries. If you've ran Elastic Beanstalk in the Singapore region before, then the S3 bucket already exists. Elastic Beanstalk doesn't create a new bucket for every environment. It only creates a single bucket for Elastic Beanstalk per region. To check the S3 bucket created by Elastic Beanstalk, go to the S3 console > bucket, and search for "beanstalk". We will be using the bucket name when we configure the Travis CI YAML file again. 
Configure the Travis CI YAML file - Part 2
Modify the .travis.yml configuration file to add the deploy block which tells Travis CI how to deploy our application to Elastic Beanstalk.
We’ll be specifying the following:
- the service to use (Elastic Beanstalk)
- the region where the Elastic Beanstlk environment is deployed
- application and environment name
- the access keys
- the S3 bucket that’ll contain the binaries
Edit the Travis CI config file
Edit the .travis.yml file. Notice that for the access keys, we used variables. ```bash sudo: required services: - docker before_install: - docker build -t react-app -f dockerfile.dev . script: - docker run -e CI=true react-app npm run test deploy: provider: elasticbeanstalk region: "ap-southeast-1" app: "react-app-1" env: "react-app-1-env" bucket_name: "elasticbeanstalk-ap-southeast-1-848587260896" bucket_path: "react-app-1" on: branch: master # edge: true access_key_id: $AWS_ACCESS_KEY secret_access_key: $AWS_SECRET_KEY ``` We will define this variables in the Travis CI console. Go to the Dashboard and select the repository. Then click the **More options** dropdown bar at the right and select **Settings.**  Scroll down to the **Environment variables** section and add the variables. Make sure untoggle the "DISPLAY VALUE IN BUILD LOG". Name | Value | Branch ---------|----------|--------- AWS_ACCESS_KEY | AKIAxxxxxxxxx | master AWS_SECRET_KEY | ABCDxxxxxxxxx | master  Back at the terminal, commit the file and push it to Github. ```bash $ git add -A; git commit m "Added fresh config"; git push ``` Check the Travis CI again. A new build should be started. This will take a few minutes to run.  Scroll down at the Job log section. If the build finished successfully, you should see this message.  Yes, even though the Travis CI showed it successfully finished the build, the application was not actually deployed onto the Elastic Beanstalk environment. 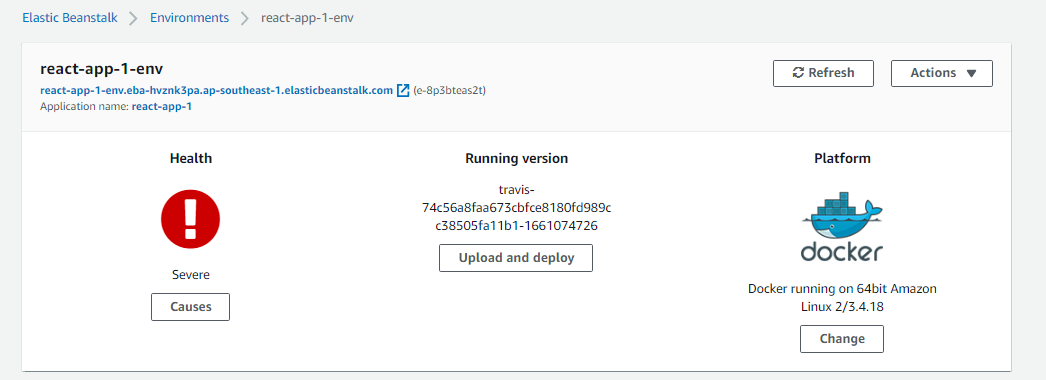
Simulate a Dev Team
Let’s call ourselves as Developer Dave. We have a new member call Developer Bob.
To simulate a real environment where different developers work on different branches of the same codebase, we’ll create a new branch and push changes to this new branch.
Next, we’ll create a pull request to merge the changes in the feature branch to the master branch. Once the merge is done, it should be automatically be picked up by Travis CI and deployed to AWS.
Developer Bob works on the Code
Start with creating the feature branch and switching to that new branch. ```bash $ git checkout -b feature-bob ``` ```bash $ git branch ``` Edit the src/App.js using vim. Type in ":set nu" to display the line number. ```bash $ vim src/App.js ``` ```bash :set nu ``` In line 18, remove: ```bash Learn React ``` and replace it with: ```bash Learn Devops now. ``` Commit and push the change to Github. ```bash $ git add -A; git commit -m "Edited file at 2nd branch" $ git push origin feature-bob ``` Go to your Github repo. You should see a new notification. Click Compare and pull request.  In the next page, we can add a comment. Once you're done, click Create pull request. 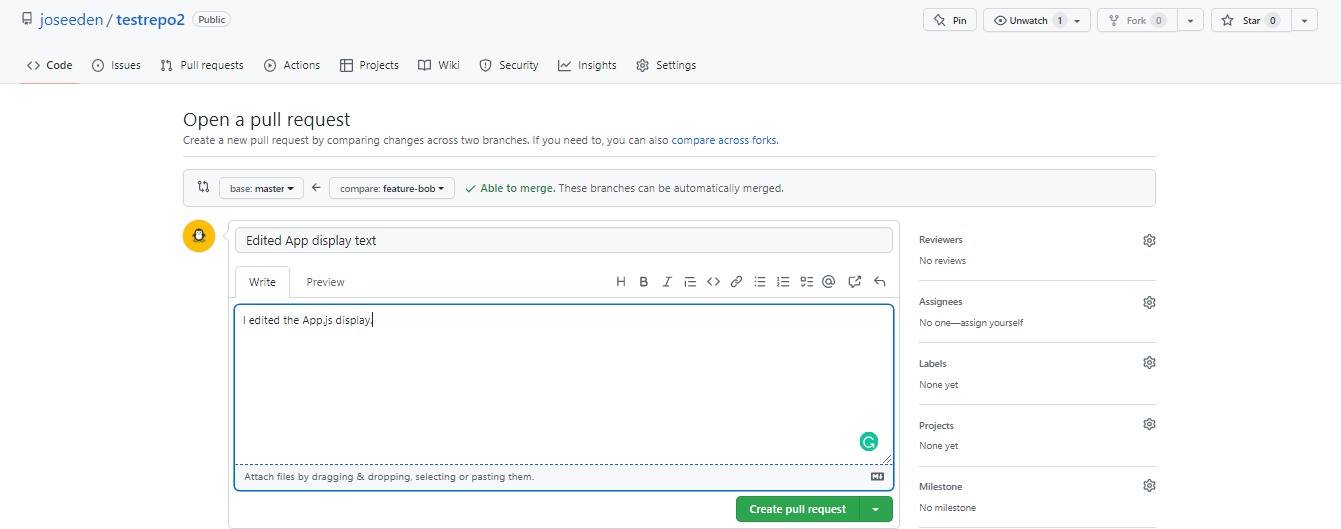 Back at the Travis CI, we'll see that the pull request was detected. 
Developer Dave merges the change
Back at the Github repo, we can click the **Merge request** once the builds are done running. 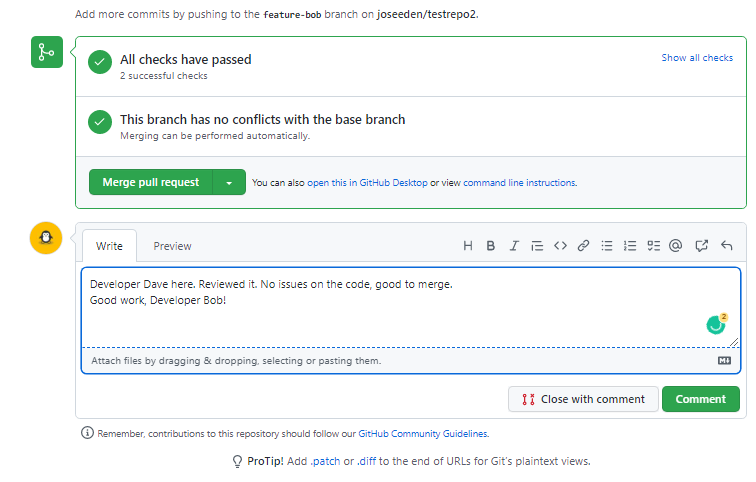 We can now delete the branch.  Back at Travis CI, we see the new build. Cleanup
We just deployed our application to AWS Elastic Beanstalk and we did through Travis CI. Noice!
