All-Things-Docker-and-Kubernetes
Lab 055: Kubernetes Dashboard on EKS
- Pre-requisites
- Introduction
- Launch a Simple EKS Cluster
- Install the Metrics Server
- Deploy the Kubernetes Dashboard
- Create the Service Account
- Explore the Kubernetes Dashboard
- Cleanup
Pre-requisites
- Basic Understanding of Kubernetes
- AWS account
- AWS IAM Requirements
- AWS CLI, kubectl, and eksctl
- JQ and Curl
Introduction
In this lab, we’ll be setting up the Kubernetes Dashboard on our Amazon EKS cluster.
For this lab, we’ll use ap-southeast-1 region (Singapore).
Launch a Simple EKS Cluster
Before we start, let’s first verify if we’re using the correct IAM user’s access keys. This should be the user we created from the pre-requisites section above.
$ aws sts get-caller-identity
{
    "UserId": "AIDxxxxxxxxxxxxxx",
    "Account": "1234567890",
    "Arn": "arn:aws:iam::1234567890:user/k8s-admin"
}
For the cluster, we can reuse the eksops.yml file from the previous labs.
eksops.yml
```bash apiVersion: eksctl.io/v1alpha5 kind: ClusterConfig metadata: version: "1.23" name: eksops region: ap-southeast-1 nodeGroups: - name: ng-dover instanceType: t3.large desiredCapacity: 2 ssh: publicKeyName: "k8s-kp" ```Launch the cluster.
$ time eksctl create cluster -f eksops.yml
Check the nodes and pods.
$ kubectl get nodes
Install the Metrics Server
Download the metrics server v0.6.1.
kubectl apply -f https://github.com/kubernetes-sigs/metrics-server/releases/download/v0.6.1/components.yaml
It should return the following output:
serviceaccount/metrics-server created
clusterrole.rbac.authorization.k8s.io/system:aggregated-metrics-reader created
clusterrole.rbac.authorization.k8s.io/system:metrics-server created
rolebinding.rbac.authorization.k8s.io/metrics-server-auth-reader created
clusterrolebinding.rbac.authorization.k8s.io/metrics-server:system:auth-delegator created
clusterrolebinding.rbac.authorization.k8s.io/system:metrics-server created
service/metrics-server created
deployment.apps/metrics-server created
apiservice.apiregistration.k8s.io/v1beta1.metrics.k8s.io created
Verify the state of deployment.
kubectl get deployment metrics-server -n kube-system
NAME             READY   UP-TO-DATE   AVAILABLE   AGE
metrics-server   1/1     1            1           91s
Deploy the Kubernetes Dashboard
For the rest of this lab, we are using Kubernetes version 1.23. You might be using a different one so make sure to check the Kubernetes dashboard releases and search for the Compatibility table which shows the Kubernetes version that the particular release is compatible with.
As an example, we can’t use the dashboard version 2.6.1 because it may have compatibility issues with Kubernetes version 1.23.

So we’ll need to search for another older version that’s compatible with Kubernetes 1.23. We’ll use the Kubernetes dashboard v2.5.1.

If in case you can’t find a compatible release, you can opt for Kubernetes dashboard version that’s compatible to an older Kubernetes version (Let’s say you have Kubernetes v1.22, you can try the Kubernetes dashboard v2.4.0 which is compatible with Kubernetes v1.21)
Another option is to delete your cluster, modify the eksops.yml file, and change the version to the supported one. Afterwards, re-launch the cluster.
Export the version to a variable.
export KB_VER=v2.5.1
Let’s now deploy the dashboard.
kubectl apply -f https://raw.githubusercontent.com/kubernetes/dashboard/$KB_VER/aio/deploy/recommended.yaml
It should return the following output.
namespace/kubernetes-dashboard created
serviceaccount/kubernetes-dashboard created
service/kubernetes-dashboard created
secret/kubernetes-dashboard-certs created
secret/kubernetes-dashboard-csrf created
secret/kubernetes-dashboard-key-holder created
configmap/kubernetes-dashboard-settings created
role.rbac.authorization.k8s.io/kubernetes-dashboard created
clusterrole.rbac.authorization.k8s.io/kubernetes-dashboard created
rolebinding.rbac.authorization.k8s.io/kubernetes-dashboard created
clusterrolebinding.rbac.authorization.k8s.io/kubernetes-dashboard created
deployment.apps/kubernetes-dashboard created
service/dashboard-metrics-scraper created
deployment.apps/dashboard-metrics-scraper created
Create the Service Account
To login to the Kubernetes dashboard, we need to create a service account.
vim kb-admin-svc.yml
apiVersion: v1
kind: ServiceAccount
metadata:
  name: kb-admin-svc
  namespace: kube-system
---
apiVersion: rbac.authorization.k8s.io/v1
kind: ClusterRoleBinding
metadata:
  name: kb-admin-svc
  namespace: kube-system
roleRef:
  apiGroup: rbac.authorization.k8s.io
  kind: ClusterRole
  name: cluster-admin
subjects:
  - kind: ServiceAccount
    name: kb-admin-svc
    namespace: kube-system
Apply the resources.
kubectl apply -f kb-admin-svc.yml
serviceaccount/kb-admin-svc unchanged
clusterrolebinding.rbac.authorization.k8s.io/kb-admin-svc created
Explore the Kubernetes Dashboard
Get the bearer token of the service account that we just created.
kubectl -n kube-system describe secret \
$(kubectl -n kube-system get secret | grep kb-admin-svc | awk '{print $1}')
This should return the following output. Copy the token.
Name:         kb-admin-svc-token-txfbq
Namespace:    kube-system
Labels:       <none>
Annotations:  kubernetes.io/service-account.name: kb-admin-svc
              kubernetes.io/service-account.uid: 8aedd8de-ff95-4a20-8827-7995bab13638

Type:  kubernetes.io/service-account-token

Data
====
ca.crt:     1099 bytes
namespace:  11 bytes
token:      abcdefghijklmnopqrstuvwxyz1234567890abcdefghijklmnopqrstuvwxyz1234567890abcdefghijklmnopqrstuvwxyz1234567890abcdefghijklmnopqrstuvwxyz1234567890abcdefghijklmnopqrstuvwxyz1234567890abcdefghijklmnopqrstuvwxyz1234567890abcdefghijklmnopqrstuvwxyz1234567890abcdefghijklmnopqrstuvwxyz1234567890abcdefghijklmnopqrstuvwxyz1234567890abcdefghijklmnopqrstuvwxyz1234567890abcdefghijklmnopqrstuvwxyz1234567890abcdefghijklmnopqrstuvwxyz1234567890abcdefghijklmnopqrstuvwxyz1234567890abcdefghijklmnopqrstuvwxyz1234567890abcdefghijklmnopqrstuvwxyz1234567890abcdefghijklmnopqrstuvwxyz1234567890abcdefghijklmnopqrstuvwxyz1234567890abcdefghijklmnopqrstuvwxyz1234567890abcdefghijklmnopqrstuvwxyz1234567890abcdefghijklmnopqrstuvwxyz1234567890abcdefghijklmnopqrstuvwxyz1234567890abcdefghijklmnopqrstuvwxyz1234567890
Run this command to access Dashboard from your local workstation.
kubectl proxy
You should see this returned.
Starting to serve on 127.0.0.1:8001
Open a web browser and paste this URL.
http://localhost:8001/api/v1/namespaces/kubernetes-dashboard/services/https:kubernetes-dashboard:/proxy/#/login
It should now display the login screen. Enter the bearer token and click Sign-in.

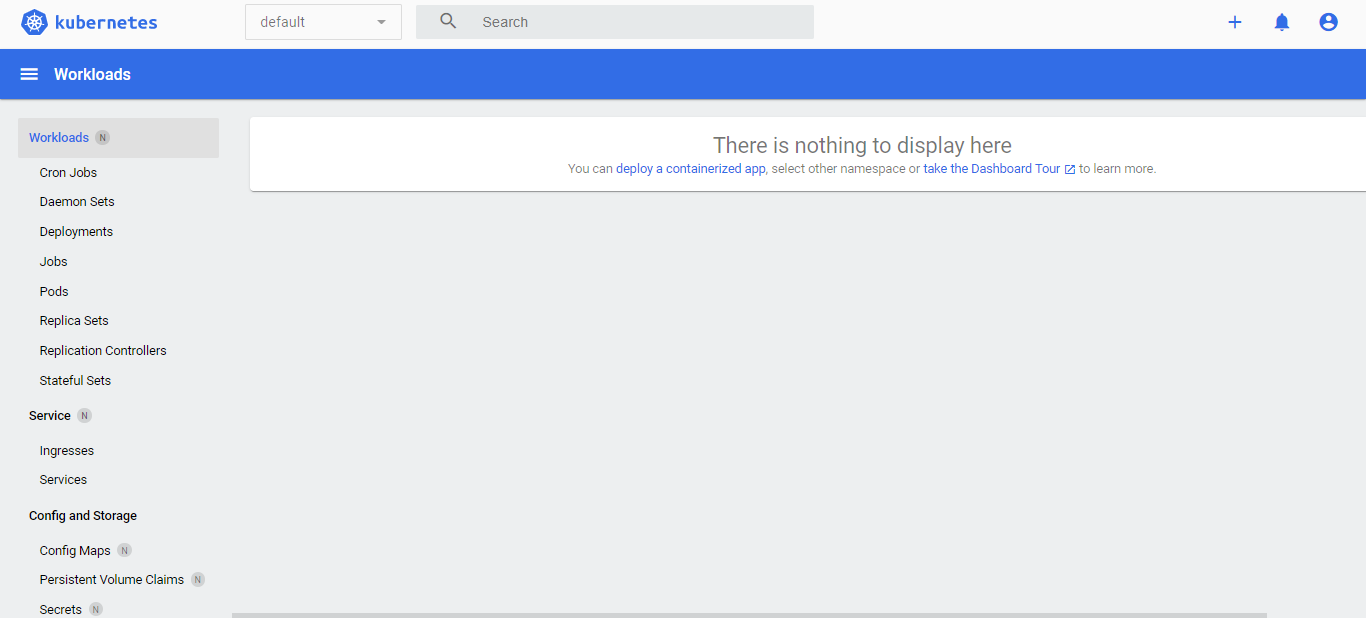
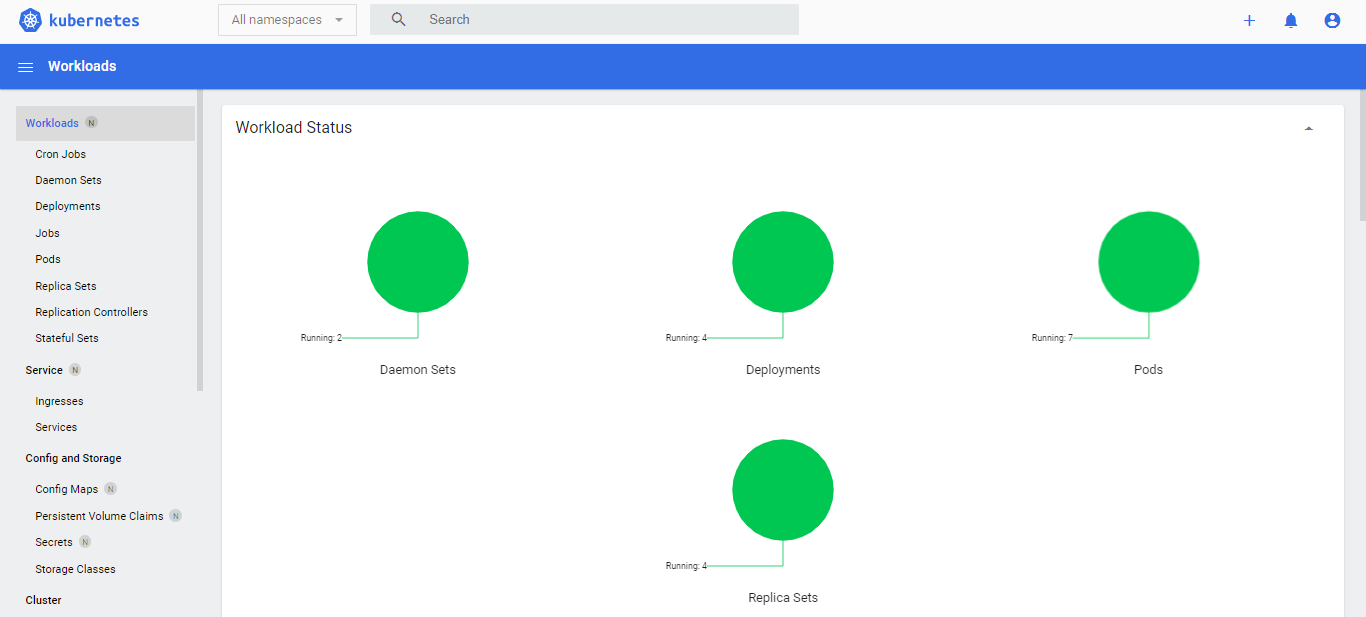
You should be able to see the Kubernetes dashboard overview page. Note that there maybe some differences in the UI since it may get updated from time to time.

In the dropdown bar, change default to All namespaces.

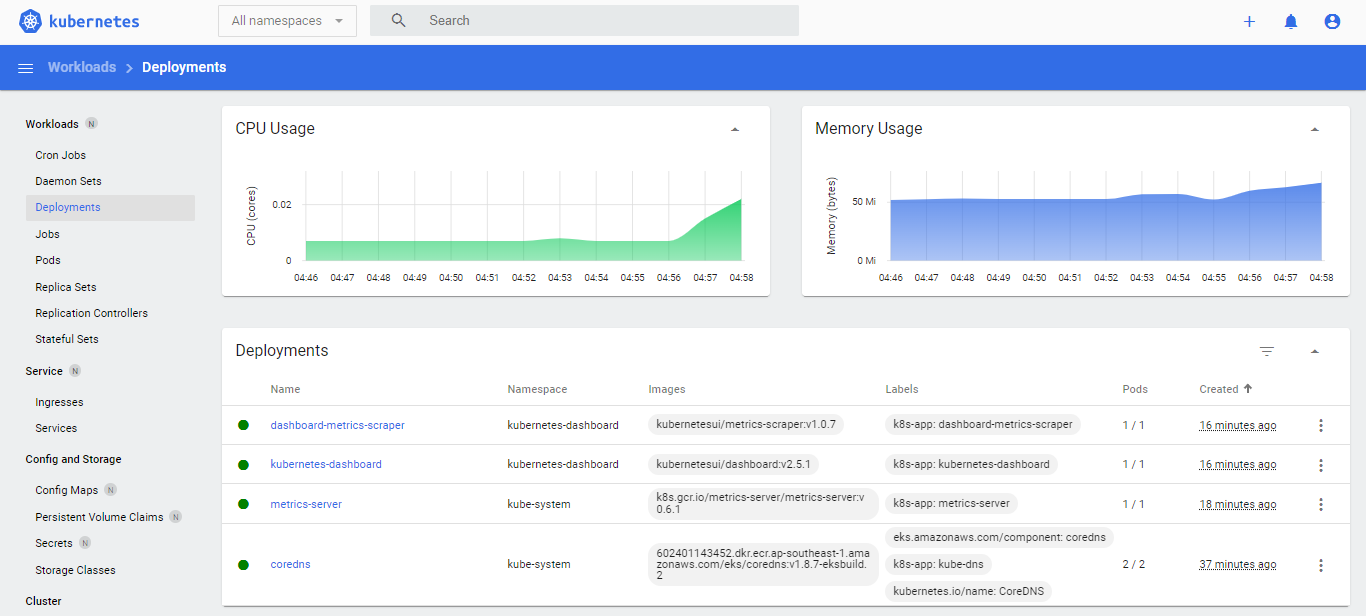
Let’s check the current deployments.

We can also scale and edit the deployments by clicking the three vertical dots at the right.

Cleanup
Before we officially close this lab, make sure to destroy all resources to prevent incurring additional costs.
time eksctl delete cluster -f eksops.yml
Note that when you delete your cluster, make sure to double-check the AWS Console and Cloudformation stacks (which we created by eksctl) are dropped cleanly.