Using the Snow Family
This is not an exhaustive documentation of all the existing AWS Services. These are summarized notes that I used for the AWS Certifications.
To see the complete documentation, please go to: AWS documentation
Overview
The AWS Snow Family is a collection of physical devices and services designed to help organizations transfer large amounts of data into and out of the AWS cloud. These devices are rugged, secure, and can operate in environments with limited or no internet connectivity.
Key Components
-
AWS Snowcone
- Smallest device in the Snow family
- Built for edge computing tasks
- Works well in remote or harsh places
-
AWS Snowball
- Bigger device with two versions
- Storage Optimized for large data transfer
- Compute Optimized for running workloads at the edge
-
AWS Snowmobile
- Huge container on a truck
- Can carry exabytes of data
- Best for very large migrations
Using Snowball
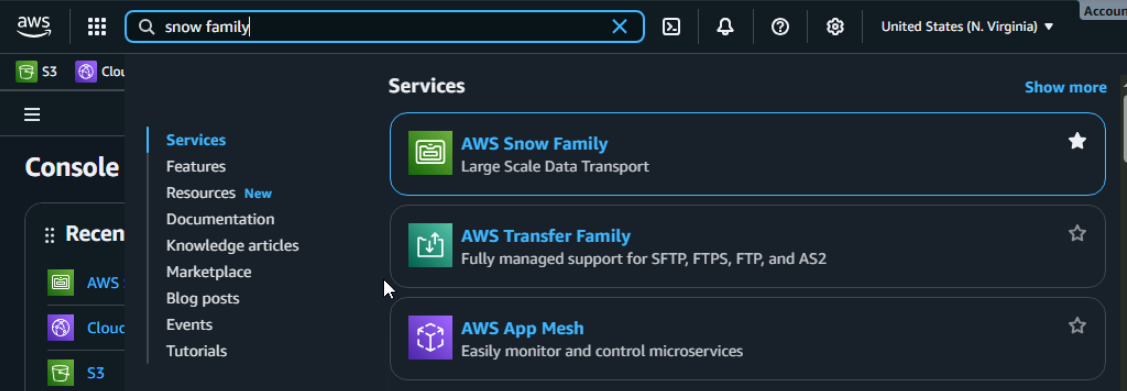
Login to AWS, and search for "Snow Family" in the search bar.
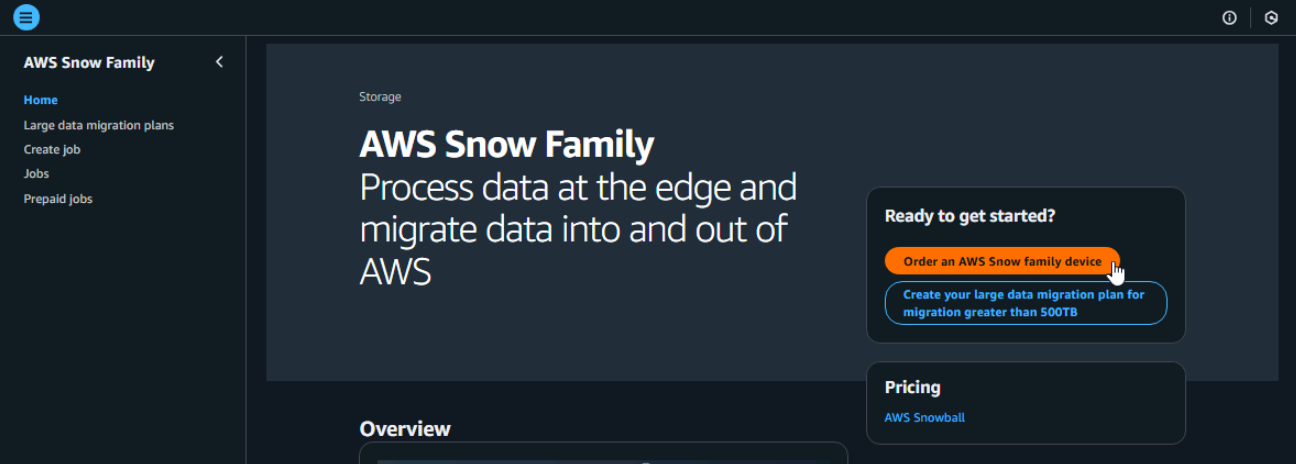
Click the "Order an AWS Snow family device" button (we will not be completing the configuration or ordering any devices).
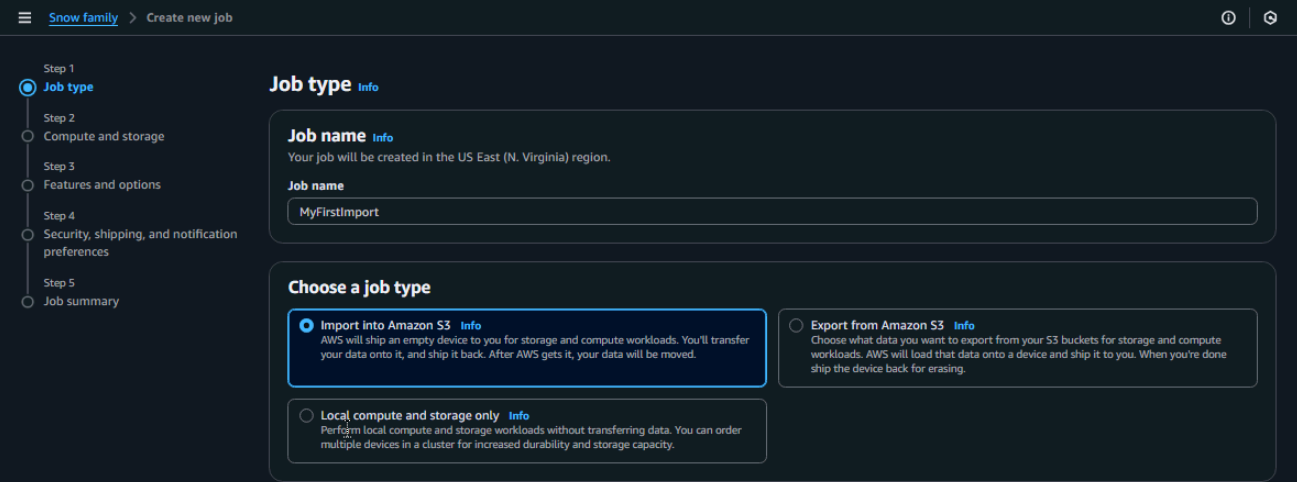
When ordering a device, you go through a few setup steps such as choosing job type, compute and storage needs, extra features, and security or shipping preferences.
- Give the data transfer job a name, for example "MyFirstImport"
- Set the job type to Import into Amazon S3
Click Next at the bottom right.
Go to Step 2, Compute and Storage. Here you choose the device type based on resources like CPUs, GPUs, memory, and storage.
- Pick storage type such as HDD or SSD
- Choose where the data should go
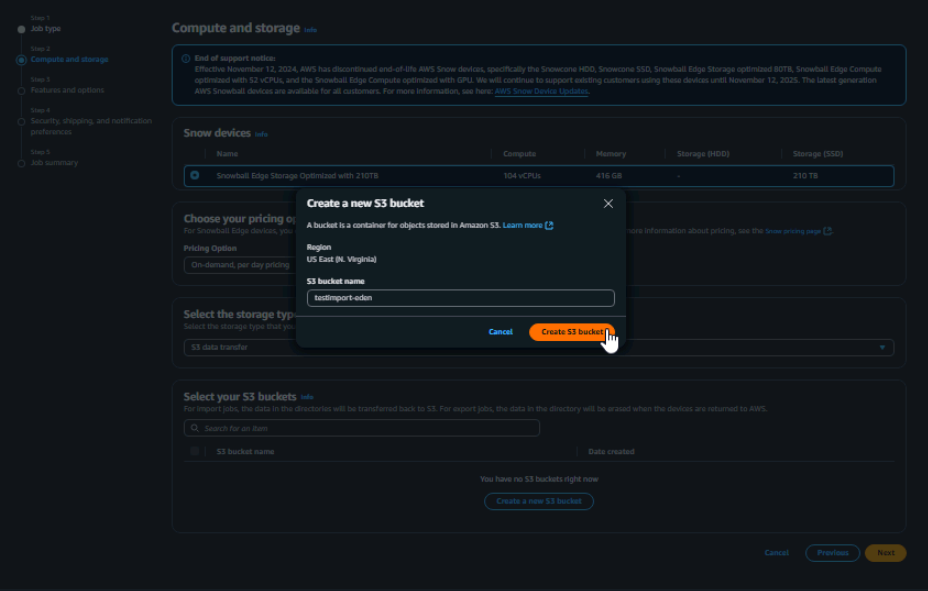
- Use an existing bucket or make a new one
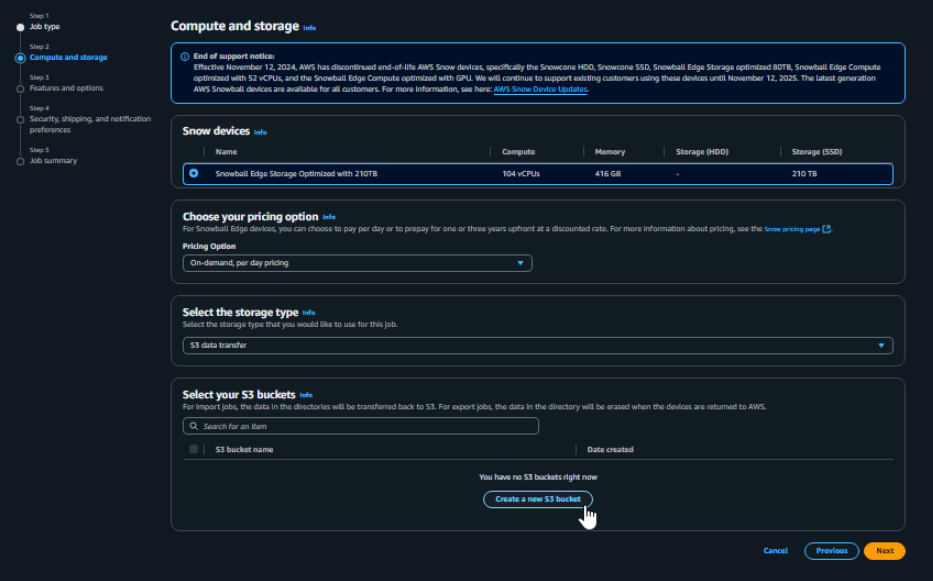
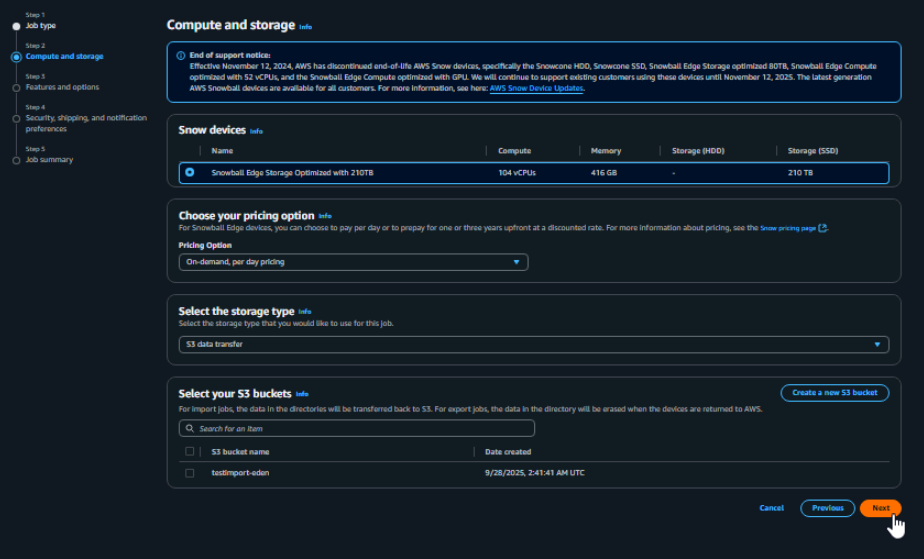
You can choose to create a new S3 Bucket.
Click Next
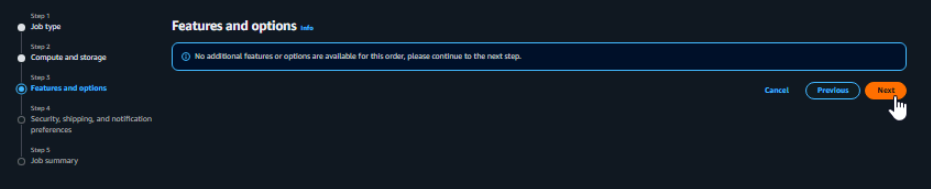
For step 3, you can also just click Next.
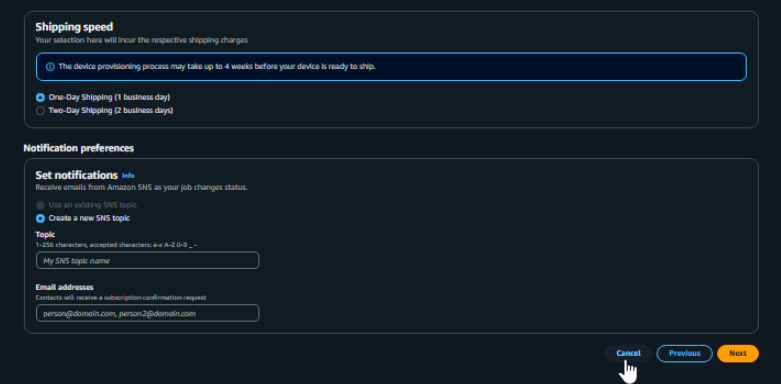
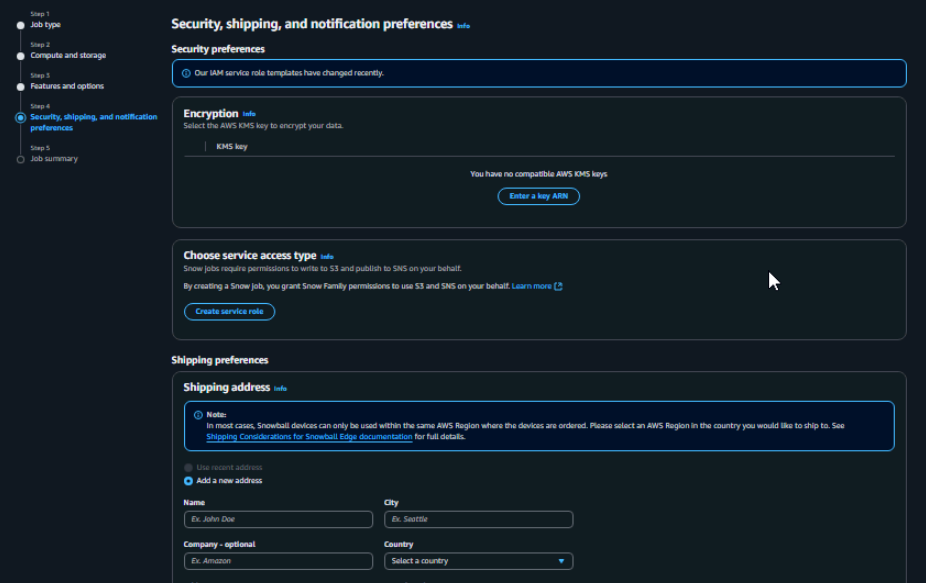
In step 4, you can set up security features like encryption and access controls. This is also where you can indicate the shipping address for the device.
Since this is just for a lab, we can simply click the Cancel at the bottom.