Deploy Nginx with Helm
Overview
This lab shows how to deploy the Nginx web server on a Kubernetes cluster using Helm.
Pre-requisites
Project Directory
Make sure to go through the pre-requisites before proceeding to the next steps
If you followed the steps in setting up Flux, your project directory should have the following files:
$ tree
.
├── README.md
└── clusters
    └── dev
        └── flux-system
            ├── gotk-components.yaml
            ├── gotk-sync.yaml
            ├── kustomization.yaml

3 directories, 6 files
To organize the manifests, we will create folders for each lab, along with their respective kustomization.yaml file.
For this lab, create the helm-nginx directory:
mkdir clusters/dev/helm-nginx
Depoying Nginx
Prepare the Local Helm Chart
Create a charts directory at the root of the project directory:
mkdir charts
cd charts
Next, scaffold a new chart, for example, nginx:
helm create nginx
This creates a simple web server chart with settings we can customize before deploying.
Open charts/nginx/values.yaml and update:
ingress:
  enabled: true
  className: nginx
  hosts:
    - host: ""
Create the Helm Release
Create a HelmRelease YAML file in directory containing the Kubernetes manifests:
## clusters/dev/helm-nginx/nginx-helm-release.yaml
apiVersion: helm.toolkit.fluxcd.io/v2beta1
kind: HelmRelease
metadata:
  name: nginx
  namespace: default
spec:
  interval: 1m
  chart:
    spec:
      interval: 1m
      chart: ./charts/nginx
      sourceRef:
        kind: GitRepository
        name: flux-system
        namespace: flux-system
Note:
- Set the release name, chart path, and intervals
- Reference the local Git repository as the chart source
Add the Files in kustomization.yaml
This ensures that Flux also watches for the podinfo manifests.
## clusters/dev/helm-nginx/kustomization.yaml
apiVersion: kustomize.config.k8s.io/v1beta1
kind: Kustomization
resources:
- nginx-helm-release.yaml
Commit and Push Changes
To follow GitOps, commit the changes and create a merge request.
## Make sure main branch is updated
git checkout main
git pull

## Create a new branch for the change
git checkout -b nginx-helm

## Stage, commit, and push to the Git repository
git add -A
git commit -m "Add nginx Helm chart and release config"
git push --set-upstream origin nginx-helm
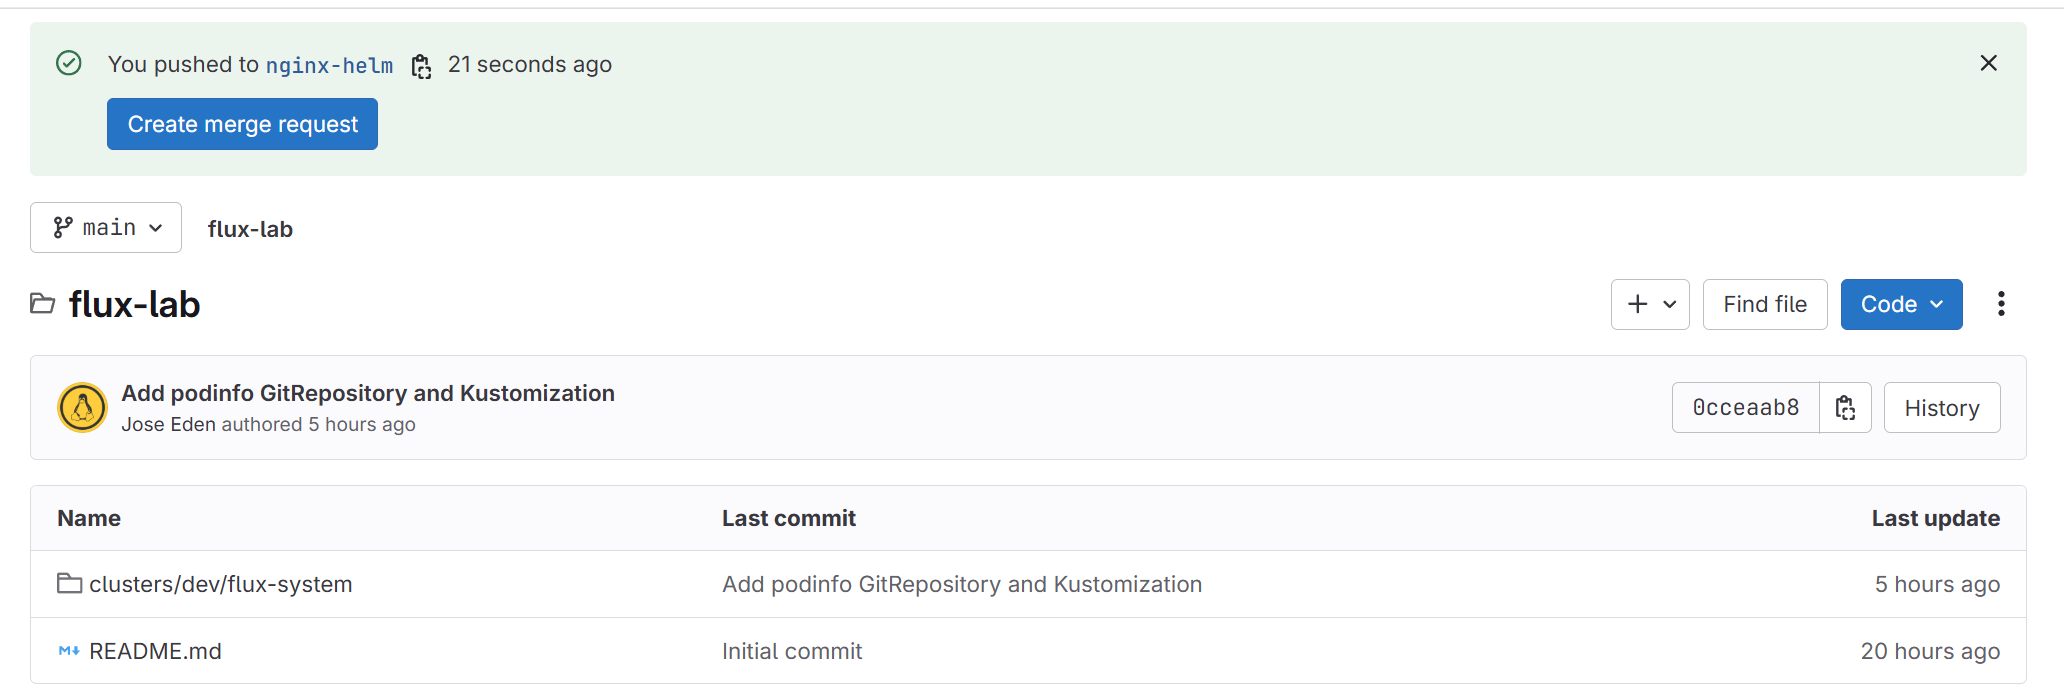
After pushing, merge the changes to the main branch. Since we are using Gitlab in this setup, login to the Gitlab UI and go to the repository. We should see a Create merge request at the top. Click it.
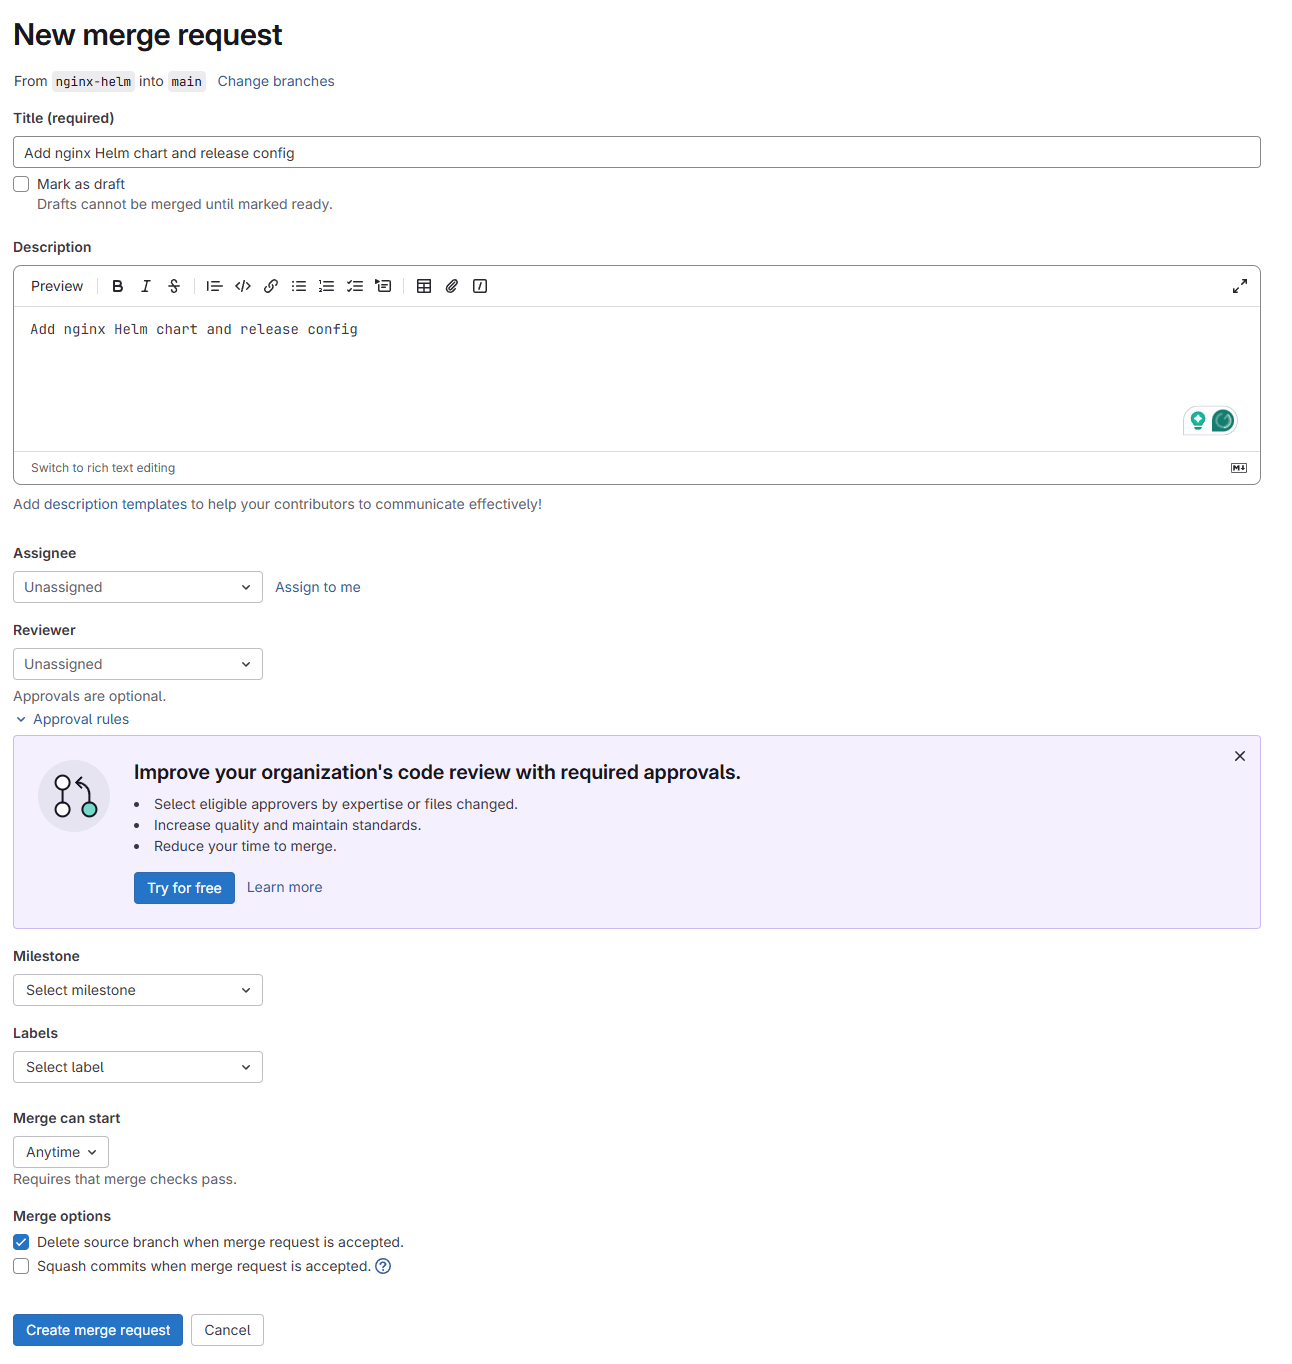
Provide a title and description to the merge request and click the Create merge request button at the bottom.
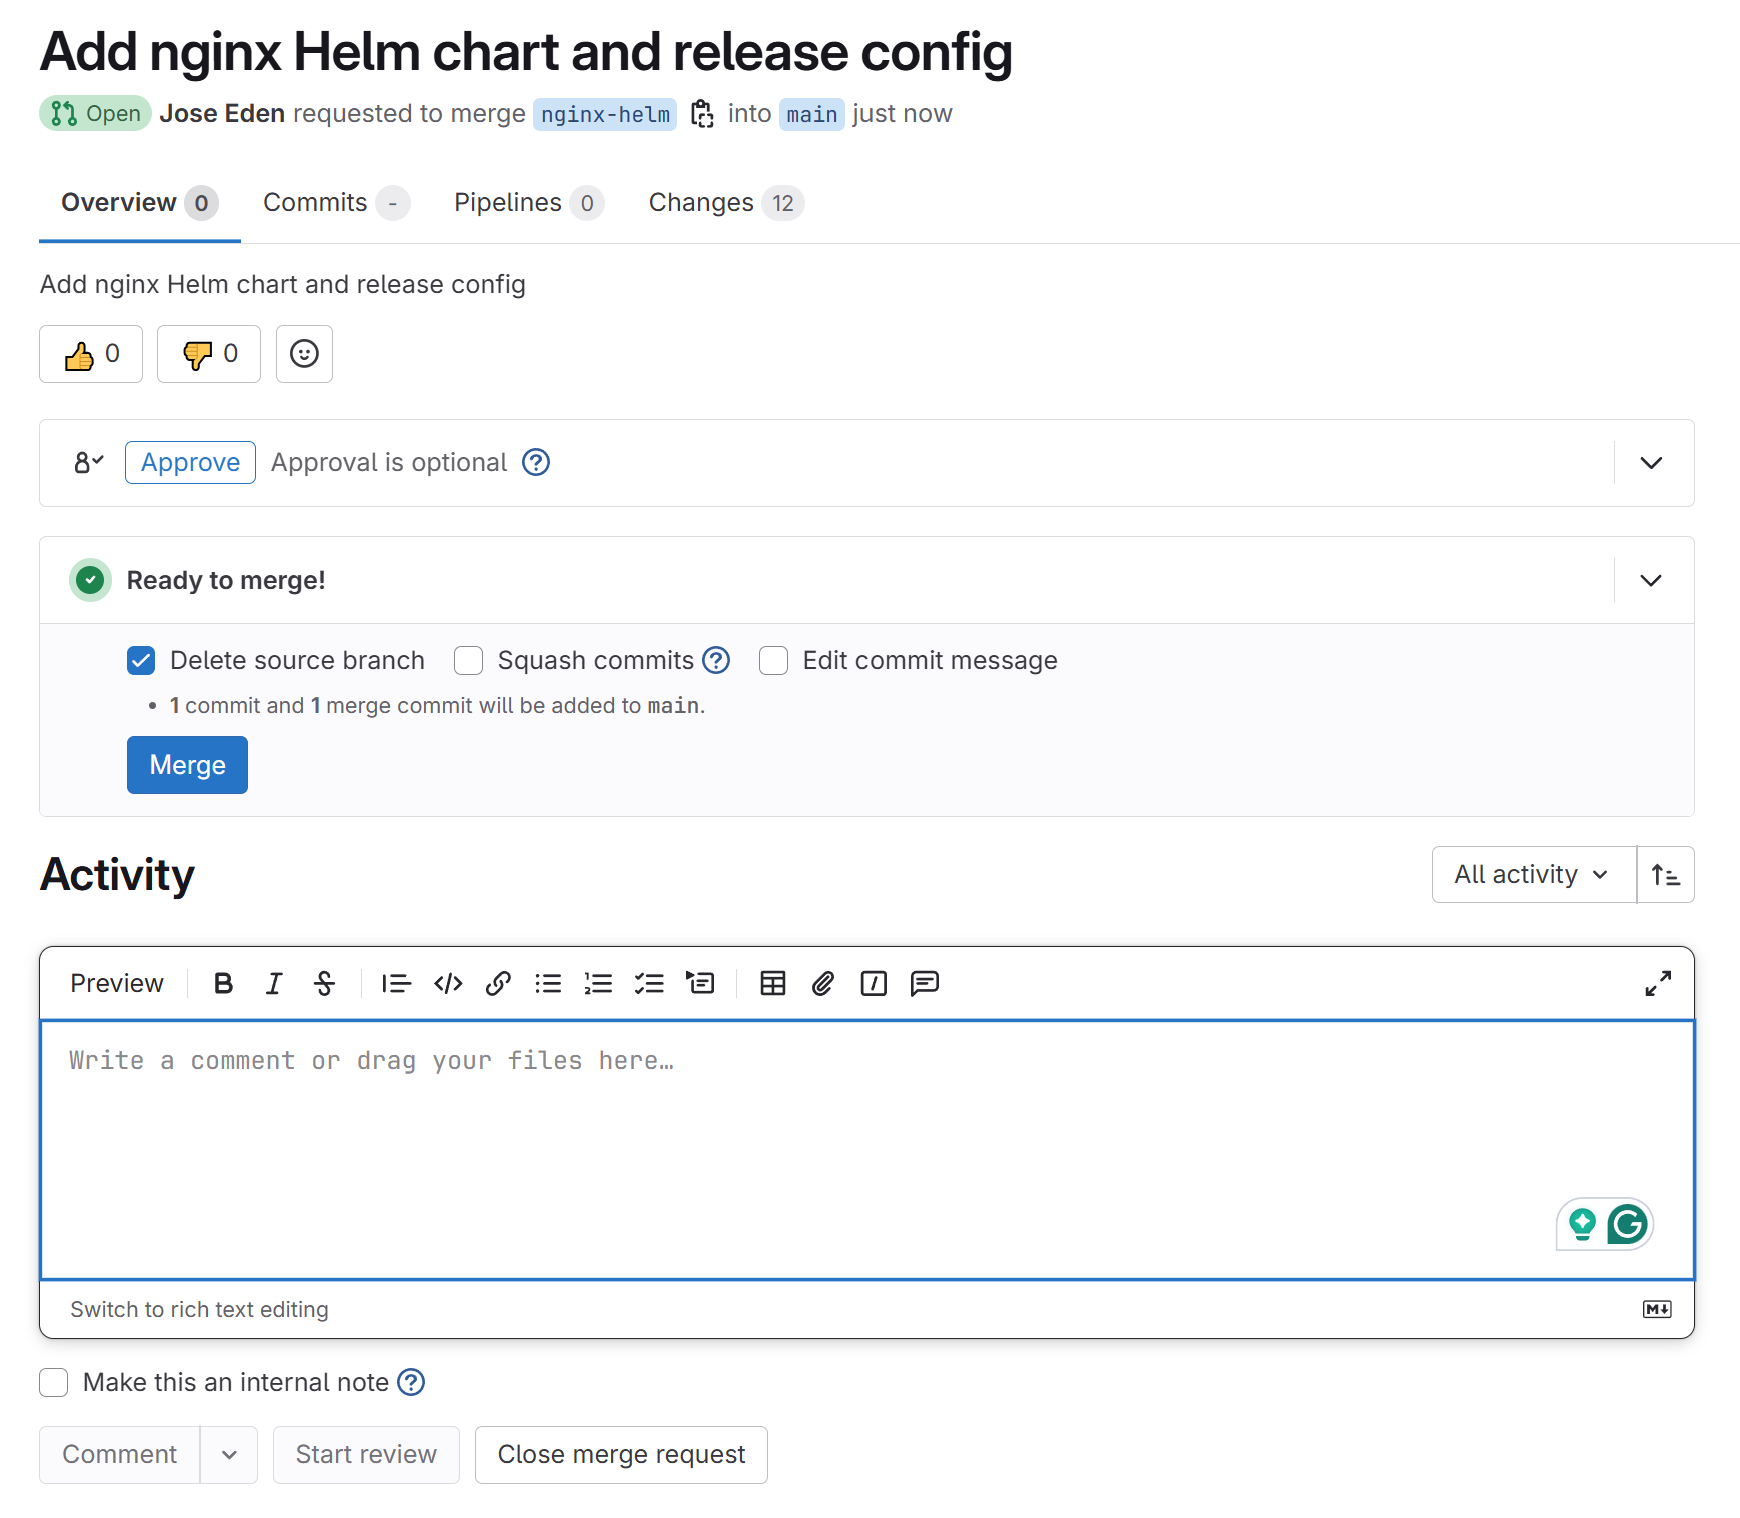
In a typical team setting, developers create merge requests which are then reviewed and approved by other team members. For this lab, you can go ahead and click Approve and Merge directly.
Trigger Flux to Reconcile
You can wait for Flux to detect changes, or you can also trigger it manually by running:
flux reconcile kustomization flux-system --with-source
Next, check the Helm release:
kubectl get helmrelease
You might initially get this if you immediately run the kubectl command:
$ kubectl get helmrelease
NAME    AGE   READY     STATUS
nginx   13s   Unknown   Running 'install' action with timeout of 5m0s
After a few seconds, it should change to Helm install succeeded:
$ kubectl get helmrelease
NAME    AGE   READY   STATUS
nginx   72s   True    Helm install succeeded for release default/nginx.v1 with chart nginx@0.1.0
Finally, check if pods, services, and ingress objects are created
flux reconcile kustomization flux-system --with-source
Different Status
You may see two different status:
-
Helm install succeeded for release default/nginx.v1 with chart nginx@0.1.0- This message comes from Helm via Flux
- It means release is successfully installed.
- Kubernetes accepted the resulting resources.
- This happens right after Helm completes the install step.
-
Release reconciliation succeeded- This is a higher-level Flux message.
- Flux reconciled the state (HelmRelease → Kubernetes resources).
- It verified the resources are in the desired state
- It may appear a few seconds after install, once everything settles and Flux re-evaluates the state.
You should see an NGINX pod running and the service created:
$ kubectl get pods
NAME                       READY   STATUS    RESTARTS   AGE
nginx-7fc44c46f6-7fr7q     1/1     Running   0          8m4s
podinfo-5d9db9b467-9h26p   1/1     Running   0          5h46m
podinfo-5d9db9b467-mldhr   1/1     Running   0          5h46m

$ k get svc
NAME         TYPE        CLUSTER-IP     EXTERNAL-IP   PORT(S)             AGE
kubernetes   ClusterIP   10.96.0.1      <none>        443/TCP             21h
nginx        ClusterIP   10.96.69.189   <none>        80/TCP              9m47s
podinfo      ClusterIP   10.96.103.28   <none>        9898/TCP,9999/TCP   5h48m
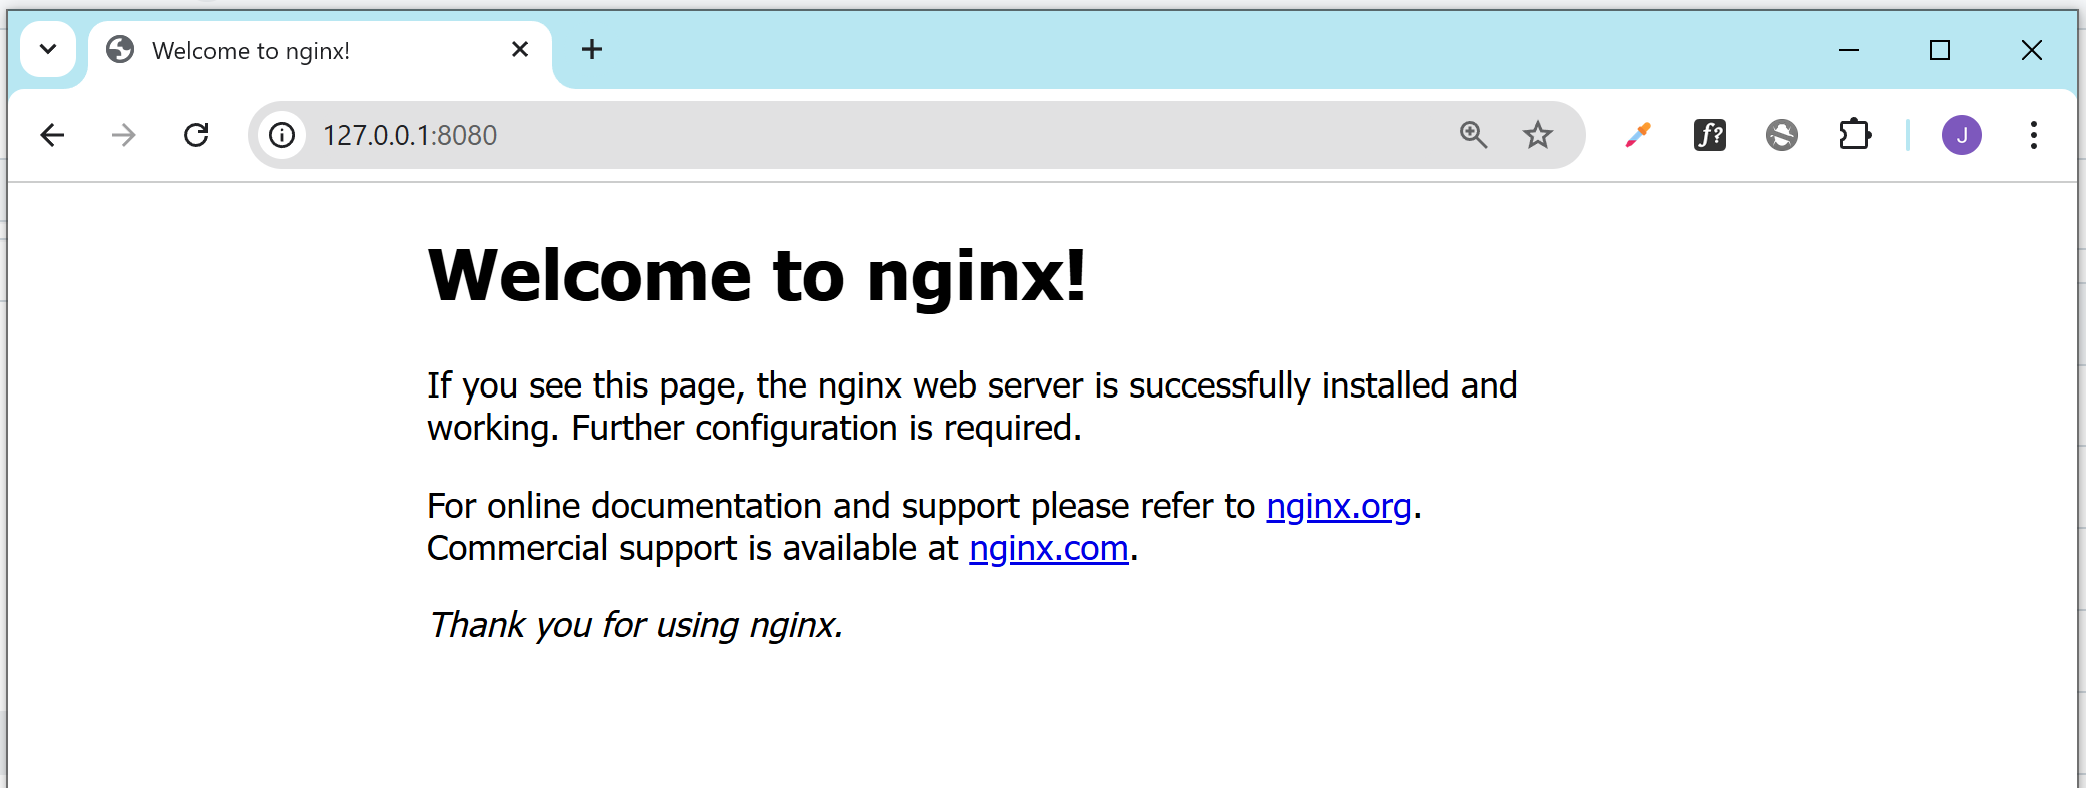
You can also access the welcome page when visiting the cluster IP.
Port Forwarding
Since the nginx service is a ClusterIP, it’s only accessible within the Kubernetes cluster. To access the Nginx welcome page in your browser on WSL, you need to expose it outside the cluster.
Here are three common ways to do that:
-
Port Forward to Your Localhost (Simplest)
Run:
kubectl port-forward svc/nginx 8080:80Then open your browser and go to:
http://localhost:8080You should see the Nginx welcome page.
infoFor simplificity, I just used port forwarding.
-
Change Service Type to NodePort
If you want it accessible on your VM's IP:
-
Edit the service:
kubectl edit svc nginx -
Change this:
type: ClusterIPTo:
type: NodePort -
Kubernetes will assign a port between
30000–32767, e.g.:kubectl get svc nginxOutput:
NAME    TYPE       CLUSTER-IP      EXTERNAL-IP   PORT(S)        AGE
nginx NodePort 10.96.69.189 <none> 80:32000/TCP 10m -
Then open your browser to:
http://<your-host-ip>:32000If using WSL2, find your host IP via:
ip route | grep defaultOr use
localhostif you have port forwarding set up via Windows.
- Expose with Ingress (Advanced)
If you're using Ingress + IngressController (like NGINX Ingress), configure an Ingress resource pointing to the nginx service. But this requires an Ingress controller running in your cluster.
Customize Helm Charts
Flux CD allows us to override the chart's values through the Helm release custom resource. This allows us to customize what gets deployed without changing the chart directly.
For this section, we'll create a custom HTML file which will be used as the Nginx's welcome page. The contents of this file will be read from a defined Helm value, which is then supplied through the Helm release.
Create a ConfigMap Template
First, switch to the main branch and pull updates from the remote repository.
git checkout main
git pull
Create a new branch for the new changes:
git checkout -b "custom-welcome-page"
Go to the ./charts/nginx/templates/ and create a configmap.yaml:
## ./charts/nginx/templates/configmap.yaml
apiVersion: v1
kind: ConfigMap
metadata:
  name: {{ .Release.Name }}-index-html
data:
  index.html: |
    {{ .Values.indexHtml | nindent 4 }}
Note:
- Use Helm values to fill in the ConfigMap contents
- Make sure the ConfigMap name uses the Helm release name
Update the Deployment Template
We now need to mount the ConfigMap into the Nginx container.
- Add a
volumeMountpointing to the default HTML path - Add a
volumethat links to the configmap
The deployment.yaml is in the same directory as the configmap. MOdify the file and update the volumeMount and volume.
    containers:
    - name: {{ .Chart.Name }}
      volumeMounts:
        - name: html
          mountPath: /usr/share/nginx/html
  volumes:
    - name: html
      configMap:
        name: {{ .Release.Name }}-index-html
Now the container knows where to find the custom HTML page.
Bump the Chart Version
FluxCD watches for new chart versions, not file changes. This means that updates will only be applied when Helm release detects a change in the chart. To trigger a change, we can upgrade the chart version.
MOdify the ./charts/nginx/Chart.yaml and increase the chart version (e.g., from 0.1.0 to 0.2.0):
version: 0.1.1
This version bump triggers Flux to notice and apply the new files.
Add Values to HelmRelease
Finally, define the actual HTML content in the Flux HelmRelease file.
- Add a
values:section - Use a multi-line string for HTML
- Use
|to start the block, then indent the HTML
This HTML will be loaded into the configmap and shown by Nginx.
## clusters/dev/helm-nginx/nginx-helm-release.yaml
apiVersion: helm.toolkit.fluxcd.io/v2beta1
kind: HelmRelease
metadata:
name: nginx
namespace: default
spec:
interval: 1m
.... ## Some of the contents truncated/omitted
values:
indexHtml: |-
<!doctype html>
<html>
<head>
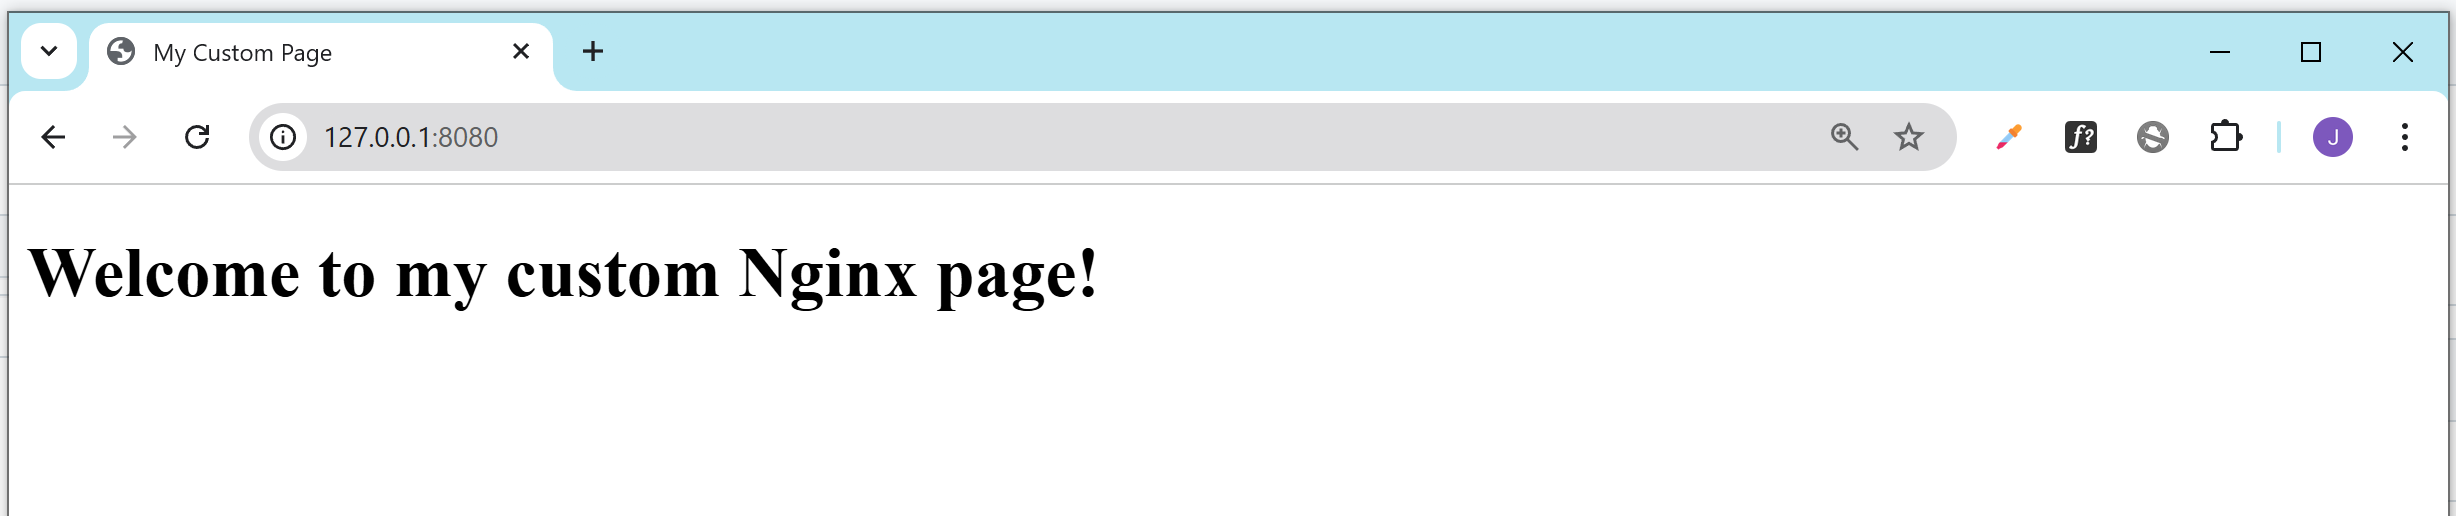
<title>My Custom Page</title>
</head>
<body>
<h1>Welcome to my custom Nginx page!</h1>
</body>
</html>
Now we save everything and push to Git.
git add -A
git commit -m "Changes the default index.html page of Nginx"
git push --set-upstream origin custom-welcome-page
Just like in the previous sections, go to Gitlab and create a merge request. Another developer typically reviews and approves the merge request, but you can simply approve and merge it.

Once merged to main, Flux will see the changes and deploy.
Optional: Trigger Reconcile
You can force Flux to pull and apply the latest changes.
flux reconcile kustomization flux-system --with-source
flux reconcile helmrelease nginx -n default
Verify the Change
Once everything is applied, go back to the webpage where the Nginx welcome page was displayed and refresh the page.
If you're using port forwarding
If the page did not displayed the updated Nginx welcome page, you can kill the process and run port forwarding again.
ps -ef | grep 8080
sudo kill -9 <enter-pid>
Troubleshooting
If the flux reconcile command get stuck, or if the page did not load, you can try checking the logs of the controller.
kubectl logs -n flux-system deployment/kustomize-controller
For other errors, please see General Troubleshooting.