AWS ECR and EKS
Overview
This guide shows how to use FluxCD to deploy Helm charts from a private ECR repository in AWS EKS.
- AWS ECR can host private Helm charts
- FluxCD uses service accounts to pull Helm charts from ECR
- EKS pods need access to ECR using IAM roles
This setup uses IAM roles instead of plain secrets for a more secure connection between FluxCD and ECR.
A few notes:
- I'm running the lab in a Windows 10 machine
- Tools used: Docker Desktop, WSL2
- A Kubernetes cluster is using
kind - Flux is running inside the Kubernetes cluster
- Gitlab is used for the Git repositories
Pre-requisites
Project Directory
Make sure to go through the pre-requisites before proceeding to the next steps
If you followed the steps in setting up Flux, your project directory should have the following files:
$ tree
.
├── README.md
└── clusters
    └── dev
        └── flux-system
            ├── gotk-components.yaml
            ├── gotk-sync.yaml
            ├── kustomization.yaml
To organize the manifests, we will create folders for each lab, along with their respective kustomization.yaml file.
For this lab, create the following directories:
mkdir -p clusters/eks/flux-system
mkdir -p clusters/eks/helm-repos-ecr
Also create the charts directory in the same level as the clusters directory:
mkdir -p charts
Install AWS CLI and eksctl
First, install tools needed to interact with AWS and create EKS clusters.
These tools help in managing the cluster and set up authentication with ECR.
Create an ECR Repository
To host your Helm charts in Amazon ECR, first create a repository:
# Create ECR repository
aws ecr create-repository \
  --repository-name apache \
  --region ap-southeast-1 \
  --image-scanning-configuration scanOnPush=false \
  --image-tag-mutability MUTABLE
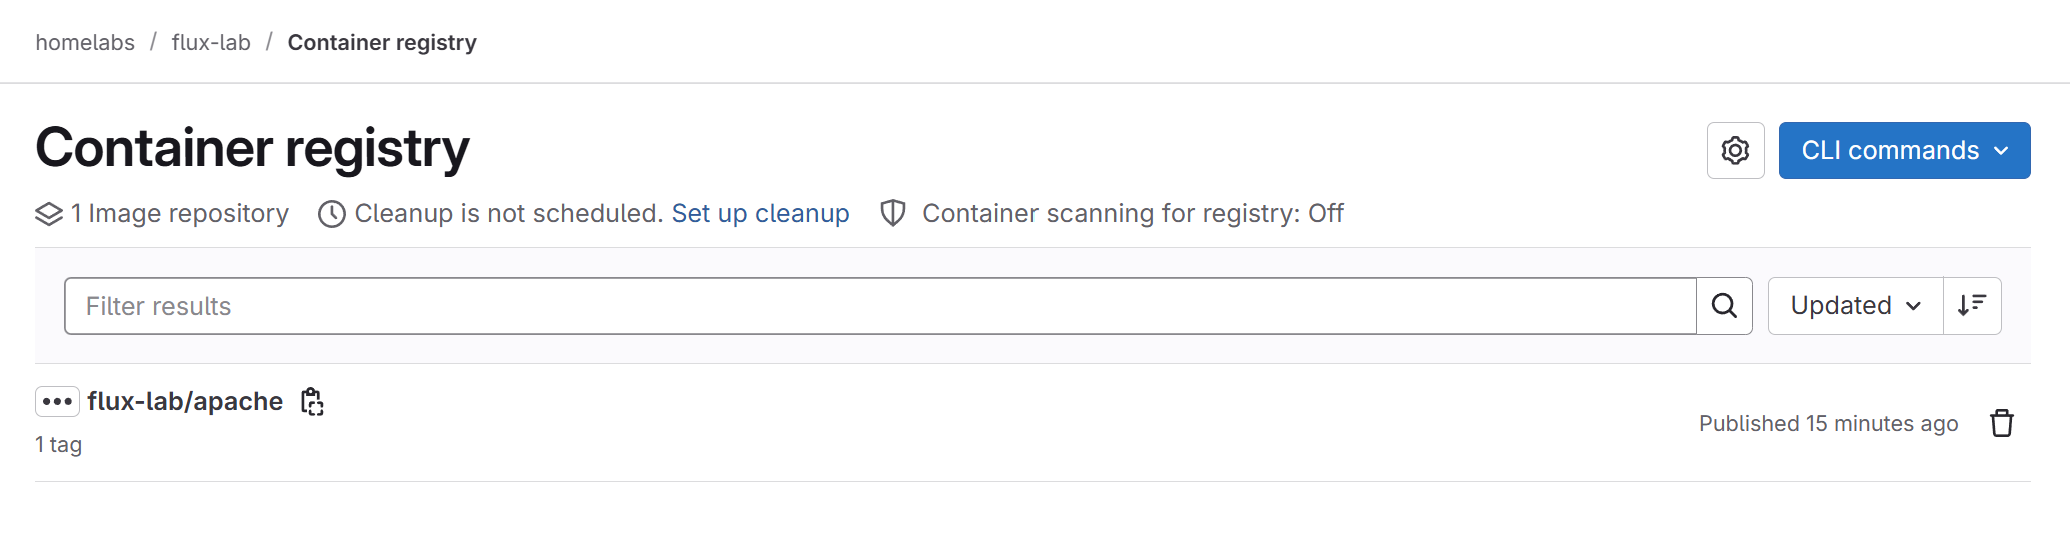
Login to AWS --> Amazon ECR. Verify that the repository is created.
Create EKS Cluster with OIDC Enabled
Use eksctl to create an EKS cluster where pods can use IAM roles. Make sure to enable OIDC to allow IAM roles for service accounts
eksctl create cluster \
  --name dev-flux \
  --region ap-southeast-1 \
  --version auto \
  --nodegroup-name dev-ngroup \
  --node-type t3.large \
  --nodes 1 \
  --nodes-min 1 \
  --nodes-max 2 \
  --managed \
  --with-oidc
Login to AWS --> Amazon Elastic Kubernetes Service. Verify that the cluster is created.
Click the cluster and locate the API server endpoint. Copy the OIDC ID.
For example:
https://8CC6F95944D3F2C4618CB7758EC104EA.gr7.ap-southeast-1.eks.amazonaws.com
Here, the OIDC ID is:
8CC6F95944D3F2C4618CB7758EC104EA
Set Up Trust Policy and IAM Role
We need to create a trust policy so that AWS knows which pod can assume a specific IAM role.
- Create a JSON file called
trust-policy.json - Replace
ACCOUNT_IDandCLUSTER_NAMEin the policy - Trust the
source-controllerservice account influx-system
This trust allows the FluxCD controller to use the IAM role to access ECR.
{
  "Version": "2012-10-17",
  "Statement": [
    {
      "Effect": "Allow",
      "Principal": {
        "Federated": "arn:aws:iam::<ACCOUNT_ID>:oidc-provider/oidc.eks.<REGION>.amazonaws.com/id/<OIDC_ID>"
      },
      "Action": "sts:AssumeRoleWithWebIdentity",
      "Condition": {
        "StringEquals": {
          "oidc.eks.<REGION>.amazonaws.com/id/<OIDC_ID>:sub": "system:serviceaccount:flux-system:source-controller"
        }
      }
    }
  ]
}
The sub is the subject of the OIDC token. It identifies the Kubernetes service account that is allowed to assume the role.
The aud is the audience field of the token. AWS expects this to be sts.amazonaws.com , indicating that the token is intended to be used with the AWS Security Token Service (STS).
Next, create the actual IAM role and attach a `AmazonEC2ContainerRegistryReadOnly policy to allow ECR read access. This policy gives the controller permission to read from the private ECR repository.
# Create the role
aws iam create-role \
  --role-name FluxCDECR \
  --assume-role-policy-document file://trust-policy.json

# Attach read-only access to ECR
aws iam attach-role-policy \
  --role-name FluxCDECR \
  --policy-arn arn:aws:iam::aws:policy/AmazonEC2ContainerRegistryReadOnly

# Copy the role ARN for later (output includes Role.Arn)
Login to AWS --> IAM --> Roles --> Find FluxCDECR and copy the ARN:
arn:aws:iam::123456789000:role/FluxCDECR
Create Flux Config Files
Back on your terminal, create the required empty files - Flux will fill them later.
cd clusters/eks/flux-system
touch gotk-components.yaml gotk-sync.yaml kustomization.yaml
Edit the kustomization.yaml. This tells Flux where to find the config files.
## clusters/eks/flux-system/kustomization.yaml
apiVersion: kustomize.config.k8s.io/v1beta1
kind: Kustomization
resources:
- gotk-components.yaml
- gotk-sync.yaml
Save the files to Git.
git add .
git commit -m "Created kustomization files"
git push
Only the customization file has content. Flux will update the rest.
Install FluxCD on EKS
Make sure to go through the pre-requisites to setup the Git repository.
On your terminal, go to the directory of your Git repository. Switch to your local repository and ensure you're on the main branch with the latest updates:
git checkout main
git pull
To install FluxCD on your EKS cluster, export your Git token and run the flux bootstrap command. You don’t need to manually access the cluster, Flux will handle the setup remotely.
export GITLAB_TOKEN=<your-token>

## Replace owner ID
flux bootstrap gitlab \
--owner=josemanuelitoeden \
--repository=labs-flux \
--branch=main \
--path=clusters/eks \
--token-auth \
--personal
Flux installs the required controllers and CRDs into your EKS cluster and stores configuration files in the flux-system directory. To confirm that everything is set up correctly, you can check the running pods. But before doing that, ensure you're connected to the correct Kubernetes cluster (if you have multiple clusters) by running the command below. The cluster with an asterisk (*) under the CURRENT column is the one you're connected to.
$ kubectl config get-contexts
CURRENT   NAME                                           CLUSTER                             AUTHINFO                                       NAMESPACE
*         user@dev-flux.ap-southeast-1.eksctl.io   dev-flux.ap-southeast-1.eksctl.io   user@dev-flux.ap-southeast-1.eksctl.io
Check if the Flux pods are created.
$ kubectl get pods -n flux-system
NAME                                       READY   STATUS    RESTARTS   AGE
helm-controller-5fc6f89467-krklj           1/1     Running   0          3h55m
kustomize-controller-785d866cb7-lsj78      1/1     Running   0          3h55m
notification-controller-56776fcb98-vw6cc   1/1     Running   0          3h55m
source-controller-6cd558bc58-pv6h6         1/1     Running   0          3h55m
Now do another pull to update your local repository with the changes.
## Ensure you're on main branch
git branch

## Pull
git pull
Annotate the Service Account
To allow Flux to access your ECR repository, add a patch in your kustomization.yaml that attaches the IAM role to the source-controller service account:
## clusters/eks/flux-system/kustomization.yaml
apiVersion: kustomize.config.k8s.io/v1beta1
kind: Kustomization
resources:
  - gotk-components.yaml
  - gotk-sync.yaml
patches:
  - patch: |
      apiVersion: v1
      kind: ServiceAccount
      metadata:
        name: source-controller
        annotations:
          eks.amazonaws.com/role-arn: "arn:aws:iam::<ACCOUNT_ID>:role/FluxCDECR"
    target:
      kind: ServiceAccount
      name: source-controller
Commit and push the changes:
git add -A
git commit -m "Add IAM role annotation to FluxCD service account"
git push
To apply the changes immediately, manually trigger a reconciliation:
flux reconcile kustomization flux-system --with-source
Push a Helm Chart to ECR
As a test, create a new chart and package it:
cd charts
helm create apache

cd apache
helm package apache
Authenticate with ECR:
aws ecr get-login-password --region Pap-southeast-1 \
  | docker login --username AWS --password-stdin <ACCOUNT_ID>.dkr.ecr.ap-southeast-1.amazonaws.com
Push the chart:
helm push apache-0.1.0.tgz oci://<ACCOUNT_ID>.dkr.ecr.ap-southeast-1.amazonaws.com
The Helm chart is now stored in private ECR repo, ready to be pulled by FluxCD.
Create HelmRepository and HelmRelease
As good practice, create a new branch in your repository:
git checkout -b ecr
To tell FluxCD where to find your chart and how to deploy it, create two YAML files below:
# clusters/eks/helm-repos-ecr/apache-repo.yaml
apiVersion: source.toolkit.fluxcd.io/v1beta2
kind: HelmRepository
metadata:
  name: apache-repo
  namespace: default
spec:
  type: oci
  provider: aws
  interval: 5m0s
  url: oci://<ACCOUNT_ID>.dkr.ecr.ap-southeast-1.amazonaws.com
# clusters/eks/helm-repos-ecr/apache-release.yaml
apiVersion: helm.toolkit.fluxcd.io/v2beta1
kind: HelmRelease
metadata:
  name: apache-release
  namespace: default
spec:
  interval: 5m
  chart:
    spec:
      interval: 1m
      chart: apache
      version: "0.1.0"
      sourceRef:
        kind: HelmRepository
        name: apache-repo
        namespace: default
Commit and push these files.
git add -A
git commit -m "Adds the ECR repository and the Apache Helm release"
git push --set-upstream origin ecr
After pushing, merge the changes to the main branch. Since we are using Gitlab in this setup, login to the Gitlab UI and go to the repository. We should see a Create merge request at the top. Click it and provide a title and description to the merge request in the next step.
In a typical team setting, developers create merge requests which are then reviewed and approved by other team members. For this lab, you can go ahead and click Approve and Merge directly.
Deploy and Verify Helm Release
Apply changes and confirm everything is running.
# Force reconciliation
flux reconcile kustomization flux-system --with-source

# Verify setup


kubectl get helmrepository -n flux-system
# NAME    URL                                                    READY  STATUS
# apache  oci://<ACCOUNT_ID>.dkr.ecr.ap-southeast-1.amazonaws.com  True

kubectl get helmrelease -n default
# NAME     READY  STATUS   REVISION
# apache   True   Deployed 1

kubectl get pods -n default
# NAME                     READY  STATUS   RESTARTS  AGE
# apache-5d9f5d6c5b-abcde  1/1    Running  0         2m
This confirms FluxCD has deployed your chart from ECR to EKS.
Cleanup
Delete the EKS Cluster
Once we're done with the lab, we need to delete the EKS cluster:
eksctl delete cluster --name <cluster-name> --region <region>
Delete the IAM Role
To delete the IAM role, list all managed policies attached to the role:
aws iam list-attached-role-policies --role-name FluxCDECR
Then detach the policy:
aws iam detach-role-policy --role-name FluxCDECR --policy-arn <policy-arn>
Verify that the policy has been detached:s
$ aws iam list-attached-role-policies --role-name FluxCDECR
{
    "AttachedPolicies": []
}
Finally, delete the role.
aws iam delete-role --role-name FluxCDECR
Troubleshooting
Uninstall Flux
To uninstall Flux from your EKS cluster and remove the GitOps setup created via flux bootstrap, follow these steps:
-
Suspend Reconciliation
This stops Flux from making further changes to your cluster from the Git repo:
flux suspend kustomization flux-system -
Delete Flux Resources
Remove all Flux-related Kubernetes resources from your cluster:
kubectl delete -k ./clusters/eksIf you get the
unable to finderror, you need to target the actual directories that have akustomization.yaml:kubectl delete -k ./clusters/eks/flux-systemkubectl delete -k ./clusters/eks/helm-repos-ecr -
Delete the
flux-systemNamespaceAfter resources are removed, delete the namespace:
kubectl delete namespace flux-system -
(Optional) Clean Up Git Repository
Delete the
clusters/eksdirectory and theflux-systemfolder from your GitLab repo if you don’t need them anymore.
Note: There's another way to remove flux-system from the cluster:
-
Uninstall Flux from the cluster
This removes the Flux components from Kubernetes:
flux uninstall --namespace=flux-system --silentkubectl delete namespace flux-system⚠️ If the uninstall hangs or the namespace lingers, use:
kubectl delete ns flux-system --grace-period=0 --force -
Delete the
flux-systemfolder in GitIf you're using
clusters/eks/flux-system, remove it:rm -rf clusters/eks/flux-systemgit add .git commit -m "Remove old flux-system to prepare for fresh bootstrap"git pushThis ensures that your next
flux bootstrapdoesn’t reuse broken or empty files.