Amazon Web Services (AWS)
AWS Account
To sign-up for an AWS Free tier account, click here.
AWS CLI
If you've installed AWS CLI before then there is a chance that you're using the version 1. You can do either of the following:
To install AWS CLI, check out the official AWS Installation Guide for AWS CLI v2
-
Install AWS CLI.
curl "https://awscli.amazonaws.com/awscli-exe-linux-x86_64.zip" -o "awscliv2.zip"unzip awscliv2.zipsudo ./aws/install -
Verify AWS CLI installation.
$ aws --versionaws-cli/2.19.1 Python/3.12.6 Linux/5.15.153.1-microsoft-standard-WSL2 exe/x86_64.ubuntu.22
AWS SAM CLI
Reference: Getting started with AWS Serverless
-
Download the AWS SAM CLI file.
-
To copy files from your local computer to the Linux machine, user SCP. Make sure to specify the keypair for the Linux machine.
scp -i /path/to/key.pem file.txt username@<host-ip>:/tmp/ -
Login to your Linux machine and unzip the AWS SAM file and install.
unzip aws-sam-cli-linux-x86_64.zip -d sam-installationsudo ./sam-installation/install -
Verify installation.
$ sam --versionOutput:
SAM CLI, version 1.127.0
Create the Service-linked Role
To create a service-linked role:
- Log-in to your AWS Management Console and go to IAM dashboard.
- in the left menu, click Roles > Create Role
- In the Select trusted entity page, choose AWS Service.
- In the Use cases for other AWS services, type EKS.
- Select the EKS (Allow EKS to manage clusters in your behalf) then click Next > Next
- In the Name, review, and create step, git it a name: EKSServiceRole click Create role.
Back at the Roles page, click the role you just created to show the details. Copy the ARN. We'll be using it in the IAM Policy next.
arn:aws:iam::1234567890:role/aws-service-role/eks.amazonaws.com/AWSServiceRoleForAmazonEKS
Keypairs
Refer to the links below.
For the keypair, store it inside ~/.ssh directory.
For the IAM User and Group, make sure to add the user to the group. Sample values:
- IAM User: k8s-admin
- IAM Group: k8s-lab
While you can attach the EKSFullAccess policy to your user, you can also give it the AdministratorAccess. Once you've created the k8s-admin, log-in to the AWS Management Console using this IAM user.
IAM Policy
The IAM Policy required will differ based on the purpose of the user. Make sure the set the policy with only the required permissions.
For this example, we'll create the EKSFullAccess policy that allows us access to EKS and ECR.
- Go to IAM console.
- In the left panel, click Policies.
- Click Create Policy.
- Choose the JSON tab and paste the EKSFullAccess policy.
- Click Review Policy.
- Give the policy the name and description.
- Finally, click Create Policy.
IAM User
Create a user in IAM and provide it with the necessary permissions. For testing purposes, you can provide it administrator access for now but note that limited permissions should always be provided to IAM users.
IAM user > Create user > Enter user name > Next > Next > Create User
You associate the IAM policy directly to the IAM user by choosing Attach existing policies directly.
IAM Group
The IAM Group name may differ based on the purpose of the user.
For EKS Labs: Create the k8s-lab group.
-
Go to IAM console.
-
In the left panel, click User Groups.
-
Click Create group
-
Give it a user group name: k8s-lab
-
Scroll below to the Attach User section. Choose "k8s-admin" and the current user you're signed in to.
-
Scroll below to the Attach permission policies.
-
Filter and add the following policy.
AmazonEC2FullAccessAmazonEKSClusterPolicyAmazonEKSWorkerNodePolicyAmazonS3FullAccessAmazonSNSReadOnlyAccess(for CloudFormation)AmazonEKSServicePolicyAWSCloudFormationFullAccess
-
Finally, click Create group.
-
You may add the new user to this group.
Note: You may encounter some issue when using this user with limited IAM permissions. As a workaround, you can attach the AdministratorAccess to the user.
Access Keys
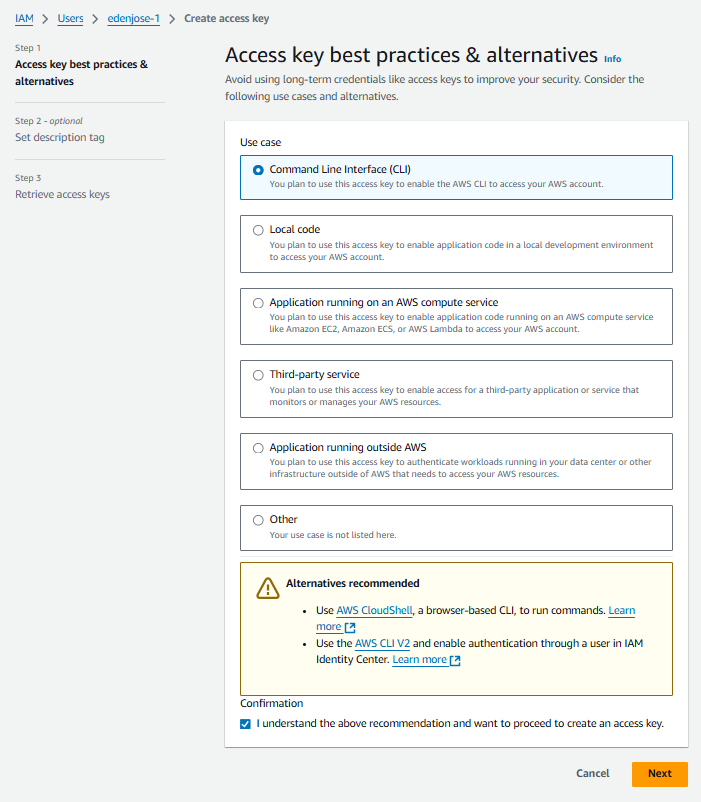
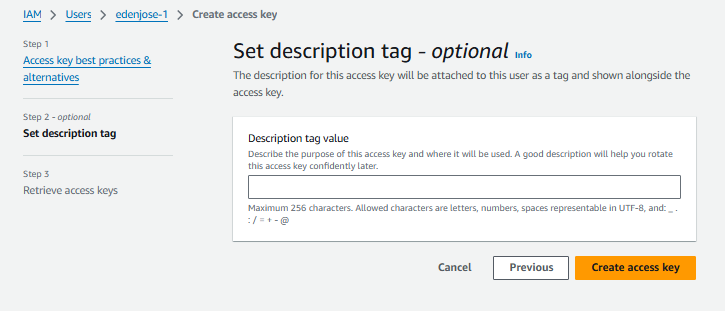
Select your user and go to Security credentials and then under Access keys, click Create access key. Select CLI for use case and chekc the confirmation statement at the bottom. Click Next and then Create Access key.
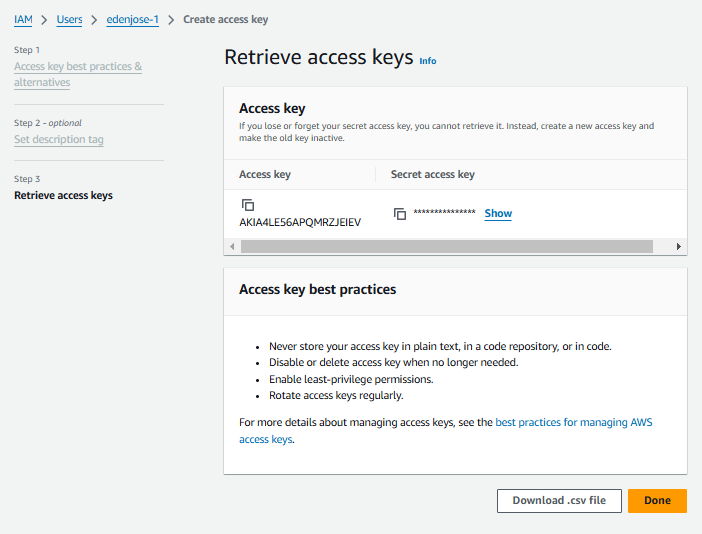
In the Retrieve access keys, click Show to see the secret access key. This is the only time the secreat access key will be shown. Make sure to note it down. Click Done.
Configure your AWS CLI
Once you have the access keys, you can save them in your AWS CLI by running:
aws configure
Enter the access key and secret access key. You can change the region to other AWS regions.
AWS Access Key ID [None]: AKIA123ABCD45678Z
AWS Secret Access Key [None]: ****************************************
Default region name [None]: ap-southeast-1
Default output format [None]:
Credentials File
In your terminal, configure the .aws/credentials file that's automatically created in your home directory. Supply the access key ID and secret access key which you downloaded in the previous step.
vim ~/.aws/credentials
# /home/user/.aws/credentials

[k8s-admin]
aws_access_key_id = AKIAxxxxxxxxxxxxxxxxxxx
aws_secret_access_key = ABCDXXXXXXXXXXXXXXXXXXXXXXX
region = ap-southeast-1
output = json
You can use a different profile name. To use the profile, export it as a variable.
export AWS_PROFILE=k8s-admin
To verify, we can run the commands below:
aws configure list
aws sts get-caller-identity
Although the region is already set in the profile, we'll also be using the region in many of the commands. We can save it as a variable.
export AWS_REGION=ap-southeast-1