Lab: Operations
Overview
This lab focuses on managing Traefik health checks, securing the dashboard and API, and enabling TLS with DNS challenge certificates.
- Enable CLI-based health check
- Enable ping health endpoint
- Secure dashboard and API with TLS
- Deploy on a cloud platform with DNS challenge for certificates
These steps ensure Traefik is monitored, secure, and ready for production traffic.
Pre-requisites
Setup a Public Cloud VM
It is recommended to perform this lab on a a VM with a public IP because you need to open port 80 to the internet.
- DNS must point to the VM’s public IP
- Let’s Encrypt can verify via HTTP without issues
If you do this lab in a local Windows machine with a private LAN IP (192.168.x.x), you can open firewall ports 80 and 443. However, this won’t work if your router or network blocks or doesn’t forward that traffic.
You can create a public VM on:
Make sure your EC2 security group allows inbound TCP traffic on:
- Port 80 (HTTP)
- Port 443 (HTTPS)
- Port 8080 (Traefik dashboard)
After launching your VM, install the necessary tools.
# Install Git
sudo yum update -y && sudo yum install -y git

# Install Docker
sudo amazon-linux-extras enable docker
sudo yum install -y docker

# Start Docker service
sudo systemctl enable --now docker && sudo systemctl status docker

# Configure Docker
sudo usermod -aG docker ec2-user && newgrp docker

# Install Docker compsoe
sudo curl -L "https://github.com/docker/compose/releases/download/v2.20.2/docker-compose-$(uname -s)-$(uname -m)" -o /usr/local/bin/docker-compose

# Configure permission
sudo chmod +x /usr/local/bin/docker-compose && docker-compose --version

# Initialize Docker Swarm (needed for docker stack deploy):
docker swarm init
Prepare your Domain
Before enabling HTTPS in Traefik:
- Have a domain name ready
- Set DNS records with a supported DNS provider
- See Traefik DNS Providers
For example, my setup uses:
- Domain from Namecheap
- DNS hosted on DigitalOcean
After getting a domain, update its registrar settings so it points to your chosen DNS provider. If you're also using DigitalOcean, you can follow the steps here: Adding a Domain in DigitalOcean
NOTE: Make sure your domain is fully set up and pointing to your server before proceeding with the labs. Propagation can take up to 24–48 hours, sometimes longer depending on the registrar and TLD.
To verify, you can run:
dig NS yourdomain.com
dig A yourdomain.com
Example output for DigitalOcean:
yourdomain.com. 1800 IN NS ns1.digitalocean.com.
yourdomain.com. 1800 IN NS ns2.digitalocean.com.
yourdomain.com. 1800 IN NS ns3.digitalocean.com.
yourdomain.com. 300  IN A  192.0.2.123
Set Up DNS Records
Once you've changed your domain’s nameservers to your DNS provider, the next step is to add your DNS records there.
Here are the DNS records I used. You can copy them but make sure to replace with your own domain details.
| Type | Hostname | Value | TTL (seconds) |
|---|---|---|---|
| A | *.joeden.site | points to 34.201.50.100 | 30 |
| A | www.joeden.site | points to 34.201.50.100 | 30 |
| A | dashboard.joeden.site | points to 34.201.50.100 | 30 |
| A | joeden.site | points to 34.201.50.100 | 30 |
The IP 34.201.50.100 is my test machine's public IP. Point the DNS records to your machine's public IP.
The dashboard.joeden.site is used to access the Traefik dashboard.
You can also use shorthand names since they mean the same:
| Type | Hostname | Value | TTL (seconds) |
|---|---|---|---|
| A | *.joeden.site | points to 34.201.50.100 | 30 |
| A | www | points to 34.201.50.100 | 30 |
| A | dashboard | points to 34.201.50.100 | 30 |
| A | @ | points to 34.201.50.100 | 30 |
If you set this up in DigitalOcean, your DNS records should look like this:
| Type | Hostname | Value | TTL (seconds) |
|---|---|---|---|
| NS | joeden.site | points to ns1.digitalocean.com | 30 |
| NS | joeden.site | points to ns2.digitalocean.com | 30 |
| NS | joeden.site | points to ns3.digitalocean.com | 30 |
| A | *.joeden.site | points to 34.201.50.100 | 30 |
| A | www.joeden.site | points to 34.201.50.100 | 30 |
| A | dashboard.joeden.site | points to 34.201.50.100 | 30 |
| A | joeden.site | points to 34.201.50.100 | 30 |
Clone the Repository
Github repo: joseeden/labs-traefik
Login to the public cloud VM and clone the project repository from GitHub.
git clone https://github.com/joseeden/labs-traefik.git
cd labs-traefik/07-operations/02-health-checks
Project structure:
07-operations
└── 02-health-checks
    ├── .env
    ├── .gitignore
    ├── docker-compose.cli.yml
    ├── traefik.dns.yml
    ├── usersfile
    └── letsencrypt
        └── test
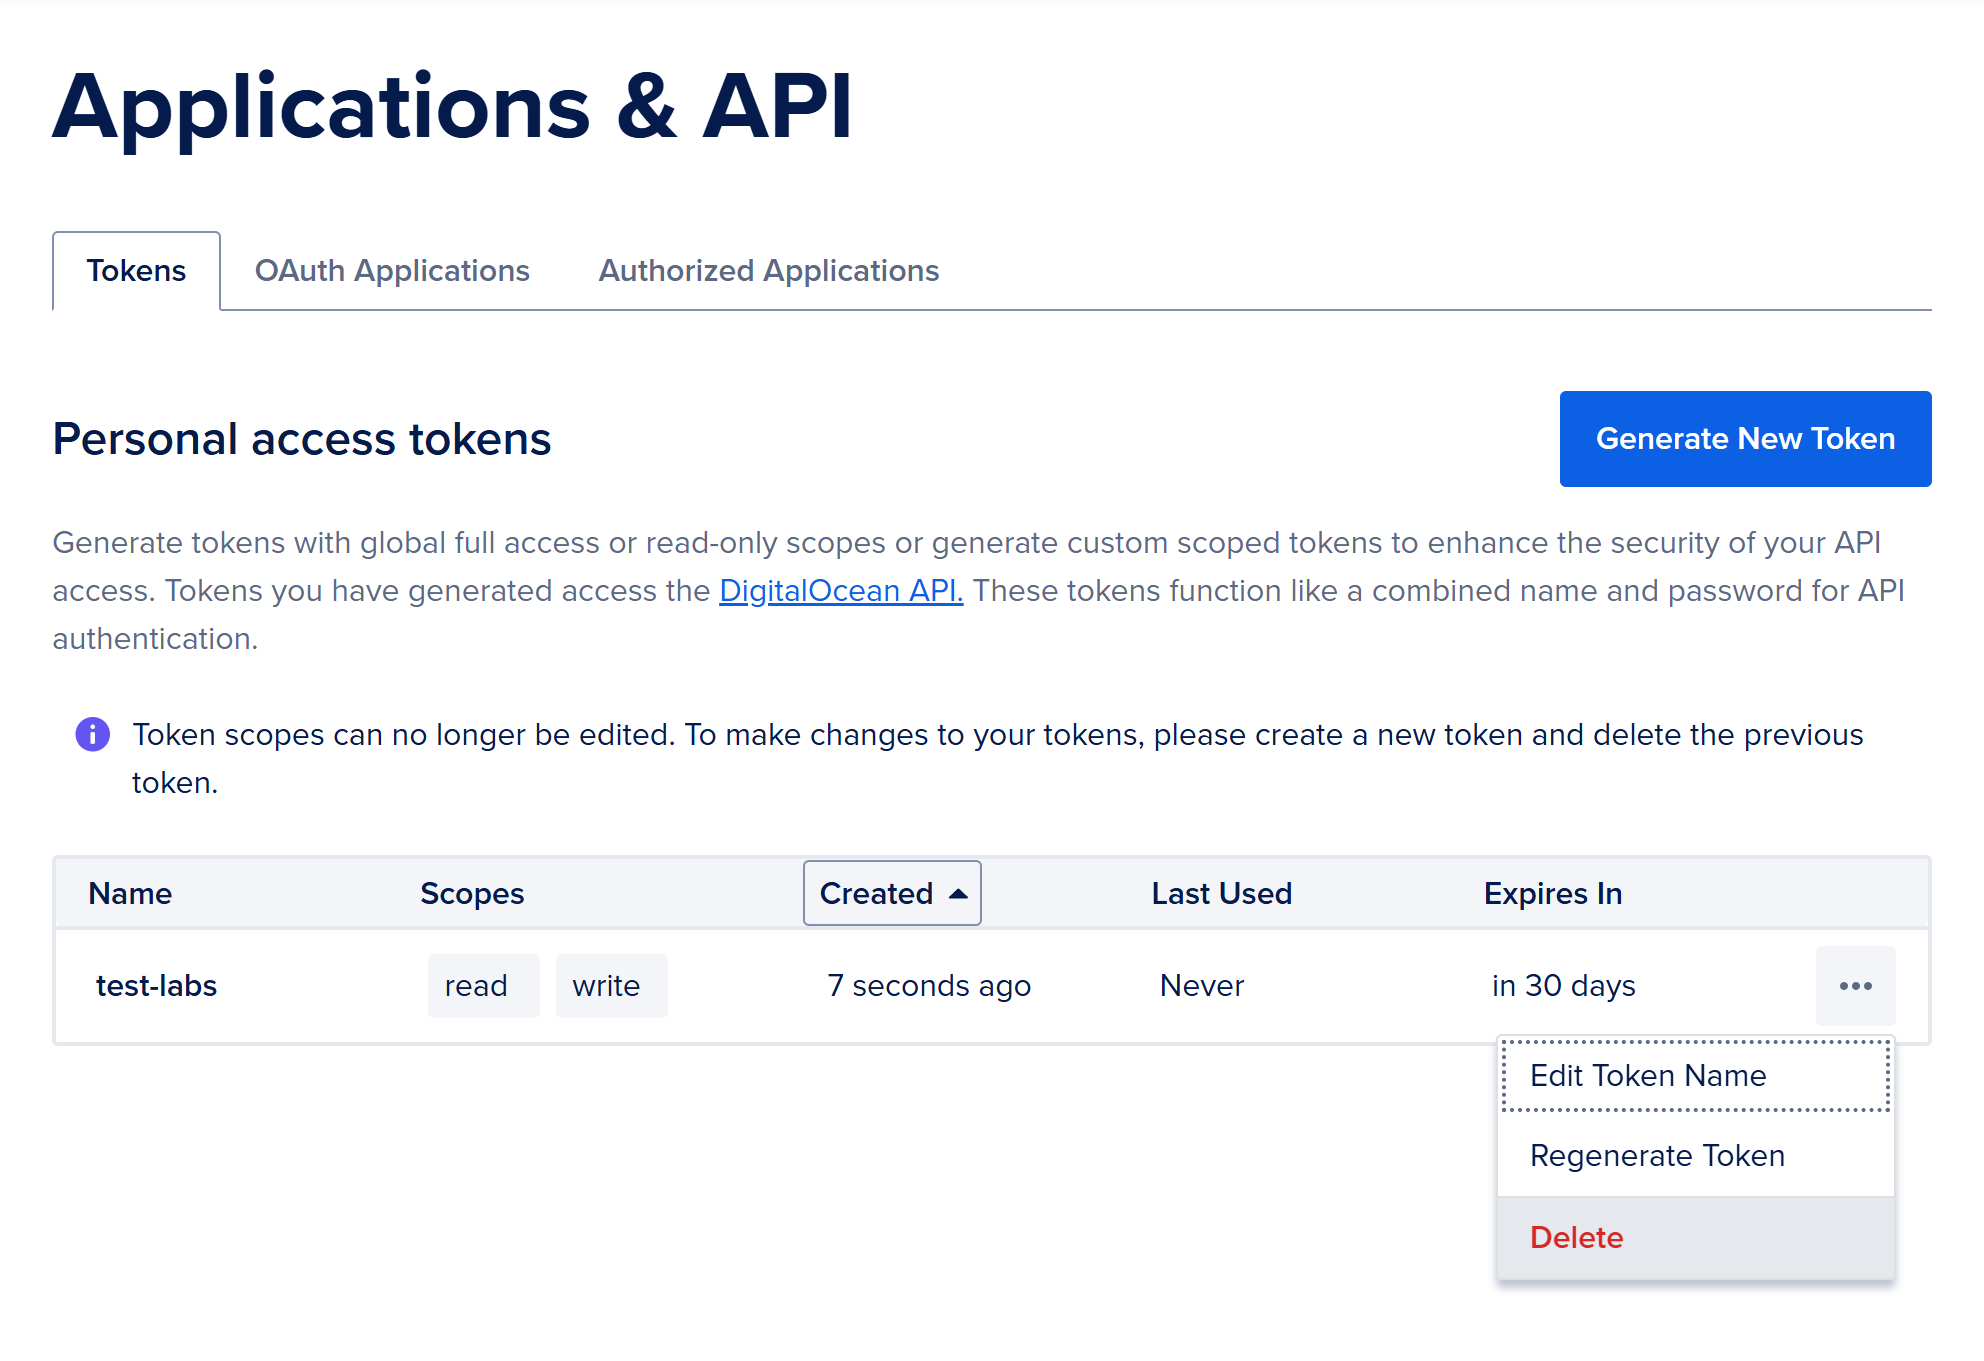
Create an API Token
To allow Traefik to update DNS records automatically, you’ll need a token from your DNS provider. In my setup, I'm using DigitalOcean as my DNS provider.
- Go to your DNS provider’s dashboard (e.g., DigitalOcean)
- Generate a new API token with DNS access
- Copy the token. This will be added to the Docker compose
This token is used by Traefik to prove domain ownership via the DNS challenge.
To generate the token in DigitalOcean please see Generate an API Token.
Create the .env file
Once you have the API token, create a .env:
DO_AUTH_TOKEN=your_real_token_here
Creating Passwords
This lab uses basic authentication, so user passwords must be securely stored as hashes in a users file.
To create hashed passwords, install the htpasswd tool:
sudo apt install -y apache2-utils
Here are example user credentials. You can change them as needed:
| Username | Password |
|---|---|
| johnsmith | Thr3@tl3u3lw!dN!QHt |
| janedoe | @Ll!$szM3lLiND@h0oD |
Generate a hash with this command:
htpasswd -nb johnsmith 'Thr3@tl3u3lw!dN!QHt'
The output will look similar to:
johnsmith:$apr1$cipim6NJ$LK11Xtf0t92UvxjKCV8ii0
Repeat this for each user.
Next, create a file called usersfile in the same directory as your Docker Compose file. Add all hashed credentials here, one per line:
johnsmith:$apr1$cipim6NJ$LK11Xtf0t92UvxjKCV8ii0
janedoe:$apr1$t65c7tuF$Qscp40RYl.Tq02pUnSv5r1
Finally, add usersfile to your .gitignore to prevent it from being committed to version control:
echo "usersfile" >> .gitignore
Deploy the Files
First, load your environment variables from the .env file:
set -a
source .env
set +a
Then deploy the Traefik stack:
docker stack deploy -c docker-compose.cli.yml traefik
Output:
Creating network traefik_default
Creating service traefik_traefik
Creating service traefik_catapp
Creating service traefik_error
After deployment, the dashboard and API run securely with TLS enabled, and health checks monitor container status.
Check the Traefik service logs to confirm the TLS certificate was issued successfully:
docker service logs traefik_traefik
Look for messages about the DNS challenge and certificate issuance.
output...
Access the Dashboard
Open the dashboard and, when asked, enter the username and password you created in the usersfile.
https://yourdomain.com/dashboard/
Click the lock icon near the URL to verify the connection is secure. The certificate details should show that Let’s Encrypt issued it.
With secure mode enabled, only authenticated users over HTTPS can access the dashboard and API.
Access the API
You can also query the Traefik API to check services, for example:
https://yourdomain.com/api/http/services
You can also query the Traefik API to check services, for example:
Check Health Status
To see the status of your containers, run this command from the terminal:
docker ps
You’ll see container statuses in the STATUS column. The Traefik container should show as Healthy because health checks are enabled.
add sample output..
To test this, remove and redeploy the stack:
docker stack rm traefik
docker stack deploy -c docker-compose.cli.yml traefik
Then quickly check container status:
watch docker ps
You will see the health status change as containers start and become healthy.
Ping Endpoint
You can check the Traefik ping endpoint with:
http://yourdomain.com:8080/ping
Expected output:
OK
Note: The ping endpoint uses HTTP (not HTTPS) because some monitoring tools may not support HTTPS. You can configure it to use HTTPS if needed.
Cleanup
Remove the deployed stack:
docker stack rm traefik
Delete your .env file:
rm -f .env
Go to your DNS provider and delete the API token.
Finally, remember to delete your public cloud VM to avoid extra charges.