Create the Resources
Overview
This page shows how to set up your environment in Microsoft Azure for the BikeCo case study. You can sign up for a free trial to get started.
Create the Resource Group
Create a resource group where all related resources will be organized.
-
Sign in to Microsoft Azure
-
Go to Resource Groups ➔ Create
-
Enter the following details:
Field Value Subscription Azure Subscription 1 Resource group hcpdatagroup Region (Asia Pacific) Southeast Asia -
Add the following tags:
Key Value Project HCP Group Data Group -
Click Next ➔ Create
Create the Storage Account
Now create a storage account where you’ll store files and data.
-
Go to Storage accounts ➔ Create
-
Enter the following details:
Field Value Subscription Azure Subscription 1 Resource group hcpdatagroup Storage account hcpdevsstore Region (Asia Pacific) Southeast Asia -
Add the same tags:
Key Value Project HCP Group Data Group -
Go to Review + Create, wait for validation
-
Click Create
The storage account may take a few minutes to deploy.
Create the Azure SQL Database
Next, create a SQL database where your structured data will go.
-
Go to SQL databases ➔ Create SQL database
-
Enter the following details:
Field Value Subscription Azure Subscription 1 Resource group hcpdatagroup Database name hcpdevdb Server Create New -
On the Create SQL Database Server page, fill in:
Field Value Server name hcpdevdvsvr Location (Asia Pacific) Southeast Asia Authentication method SQL authentication Admin login hcpdevdbop1 Password (Enter your password) Confirm password (Re-enter your password) -
Back on the main database page:
Field Value Use elastic pool? No Workload environment Development -
Go to Networking and set the following:
Setting Value Connectivity method Public endpoint Allow Azure services to access this server Yes Add current client IP address Yes -
Go to Additional settings and choose:
Setting Value Use existing data Sample
This installs a sample version of the Adventure Works database.
-
Go to Tags and add:
Key Value Project HCP Group Data Group -
Click Review + Create ➔ Create.
Create the Data Factory
Finally, create the Azure Data Factory instance.
-
Go to Data Factories (V2) ➔ Create
-
Enter the following details:
Field Value Subscription Azure Subscription 1 Resource group hcpdatagroup Name hcpdevadf Region Southeast Asia Version V2 -
Click Review + Create ➔ Create.
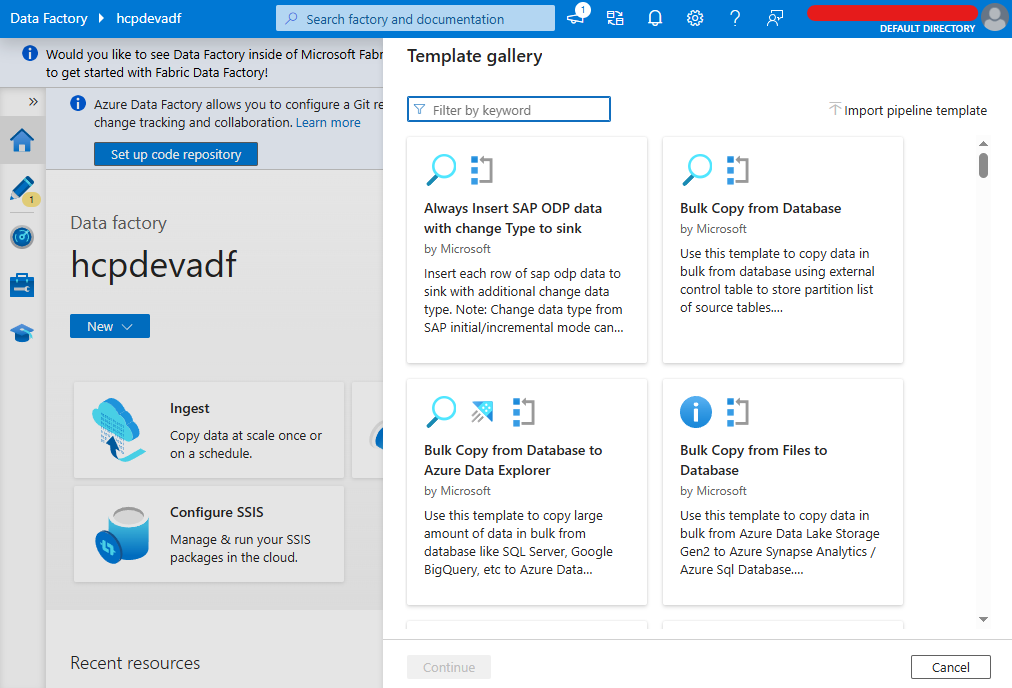
Once the Data Factory is ready, click Launch Studio to open Azure Data Factory Studio in a new tab. You can also open it directly by visiting:
https://adf.azure.com/
Inside ADF Studio, click Pipeline templates to view the built-in templates provided by Azure.
You can also create and save your own custom templates.