Installation
Install PostgreSQL on Windows
-
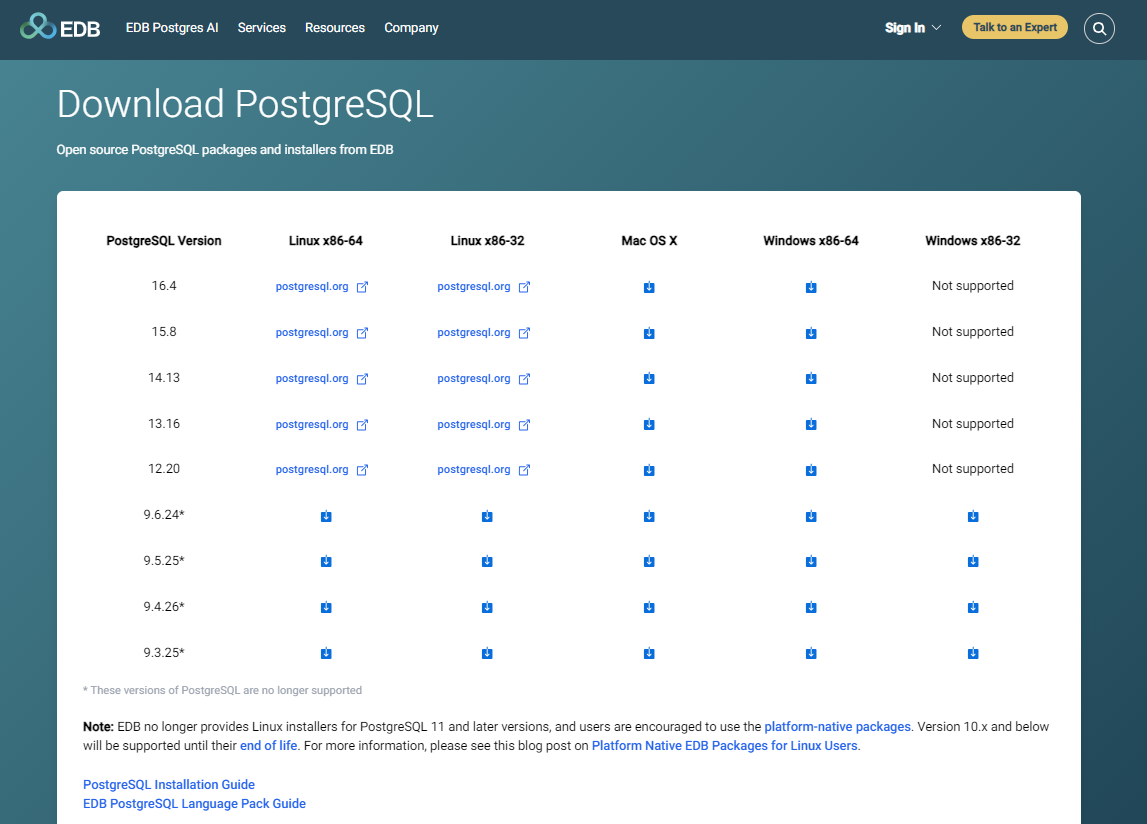
Go to the site Enterprisedb PostgreSQL and download the version that's compatible with your Windows machine. There are installers for both 32-bit and 64-bit systems.
-
If you are unsure if your Windows machine is 32 bit or 64 bit, you can check it in the Settings.
Settings > System > AboutYou should see:
System type: 64-bit operating system, x64-based processor -
Navigate to the location where you downloaded the installer file, right-click, and run as administrator. Select Yes in the UAT Prompt box.
-
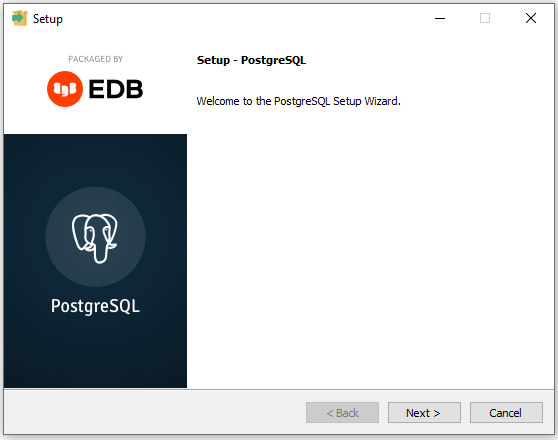
Click Next in the welcome page.
-
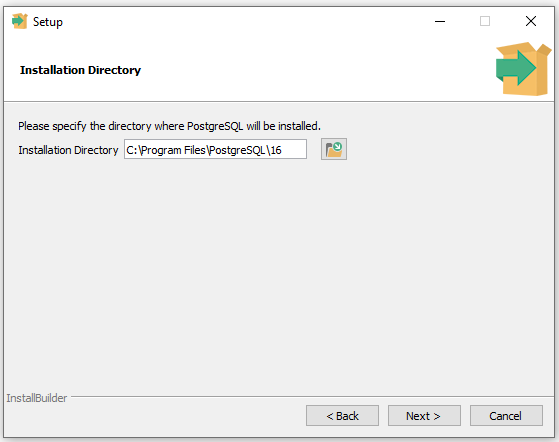
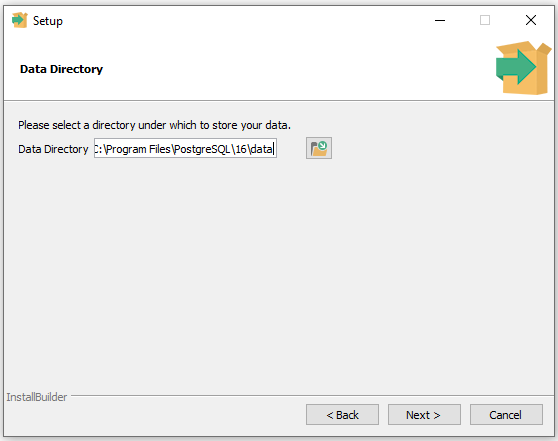
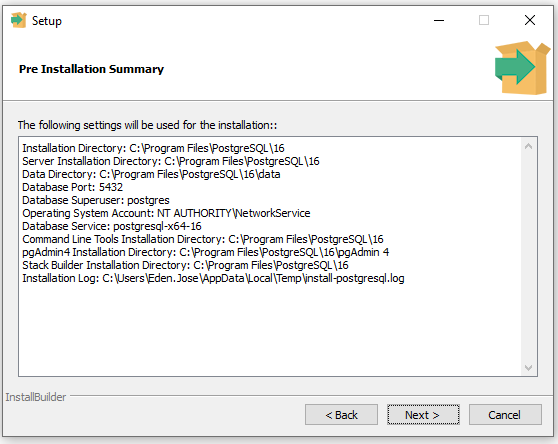
You'll be asked to specify the installation directory where you want to install PostgreSQL and the data directory (you can leave this as default). Click next after each step.
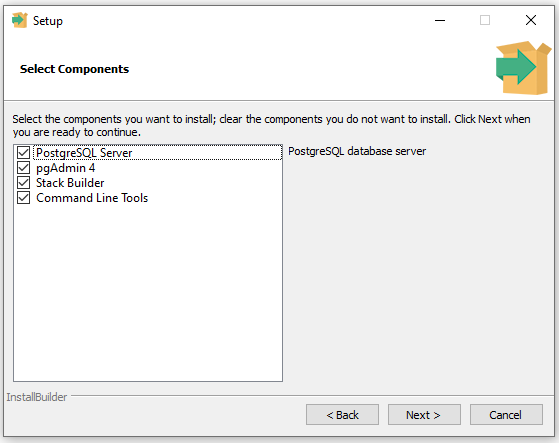
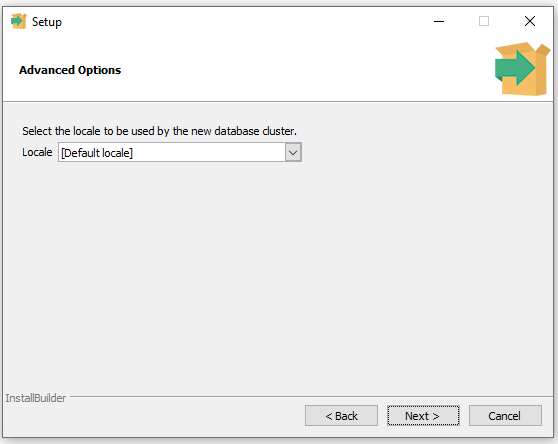
You might also get asked to select the components that you want to install. You can leave it as default.
-
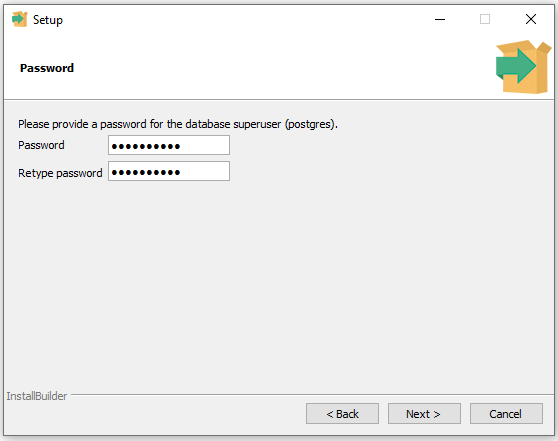
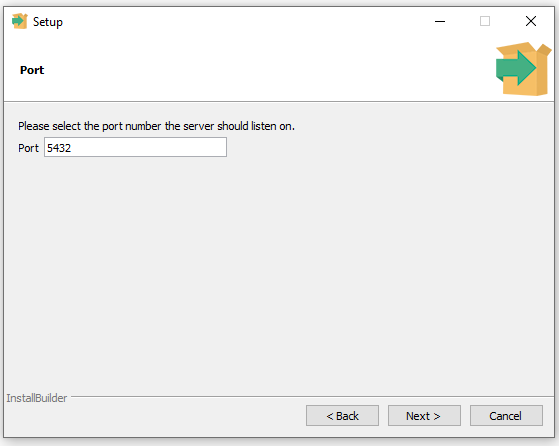
Provide a password to protect your database and click Next. Then specify the port that you want to use. PostgreSQL's services will run on port (default port is 5432).
-
Click Next thrice.
-
After the installation is done, you should see the Completing the PostgreSQL Setup Wizard step. Uncheck the
Launch Builder at exit?and click Finish.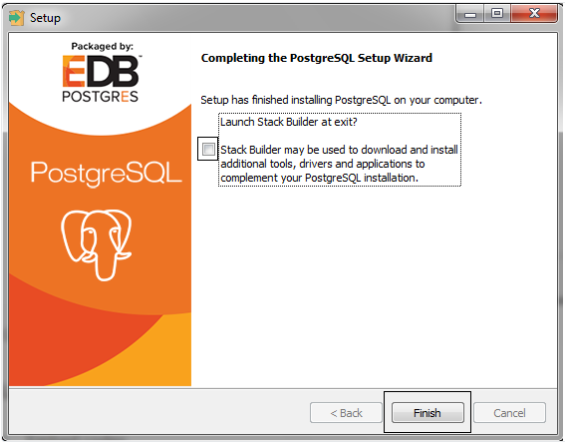
Offline Install on Ubuntu 22.04
Offline install is useful when you need to install PostgreSQL on a server that doesn't have internet access. For the example below, PostgreSQL will be installed on a virtual machine running on VirtualBox.
Virtual machine:
$ cat /etc/os-release

PRETTY_NAME="Ubuntu 22.04.5 LTS"
NAME="Ubuntu"
VERSION_ID="22.04"
VERSION="22.04.5 LTS (Jammy Jellyfish)"
VERSION_CODENAME=jammy
ID=ubuntu
ID_LIKE=debian
HOME_URL="https://www.ubuntu.com/"
SUPPORT_URL="https://help.ubuntu.com/"
BUG_REPORT_URL="https://bugs.launchpad.net/ubuntu/"
PRIVACY_POLICY_URL="https://www.ubuntu.com/legal/terms-and-policies/privacy-policy"
UBUNTU_CODENAME=jammy
Local computer installed with WSL2:
$ cat /etc/os-release

PRETTY_NAME="Ubuntu 22.04.5 LTS"
NAME="Ubuntu"
VERSION_ID="22.04"
VERSION="22.04.5 LTS (Jammy Jellyfish)"
VERSION_CODENAME=jammy
ID=ubuntu
ID_LIKE=debian
HOME_URL="https://www.ubuntu.com/"
SUPPORT_URL="https://help.ubuntu.com/"
BUG_REPORT_URL="https://bugs.launchpad.net/ubuntu/"
PRIVACY_POLICY_URL="https://www.ubuntu.com/legal/terms-and-policies/privacy-policy"
UBUNTU_CODENAME=jammy
Download the Packages
On a computer with internet access:
-
If your system is not configured to use Ubuntu 22.04 repositories, you can add them explicitly.
echo "deb http://archive.ubuntu.com/ubuntu jammy main restricted universe multiverse" | sudo tee /etc/apt/sources.list.d/ubuntu-jammy.listsudo apt update -
Download the PostgreSQL repository key:
wget --quiet -O - https://www.postgresql.org/media/keys/ACCC4CF8.asc | gpg --dearmor > postgresql.gpg -
Move the key to a trusted location:
sudo mv postgresql.gpg /etc/apt/trusted.gpg.d/ -
Add the PostgreSQL repository:
echo "deb http://apt.postgresql.org/pub/repos/apt/ jammy-pgdg main" | sudo tee /etc/apt/sources.list.d/pgdg.list -
Update package lists:
sudo apt update -
Download the PostgreSQL 16 package and its dependencies:
mkdir postgresql-16cd postgresql-16sudo apt-get download postgresql-16 \postgresql-client-16 \postgresql-common libpq5 \libpq5 ssl-cert libjson-perl \libipc-run-perl libio-pty-perl libllvm15 \postgresql-client-common=267.pgdg22.04+1 -
Copy the files to the virtual machine. You can map local folder to a fileshare in you VM.
Install PostgreSQL on Ubuntu
On the airgapped server, switch to root user :
-
Update the system’s default applications and packages.
sudo apt update && sudo apt upgrade -y -
Navigate to the directory containing the
.debfiles. Install all packages usingdpkg.cp -r /mnt/database/postgres* /tmp/postgresql-packagescd /tmp/postgresql-packagessudo dpkg -i *.deb -
If there are any missing dependencies, use
dpkgto list them.sudo apt-get install -f -
Enable and start the service.
sudo systemctl enable --now postgresqlsudo systemctl status postgresql -
Verify version.
$ psql --versionOutput:
psql (PostgreSQL) 16.6 (Ubuntu 16.6-1.pgdg22.04+1) -
PostgreSQL runs under a dedicated system user named
postgres. Switch to this user:sudo -i -u postgres -
Launch the psql command-line interface:
psql -
Set a password for the default
postgressuperuser account:ALTER USER postgres PASSWORD 'your_secure_password';To exit the shell:
\q
Edit the Configuration Files
Two key files determine PostgreSQL's behavior:
postgresql.conf: Controls database server settings.pg_hba.conf: Manages client authentication.
Steps:
-
Find the configuration files, usually under
/etc/postgresql/<version>/main/:sudo find /etc -name postgresql.confsudo find /etc -name pg_hba.conf -
Modify as needed, for example, to change the listening address:
sudo vi /etc/postgresql/<version>/main/postgresql.confSet:
listen_addresses = '0.0.0.0' # Use 127.0.0.1 - only listeni on the local loopback interface. -
Configure client access rules:
sudo vi /etc/postgresql/<version>/main/pg_hba.confCommon settings:
# TYPE DATABASE USER ADDRESS METHODhost all all 127.0.0.1/32 md5host all all 0.0.0.0/0 md5 -
Apply the changes by restarting the service:
sudo systemctl restart postgresql -
Create a new database and a user with appropriate permissions.
sudo -i -u postgrescreatedb mydatabasepsql -
Create a User:
CREATE USER operator WITH PASSWORD 'mypassword';Grant Permissions:
GRANT ALL PRIVILEGES ON DATABASE mydatabase TO operator;Exit the shell:
\q -
Test the Connection from the same machine:
psql -U operator -d mydatabase -h 127.0.0.1
Troubleshooting
No version information available
If you get this error when running systemctl commands, your airgapped Ubuntu system is using an older version of libstdc++.so.6, and the required version GLIBCXX_3.4.29 is missing.
systemctl: /lib/x86_64-linux-gnu/libselinux.so.1: no version information available (required by systemctl)
Solution:
-
Verify the installed version on the airgapped system.
strings /lib/x86_64-linux-gnu/libstdc++.so.6 | grep GLIBCXXLook for
GLIBCXX_3.4.29in the output. If it’s missing, proceed with step 2.GLIBCXX_3.4GLIBCXX_3.4.1GLIBCXX_3.4.2GLIBCXX_3.4.3GLIBCXX_3.4.4GLIBCXX_3.4.5GLIBCXX_3.4.6GLIBCXX_3.4.7GLIBCXX_3.4.8GLIBCXX_3.4.9GLIBCXX_3.4.10GLIBCXX_3.4.11GLIBCXX_3.4.12GLIBCXX_3.4.13GLIBCXX_3.4.14GLIBCXX_3.4.15GLIBCXX_3.4.16GLIBCXX_3.4.17GLIBCXX_3.4.18GLIBCXX_3.4.19GLIBCXX_3.4.20GLIBCXX_3.4.21GLIBCXX_3.4.22GLIBCXX_3.4.23GLIBCXX_3.4.24GLIBCXX_3.4.25GLIBCXX_3.4.26GLIBCXX_3.4.27GLIBCXX_3.4.28GLIBCXX_DEBUG_MESSAGE_LENGTH -
Check the GCC version on the airgapped server:
gcc --versionFor Ubuntu 22.04, you should have at least GCC 11 to support
GLIBCXX_3.4.29.gcc (Ubuntu 11.4.0-1ubuntu1~22.04) 11.4.0Copyright (C) 2021 Free Software Foundation, Inc.This is free software; see the source for copying conditions. There is NOwarranty; not even for MERCHANTABILITY or FITNESS FOR A PARTICULAR PURPOS -
On a machine with internet access, download the necessary GCC or
libstdc++package.sudo apt updatesudo apt-get download gcc-11 ## ignore if GCC-11 already installed.sudo apt-get download libstdc++6 -
Transfer the package to your airgapped server.
-
On the airgapped server, navigate to the directory where the .deb files are stored and install.
sudo dpkg -i libstdc++6*.deb
Connect using SQL Shell
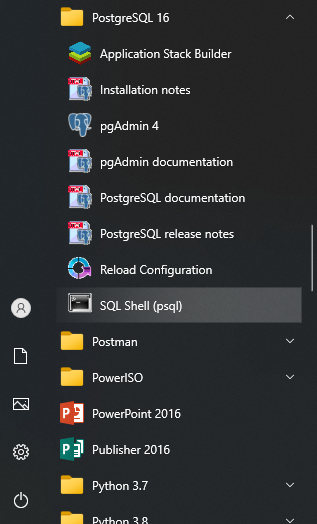
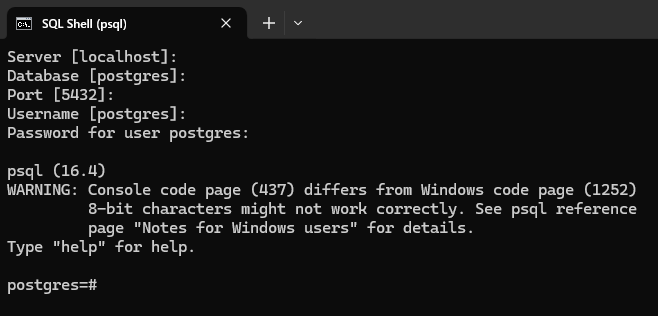
In your Windows machine, search for SQL Shell (psql). Click to open. You should see a terminal similar to your command prompt. If the SQL Shell doesn't appear, simply click Start and find the PostgreSQL folder. Open this folder and click SQL Shell.
If you used the default values during the installation steps, you can simply hit Enter four times and then provide the password for your PostgreSQL database.
Connect using pgAdmin
If you're running PostgreSQL on a virtual machine in VirtualBox, you will need to enable port forwarding to access PostgreSQL from your local computer.
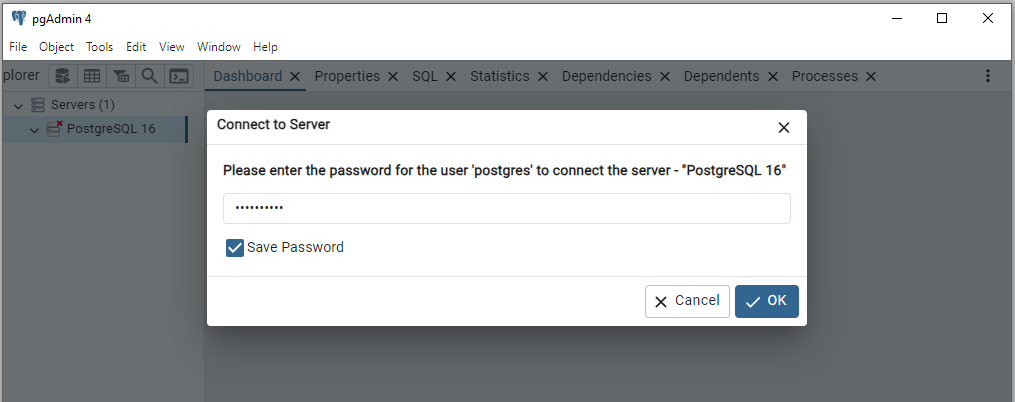
We can also pgAdmin to connect to the PostgreSQL database. Search for pgAdmin and click to open. You should see this:

Provide the password:
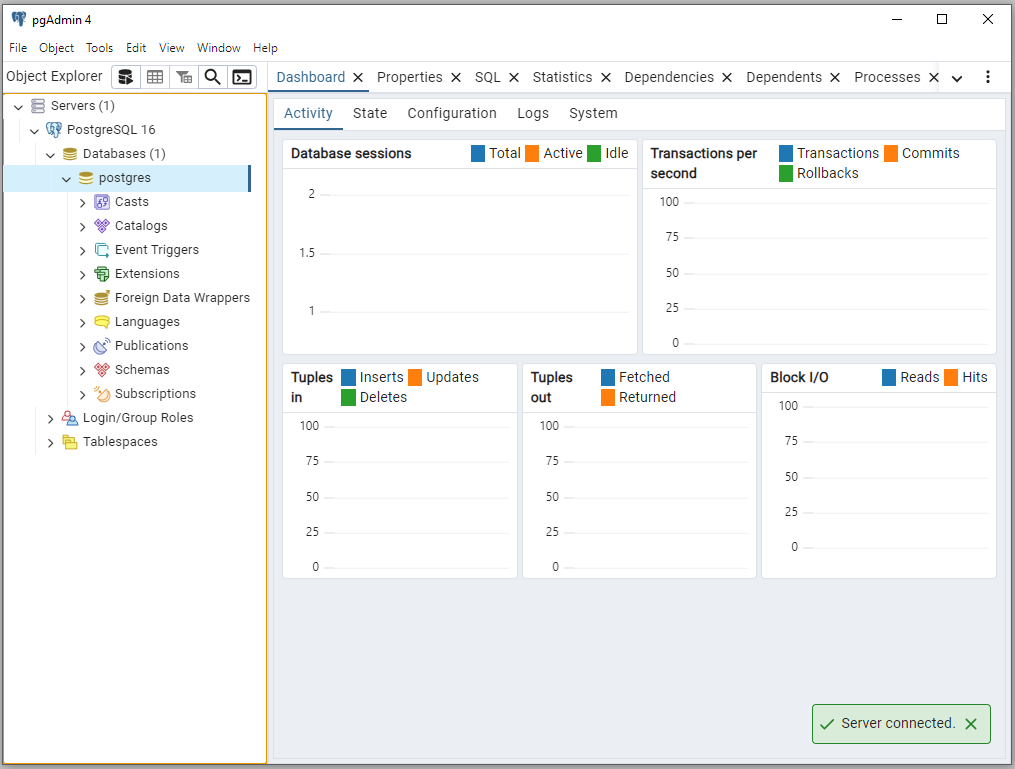
You should see the Server connected message at the bottom.
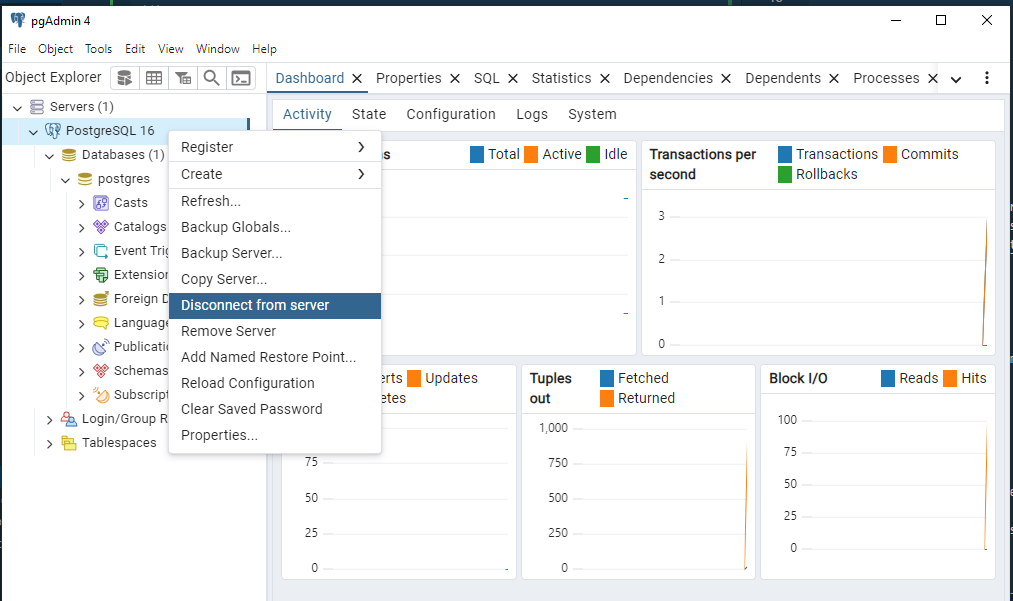
To disconnect from the database, right-click on Postgresql, and click Disconnect from server.