Lab Setup and Installation
First things first, DNS resolution
I added all the servers first to the /etc/hosts file of the tstmaster to enable DNS resolution.
127.0.0.1   localhost localhost.localdomain localhost4 localhost4.localdomain4
::1         localhost localhost.localdomain localhost6 localhost6.localdomain6

# EDEN: Servers
13.251.146.254	  tstsvr1
122.248.203.239   tstsvr2
52.76.189.254	    tstsvr3
54.255.28.202	    tstsvr4
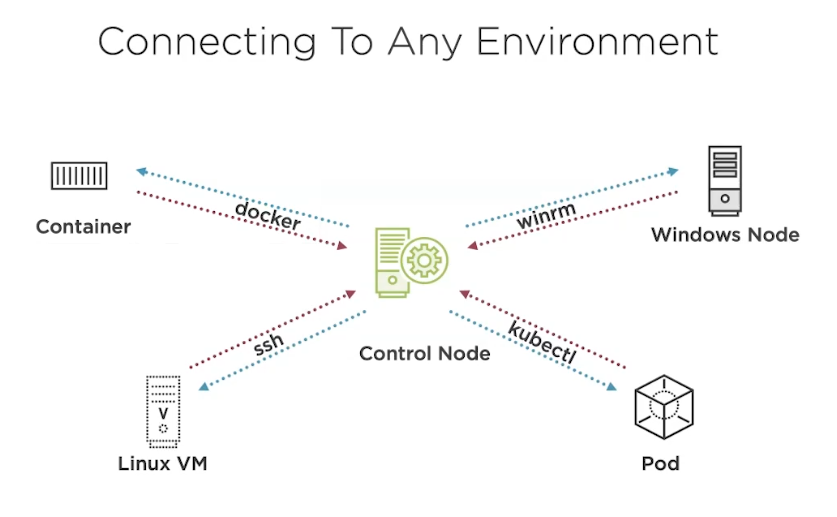
Connecting to different environments
We can use Ansible to connect to different nodes or machines.
Know How to Know
There's a lot to explore about Ansible, which can be found on their official documentation.
Similaarly, we can check the ansible documentation from the commandline by running:
ansible-doc -l
As example, can search for the ping module.
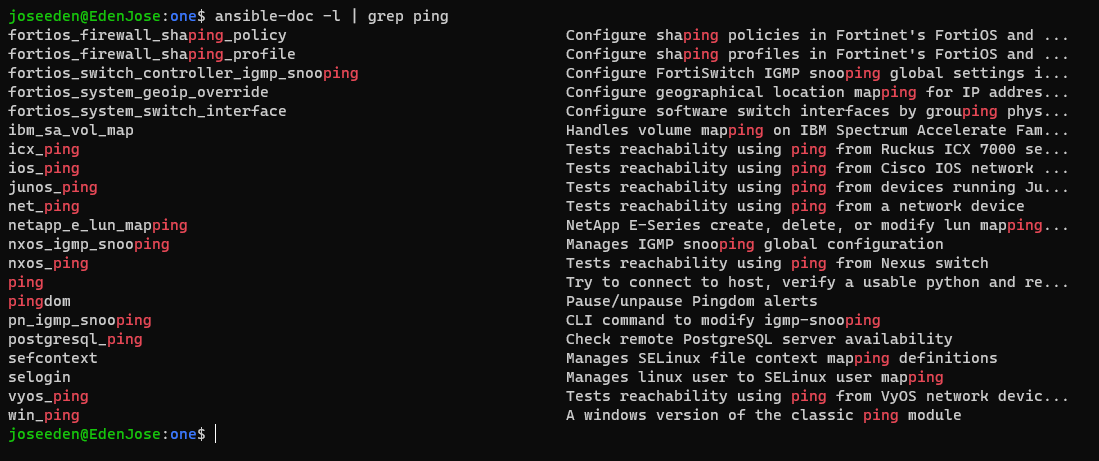
To read about the ping module,
ansible-doc ping
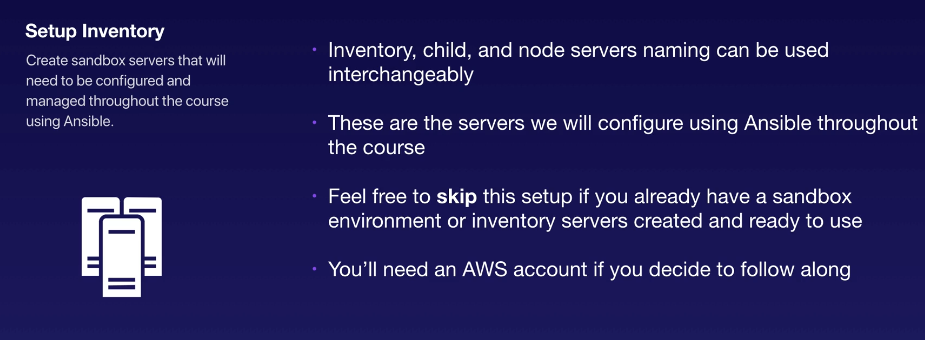
For this setup, I used a CloudFormation template and modified it to launch four EC2 instances. The template is included in this folder.
--
Setting up Ansible Lab
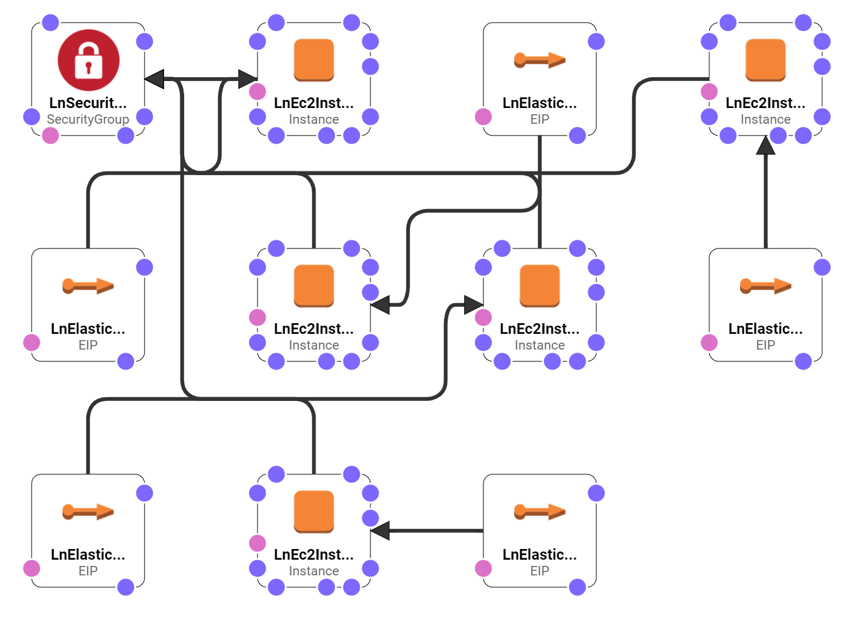
Option 1: Using a Cloudformation Template
This is personally preferred but there's still some requirement because the template will only launch a loadbalancer and four instances which will serve as four web servers. This means the main controller has to be on your laptop or another machine. Since I'm on a Windows laptop, this would mean I have to set it up for Ansible and stuff (which isn't really difficult).
Things to consider:
- Main controller is in a location 'remote' from all the webservers
- This template doesn't setup a VPC so the webservers doesn't actually see each other
- Only the main controller knows that there are a bunch of webservers
- From the servers' point of view, they are standalone
- Also, note that you are limited to 5 Elastic IPs per region, thus you can only launch 4 servers at max
Steps:
Create the stack from Cloudformation menu by uploading the template.

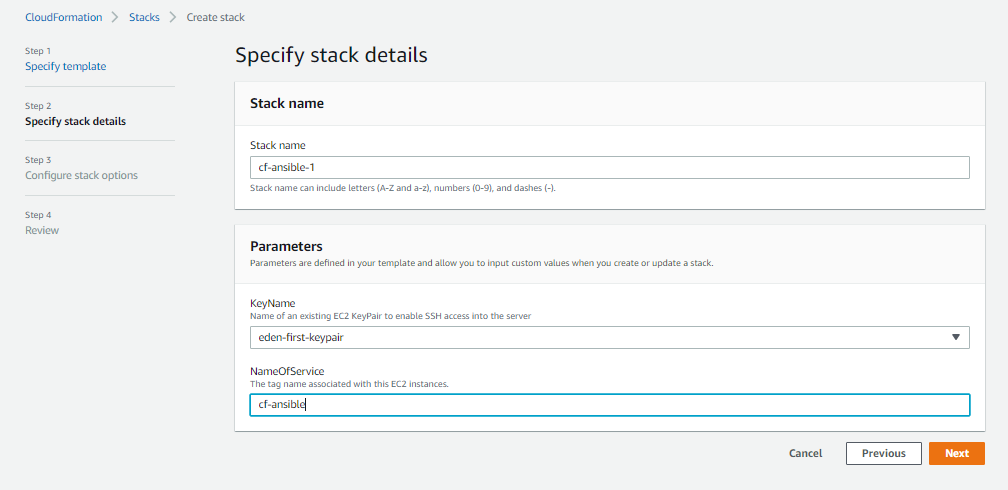
Then provide stack details. Give the stack a name and then provide it a keypair.
For the NameOfService, provide a tag that you want to associate with the instances. This will be appended to the tag for each instance that is specified in the template. Click Next until you reach the last part, and then hit Create stack.
Now we'll just have to wait for Cloudformation to finish provisioning the resources.
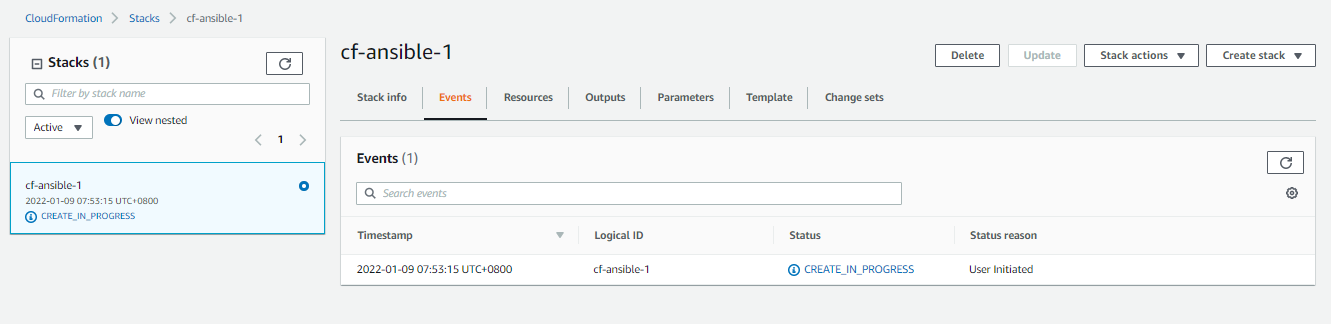
On the stacks menu,

Once done, it should show as complete.

A few reminders
- Cloudformation is generally free, but the resources that it provisions will incur cost
- Make sure to delete the stack when not in use
- There's a limit of 5 Elastic IPs per region
- This is the reason why I only set 4 instances, with 1 loadbalancer
- You may send a request to AWS support to increase your limit
Option 2: Setup all servers + controller locally
You may also launch your own servers locally, either in VirtualBox or VMware Workstation.
Things to consider:
- Since they are running locally, they consume resources
- This means the VMs are bounded by your laptop's resources
- You might need to setup some networking as well
Option 3: Setup all servers + controller in the cloud
Similar with option 3, but this would utilize unbounded resources in the cloud.
Things to consider:
- All servers + the controller will reside on the cloud
- You may opt to use elastic IPs, but remember that there's 5 elastic IPs per region limit
- similarly, you can use the private IP addresses
- this means you will also need to setup the VPC, subnets, gateways, and route table - quite some work
Option 4: Similar to option 3, but through Cloudformation
Of course, it'll be much easier if we can use a readily available template. This approach will let Cloudformation take care of all the setting up of the resources, you just need to upload the template
Things to consider
- This is another preferrable one since everything can be manipulate through the template
- The only thing that would require work is creating the template
- This may seem complicated, but you may check out available templates online
I haven't created a CF template for this approach yet, but there's a ton of resources online. However, this may require you to do some modifications on the template itself.
Option 5: Setting up using a Vagrant file
A Vagrantfile is another option for spinning up a local Ansible environment.
Here, a vagrantfile is used to spin up the environment which can be done even on a Windows machine.
Use this approach when you want repeatable local virtual machines for controller and managed-node testing.
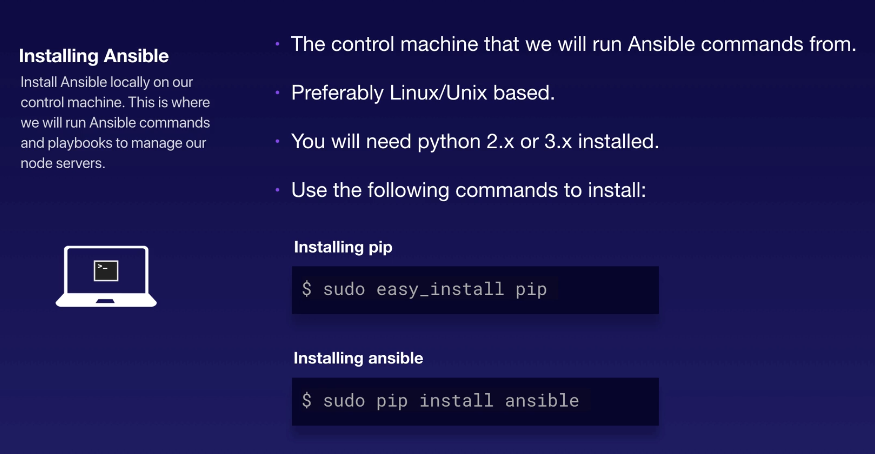
Installing Ansible
For this one, we'll designate our servers as:
| tstmaster | Ansible controller |
|---|---|
| tstsvr1 | server |
| tstsvr2 | server |
| tstsvr3 | server |
| tstsvr4 | server |
We'll be installing ansible on the tstmaster.
# Debian and Ubuntu
sudo yum install ansible -y
sudo dnf install ansible -y

# Debian and Ubuntu
sudo apt install ansible
To see version,
# ansible --version
[DEPRECATION WARNING]: Ansible will require Python 3.8 or newer on the controller starting with Ansible 2.12. Current
version: 3.6.8 (default, Sep  9 2021, 07:49:02) [GCC 8.5.0 20210514 (Red Hat 8.5.0-3)]. This feature will be removed from
ansible-core in version 2.12. Deprecation warnings can be disabled by setting deprecation_warnings=False in ansible.cfg.
ansible [core 2.11.7]
  config file = None
  configured module search path = ['/root/.ansible/plugins/modules', '/usr/share/ansible/plugins/modules']
  ansible python module location = /usr/local/lib/python3.6/site-packages/ansible
  ansible collection location = /root/.ansible/collections:/usr/share/ansible/collections
  executable location = /usr/local/bin/ansible
  python version = 3.6.8 (default, Sep  9 2021, 07:49:02) [GCC 8.5.0 20210514 (Red Hat 8.5.0-3)]
  jinja version = 2.10.