Elastic Cloud
Overview
Elastic Cloud is a managed service for deploying, running, and scaling the Elasticsearch Stack in the cloud. It simplifies the process of setting up and maintaining Elasticsearch and its associated tools.
- Fully managed Elasticsearch service
- Includes search, analytics, and observability
- Supports AWS, Google Cloud, and Azure for deployment
Creating a Deployment
To use this managed service, sign up for a 14-day trial cluster. During sign-up, an Elasticsearch cluster will be created for you based on the details you'll provide.
For this demo, I've deleted the deployment created during sign up and created a new one.
-
On the Elastic main page, go to Deployment > Create deployment.
-
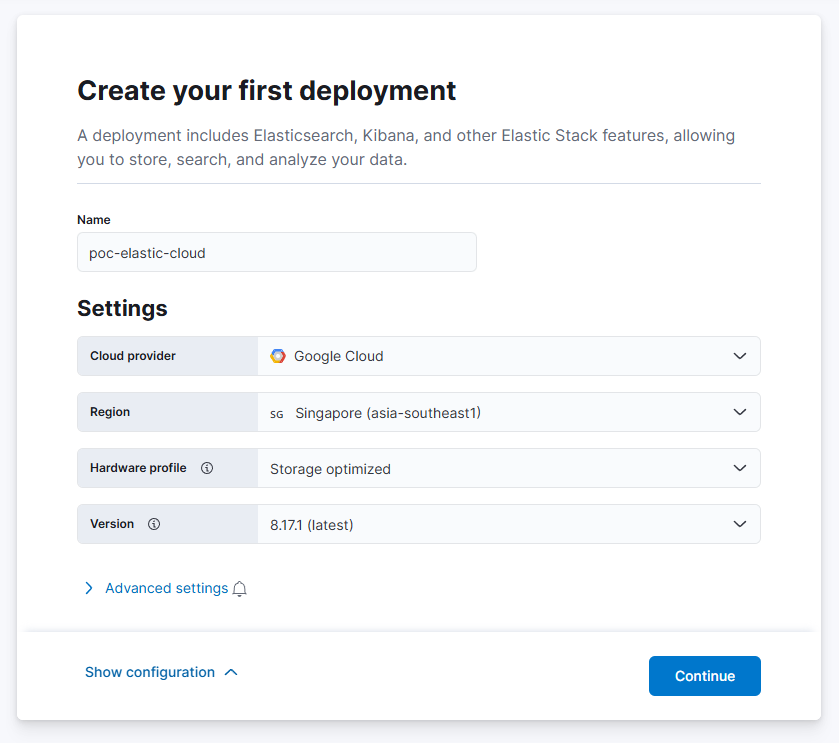
Set the following details. You can change the cloud provider and the region based on your preferred location. Click Continue.
-
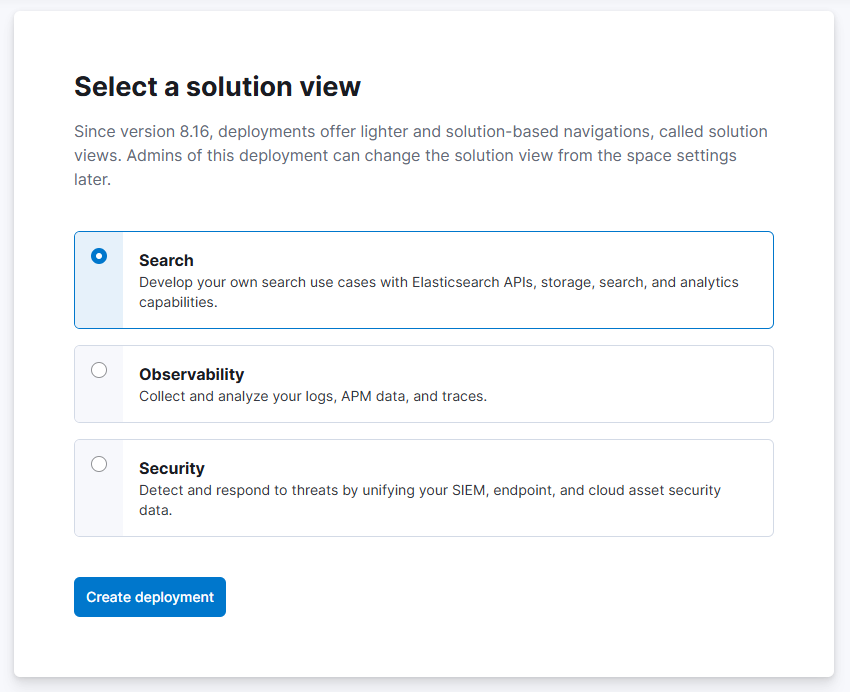
Choose a solution view. You can change this later. Click Create deployment afterwards.
-
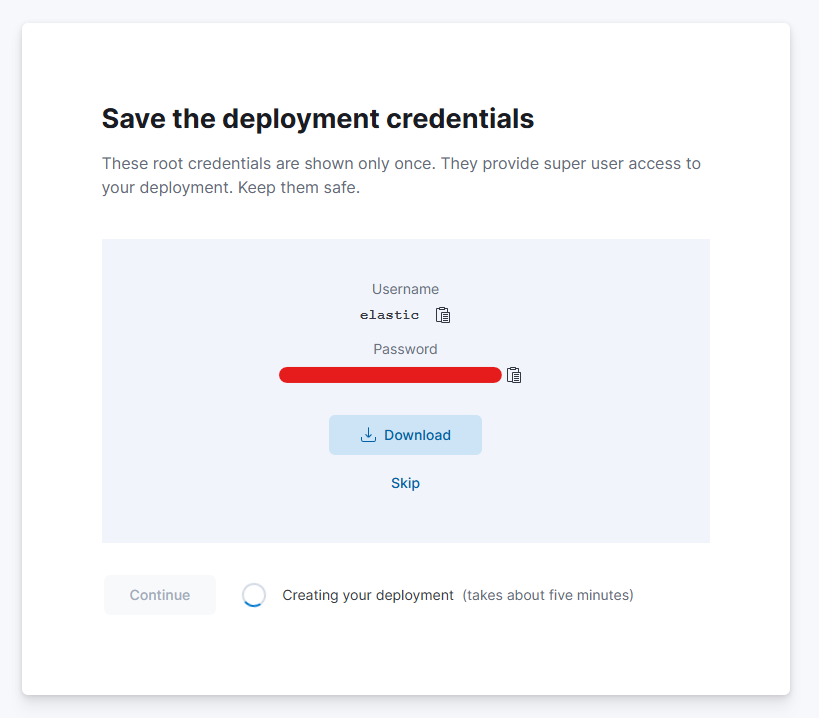
Make sure to save the deployment credentials.
-
The deployment will take around 10 minutes. Once done, click Continue.
-
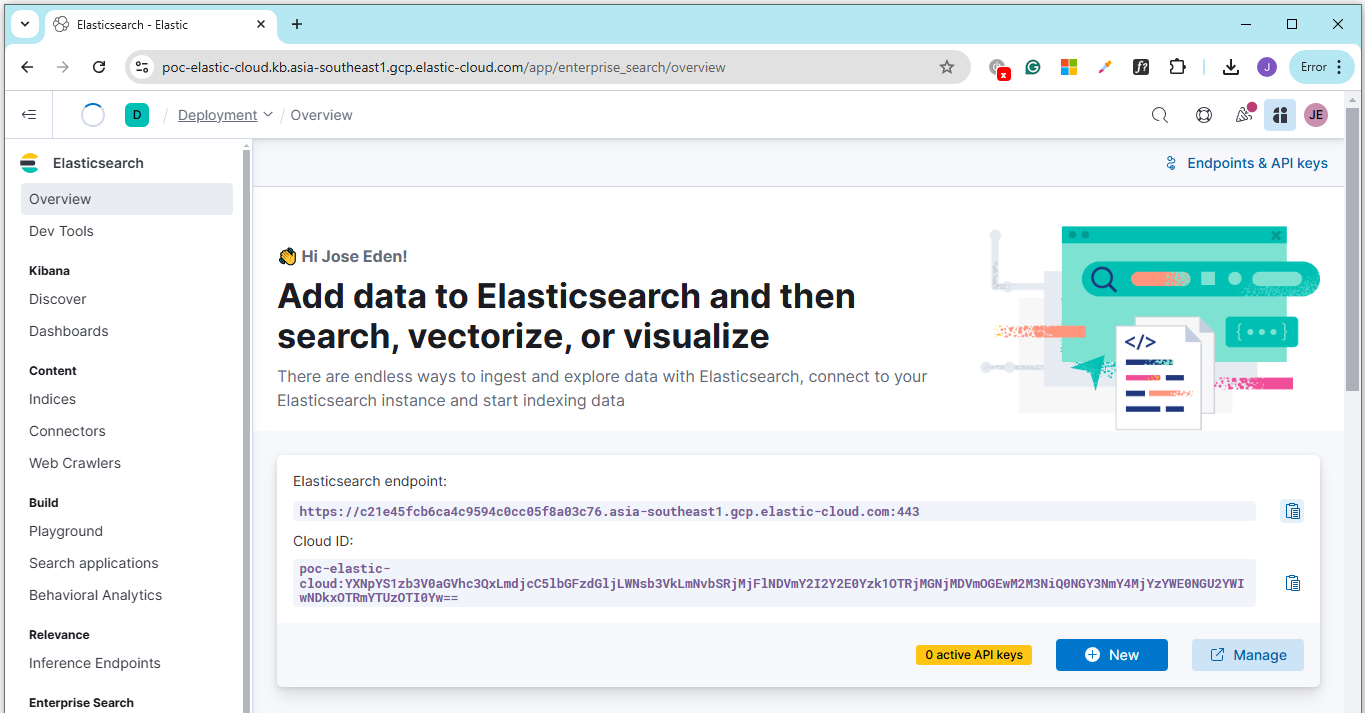
In the main page, you'll see the Elasticsearch endpoint.
Testing the Cluster
Use the Elasticsearch endpoint and run the following command
curl -XGET https://add-elastic-endpoint-here:443
As expected, this will return an error. This is because Elasticsearch is using X-PACK...
{"error":{"root_cause":[{"type":"security_exception","reason":"missing authentication credentials for REST request [/]","header":{"WWW-Authenticate":["Basic realm=\"security\", charset=\"UTF-8\"","Bearer realm=\"security\"","ApiKey"]}}],"type":"security_exception","reason":"missing authentication credentials for REST request [/]","header":{"WWW-Authenticate":["Basic realm=\"security\", charset=\"UTF-8\"","Bearer realm=\"security\"","ApiKey"]}},"status":401}
To authenticate to the cluster, provide the credentials:
curl -XGET https://add-elastic-endpoint-here:443 -u elastic:add-password-here
It should now succeed.
{
  "name" : "instance-0000000000",
  "cluster_name" : "dfkhsfkjhdfksdkfjshdfkhsdfkjh",
  "cluster_uuid" : "QMwQk4tIQyidcGrNoJyp0A",
  "version" : {
    "number" : "8.17.1",
    "build_flavor" : "default",
    "build_type" : "docker",
    "build_hash" : "fldjkajdflkajklsdjflkjdasflkajlkjalkdsjas",
    "build_date" : "2023-01-10T10:08:26.972230187Z",
    "build_snapshot" : false,
    "lucene_version" : "9.12.0",
    "minimum_wire_compatibility_version" : "7.17.0",
    "minimum_index_compatibility_version" : "7.0.0"
  },
  "tagline" : "You Know, for Search"
}
Import Log File
Login to the Elastic page and perform the following:
-
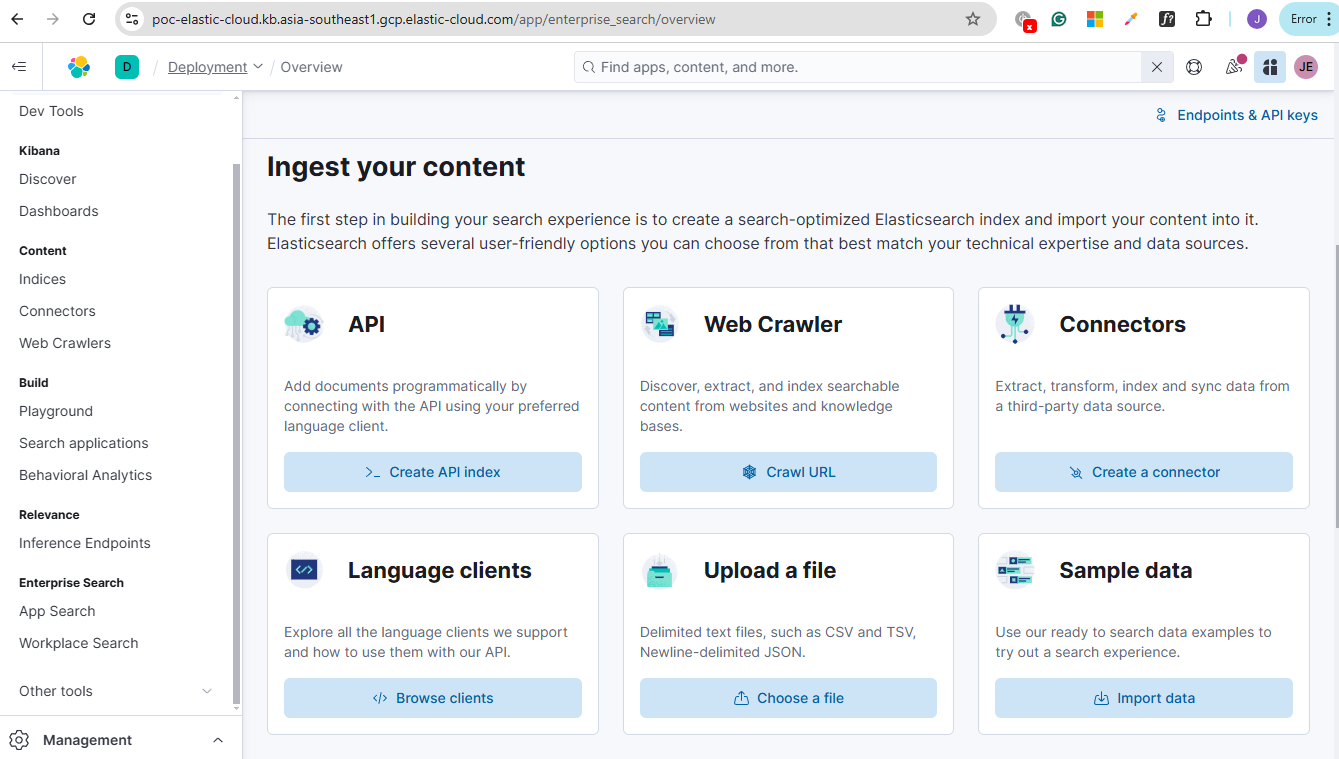
On the Overview page, scroll down to Ingest your content and click Upload a file.
-
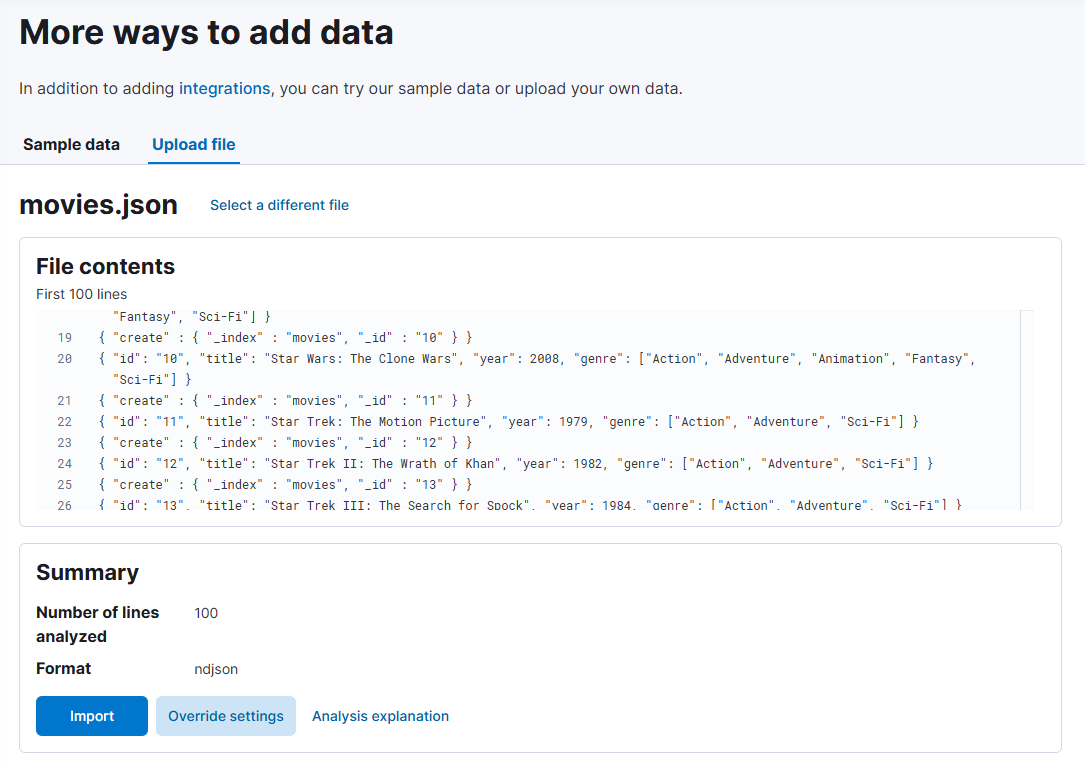
Click Select or drag and drop a file, and select the dataset. You can download the dataset here: movies.json
-
It will display a sample from the dataset, as well as the summary.
-
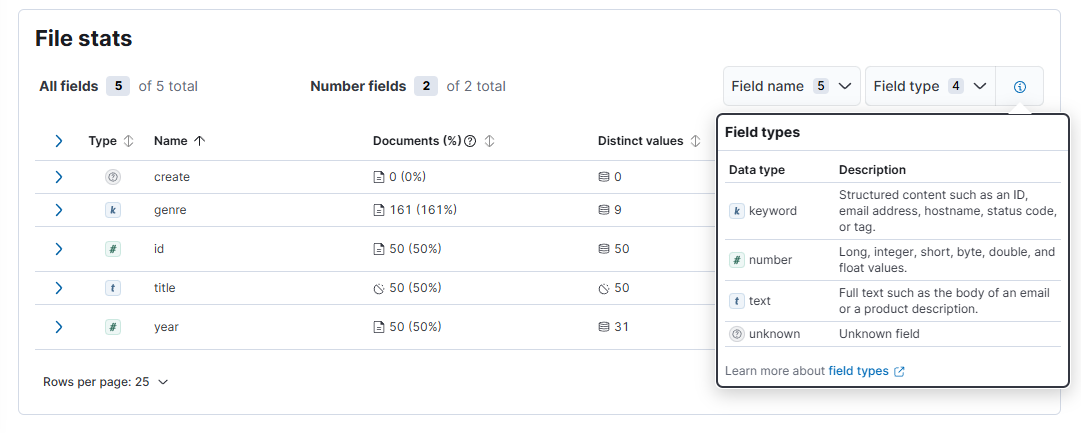
The File stays section also displays details about fields in the uploaded datasets.
-
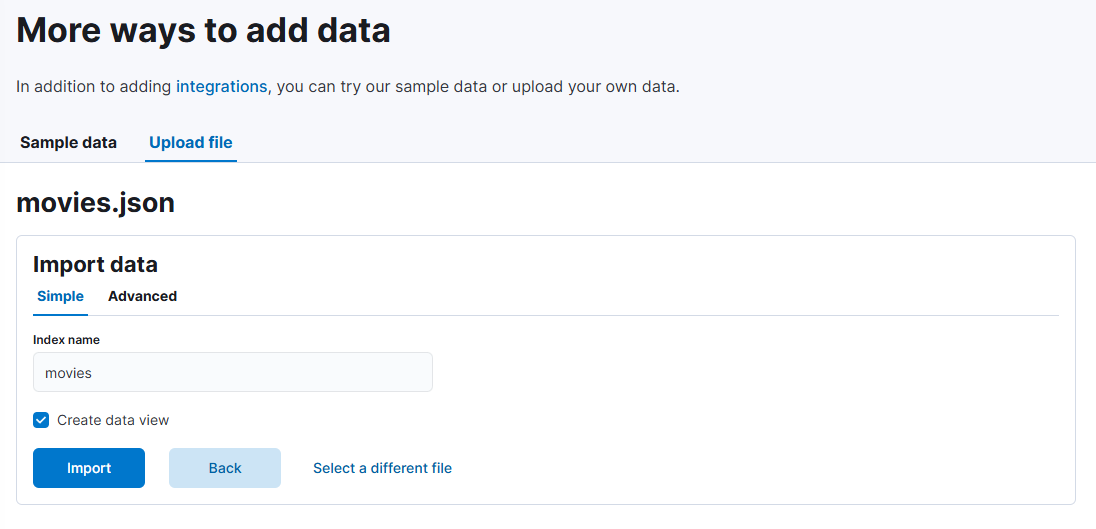
After reviewing, click Import. Provide an index name > Import.
-
You should see all steps are cleared.

-
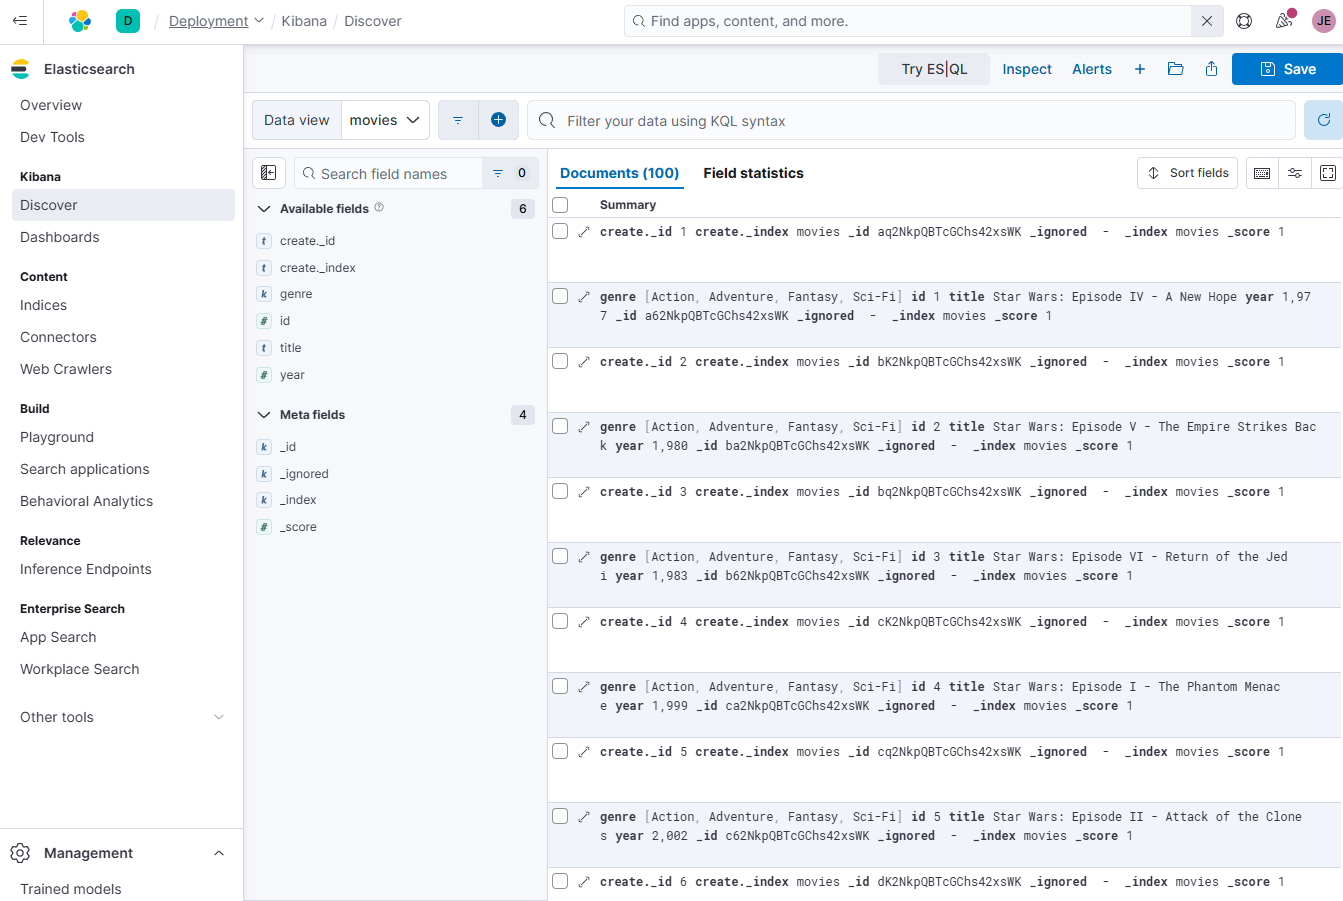
On the left panel, click Discover. You should now see the
moviesindex created.