Buying a Domain
Overview
Once you've chosen a registrar and a domain, you can proceed to buy the domain. The process is usually straightforward:
- Go to the registrar's website.
- Search for your desired domain name.
- If available, add it to your cart.
- Proceed to checkout and provide the necessary information.
- Complete the payment process.
- After payment, you will receive a confirmation email with the details of your purchase.
Namecheap
To buy a domain on Namecheap, go to their website and enter the domain name you want. You’ll see available options and different domain endings (like .net, .org, .cars, .xyz).
Buying a Domain
After picking your domain, follow these steps:
- Create an account
- Enter your Whois contact details
- Add your payment method
- Confirm your order
In the Whois Contact section, fill in:
- Registrant Contact
- Administrative Contact
- Technical Contact
- Billing Contact
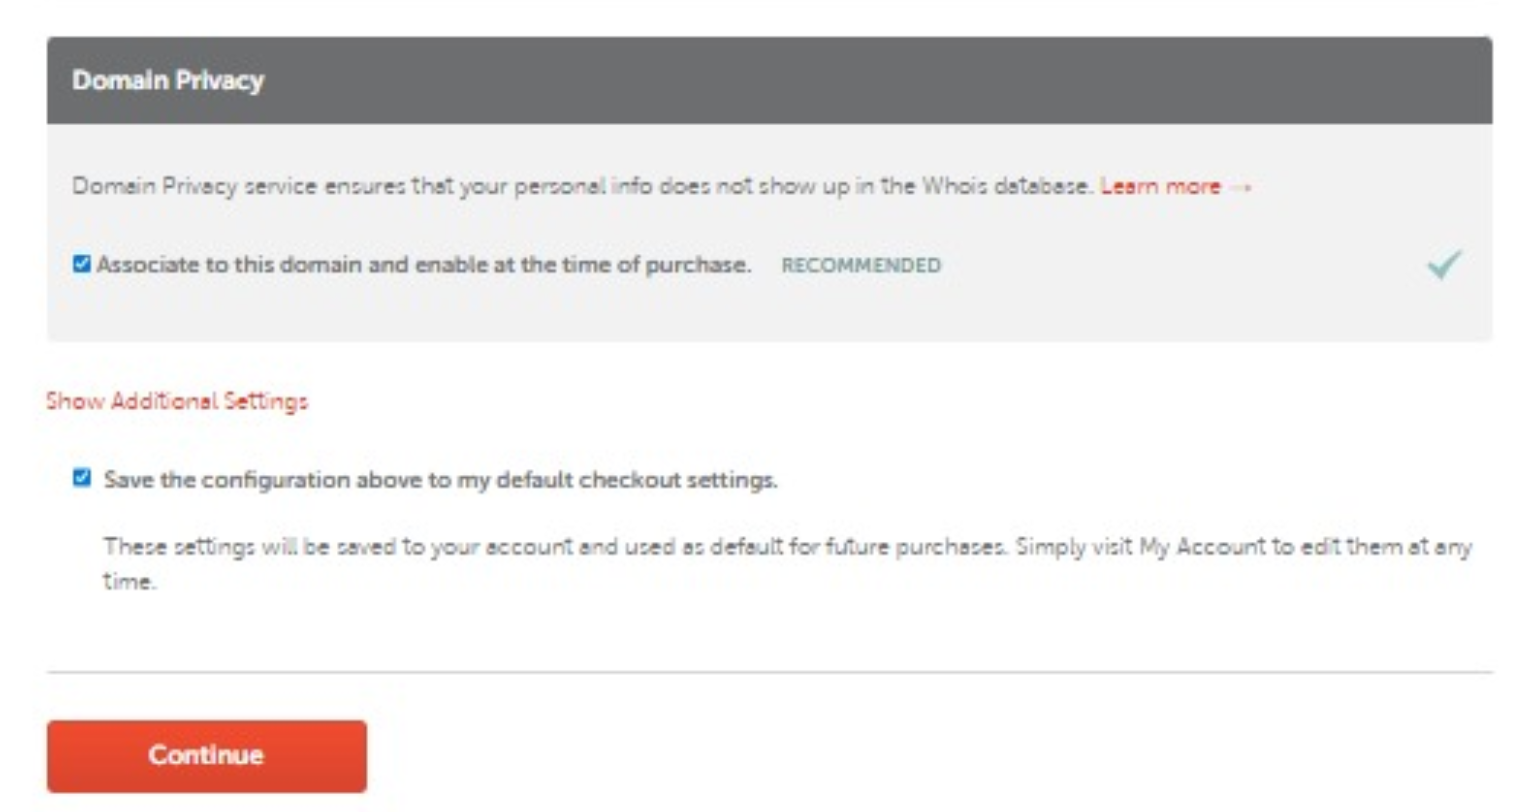
You can also choose to enable Domain Privacy on the same page.
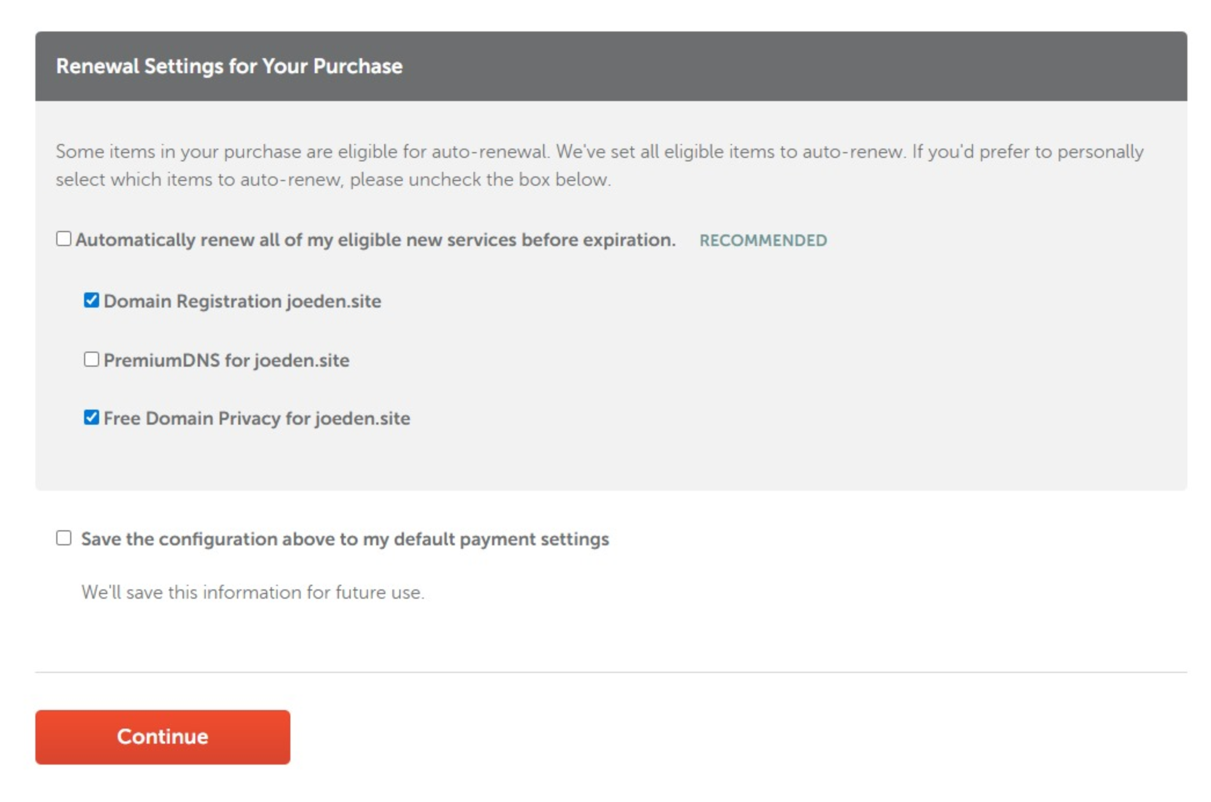
On the Billing page, add your credit card information. At the bottom, you can opt to enable automatic renewal.
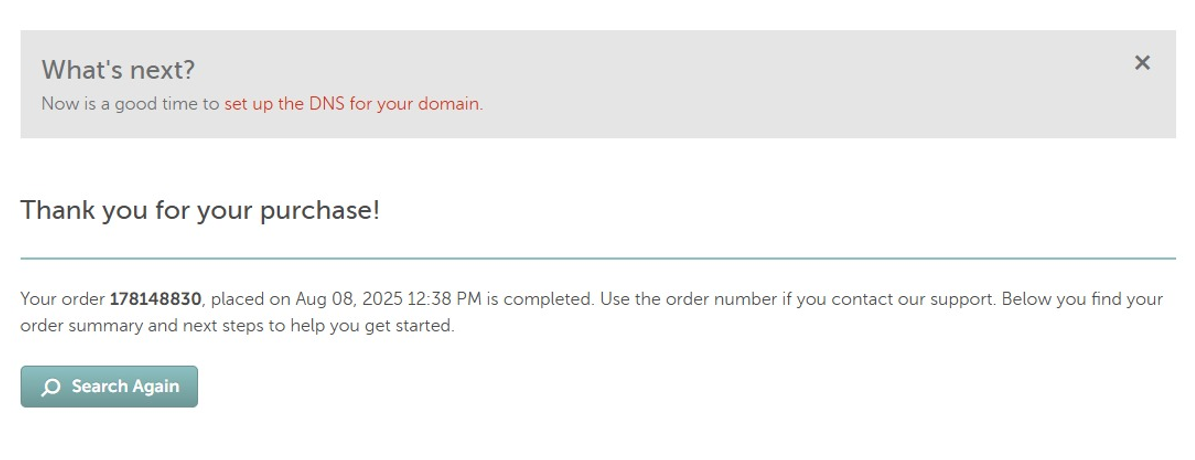
After confirming, you’ll see your order number.
Account Requires Verification
After buying your domain, you need to verify your email address. Namecheap will send you a verification email.
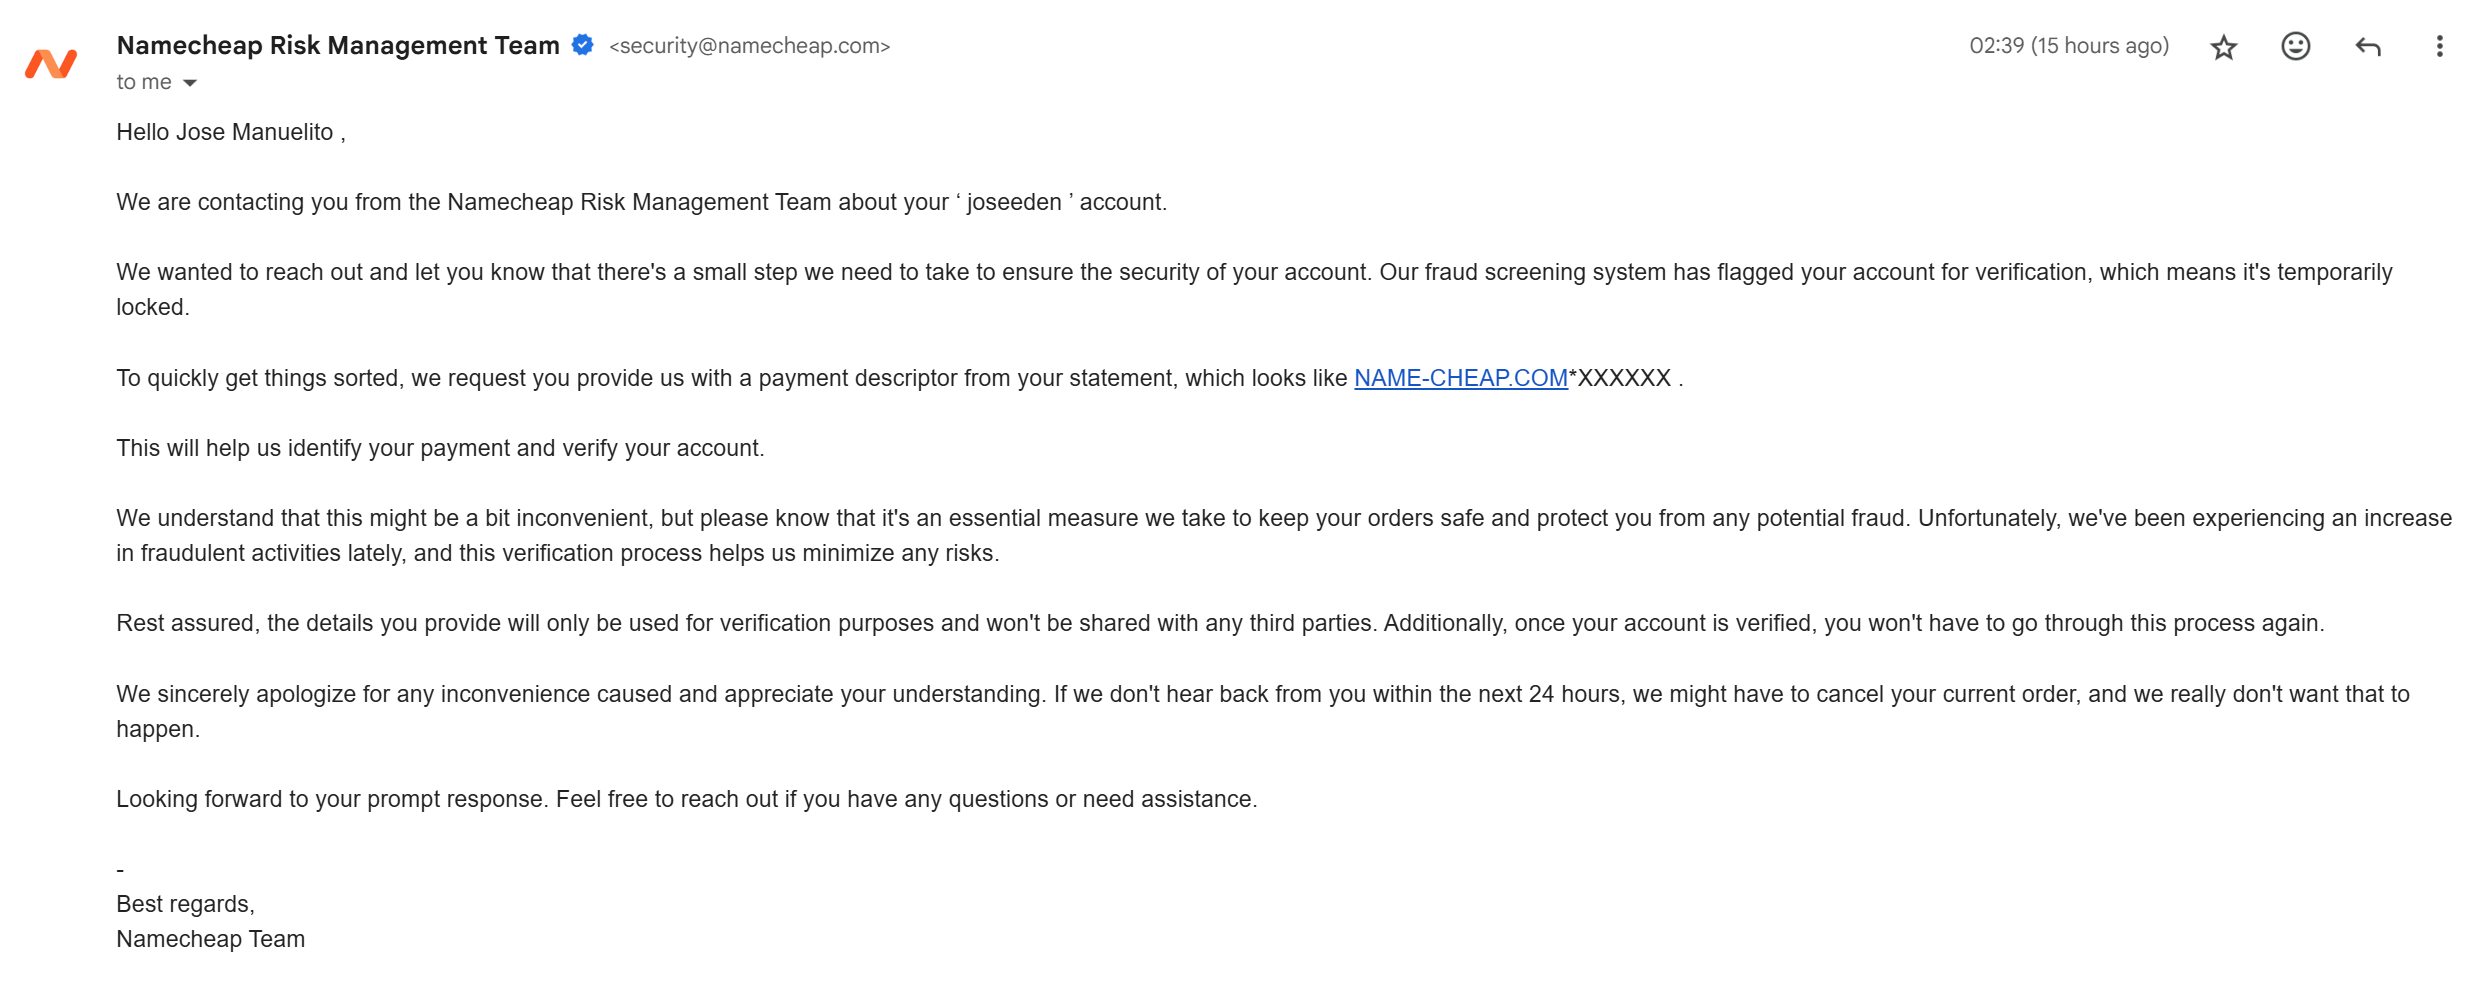
Check your bank notifications or your credit card statemen, the payment will appear with a descriptor like NAME-CHEAP.COM*XXXXXX.
Enable Two-Factor Authentication (2FA)
For most users, using an Authentication App for 2FA is recommended.
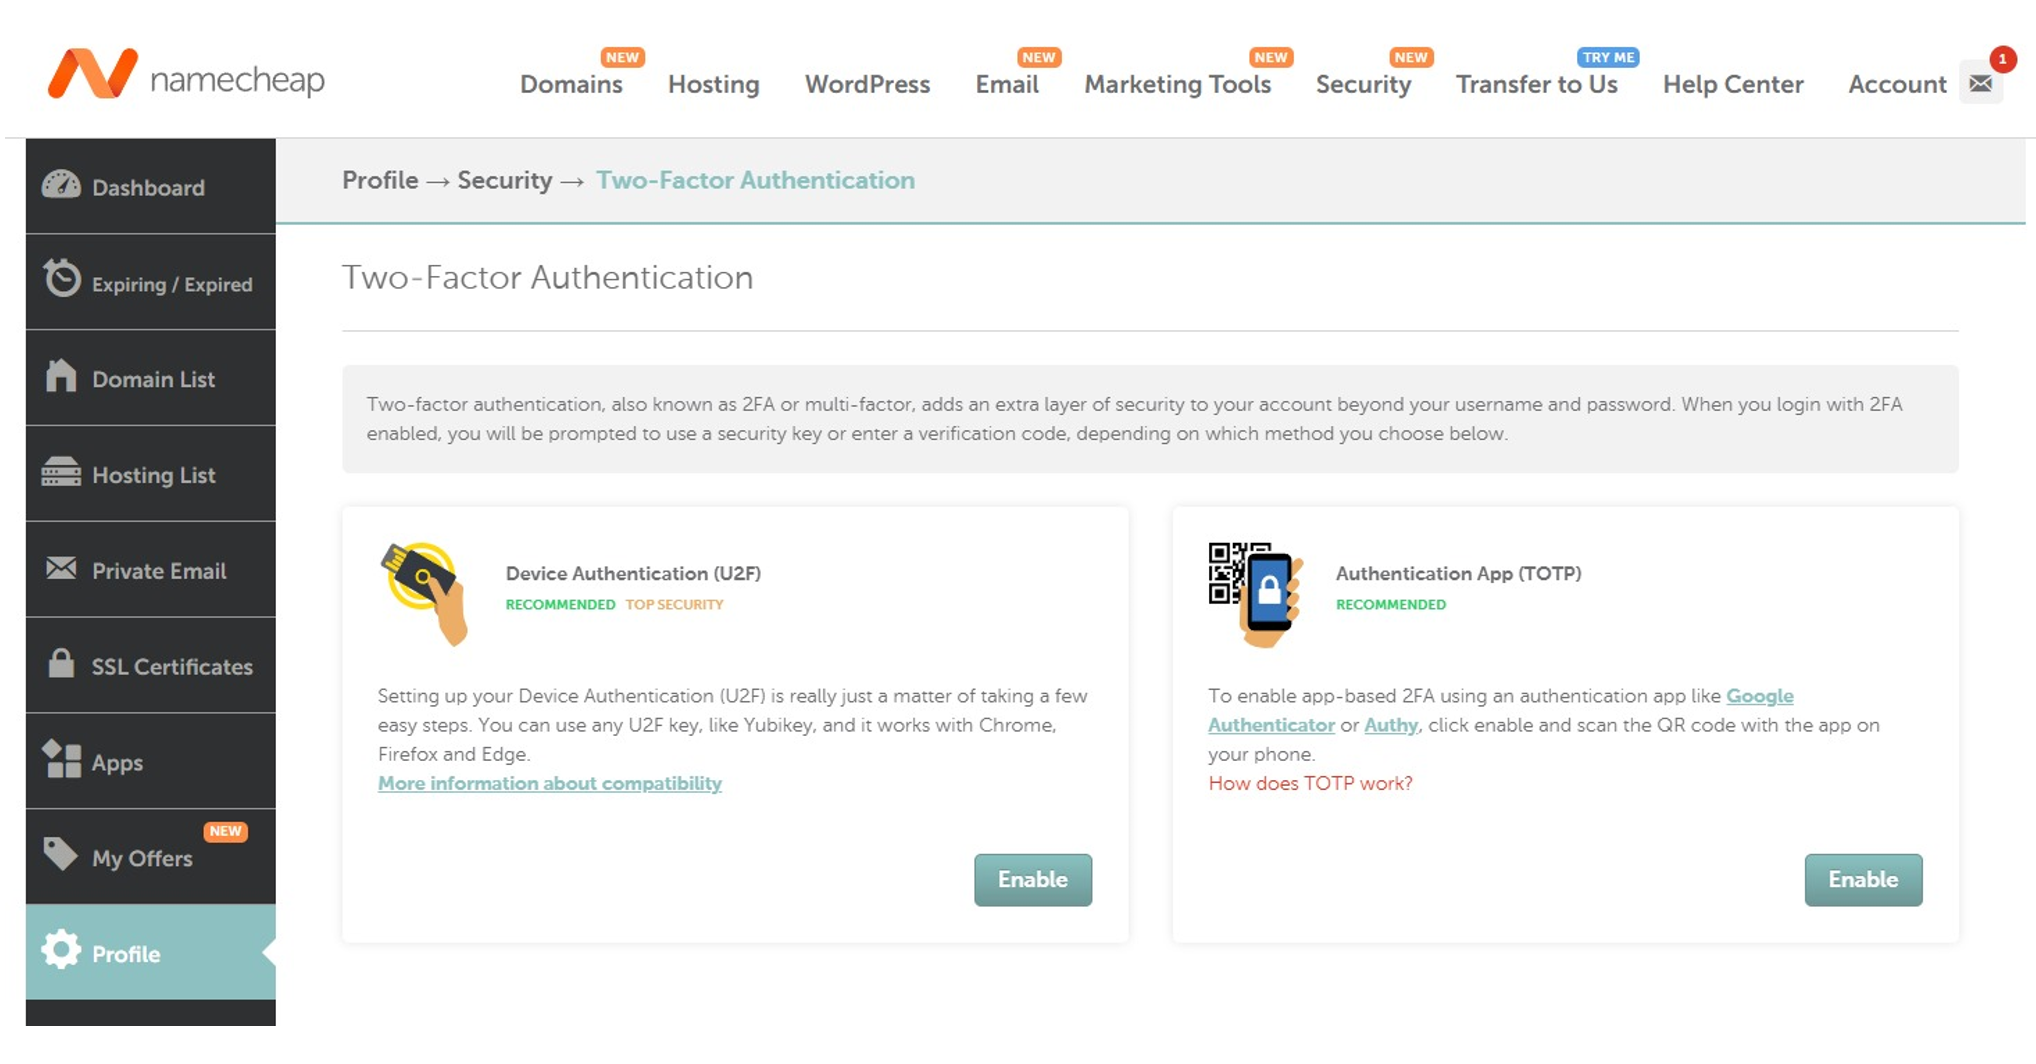
You’ll need to enter your password first.

Dashboard
In your Namecheap dashboard, you can view all your domain details.
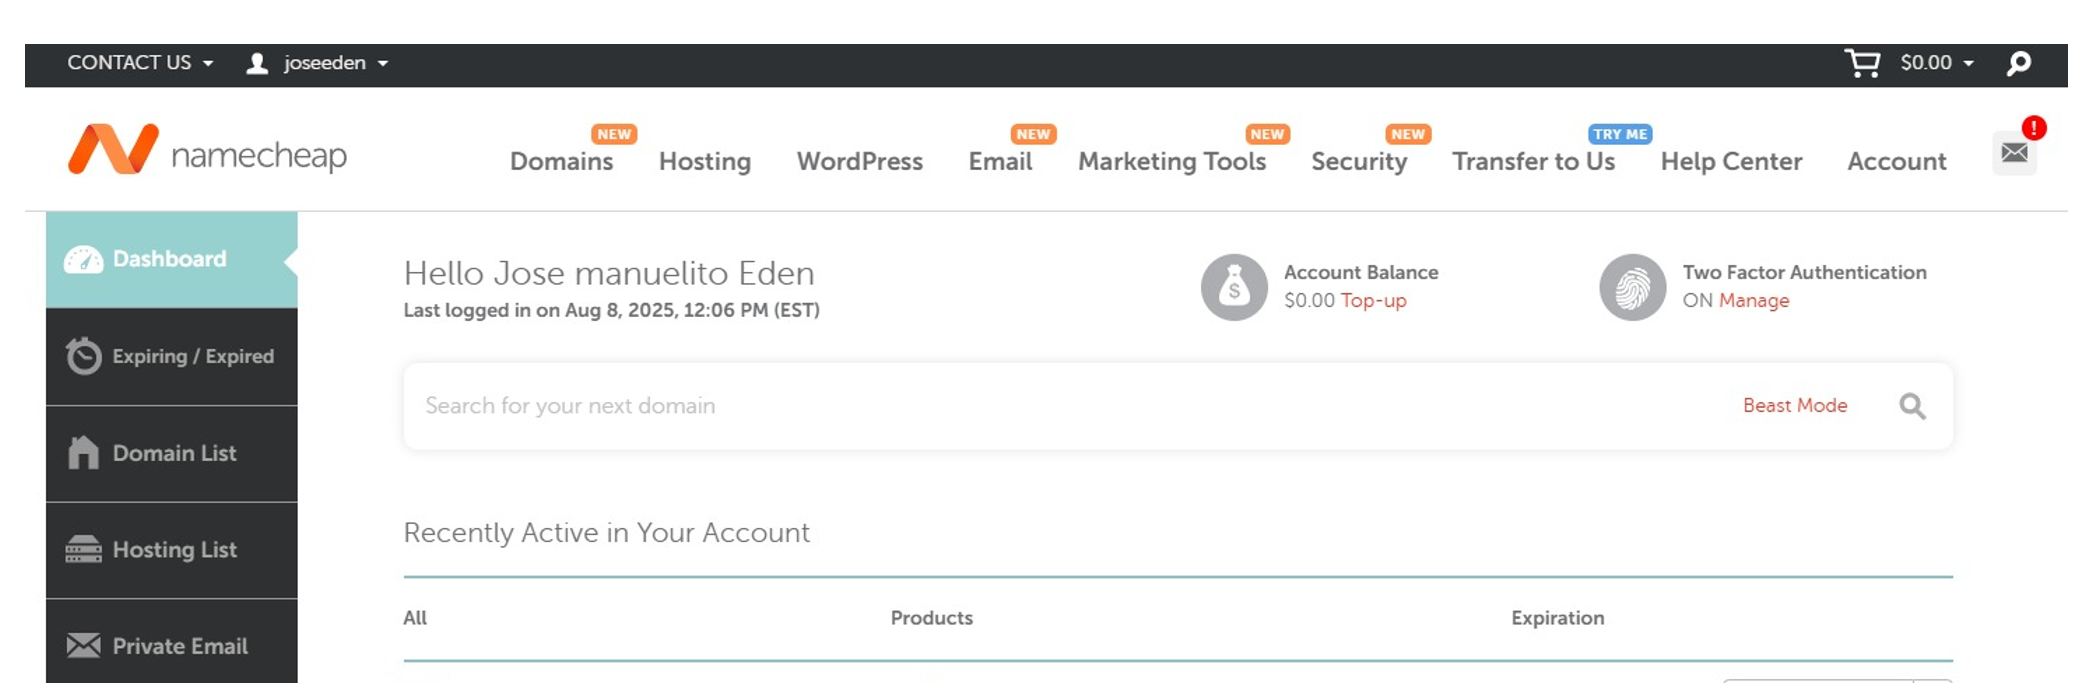
Click Verify Contacts. A banner will say "Email sent successfully."
Check your email for a message titled "IMMEDIATE VERIFICATION required for your domain(s)."
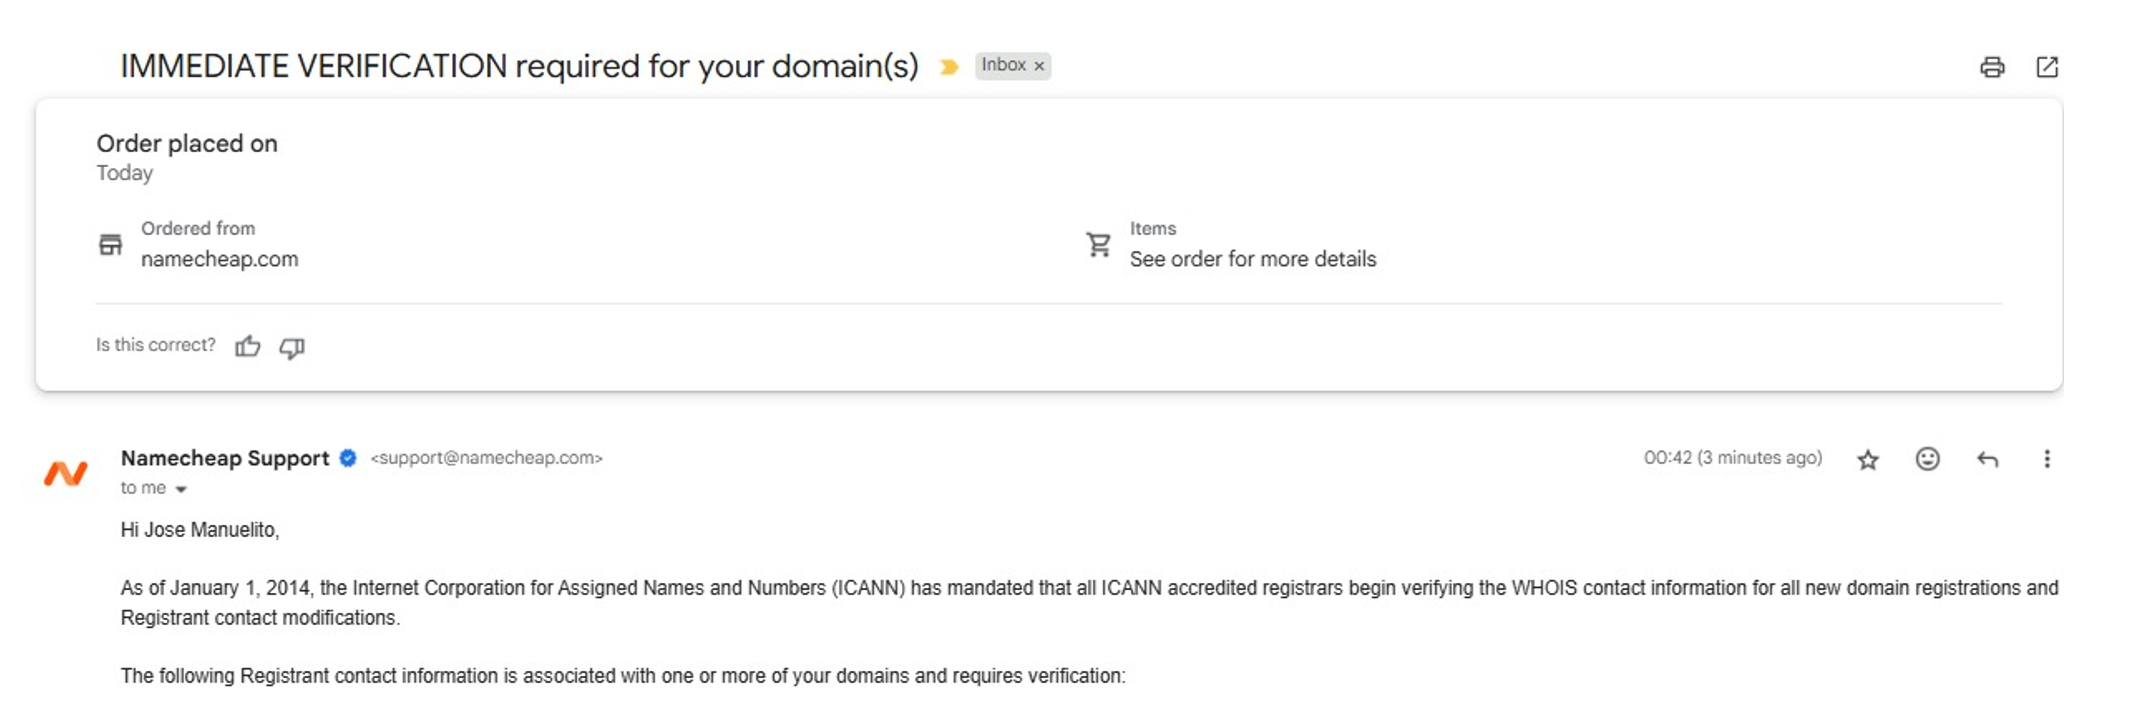
Scroll down and click the link labeled "Click to verify your email address."
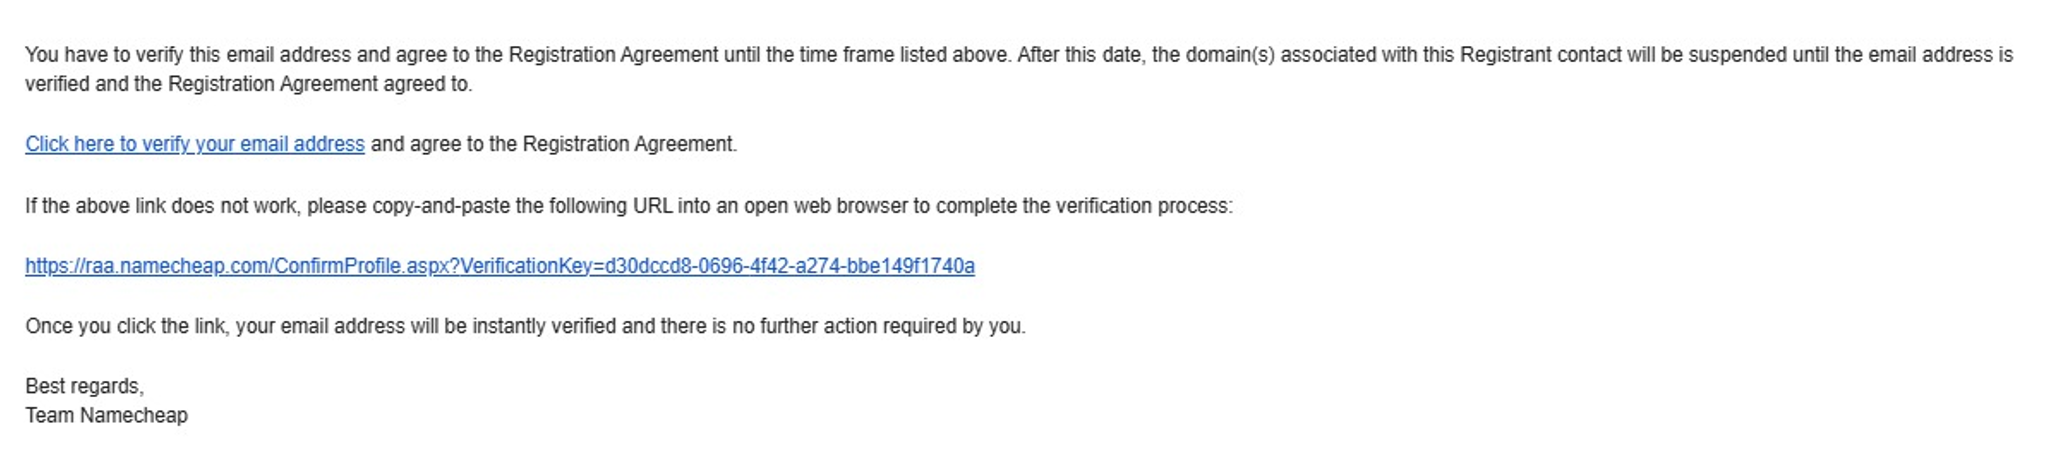
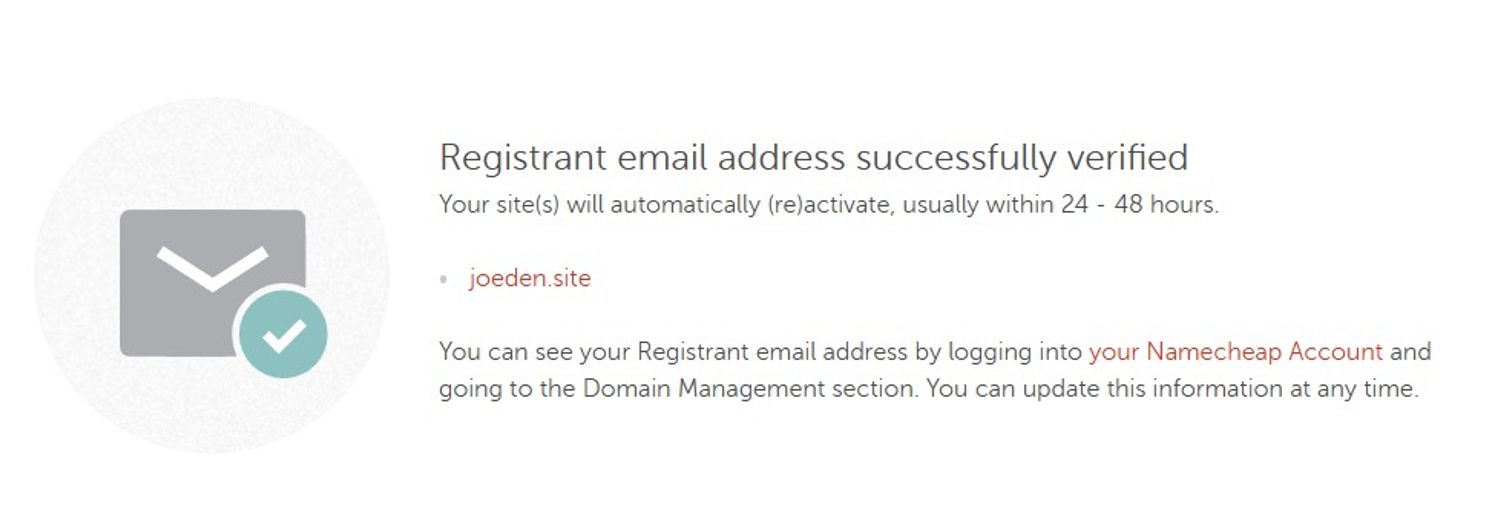
A new tab will open showing a "successfully verified" message.
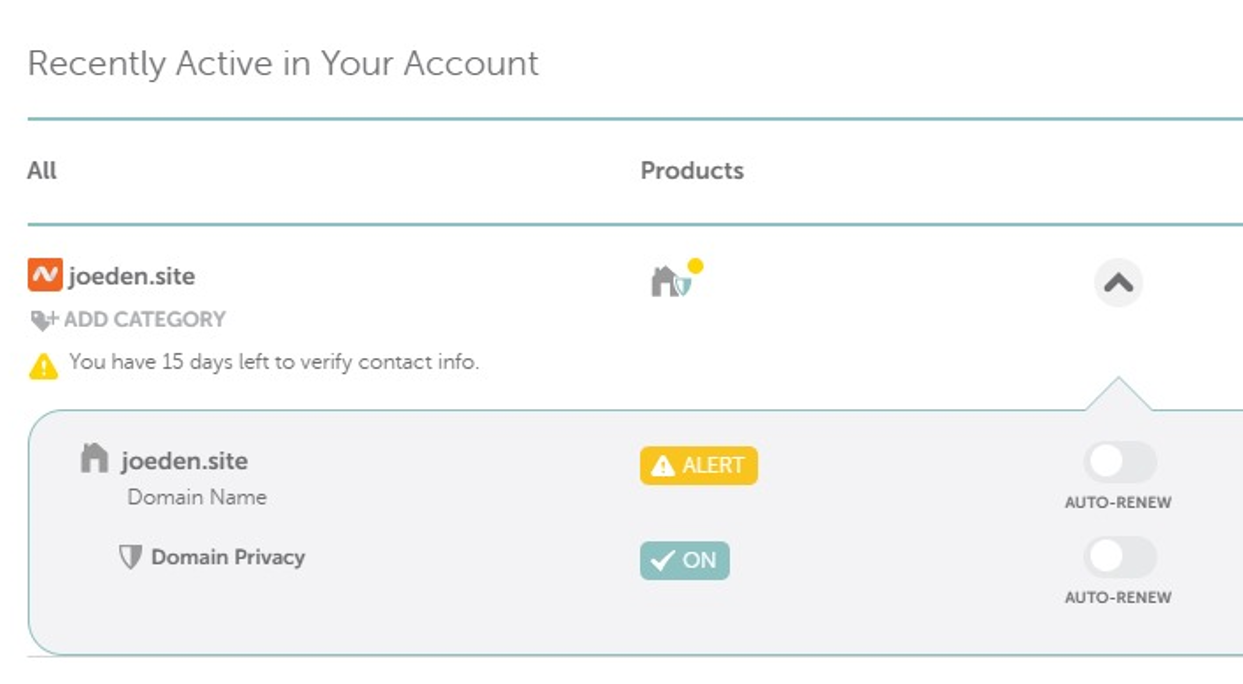
Disable Auto-renew
Back in your Namecheap dashboard, click the arrow down icon next to your domain.
Porkbun
To buy a domain on Porkbun, go to their website, enter the domain you want, choose from the available options, and create your account.
Verify Identification
Note: Porkbun requires ID verification. Some people may find this a bit invasive, so keep that in mind.
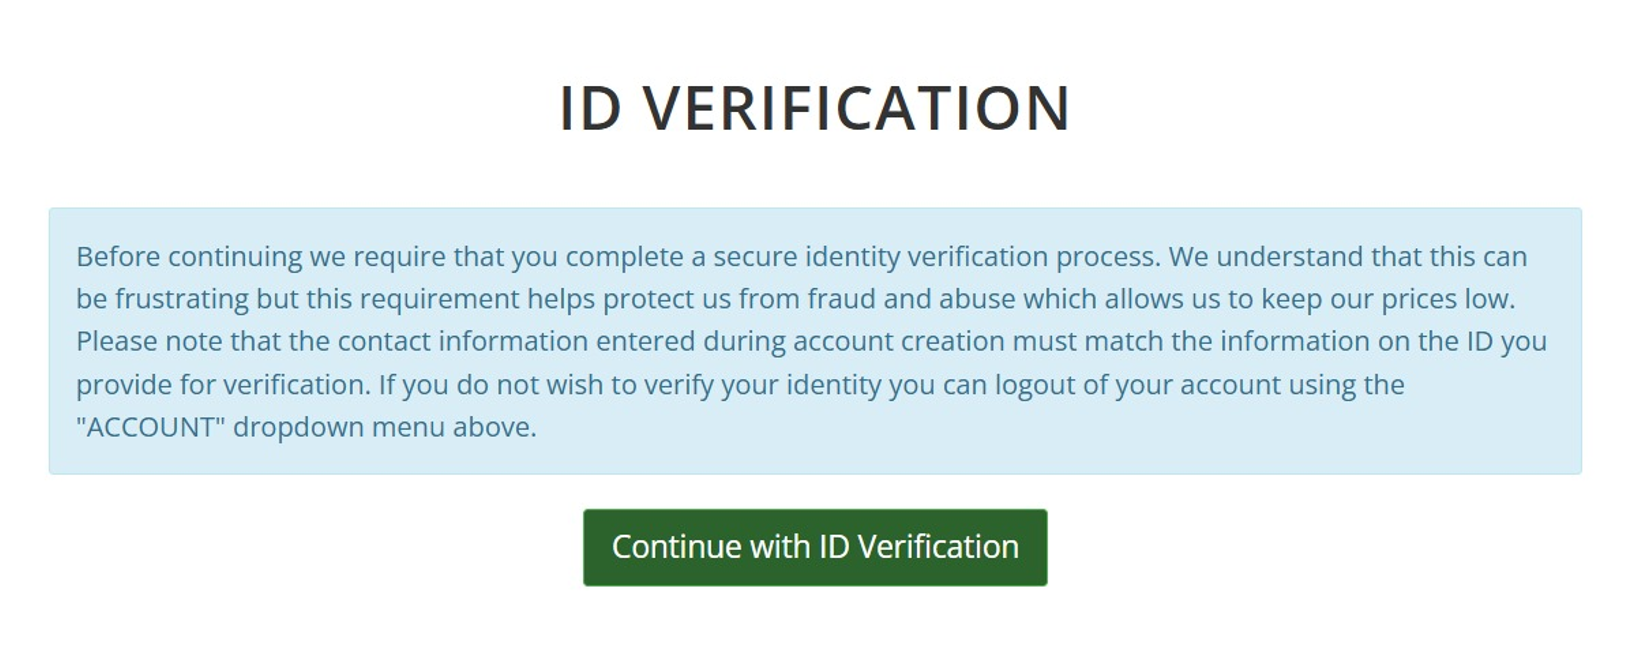
Click Continue with ID verification. You’ll scan a QR code and finish the process on your phone.
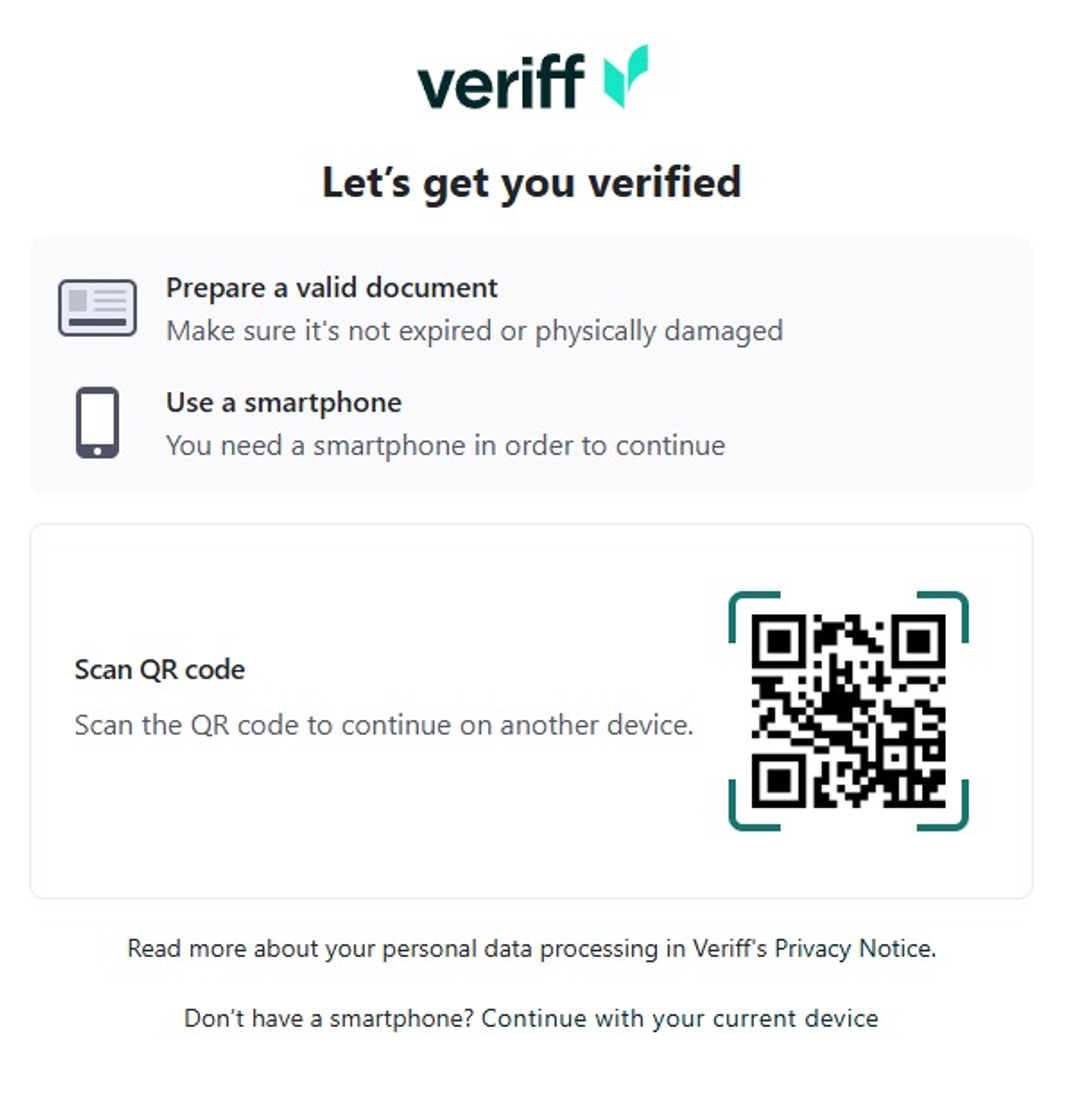
You’ll need to:
- Take photos of the front and back of your ID
- Take a selfie
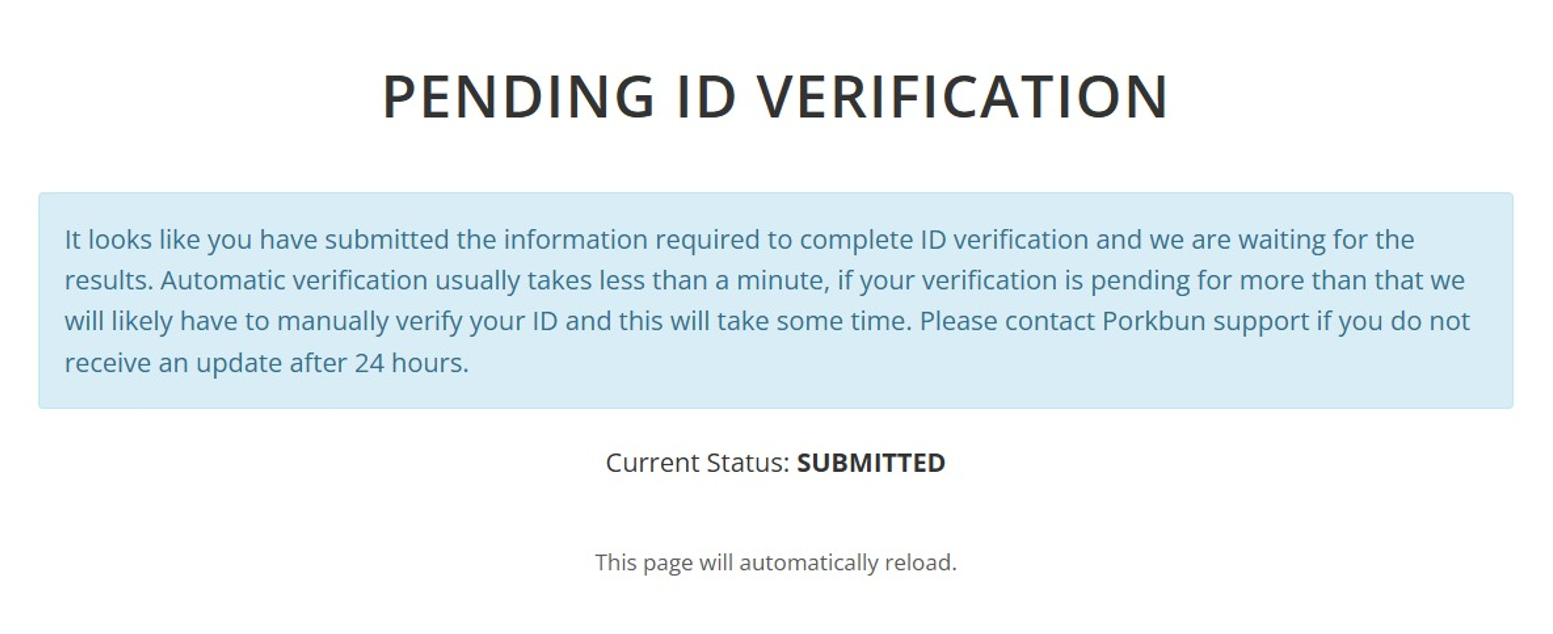
After submitting, you should see a confirmation message.
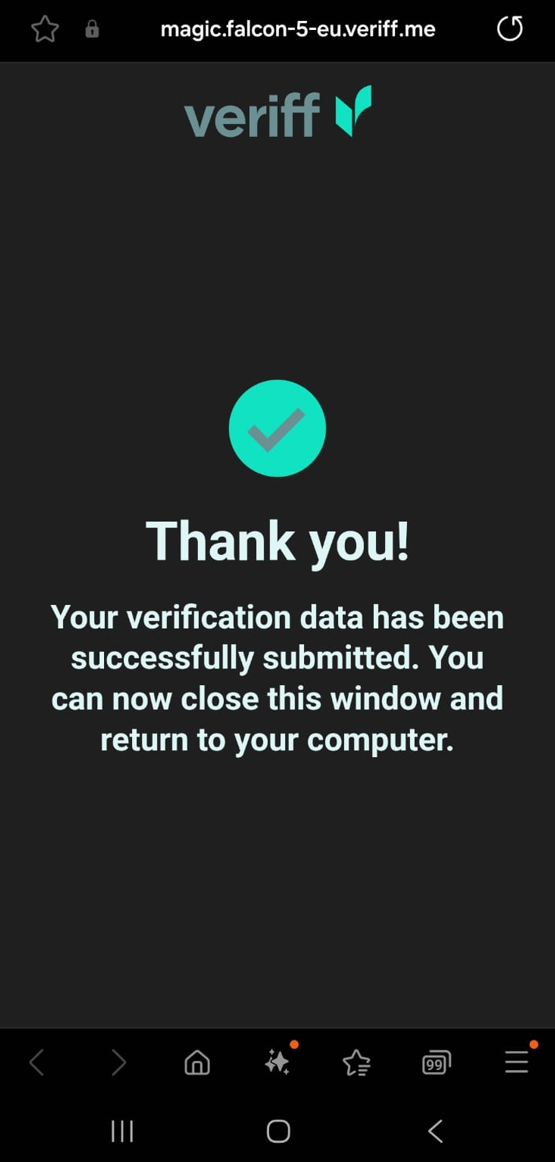
Verification is usually fast, but if there’s a delay, it may take up to 24 hours. You can email support@porkbun.com if needed.
Enable MFA
After verification, you can enable Multi-Factor Authentication (MFA) for added security.
- Go to Security Settings
- Scroll down to 2FA - App Based > Enable app based two factor authentication.
- Scan the code with your authenticator app
- Enter the code from the authenticator app
- You can also copy the backup codes and save it in a file(recommended).
Name.com
Buying a domain on Name.com works like most other registrars:
- Choose your domain
- Create an account
- Add a payment method
- Confirm your order
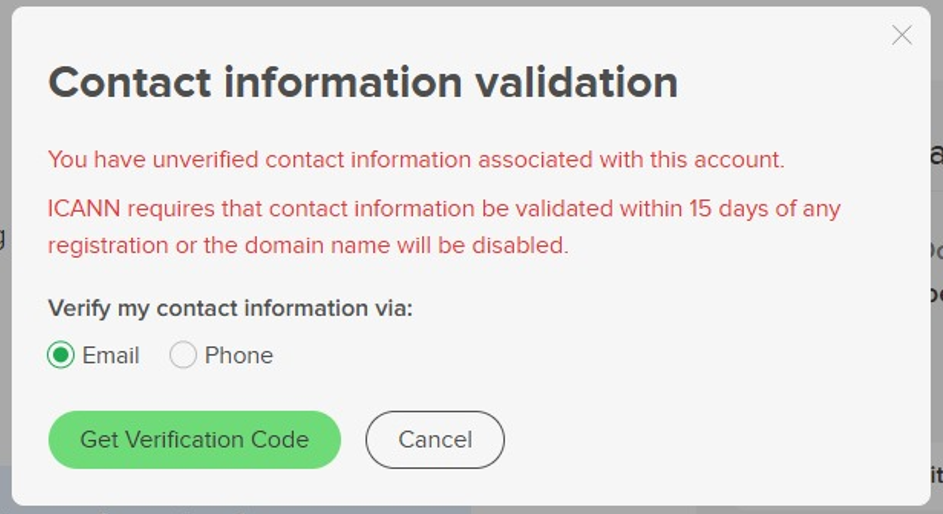
After creating your account, you’ll need to verify your contact information.
Vercel
If you buy a domain from Vercel, you can use it for Vercel projects, but you can also use it for projects hosted elsewhere.
How it works
Vercel acts as your registrar (usually via Tucows/OpenSRS).
- You fully own the domain, just like if you bought it from Porkbun or Namecheap.
- You can change the nameservers to any DNS provider and host your site anywhere.
- Other DNS providers: Cloudflare, AWS Route 53, etc.
- You’re not required to keep the domain linked to Vercel services.
Using your Vercel domain outside Vercel
- Buy the domain on Vercel.
- In your Vercel dashboard, go to Domain settings.
- Update the nameservers to your preferred DNS provider
- You can also update DNS records to point to your non-Vercel project.
- Set up hosting for your domain wherever you want.
Things to note
- Renewal prices depend on what Vercel charges, sometimes higher than other registrars.
- You can transfer your domain to another registrar after the 60-day ICANN lock.
- For complex DNS setups, services like Cloudflare or Route 53 might offer more features than Vercel’s DNS.
Manage DNS in Cloudflare
Cloudflare can handle your domain’s DNS, security, and performance features even if your domain is registered elsewhere.
For more inforrmation, please see Cloudflare.