Applications/Packages
Python 3.10
Reference: Download Python
-
Install Python 3.10. Note that this was tested on Ubuntu 22.04 LTS.
sudo apt install -y python3
Python 3.12
Reference: Download Python
-
Install Python 3.12.
sudo apt install -y python3.12 -
Verify.
python --version
If you are using Ubuntu 22.04, you might only be able to install Python 3.10. To install Python 3.12:
-
Install this package (this is required to run
add-apt-repository)sudo apt install -y software-properties-common -
Add the deadsnakes PPA repository and run update.
sudo add-apt-repository ppa:deadsnakes/ppasudo apt update -
Install Python 3.12
sudo apt install -y python3.12 -
Verify:
python3.12 --version
Pip 3.12
-
Install pip.
sudo apt install python3.12-venvpython3.12 -m ensurepip --upgrade## Ensure Python 3.12 and its pip are in your PATHwhich python3.12which pip3.12
Python Virtual Environment
-
Install Python Virtual Environment
sudo apt install -y python3.12-venv
UV
Reference: UV - An extremely fast Python package and project manager, written in Rust.
For WSL:
## Install
curl -LsSf https://astral.sh/uv/install.sh | sh

## Autocompletion
echo 'eval "$(uv generate-shell-completion bash)"' >> ~/.bashrc

## Verify:
uv --version
To ensure you're on the latest version of UV:
uv self update
Initialize a project
To initialize a project, run the command below. This will create a dependency file (e.g. pyproject.toml) in the current directory.
uv init
uv sync
Installing dependencies
To make sure that your environment match your project’s dependency file exactly, run the command below. This will install any missing dependencies and remove any extraneous dependencies.
Note that you need to run this inside a project. It will look for the dependency file (e.g. pyproject.toml) in the current directory and install the dependencies specified in that file.
uv sync
This will create a virtual environment for your project and install the dependencies specified in the dependency file.
If it doesn’t find a dependency file , it has nothing to sync, so it will return an error:
error: No `pyproject.toml` found in current directory or any parent directory
If you’re not working on a structured project, don’t use sync. Instead, use:
uv pip install requests
Note: If you are opening a .ipynb file in VS Code, and you're unable to detect the .venv virtual environment that you created for your project, you can try the following steps:
-
Check if
ipykernelis installed in your virtual environment.pip list | grep ipykernelIf it’s not installed, you can install it using:
pip install ipykernelAnother way to check:
.venv/bin/python --version.venv/bin/python -m pip show ipykernelIf
ipykernelsays “Package(s) not found”, that’s almost certainly the reason. -
Now try to activate the virtual environment:
source .venv/bin/activatepython -m pip install ipykernel. ## if not yet installed inside the .venv -
Finally, register that environment as a kernel in Jupyter:
python -m ipykernel install --user --name llm_engineering --display-name "Python (.venv)"Note: You can replace
llm_engineeringwith the name of your project or virtual environment.
NodeJS
If you try to use apt-package manager to install the latest version of node, there's a chance that you'll download the latest version in the Ubuntu app storee and not the lastest release version of NodeJS.
This is mainly because the Ubuntu team may take a while to test new versions of the software and release them to the official Ubuntu store.
To install the latest version in the Ubuntu app store but may not be the latest release version,
sudo apt install nodejs -y
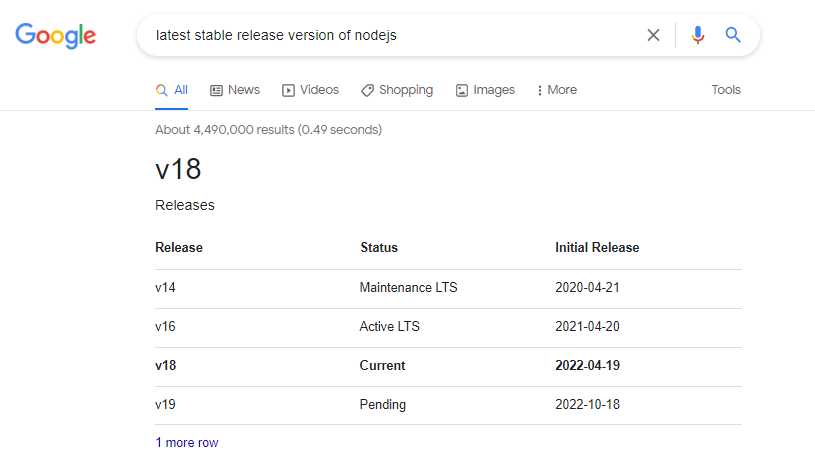
To install the lastest release version of NodeJS, do a quick google search for "latest stable release version of nodejs". Note which version is the current one.
Use NVM to install NodeJS
Let's install nvm first. This will allow us to use different versions of node.
curl -o- https://raw.githubusercontent.com/nvm-sh/nvm/v0.35.3/install.sh | bash
Restart your terminal and verify. You should have version 0.35.5 installed or higher.
nvm --version
Install the NodeJS version that you recorded earlier. Note that if you need other versions, you can also install them using the same command.
nvm install <version>
Verify the latest version installed.
node -v
If you have multiple node versions in your machine, you can switch between them.
nvm use <version-number>
Use Nodesource to install NodeJS
We can also use Nodesource to install the NodeJS package.
curl -sL https://deb.nodesource.com/setup_18.x | sudo -E bash -
Note: v18 is the current "release" NodeJS version and will be promoted to Long-term Support (LTS) in October 2022.
NPM should also be automatically installed. You can verify the NPM version by running the command below.
npm -v
If it is not installed, proceed to the next steps.
NPM
sudo apt install -y
We may need to run the command below for certain npm packages to run.
sudo apt install -y build-essential
You can read more about the installation process in this freeCodeCamp article.
Go
Doing a quick Google search, we find a link on how to install Go (golang) on Ubunt:
Method 1: Using Snap
sudo snap install go --classic
You should see the following output returned.
go 1.18.3 from Michael Hudson-Doyle (mwhudson) installed
Method 2: Using apt-get/apt
sudo apt update
sudo apt upgrade
sudo apt search golang-go
sudo apt search gccgo-go
sudo apt install golang-go
Verify.
go version
go version go1.18.3 linux/amd64
Method 3: Using a Script
This script can be used for installing Go in your Linux instance. You can also use this script if you're running WSL on your Windows machine.
#!/bin/bash

## Install Go
wget https://storage.googleapis.com/golang/go1.6.2.linux-amd64.tar.gz
sudo rm -rf /usr/local/go
sudo tar -C /usr/local -xzf go1.6.2.linux-amd64.tar.gz
echo "export GOPATH=~/go" >> ~/.bashrc
source ~/.bashrc
Make the script executable and then run it.
chmod +x install-go.sh
./install-go.sh
If you're using Google Cloud Platform to do the labs, the Cloud Shell should be pre-installed with Go but it might not be running the most recent version so you may need to run the script there.
Test
Create a simple hello-world.go program.
// Hello Word in Go by Vivek Gite
package main

// Import OS and fmt packages
import (
	"fmt"
	"os"
)

// Let us start
func main() {
    fmt.Println("Hello, world!")  // Print simple text on screen
    fmt.Println(os.Getenv("USER"), ", Let's be friends!") // Read Linux $USER environment variable
}
Compile and run.
go run hello-world.go

Hello, world!
ubuntu , Let's be friends!
Build/compile packages and dependencies:
go build hello-world.go
ls -l hello*

-rwxrwxr-x 1 ubuntu ubuntu 1766381 Jun 23 08:05 hello-world
-rw-rw-r-- 1 ubuntu ubuntu     305 Jun 23 08:04 hello-world.go
./hello-world

Hello, world!
ubuntu , Let's be friends!