HMAC Authentication
Overview
HMAC (Hash-based Message Authentication Code) authentication ensures secure API access by verifying the integrity and authenticity of requests.
- Uses cryptographic hashing to validate request headers and payloads.
- Requires clients to include a signature generated with a shared secret.
- Protects against tampering and replay attacks.
Flow of authentication:
- Client generates an HMAC signature using a shared secret.
- Signature and additional headers are sent with the API request.
- Kong verifies the signature and processes the request if valid.
Lab Environment
This lab tests a Kong API Gateway deployment using a FastAPI endpoint. To simplify, both the containerized Kong API Gateway and the FastAPI endpoint are installed locally on a Windows 10 machine. A Docker Compose file is used to deploy Kong, along with other applications like Prometheus, Zipkin, the ELK Stack, and more.
Make sure that you have installed Docker Desktop.
Simply installing Docker in WSL2 without Docker Desktop may introduce some issue when configuring the communication between the containerized Kong API Gateway and the FastAPI application that is installed on the local host.
Pre-requisites
- Postman
- Setup the Kong API Gateway
- Setup the FastAPI Endpoint
- Kong Manager OSS Access
- Create the Routes and Services
- Create the Consumer
Enable the HMAC Auth Plugin
To enable the plugin, go to Kong Manager > Plugins > New Plugin > Select HMAC Authentication.
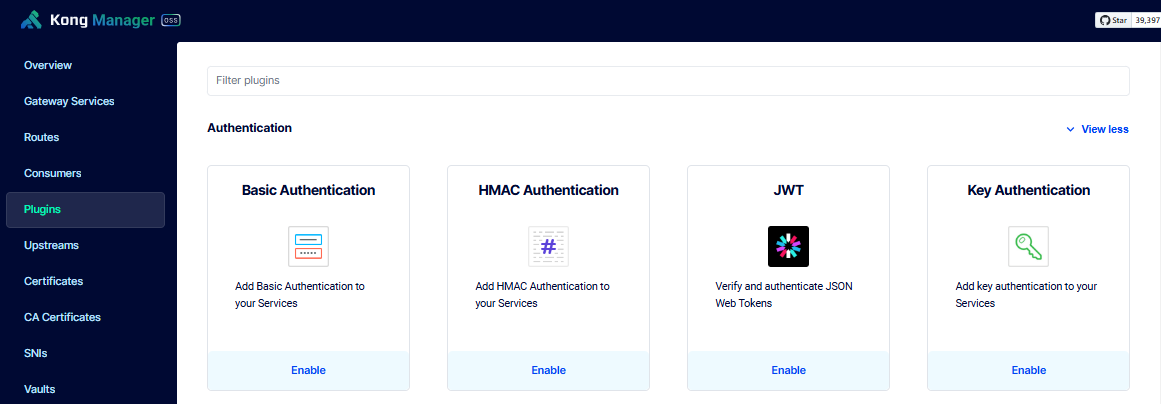
Set this plugin as a global plugin and enable the Validate Request Body option.
Under Advanced parameters, enter the following details. Click Save afterwards.
| Field | Value |
|---|---|
| Instance Name | hmac-authentication |
| Algorithms | hmac-sha256 |
| Clock Skew | 3600 |
Under Enforce Headers, add the following:
datedummy
It should now appear in the plugin list.
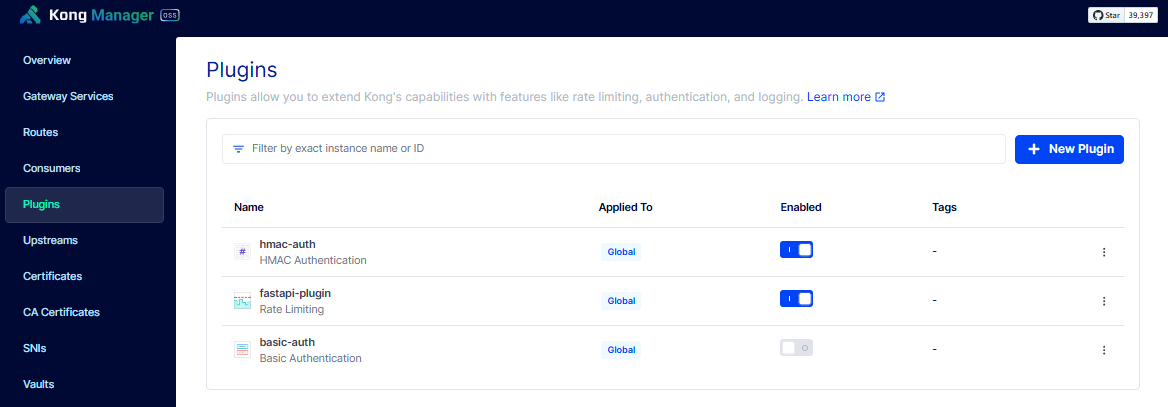
Conflicting Global Authentication Methods
When enabling authentication plugins, make sure that only one is enabled globally. This is because when two plugins are globally enabled, any consumer request must satify both authentication methods. To make it granular, you can also configure the each plugin to be Scoped and specify the specific service or routes that will be using it. This is a better way to ensure that gateway services won't be trying all global plugins.
Order of Execution:
- Kong evaluates all enabled authentication plugins for a request.
- If multiple plugins are enabled, each plugin checks its respective credentials in the request.
- If any authentication method fails, Kong denies the request with a
401 Unauthorizederror.
Configure the HMAC Auth Credentials
To create a consumer, please see Create the Consumer.
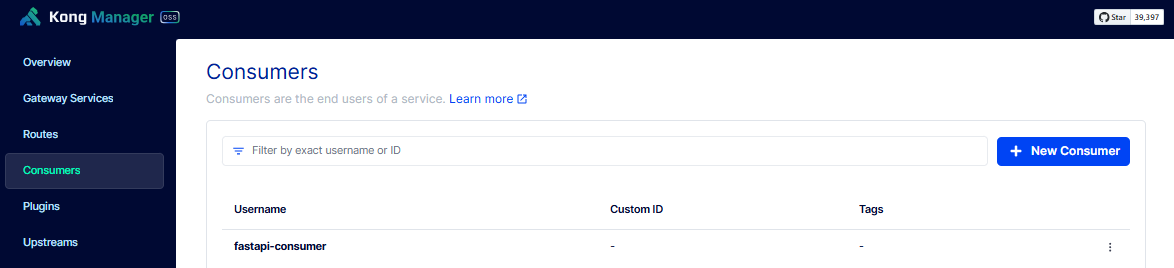
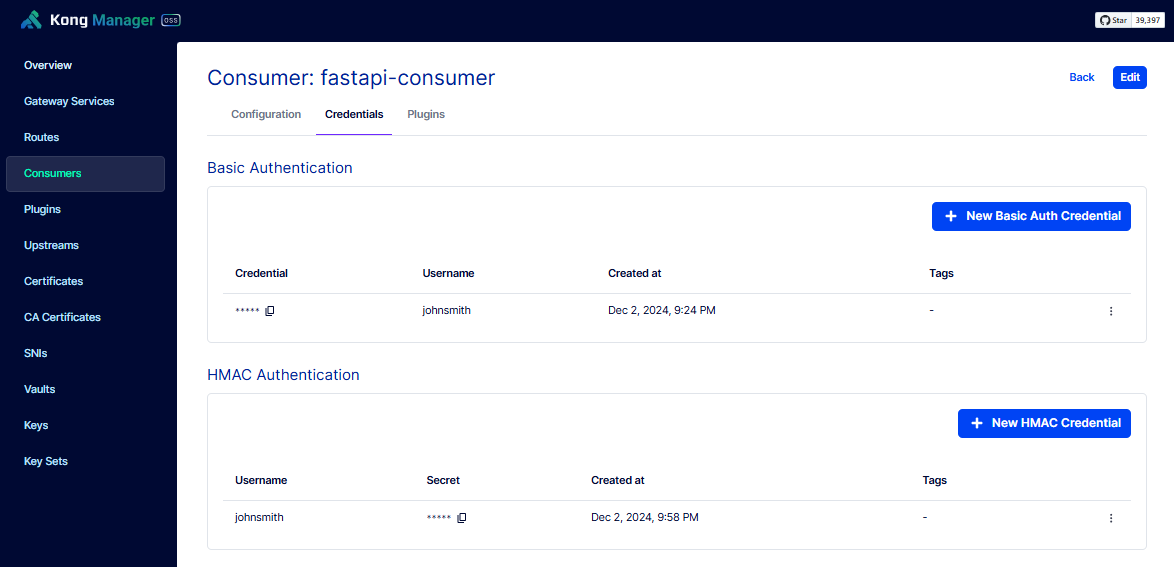
Select the consumer and click Credentials > New HMAC Credential. Enter the details below and click Save.
| Field | Value |
|---|---|
| Secret | !Qwaszxerdfcv |
| Username | johnsmith |
Get the GMT Date
The date will be used when calculating the MAC signature, as well as sending the request. It should also be the same as the time in your system. To verify, you can run this in WSL/Linux terminal:
$ date

Tue Dec  3 00:20:18 +08 2024
You will need to convert this to GMT. To simplify things, you can save the code below as generate-gmt-date.py:
import datetime

# Get the current UTC time in RFC 1123 format
current_date = datetime.datetime.utcnow().strftime('%a, %d %b %Y %H:%M:%S GMT')
print(current_date)
Run the script. It should return the correct GMT date.
$ python3 generate-gmt-date.py

Mon, 02 Dec 2024 16:23:54 GMT
Calculate HMAC Signature
You can use other HMAC Calculator online if the link below doesn't work.
Go to Calculate an HMAC with SHA or MD5 and set the following:
| Field | Value |
|---|---|
| function | sha-256` |
| hmac? | Enabled |
| Secret key | !Qwaszxerdfcv |
| Digest algorithm | SHA256 |
In the message field, enter:
date: Mon, 02 Dec 2024 16:23:54 GMT
dummy: Kong
@request-target: get /kong/healthy
It will return the encoded results. Copy the Base64 output:
lmCENhBAr+WhCzoL21aqRU44Y0C5HjS5sAU8zkmAoPE=
Test HMAC Auth
To setup Postman, please see Testing with Postman
Go back to Postman and create a new request. Rename it to Testing FastAPI via Kong - HMAC Auth. Enter the URL below.
http://localhost:8000/kong/healthy
Click the Headers tab and add the following:
| Key | Value |
|---|---|
| Date | Mon, 02 Dec 2024 16:23:54 GMT |
| Dummy | Kong |
Add a third header called Authorization and add the value:
hmac username="johnsmith", algorithm="hmac-sha256", headers="date dummy @request-target", signature="lmCENhBAr+WhCzoL21aqRU44Y0C5HjS5sAU8zkmAoPE="
Click Send. It should return the Healthy status.
