JWT Authentication
Overview
JSON Web Tokens (JWT) provide a secure and efficient way to authenticate users in Kong API Gateway. Kong validates JWTs to grant access to services without requiring repeated authentication checks.
-
Kong uses JWT plugins to validate tokens against a public key or shared secret.
- Tokens must contain valid claims like
iss,exp, andsub. - Claims ensure the integrity and authenticity of token data.
- Tokens must contain valid claims like
-
Clients include JWTs in the
Authorizationheader or as query parameters.- Ensures token information is passed securely.
- Supports flexible integration into different client applications.
-
JWTs can be signed using algorithms like RS256 or HS256.
- RS256 uses public-private key pairs for added security.
- HS256 relies on a shared secret for simplicity.
Lab Environment
This lab tests a Kong API Gateway deployment using a FastAPI endpoint. To simplify, both the containerized Kong API Gateway and the FastAPI endpoint are installed locally on a Windows 10 machine. A Docker Compose file is used to deploy Kong, along with other applications like Prometheus, Zipkin, the ELK Stack, and more.
Make sure that you have installed Docker Desktop.
Simply installing Docker in WSL2 without Docker Desktop may introduce some issue when configuring the communication between the containerized Kong API Gateway and the FastAPI application that is installed on the local host.
Pre-requisites
- Postman
- Setup the Kong API Gateway
- Setup the FastAPI Endpoint
- Kong Manager OSS Access
- Create the Routes and Services
- Create the Consumer
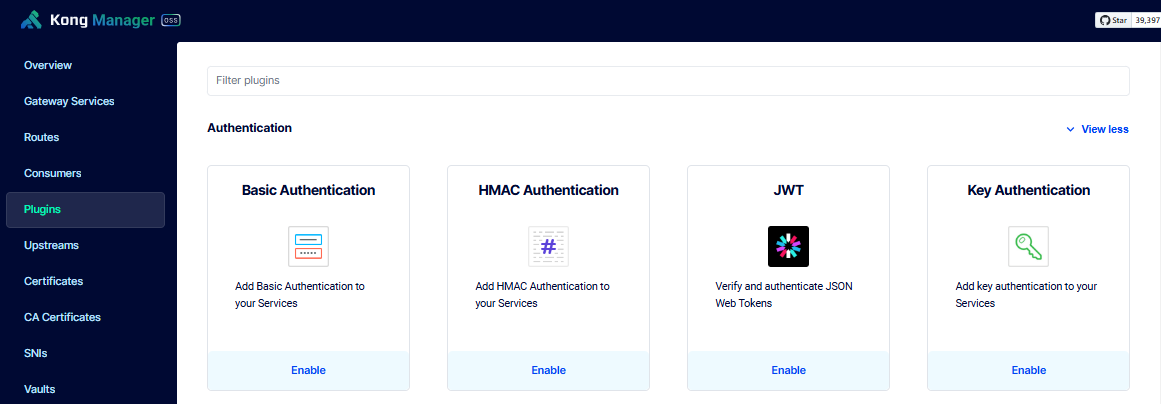
Enable the JWT Auth Plugin
To enable the plugin, go to Kong Manager > Plugins > New Plugin > Select JWT Authentication.
Configure the following settings under Advanced Parameters and click Save.
| Field | value |
|---|---|
| Instance Name | jwt-authentication |
| Claims to Verify | exp |
| Key Claim Name | iss |
| Maximum Expiration (in seconds) | 600 |
It should now appear on the plugin list.
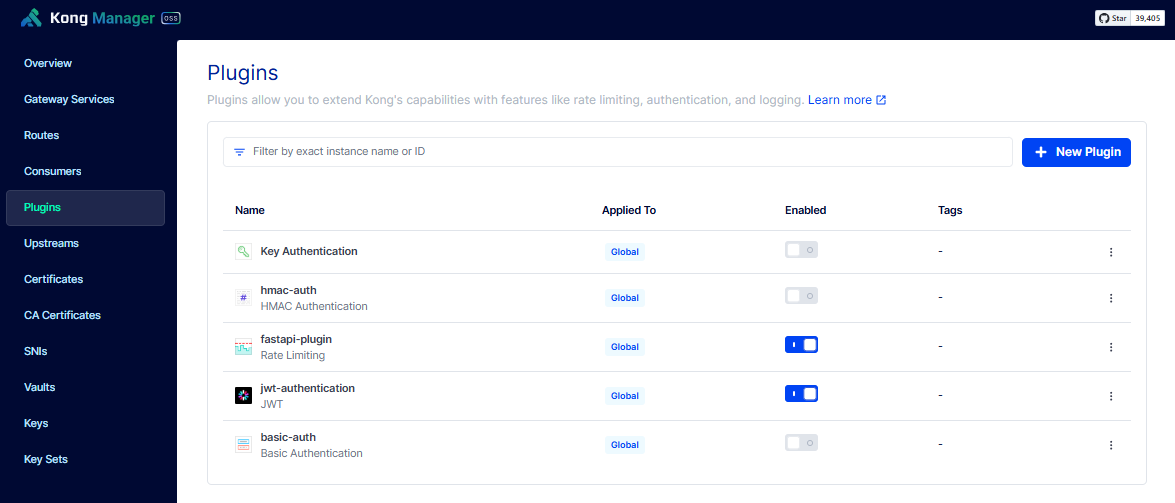
Make sure to disable other global authentication methods. For more information, please see Conflicting Global Authentication Methods
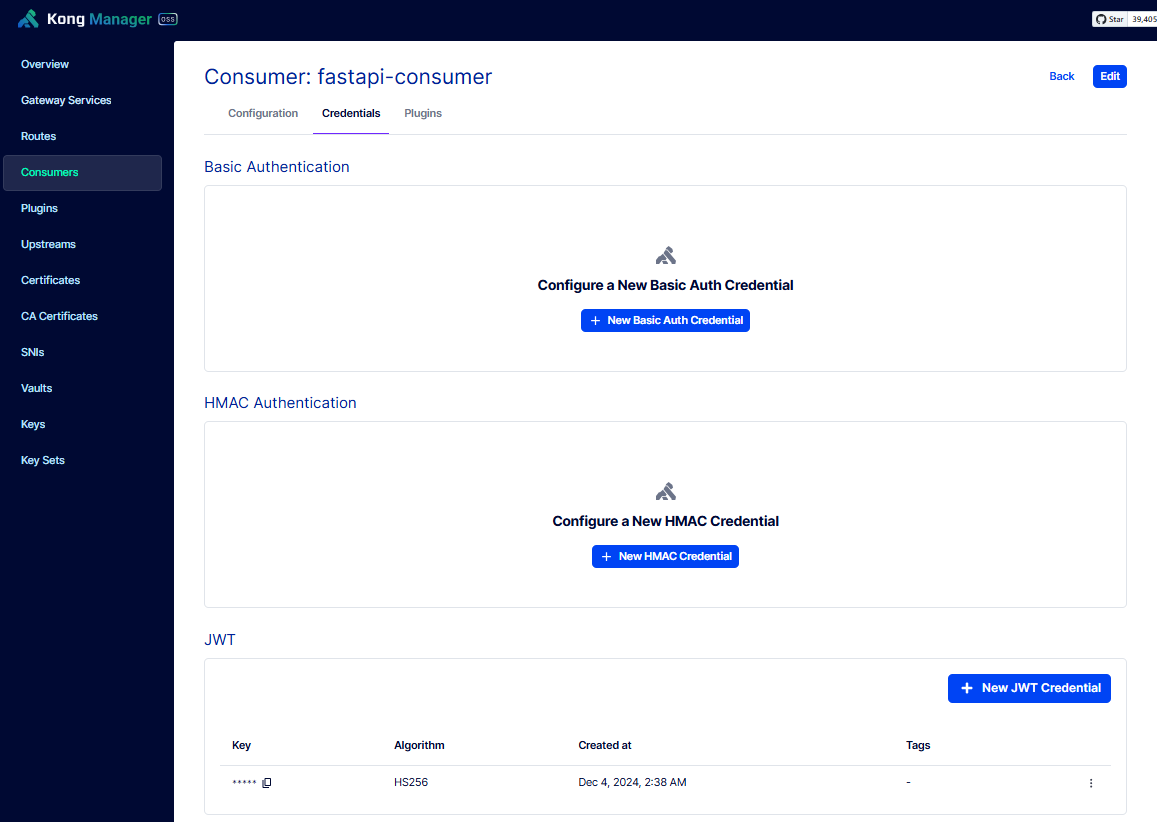
Configure the JWT Auth Credentials
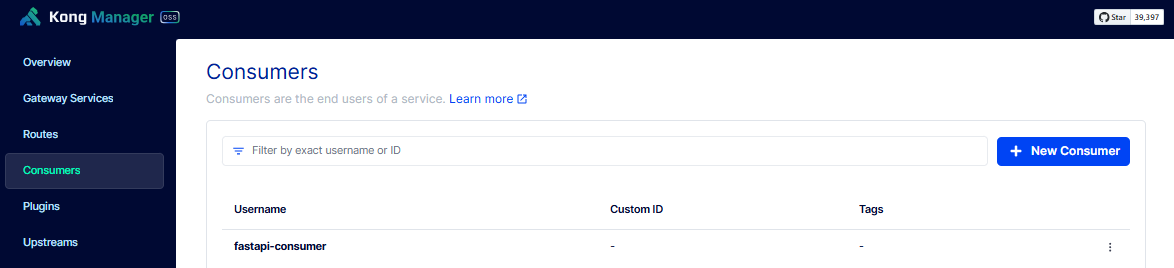
To create a consumer, please see Create the Consumer.
Select the consumer and click Credentials > New JWT Credential. Enter the details below and click Save.
| Field | Value |
|---|---|
| Key | jwttoken |
| Secret | !Qwaszxerdfcv |
| Algorithm | HS256 |
Create the Token (via jwt.io)
Initially, I encountered an token expired error in the Postman request when I try to use the token generated from jwt.io.
Another way to generate the token is to use the script in the next step.
First, go to an online epochconverter and get the current epoch time (this may change):
1733279271
Next, go to jwt.io and set the following:
-
Header:
{"alg": "HS256","typ": "JWT"} -
Payload (add the epoch time below):
{"exp": 1733279271,"iss": "jwttoken"} -
Verify Signature:
HMACSHA256(base64UrlEncode(header) + "." +base64UrlEncode(payload),!Qwaszxerdfcv) secret base64 encoded
Under the Encoded section, copy the token:
eyJhbGci*****************************
Create the Token (via script)
First, use Postman to test the JWT Auth token generated in the previous step. If it did not work, use the scripted approach to generate a token
Save the script below as get-iat-exp.py:
import time
import jwt  # Install with `pip install pyjwt`

# Prompt user for inputs
try:
    EXPIRATION_SECONDS = int(input("Enter the maximum expiration time in seconds: "))
except ValueError:
    print("Invalid input! Please enter a valid number for expiration time.")
    exit(1)

SECRET_KEY = input("Enter the secret key: ")
if not SECRET_KEY:
    print("Secret key cannot be empty.")
    exit(1)

ISSUER = input("Enter the issuer: ")
if not ISSUER:
    print("Issuer cannot be empty.")
    exit(1)

# Generate iat and exp
iat = int(time.time())          # Current epoch time
exp = iat + EXPIRATION_SECONDS  # Expiration time

payload = {
    "iat": iat,
    "exp": exp,
    "iss": ISSUER
}

# Generate JWT token
token = jwt.encode(payload, SECRET_KEY, algorithm="HS256")

if isinstance(token, bytes):
    token = token.decode('utf-8')


print("---------------------------------")
print("Generated Timestamps:")
print("iat (Issued At):", iat)
print("exp (Expiration):", exp)
print("---------------------------------")
print("Generated JWT Token:")
print(token)
Run the script:
python3 get-iat-exp.py
When prompted, enter the details below. These are the credentials configured on the Kong consumer.
Enter the maximum expiration time in seconds: 600
Enter the secret key:
Enter the issuer: jwttoken
The script will print the following. Copy the token:
---------------------------------
Generated Timestamps:
iat (Issued At): 1733285147
exp (Expiration): 1733285747
---------------------------------
Generated JWT Token:
eyJ0eXAiOsjdkjhsfkjshfkjshdfjhfdkjhdfkjshdfkjshdfkjsdhfjkshfkjsdhfkshdfkjsdhfkjshdfkshdfkj
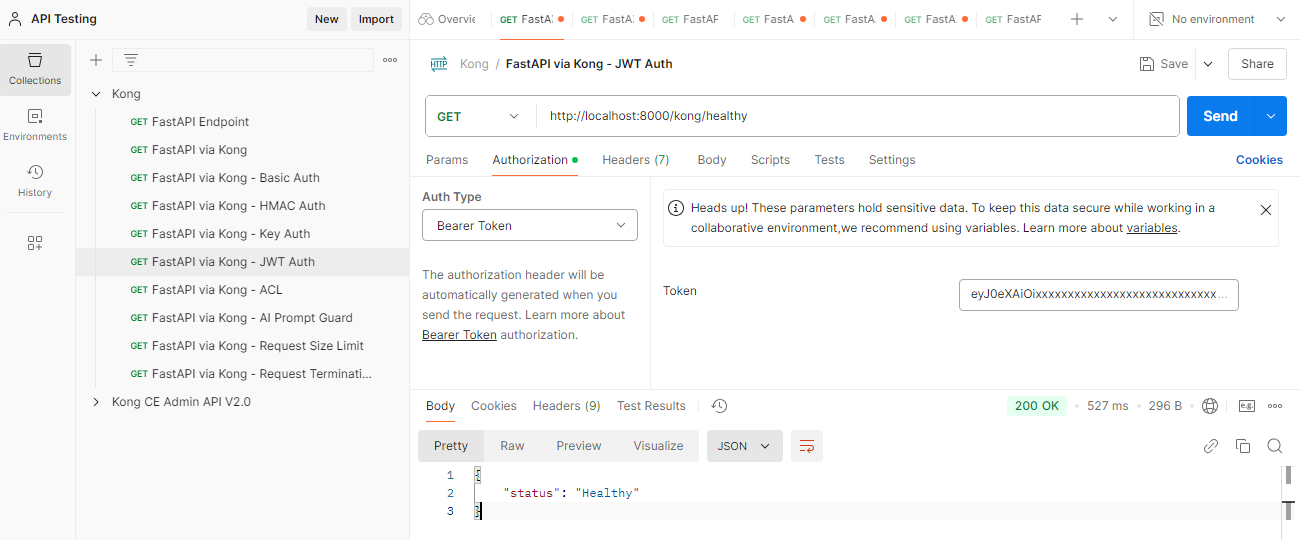
Test JWT Auth
To setup Postman, please see Testing with Postman
Open Postman and create a new request. Rename it to FastAPI via Kong - JWT Auth. Enter the URL below.
http://localhost:8000/kong/healthy
Click the Authorization tab > Auth Type dropdown bar, and select Bearer Token. Paste the token from the previous step in the Token field and click Send. It should return:
If you change the token to anything else, you'll get a bad token error:

If you got a token expired error, try using the scripted approach to generate the token and use the token for the Postman request.