Scheduling Pods
Schedulers
What to schedule? Every pod has a field called nodeName that is not set by default when you create the manifest file. This is automatically set by Kubernetes.
apiVersion: v1
kind: Pod
metadata:
  name: myapp
  labels:
    name: myapp
spec:
  containers:
  - name: myapp
    image: <Image>
    resources:
      limits:
        memory: "128Mi"
        cpu: "500m"
    ports:
      - containerPort: <Port>
  nodeName: node01              # No need to add this field.
Which node to schedule? The scheduler then goes through all the pods and looks for Pods that doesn't have this property.
Schedule the pod
Once Kubernetes identifies the candidate pods, it schedule the pod on the node by setting the nodeName property to the name of the node. This is called binding the object.
Manual Scheduling
If there is no scheduler, you can manually assign a Pod to a node by setting the nodeName property in the manifest. This can only be done during Pod creation and cannot be changed afterward. To move an existing Pod to a different node, you must create a Binding object.
Binding Object Example:
# binding.yml
apiVersion: v1
kind: Binding
metadata:
  name: myapp
target:
  apiVersion: v1
  kind: Node
  name: node01  # Name of the node to schedule the Pod on
Convert the YAML to JSON for the POST request:
{
  "apiVersion": "v1",
  "kind": "Binding",
  "metadata": {
    "name": "myapp"
  },
  "target": {
    "apiVersion": "v1",
    "kind": "Node",
    "name": "node01"
  }
}
Finally, send a POST request to the Pod binding API:
curl --request POST \
-H "Content-Type:application/json" \
-d @path/to/binding.json \
http://$SERVER/api/v1/namespaces/default/pods/$PODNAME/binding
Scheduling Pods
Besides specifying the nodeName property in the Pod manifest, Pod scheduling on nodes in a cluster can be controlled using several mechanisms:
In addition to these, there are other concepts that we can use to influence the scheduling of Pods.
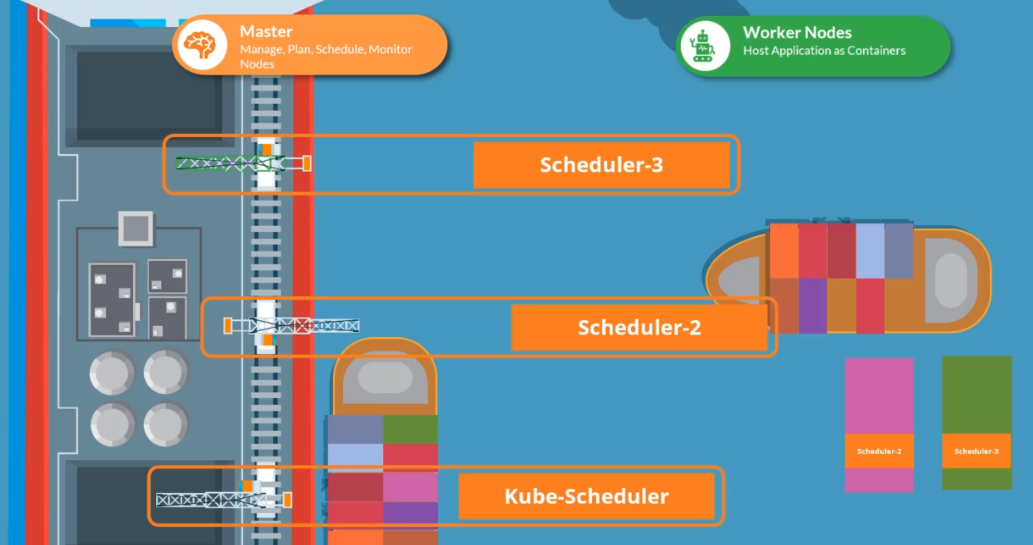
Multiple Schedulers
Kubernetes is flexible, allowing you to create and deploy a custom scheduler. You can run both the default and custom schedulers at the same time.
Deploy an Additional Scheduler
To set up an additional scheduler, download the kube-scheduler binary and create a second service file:
wget https://storage.googleapis.com/kubernetes-release/release/v1.12.0/bin/linux/amd64/kube-scheduler
Set up the default scheduler:
# /etc/systemd/system/kubelet.service
# this is the default scheduler
.....

ExecStart=/usr/bin/kubelet \
    --config=/etc/kubernetes/config/kube-scheduler.yaml
    --scheduler-name=default-scheduler
Then, configure the custom scheduler:
# /etc/systemd/system/custom-scheduler.service
# this is the custom scheduler
.....

ExecStart=/usr/bin/kubelet \
    --config=/etc/kubernetes/config/kube-scheduler.yaml
    --scheduler-name=my-custom-scheduler
Next, create a Pod manifest for the custom scheduler:
# /etc/kubernetes/manifests/my-custom-scheduler.yaml

apiVersion: v1
kind: Pod
metadata:
  name: my-custom-scheduler
  namespace: kube-system
spec:
  containers:
  - name: my-custom-scheduler
    image: k8s.gcr.io/kube-scheduler-amd64:v1.11.3
    command:
      - kube-scheduler
      - --address=127.0.0.1
      - --kubeconfig=/etc/kubernets/scheduler.conf
      - --leader-elect=true
      - --lock-object-name=my-custom-scheduler
      - --scheduler-name=my-custom-scheduler
Apply the manifest to create the custom scheduler Pod:
kubectl apply -f /etc/kubernetes/manifests/my-custom-scheduler.yaml
Finally, verify both schedulers are running:
kubectl get pods -n kube-system | grep schedule
Output:
NAME                          READY   STATUS    RESTARTS   AGE
kube-scheduler-master         1/1     Running   0          4h52m
my-custom-scheduler           1/1     Running   0          24s
Use the Custom Scheduler
To assign a Deployment or Pod to use the custom scheduler, specify the schedulerName in the Pod definitions file:
# sample-pod.yaml
apiVersion: v1
kind: Pod
metadata:
  name: myapp
  labels:
    name: myapp
spec:
  containers:
  - name: myapp
    image: <Image>
    schedulerName: my-custom-scheduler
Apply the configuration to create the Pod:
kubectl apply -f pod-sample.yaml
If the custom scheduler has an issue, the Pod will stay in Pending status. Otherwise, it should show as Running.
kubectl get pods
Output:
NAME      READY   STATUS    RESTARTS   AGE
myapp     1/1     Pending   0          4h52m