Kustomization File
Overview
A Kustomization file is a YAML file that defines how to customize your Kubernetes resources.
- Declares how to build and modify resources
- Allows adding labels, annotations, or overrides
- Uses a simple YAML structure with clear sections
A basic kustomization.yaml usually includes:
apiVersion: kustomize.config.k8s.io/v1beta1
kind: Kustomization

resources:
- deployment.yaml
- service.yaml

commonLabels:
  app: myapp

namePrefix: dev-
Where:
apiVersionandkinddefine the type of Kubernetes object.resourceslists the base YAML files to customize.commonLabelsadds a label to all resources.namePrefixadds a prefix to all resource names.
Each section tells kustomize what to do with your base resources during the build process.
apiVersion and kind
In a simple kustomization.yaml file, you can set values like apiVersion and kind.
- These fields tell Kubernetes what type of file this is
apiVersionandkindare optional but recommended- Default values will be used if not set manually
- It’s safer to hardcode them
Hardcoding these values helps avoid future issues if the tool updates or changes default behavior.
Order Matters
A kustomization.yaml processes sections in this order:
- Resources
- Generators
- Transformers
- Validators
This matters because changes are applied step-by-step. For example, resources are loaded first, then transformed.
resources:
- base-app.yaml

configMapGenerator:
- name: my-config
  literals:
  - DEBUG=true

transformers:
- label-transformer.yaml
In this example:
- A generator creates new resources (like config maps or secrets).
- A transformer modifies existing resources (like adding labels).
Each list helps you define how your app should behave in different environments.
Convenience Fields
Most of the time, you won’t have to create custom transformers or generators. kustomize includes simpler shortcuts, like:
commonLabels(adds labels to all resources)configMapGenerator(generates a config map)patchesorpatchesStrategicMerge(modifies resources)
These are easier to understand and use daily. Under the hood, these fields still behave like transformers or generators.
configMapGenerator:
- name: site-config
  literals:
  - SITE_NAME=Example
You get the power of customization, with simpler syntax.
Lab: NGINX
To set things up quickly, we’ll use Killercoda, a free online Kubernetes playground. It includes a working cluster, so there's nothing to install.
-
Go to Killercoda
-
Sign in using your GitHub or Gmail account
infoYou can also setup a local cluster using Kind.
Make sure to set the context using
current-contextcommand. Please see this page. -
Once the terminal loads, run the following command to clone the lab files:
git clone https://github.com/joseeden/labs-kustomize.git -
Navigate to the NGINX sample project folder where the NGINX manifests are:
cd labs-kustomize/code-samples/01-sample-nginx/01-sample-nginx/├── nginx-deployment.yaml└── nginx-service.yaml -
Create the Kustomization file which should contain the resources section:
$ cat > kustomization.yamlresources:- nginx-deployment.yaml- nginx-service.yamlcommonLabels:company: marine-paradeIt will also the customizations that we want to apply, such as adding a common label to all the resources that will be created.
infoThe
commonLabelsfield has been deprecated. Please uselabelsinstead.The new Kustomization should look like this:
resources:- nginx-deployment.yaml- nginx-service.yamllabels:- includeSelectors: truepairs:company: marine-parade -
Run the kustomize build command in the folder with your kustomization.yaml:
kustomize build . -
This command finds the kustomization.yaml, loads the listed resources, applies the transformations (like labels), and prints the final YAML output.
Example output:
apiVersion: v1kind: Servicemetadata:labels:company: marine-paradename: nginx-servicespec:ports:- port: 80protocol: TCPtargetPort: 80selector:app: nginxcompany: marine-paradetype: ClusterIP---apiVersion: apps/v1kind: Deploymentmetadata:labels:company: marine-paradename: nginx-deploymentspec:replicas: 1selector:matchLabels:app: nginxcompany: marine-paradetemplate:metadata:labels:app: nginxcompany: marine-paradespec:containers:- image: nginx:latestname: nginxports:- containerPort: 80As you can see, both the Service and Deployment now include the label company: marine-parade.
metadata:labels:company: marine-paradeYou will also get the same output when you run the
kubectlcommand:kubectl kustomize . # directory containing the kustomization
Creating the Resources
Note that the build command combines all the manifests and applies the defined transformations, but it does not deploy the Kubernetes resources. To apply the output directly to your cluster, pipe it to kubectl apply:
kustomize build . | kubectl apply -f
If you setup a local cluster using Kind., you will need to pass the context argument.
$ kustomize build . | kubectl apply -f -

service/nginx-service created
deployment.apps/nginx-deployment created
Check if the resources are created:
$ kubectl get pods -A  | grep nginx

default              nginx-deployment-9d64c6656-6ww4w             1/1     Running            0                6m5s
$ kubectl get svc -A   | grep nginx

default       nginx-service             ClusterIP   10.96.158.6     <none>        80/TCP                   6m30s
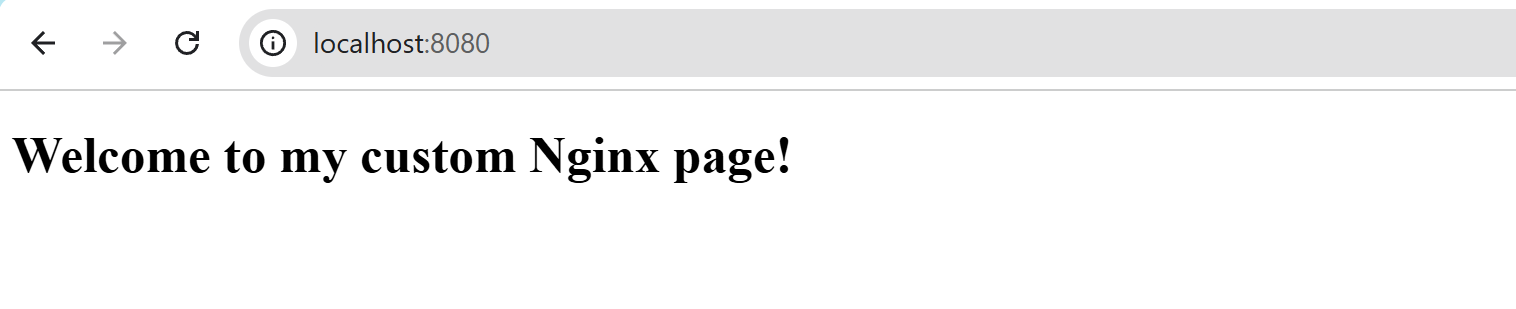
To access the NGINX service, you can use port-forwarding to map your local port 8080 to the service's port 80:
kubectl port-forward svc/nginx --address 0.0.0.0 8080:80
Once the port-forwarding is active, open your web browser and navigate to http://localhost:8080:
Deleting the Resources
You can use the previous command but change the apply to delete:
kustomize build . | kubectl delete -f
You can also delete it by passing -k to kubectl:
kubectl delete -k .
The -k flags means Kustomize in this case.
Lab: Wordpress
Let’s try another example using WordPress. This project shows how to manage multiple versions of the same app using Kustomize overlays.
- Base files live in the
base/folder - Version-specific changes live in
v2/andv3/overlays - Each version has its own namespace
This structure keeps common config in one place, and lets you apply small changes per version.
02-sample-wordpress/
└── project-seaview
    ├── base
    │   ├── deployment.yml
    │   ├── kustomization.yml
    │   └── service.yml
    ├── v2
    │   └── kustomization.yml
    └── v3
        ├── kustomization.yml
        └── mysql
            ├── deployment.yml
            ├── kustomization.yml
            ├── secret.yml
            └── service.yml
Version 1: Basic WordPress
This version lives in the base/ folder.
- Uses WordPress image
- Exposes it with a LoadBalancer service
- Stores data in an
emptyDirvolume
base/deployment.yaml:
apiVersion: apps/v1
kind: Deployment
metadata:
  name: wordpress
  labels:
    app: wordpress
spec:
  selector:
    matchLabels:
      app: wordpress
  strategy:
    type: Recreate
  template:
    metadata:
      labels:
        app: wordpress
    spec:
      containers:
      - image: wordpress:4.8-apache
        name: wordpress
        ports:
        - containerPort: 80
        volumeMounts:
        - name: wordpress-persistent-storage
          mountPath: /var/www/html
      volumes:
      - name: wordpress-persistent-storage
        emptyDir: {}
base/service.yaml:
apiVersion: v1
kind: Service
metadata:
  name: wordpress
  labels:
    app: wordpress
spec:
  ports:
    - port: 80
  selector:
    app: wordpress
  type: LoadBalancer
base/kustomization.yaml:
resources:
- deployment.yml
- service.yml

labels:
- includeSelectors: true
  pairs:
    version: v1.0.0
Before applying the manifests, make sure you are in the correct directory:
cd code-samples/02-sample-wordpress/
Create a namespace:
kubectl create ns version-1
Apply the resources:
kubectl apply -n version-1 -k ./base
Expected result:
service/wordpress created
deployment.apps/wordpress created
This deploys version 1 using only the base config and version-specific labels.
Version 2: With Overlays
To deploy version 2, we create an overlay config in the v2 folder.
resourcespoints to thebaseconfig- It inherits all base settings
- Only adds version label override
v2/kustomization.yaml
resources:
- ../base

labels:
- includeSelectors: true
  pairs:
    version: v2.0.0
Create a new namespace:
kubectl create ns version-2
As mentioned in the NGINX lab, we can use kubectl or the kustomize command and piped the output to kubectl apply:
kustomize build ./v2 | kubectl apply -n version-2 -f -
Now you have both versions deployed independently. Verify the pods and services for version 1:
$ kubectl get pods -n version-1
NAME                        READY   STATUS    RESTARTS   AGE
wordpress-dd9cccccd-7crzv   1/1     Running   0          15m
$ kubectl get svc -n version-1
NAME        TYPE           CLUSTER-IP     EXTERNAL-IP   PORT(S)        AGE
wordpress   LoadBalancer   10.96.82.128   <pending>     80:31668/TCP   17m
For version 2:
$ kubectl get pods -n version-2
NAME                         READY   STATUS    RESTARTS   AGE
wordpress-7d6bb5f5bf-g5dt7   1/1     Running   0          5m40s
$ kubectl get svc -n version-2
NAME        TYPE           CLUSTER-IP      EXTERNAL-IP   PORT(S)        AGE
wordpress   LoadBalancer   10.96.212.210   <pending>     80:32111/TCP   6m41s
You’ll see that each version has its own LoadBalancer and internal cluster IP. To access the WordPress site for both apps, you can use port-forwarding:
Terminal 1:
kubectl port-forward -n version-1 svc/wordpress 8081:80
Terminal 2:
kubectl port-forward -n version-2 svc/wordpress 8082:80
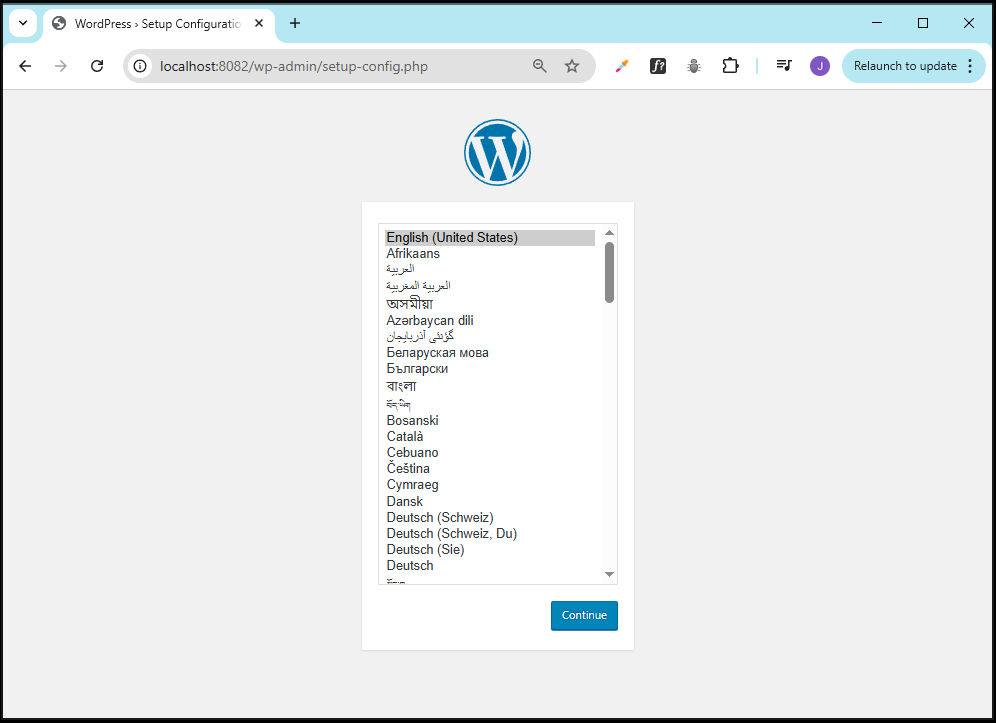
Then open your browser:
- http://localhost:8081 ➔ Version 1
- http://localhost:8082 ➔ Version 2
You now have two independent versions of the same app running, each managed with minimal duplicated config.

On another tab:
Version 3: Adding MySQL Database
In version 3, we add a MySQL database to the setup. Like before, we create a kustomization.yaml in the v3 folder with these changes:
resources:
- ../base
- mysql

labels:
- includeSelectors: true
  pairs:
    version: v3.0.0
Since previous versions don't have database files, we put MySQL manifests in v3/mysql/ and reference them in the overlay.
v3/mysql/db-deployment.yaml:
apiVersion: apps/v1
kind: Deployment
metadata:
  name: mysql
  labels:
    app: mysql
spec:
  selector:
    matchLabels:
      app: mysql
  strategy:
    type: Recreate
  template:
    metadata:
      labels:
        app: mysql
    spec:
      containers:
        - image: mysql:5.6
          name: mysql
          env:
            - name: MYSQL_ROOT_PASSWORD
              valueFrom:
                secretKeyRef:
                  name: mysql-creds
                  key: password
            - name: MYSQL_DATABASE
              valueFrom:
                secretKeyRef:
                  name: mysql-creds
                  key: database
          ports:
            - containerPort: 3306
              name: mysql
          volumeMounts:
            - name: mysql-persistent-storage
              mountPath: /var/lib/mysql
      volumes:
        - name: mysql-persistent-storage
          emptyDir: {}
v3/mysql/db-service.yaml:
apiVersion: v1
kind: Service
metadata:
  name: mysql
  labels:
    app: mysql
spec:
  ports:
    - port: 3306
  selector:
    app: mysql
v3/mysql/db-secret.yaml:
apiVersion: v1
kind: Secret
metadata:
  name: mysql-creds
type: Opaque
data:
  password: ********
  database: ********
v3/mysql/kustomization.yaml:
resources:
- db-deployment.yml
- db-service.yml
- db-secret.yml
Create the new namespace:
kubectl create ns version-3
Apply the resources in v3:
kubectl apply -n version-3 -k ./v3
Expected output:
secret/mysql-creds created
service/mysql created
service/wordpress created
deployment.apps/mysql created
deployment.apps/wordpress created
This way, version 3 adds the MySQL database alongside WordPress, reusing the base config and adding new resources only where needed.
Verify the pods and services are running:
$ kubectl get pods -n version-3
NAME                         READY   STATUS    RESTARTS   AGE
mysql-6fd4469997-pcn9g       1/1     Running   0          103s
wordpress-68466676bd-wscsj   1/1     Running   0          103s

$ kubectl get svc -n version-3
NAME        TYPE           CLUSTER-IP     EXTERNAL-IP   PORT(S)        AGE
mysql       ClusterIP      10.96.54.189   <none>        3306/TCP       2m15s
wordpress   LoadBalancer   10.96.199.47   <pending>     80:31773/TCP   2m15s
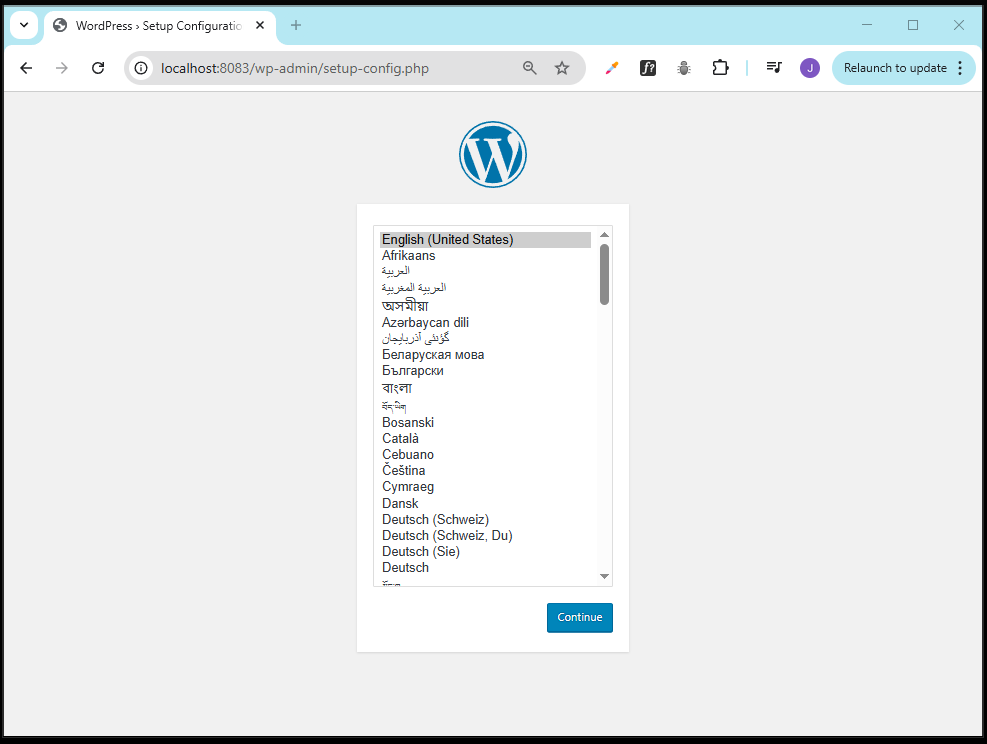
Use port-forwarding to access the Wordpress app locally:
kubectl port-forward -n version-2 svc/wordpress 8083:80
Then open your browser and access http://localhost:8083.
Press Continue > Let's go
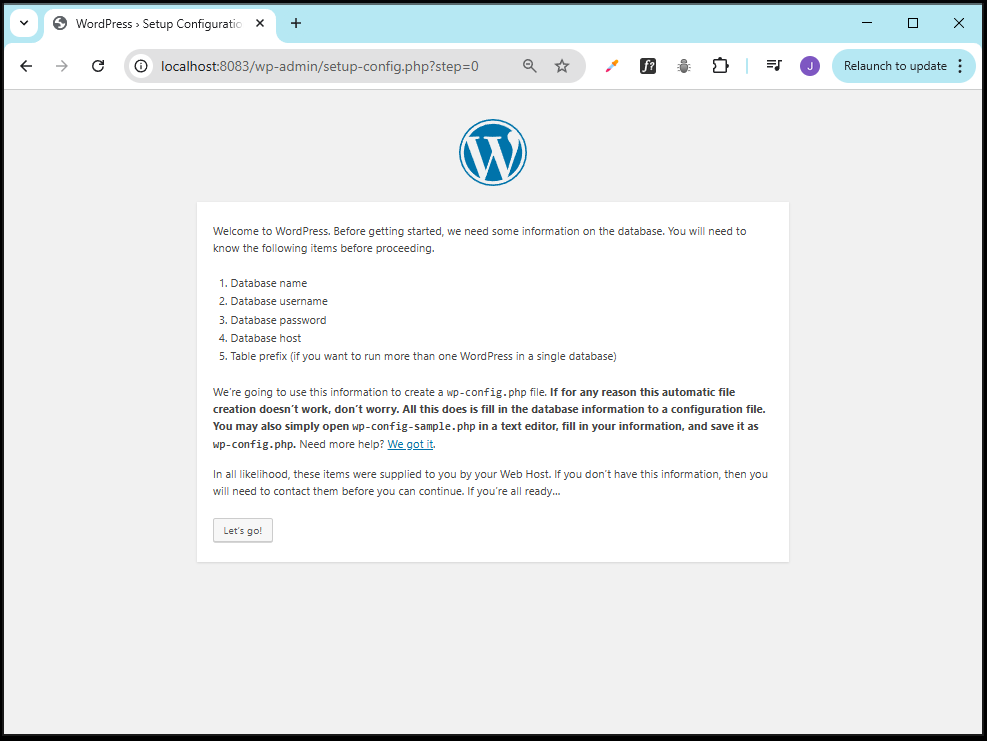
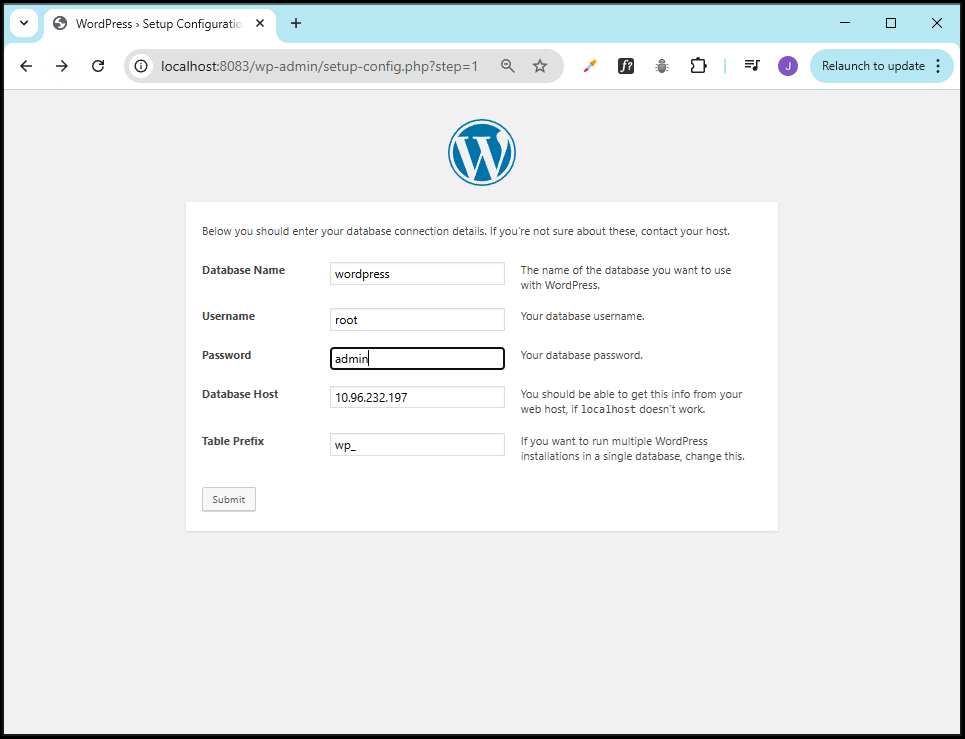
On the database setup page, enter the username and password.
For the database host, use the ClusterIP of the mysql service, then click Submit.
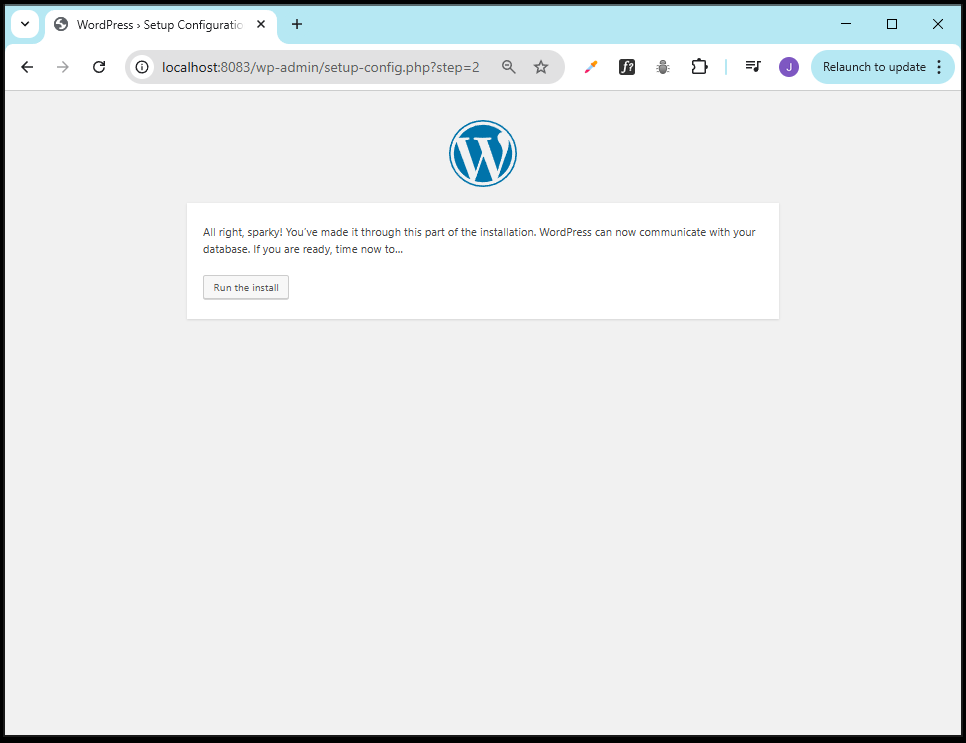
If you see the Run the install screen, it means WordPress has successfully connected to the MySQL database.
Cleaning Up
To remove the WordPress resources:
kubectl delete -n version-3 -k ./v3
If you used port-forwarding, find and stop the process:
ps -ef | grep port-forwar
Then kill it:
sudo kill -9 <PID>