Managing Directories
The Problem with Too Many YAML Files
When all YAML files are in one folder, applying them is easy. For example:
project-abc/
├── api-deployment.yaml
├── api-service.yaml
├── db-deployment.yaml
└── db-service.yaml
You can apply all these YAMLs at once using:
kubectl apply -f project-abc/
As the number of YAML files grows, keeping them in one place becomes messy. It's best to split them into subdirectories for better organization:
project-abc-configs/
├── api/
│   ├── deployment.yaml
│   └── service.yaml
├── db/
│   ├── deployment.yaml
│   └── service.yaml
├── ingress/
│   └── ingress.yaml
└── config/
    └── configmap.yaml
The Drawback of Subdirectories
Once files are moved into subdirectories, you need to apply each folder separately.
- Run
kubectl apply -f project-abc/api - Then run
kubectl apply -f project-abc/dband so on - Must repeat for each new subdirectory
- Adds effort every time you update or deploy
This makes automation harder and wastes time as your project scales.
Using Kustomization.yaml in Root
You can solve the issue of repeated kubectl by adding a kustomization.yaml file in your root project-abc/ directory.
project-abc-configs/
├── kustomization.yaml
├── api/
│   ├── deployment.yaml
│   └── service.yaml
└── db/
    ├── deployment.yaml
    └── service.yaml
In the kustomization.yaml, you need to list all YAML files using their relative paths:
apiVersion: kustomize.config.k8s.io/v1beta1
kind: Kustomization

resources:
  - api/deployment.yaml
  - api/service.yaml
  - db/deployment.yaml
  - db/service.yaml
This helps keep things manageable and modular, especially in larger projects. To apply the resources:
kubectl apply -k project-abc
Nested Kustomization Files
As the number of directories grows, the root kustomization.yaml becomes too long and messy. Consider the files below:
project-abc-configs/
├── kustomization.yaml
├── api/
│ ├── deployment.yaml
│ └── service.yaml
├── db/
│ ├── deployment.yaml
│ └── service.yaml
├── kafka/
│ ├── deployment.yaml
├── cache/
│ ├── deployment.yaml
├── ingress/
│ └── ingress.yaml
└─�─ config/
└── configmap.yaml
We can add add all the paths to the root kustomization.yaml, but it becomes error-prone and difficult to organize:
apiVersion: kustomize.config.k8s.io/v1beta1
kind: Kustomization

resources:
  - api/deployment.yaml
  - api/service.yaml
  - db/deployment.yaml
  - db/service.yaml
  - kafka/deployment.yaml
  - cache/deployment.yaml
  - ingress/ingress.yaml
  - config/configmap.yaml
Even though this works, it’s no longer neat or scalable. Instead of listing every YAML in the root file, add a kustomization.yaml inside each subfolder.
project-abc-configs/
├── kustomization.yaml
├── api/
│   ├── deployment.yaml
│   ├── kustomization.yaml
│   └── service.yaml
├── db/
│   ├── deployment.yaml
│   ├── kustomization.yaml
│   └── service.yaml
├── kafka/
│   ├── deployment.yaml
│   ├── kustomization.yaml
├── cache/
│   ├── deployment.yaml
│   ├── kustomization.yaml
├── ingress/
│   └── ingress.yaml
│   ├── kustomization.yaml
└── config/
    └── configmap.yaml
    └── kustomization.yaml
The root kustomization.yaml only needs to point to the folder names:
apiVersion: kustomize.config.k8s.io/v1beta1
kind: Kustomization

resources:
  - api
  - db
  - kafka
  - cache
  - ingress
  - config
The Kustomization file for each subfolder will just need to list the YAML files only for that folder. For example:
-
project-abc/api/kustomization.yaml:resources:- deployment.yaml- service.yaml -
project-abc/db/kustomization.yaml:resources:- deployment.yaml- service.yaml -
project-abc/kafka/kustomization.yaml:resources:- deployment.yaml -
project-abc/cache/kustomization.yaml:resources:- deployment.yaml -
project-abc/ingress/kustomization.yaml:resources:- ingress.yaml -
project-abc/config/kustomization.yaml:resources:- configmap.yaml
Kustomize will look into each folder and build everything based on these nested files.
Deploy Everything
After setting it up, you only need one command to deploy all:
kustomize build project-abc | kubectl apply -f -
Or with kubectl only:
kubectl apply -k project-abc
This keeps your setup clean and scalable, no matter how many subdirectories you add later.
Lab: Deploy a Multi-Tier App
This lab shows how to deploy a basic multi-tier application using Kustomize. Each service uses a lightweight container to simulate real functionality.
project-abc-configs/
├── kustomization.yaml
├── api/
│   ├── deployment.yaml
│   ├── kustomization.yaml
│   └── service.yaml
├── db/
│   ├── deployment.yaml
│   ├── kustomization.yaml
│   └── service.yaml
├── kafka/
│   ├── deployment.yaml
│   ├── kustomization.yaml
├── cache/
│   ├── deployment.yaml
│   ├── kustomization.yaml
├── ingress/
│   ├── ingress.yaml
│   ├── kustomization.yaml
└── config/
    ├── configmap.yaml
    └── kustomization.yaml
Setup the Kubernetes Cluster
Before getting started, make sure you have a running Kubernetes cluster. You can set up a local cluster using tools like:
Clone the Repository
All the files are in this Github repo: joseeden/labs-kustomize
git clone https://github.com/joseeden/labs-kustomize.git
Go to the project directory:
cd code-samples/03-multi-tier-app
Install NGINX Ingress Controller
To handle the ingress resources, we must first install the NGINX Ingress Controller:
kubectl apply -f https://raw.githubusercontent.com/kubernetes/ingress-nginx/controller-v1.10.0/deploy/static/provider/cloud/deploy.yaml
Wait for the ingress controller to be ready:
watch kubectl get pods -n ingress-nginx
Output:
NAME                                        READY   STATUS              RESTARTS   AGE
ingress-nginx-admission-create-87std        0/1     Completed           0          34s
ingress-nginx-admission-patch-q5xxk         0/1     Completed           0          34s
ingress-nginx-controller-7dcdbcff84-c592j   1/1     Running             0          34s
Not all pods will necessarily show a Running status. The two pods marked as Completed are Kubernetes Jobs, which are expected to run once and then exit.
The key thing to check is that the controller pod is in a Running state. This indicates the Ingress controller is active and working correctly.
Deploy the Project
Create the namespace first:
kubectl create ns multitier
From the 03-multi-tier-app folder:
kubectl apply -k . -n multitier
Output:
configmap/app-config created
service/api created
service/db created
deployment.apps/api created
deployment.apps/cache created
deployment.apps/db created
deployment.apps/kafka created
ingress.networking.k8s.io/api-ingress created
Verify by checking the resources:
watch kubectl get all -n multitier
Output:
NAME                    READY   UP-TO-DATE   AVAILABLE   AGE
deployment.apps/api     1/1     1            1           107s
deployment.apps/cache   1/1     1            1           107s
deployment.apps/db      1/1     1            1           107s
deployment.apps/kafka   1/1     1            0           107s

NAME                         READY   STATUS    RESTARTS   AGE
pod/api-558c8b64d4-ql467     1/1     Running   0          4m30s
pod/cache-848c4dbb8c-9f9kr   1/1     Running   0          4m30s
pod/db-7c476c8954-ljldj      1/1     Running   0          4m30s
pod/kafka-b6f87596d-4gwvh    1/1     Running   0          4m30s

NAME          TYPE        CLUSTER-IP      EXTERNAL-IP   PORT(S)    AGE
service/api   ClusterIP   10.96.129.0     <none>        80/TCP     4m30s
service/db    ClusterIP   10.96.246.129   <none>        5432/TCP   4m30s

NAME                    READY   UP-TO-DATE   AVAILABLE   AGE
deployment.apps/api     1/1     1            1           4m30s
deployment.apps/cache   1/1     1            1           4m30s
deployment.apps/db      1/1     1            1           4m30s
deployment.apps/kafka   1/1     1            1           4m30s

NAME                               DESIRED   CURRENT   READY   AGE
replicaset.apps/api-558c8b64d4     1         1         1       4m30s
replicaset.apps/cache-848c4dbb8c   1         1         1       4m30s
replicaset.apps/db-7c476c8954      1         1         1       4m30s
replicaset.apps/kafka-b6f87596d    1         1         1       4m30s
Testing
Once the application is deployed, use the following steps to verify that each component is working as expected.
- API reachable through Ingress and port-forward
- PostgreSQL DB is up and accessible
- Kafka UI loads successfully in browser
- Redis responds to
PINGcommand - ConfigMap is applied and available
API
Verify the API is running and reachable. Open two terminals to run port-forwardign and the test:
-
Terminal 1:
kubectl port-forward -n multitier svc/api 8080:80 -
Terminal 2:
curl http://localhost:8080Expected output:
Hello from API
DB
Check if the PostgreSQL database is running correctly. View logs:
kubectl logs -n multitier deployment/db
You should see this in the output:
PostgreSQL init process complete; ready for start up.

2022-03-28 22:52:33.528 UTC [1] LOG:  starting PostgreSQL 15.13 (Debian 15.13-1.pgdg120+1) on x86_64-pc-linux-gnu, compiled by gcc (Debian 12.2.0-14) 12.2.0, 64-bit
2022-03-28 22:52:33.529 UTC [1] LOG:  listening on IPv4 address "0.0.0.0", port 5432
2022-03-28 22:52:33.529 UTC [1] LOG:  listening on IPv6 address "::", port 5432
2022-03-28 22:52:33.538 UTC [1] LOG:  listening on Unix socket "/var/run/postgresql/.s.PGSQL.5432"
2022-03-28 22:52:33.551 UTC [66] LOG:  database system was shut down at 2022-03-28 22:52:33 UTC
2022-03-28 22:52:33.569 UTC [1] LOG:  database system is ready to accept connections
Optional: Connect using psql (if installed):
-
Terminal 1:
kubectl port-forward -n multitier svc/db 5432:5432 -
Terminal 2:
psql -h localhost -U postgres -d postgresExpected output:
psql (17.5 (Ubuntu 17.5-1.pgdg22.04+1), server 15.13 (Debian 15.13-1.pgdg120+1))Type "help" for help.postgres=#infoYou may need to install the
psql clientusing:sudo apt-get updatesudo apt-get install -y postgresql-client postgresql-client-common
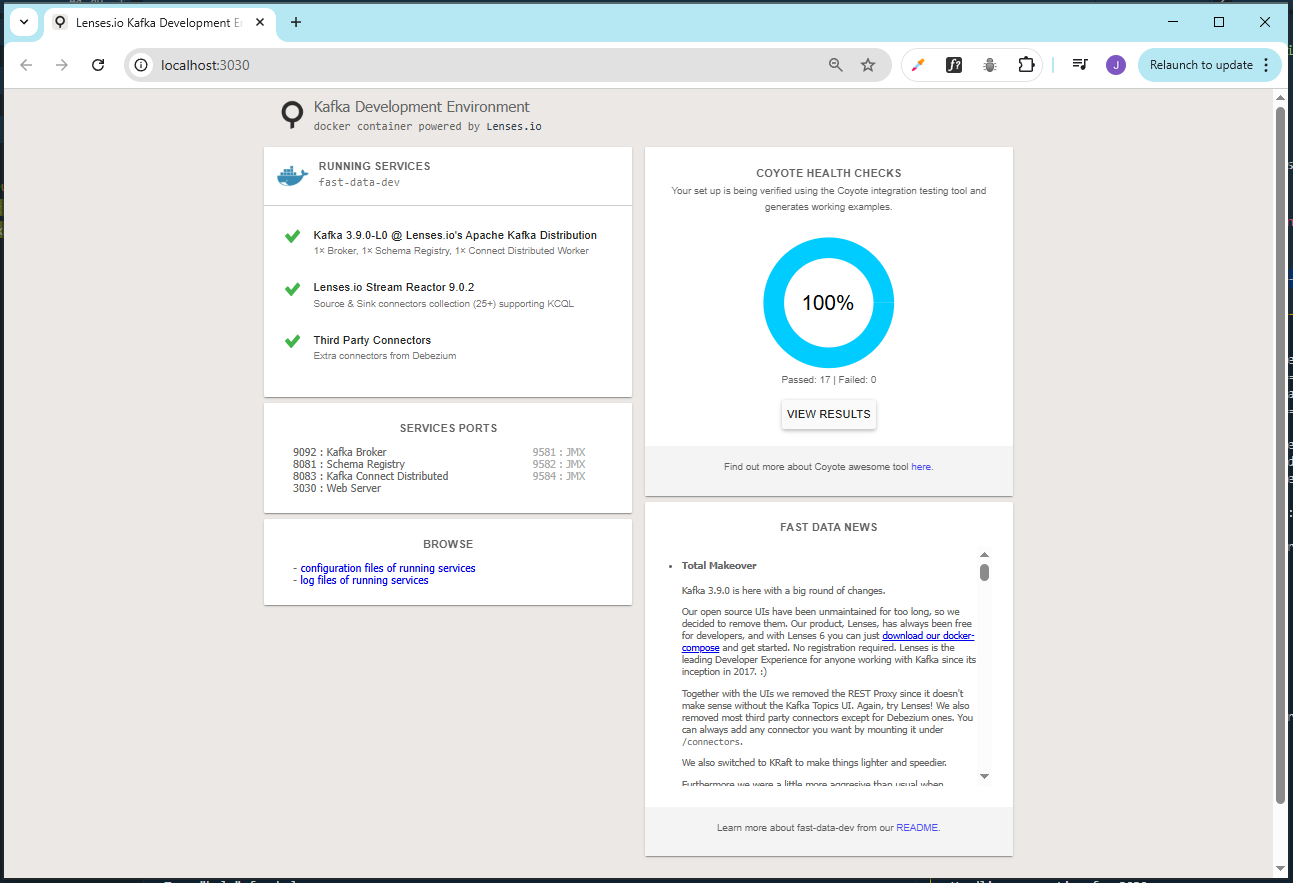
Kafka
Access the Kafka UI to verify it’s running.
kubectl port-forward -n multitier deployment/kafka 3030:3030
Open in a browser:
Redis (Cache)
Check that Redis is accepting connections.
kubectl exec -it deployment/cache -n multitier -- redis-cli ping
Expected output:
PONG
ConfigMap
Ensure that the ConfigMap is created and contains the expected configuration.
kubectl get configmap app-config -n multitier -o yaml
Since the ConfigMap is being referenced in the db/deployment.yaml file, you can also test if the environment variable is actually injected. Check the db pod first:
$ kubectl get pod -n multitier

NAME                     READY   STATUS    RESTARTS   AGE
api-b4c456475-xjvgv      1/1     Running   0          91s
cache-848c4dbb8c-9f9kr   1/1     Running   0          30m
db-7c476c8954-ljldj      1/1     Running   0          30m
kafka-b6f87596d-4gwvh    1/1     Running   0          30m
Then run:
kubectl exec -it db-7c476c8954-ljldj -n multitier -- printenv APP_MODE
Output:
demo
You can change the variable in the configmap and redeploy. Then test again if it will print the new environment variable.
Cleaning Up
To delete all resources in the multitier namespace:
kubectl delete -n multitier -k .
If you used port-forwarding, stop any remaining processes:
ps -ef  | grep port-forward
ps -ef | grep '[p]ort-forward' | awk '{print $2}' | xargs -r sudo kill -9