DNS Lab
Overview
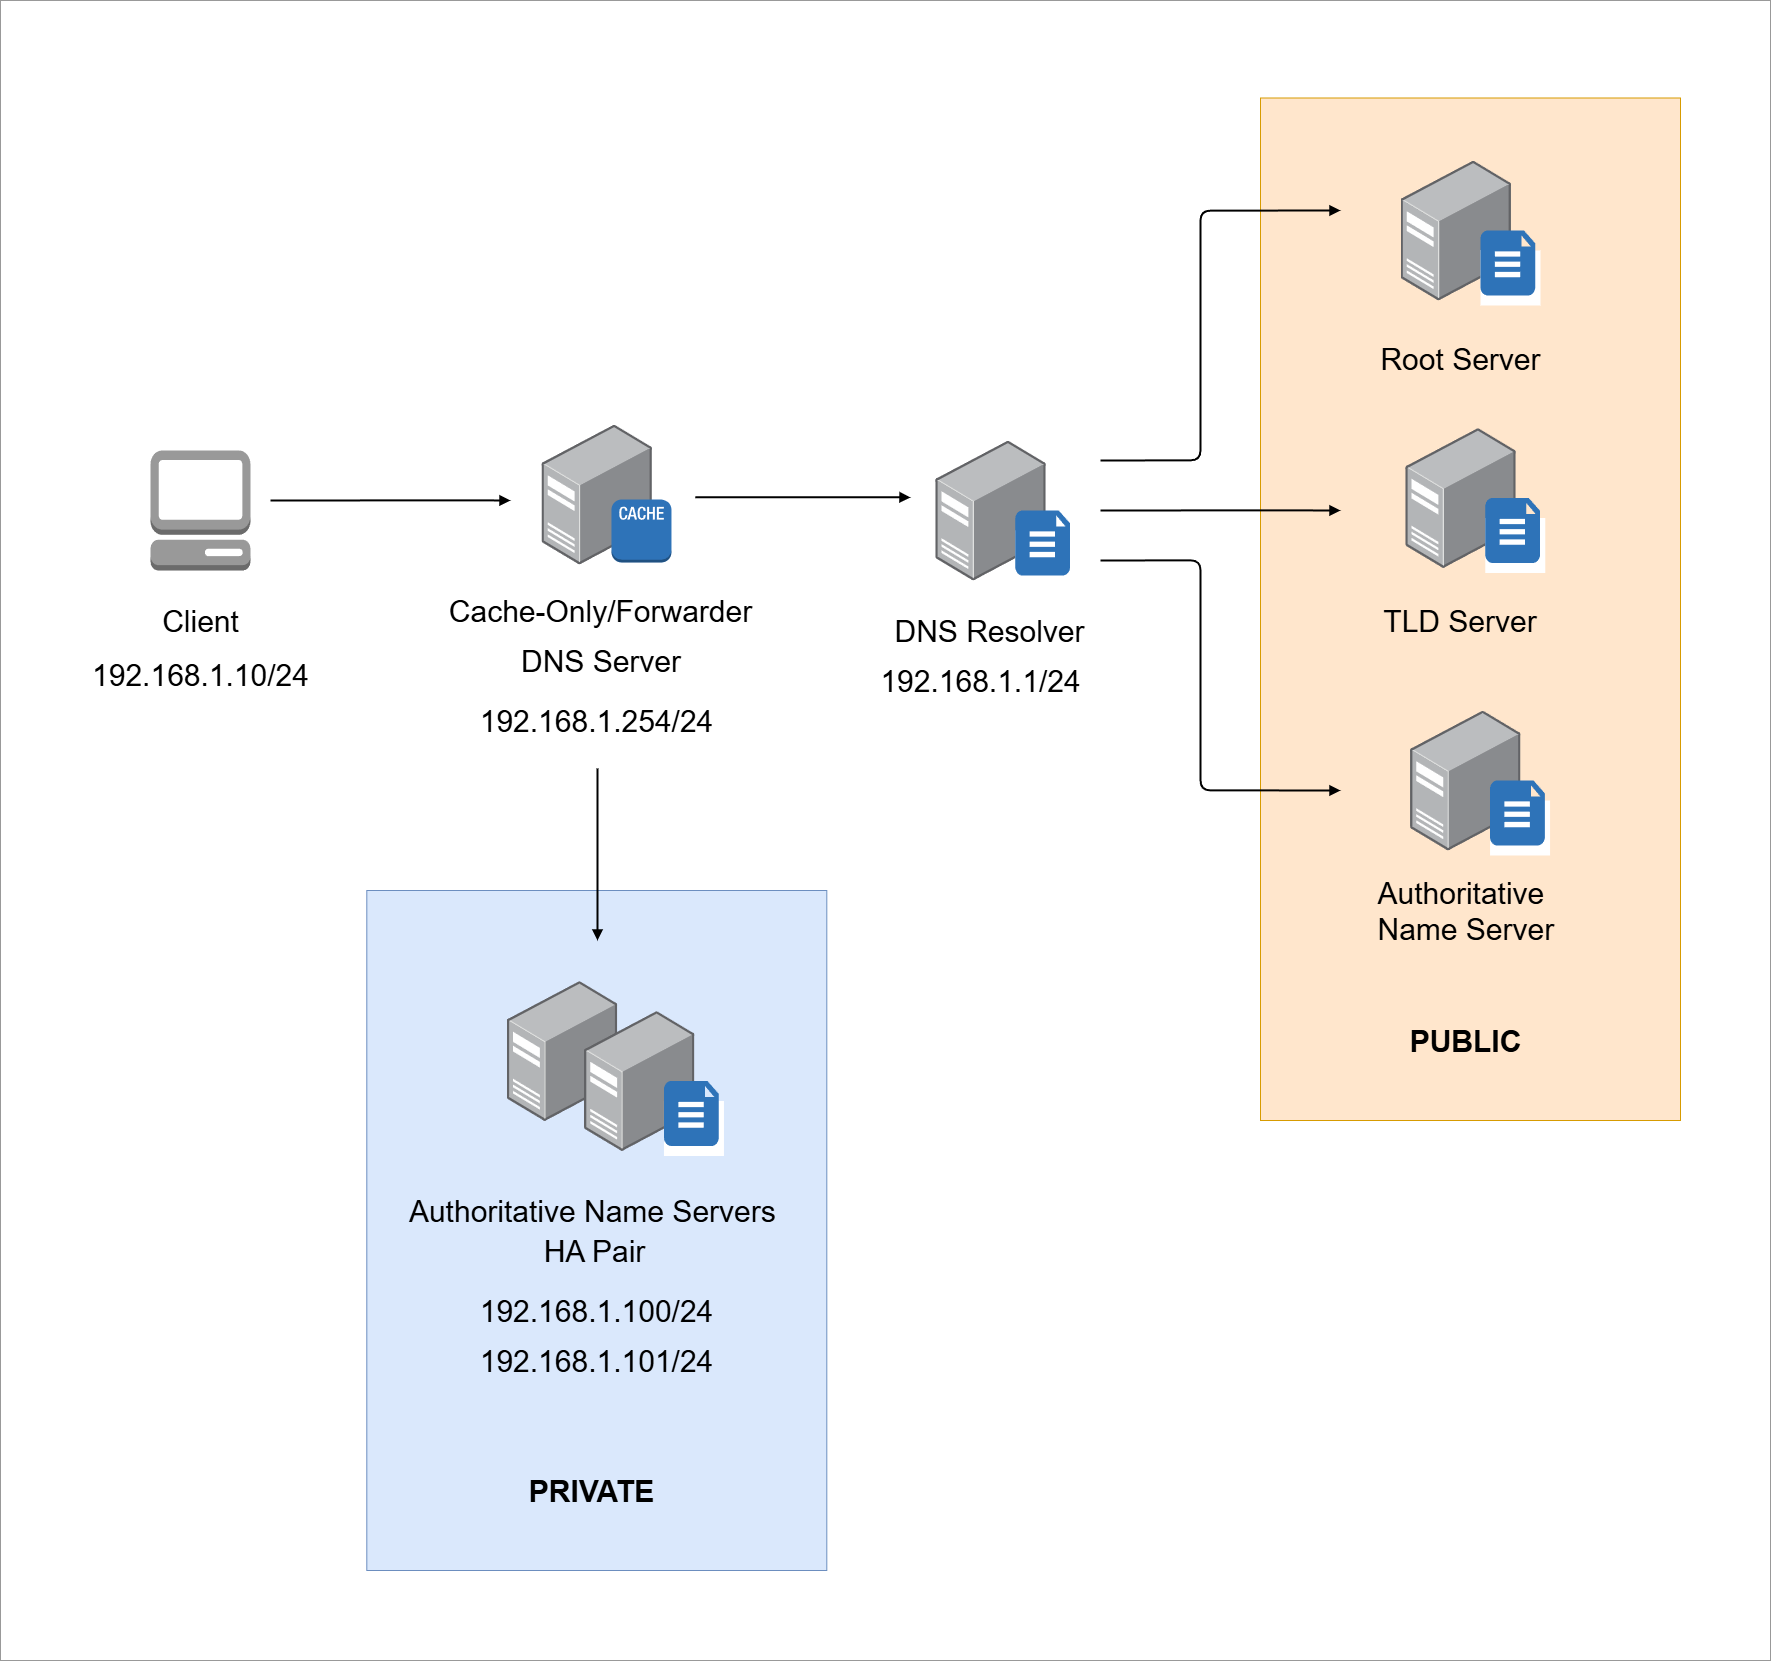
This lab simulates a typical DNS infrastructure. It includes:
- A client machine to send DNS queries
- A cache-only DNS server that forwards queries to public resolvers
- A public DNS resolver for external lookups
- Two authoritative DNS servers for internal domains
This setup mirrors real DNS infrastructures for practicing both private and public name resolution.
Environment
Lab details:
- Each node is assigned a fixed IPv4 address
- Ubuntu 18.04 Desktop is used as the client OS
- Ubuntu 18.04 Server is used the DNS Server OS
NOTE: The network 192.168.1.0/24 is used because 192.168.1.1 is the private IP of my actual home router, which also functions as the DNS resolver. If your setup is different, adjust the IP address plan to match your own DNS resolver.
Recommended Hardware
Recommended:
- 16GB RAM
- 200GB disk space
VirtualBox is used to create virtual machines for this lab
Pre-requisites
Install VirtualBox
VirtualBox is a free hypervisor used to run virtual machines for the lab.
- Download VirtualBox from Oracle's website
- Choose the package for your operating system
- Follow the installation wizard and accept default settings
- Reboot the system after installation
Creating the VM
We need to create the VM machines and install the correct Ubuntu on them.
-
Download the following ISO file from the official website
VM Operating System DNS Client Ubuntu 18.04 LTS Desktop DNS Server Ubuntu 18.04 LTS Server -
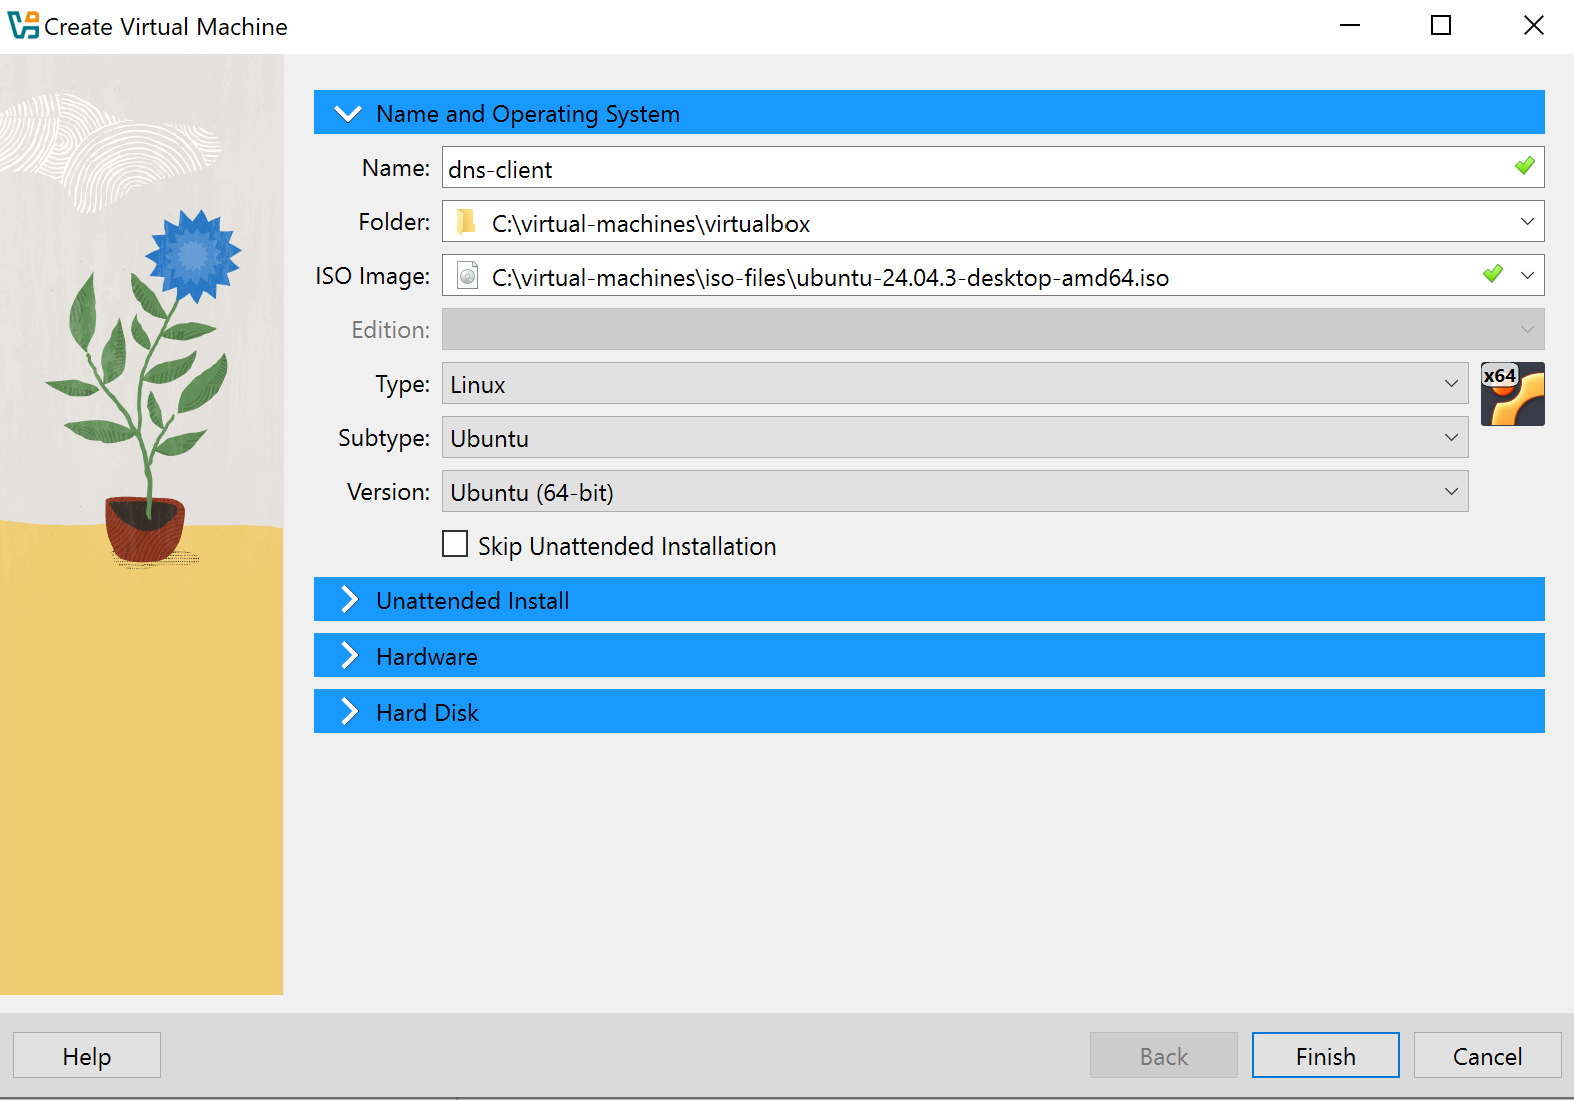
In VirtualBox, create a new VirtualBox VM named
dns-clientinfoPerform the steps 2 to 5 for all the VMs.
Make sure to choose the correct ISO file for each VM.
-
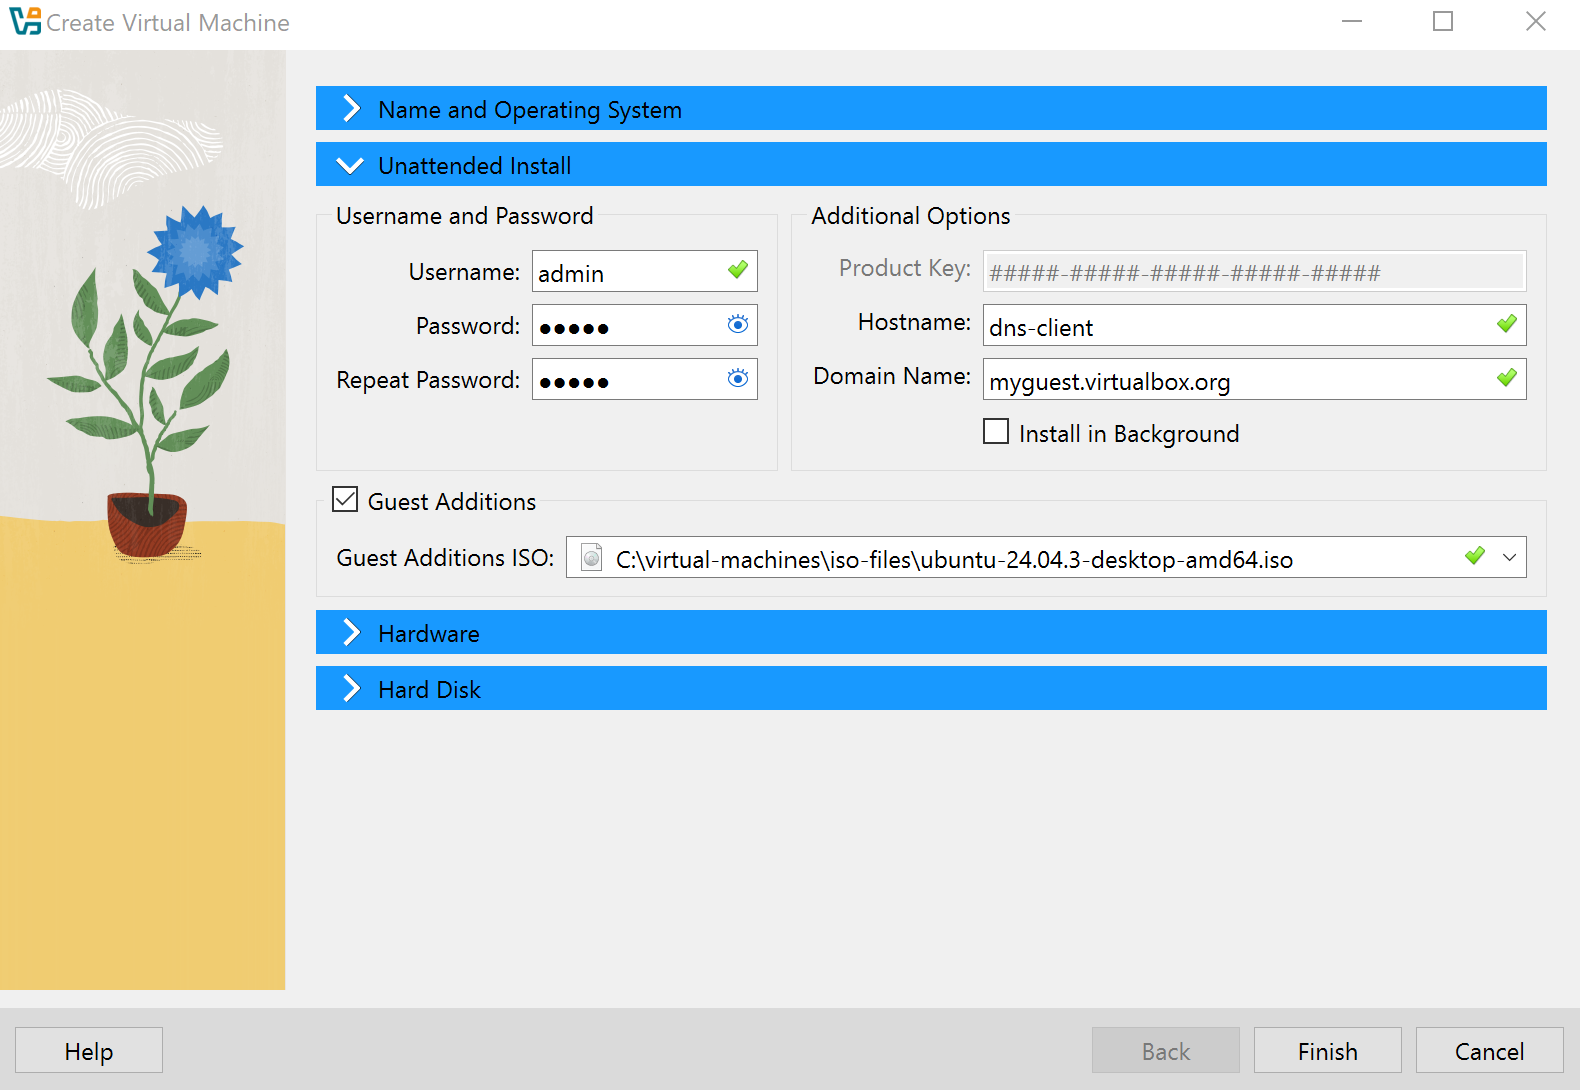
Set the username and password.
Then check the box for Guest Additions and choose the downloaded ISO file.
infoMake sure to choose the correct ISO image.
-
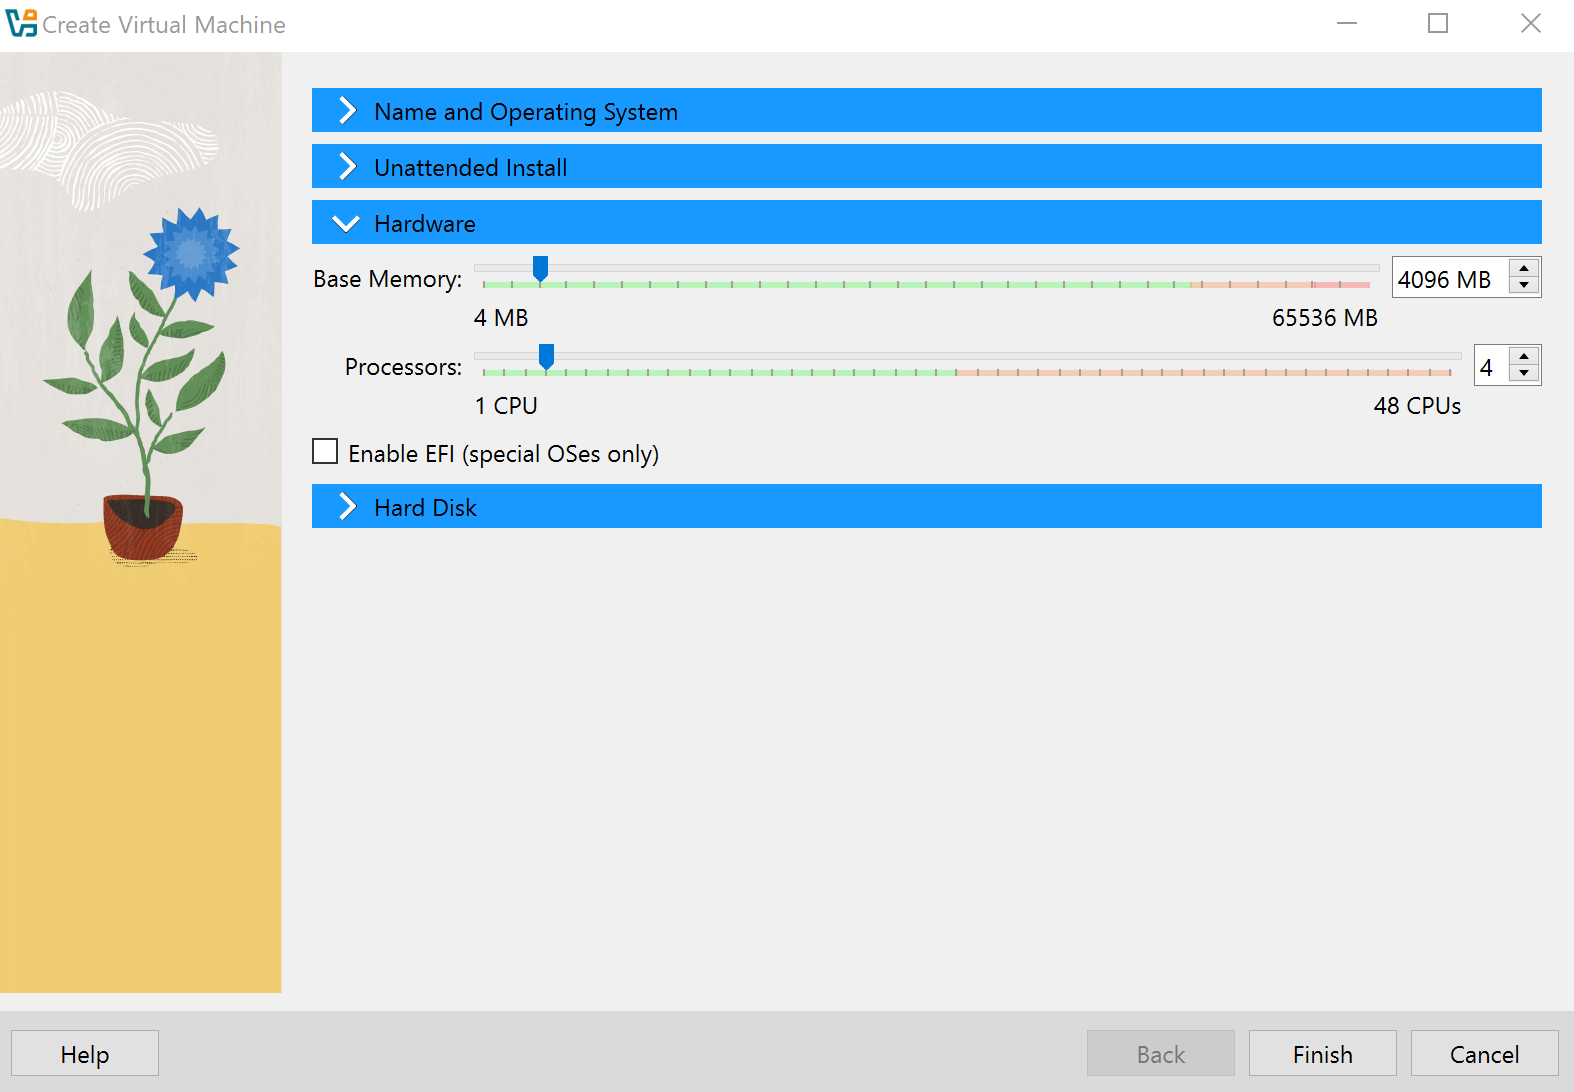
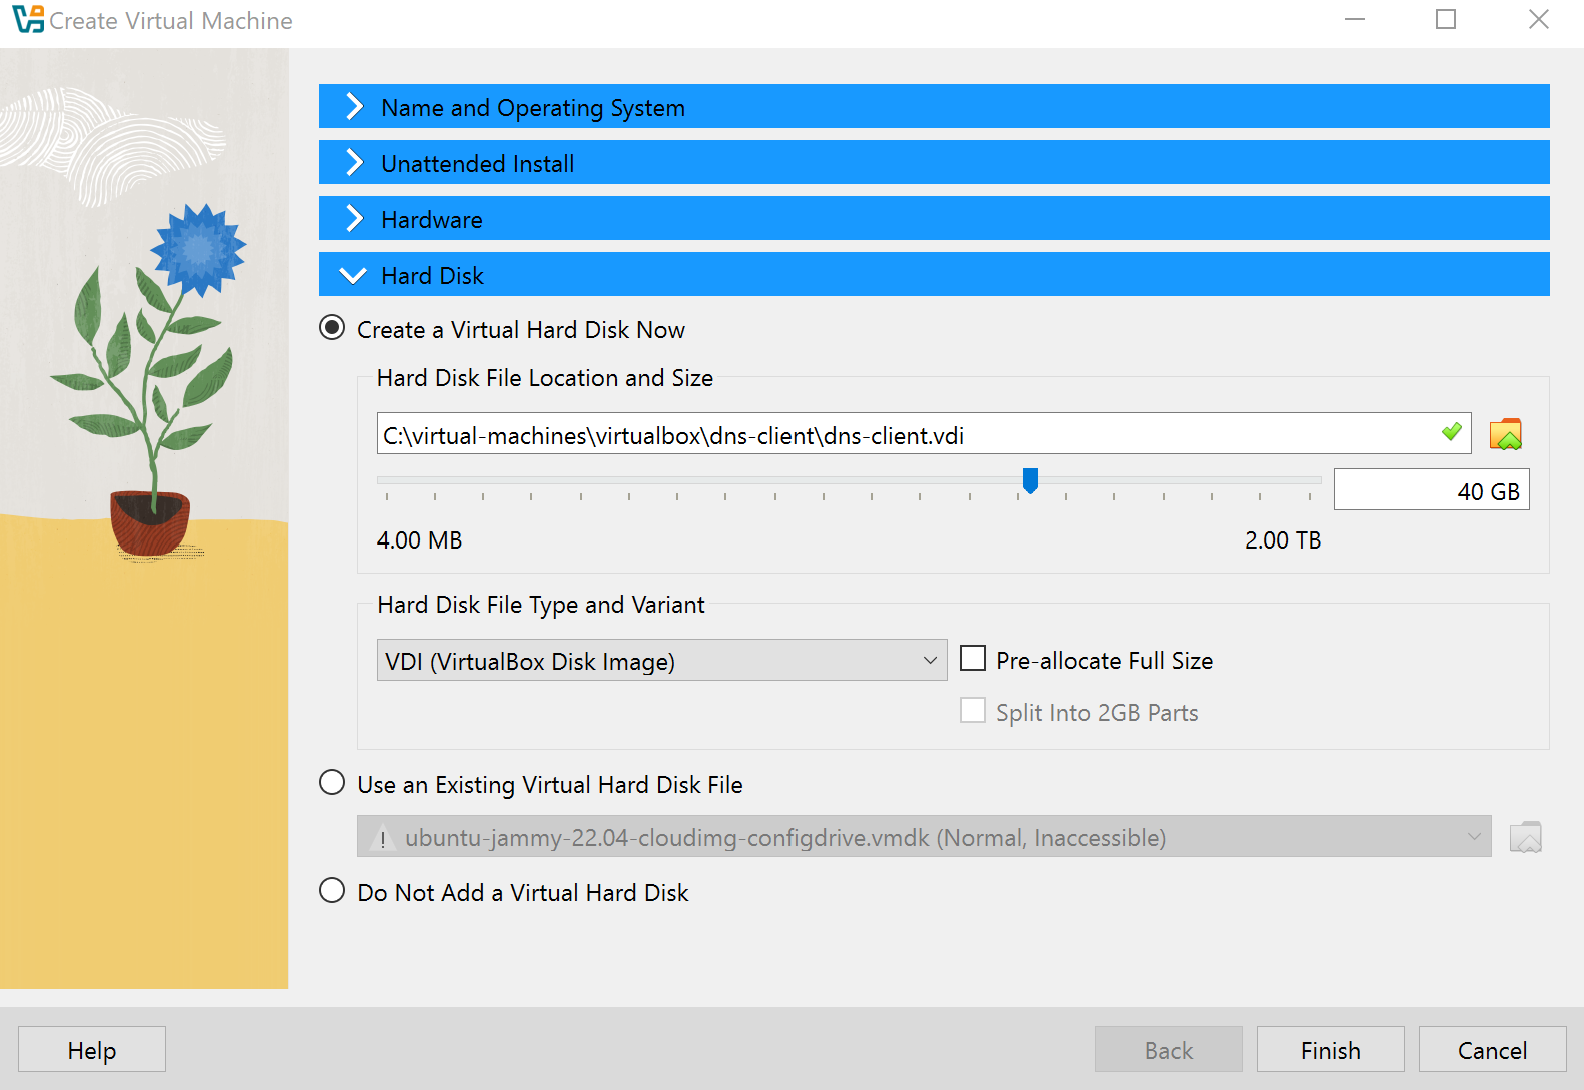
Assign 4GB memory (4096 MB) and 40 GB hard disk space.
-
Click Finish. The VM will now try to power on.
Install Ubuntu
Go through the setup process:
- Choose your language
- Select your keyboard layout
- Create your account
- Select your timezone
- Other steps
Configure the VM Settings
Perform the steps below for all the VMs.
Once Ubuntu is installed, adjust the settings to allow the VM to boot correctly and communicate with other lab nodes. Right-click on the VM and click Settings
-
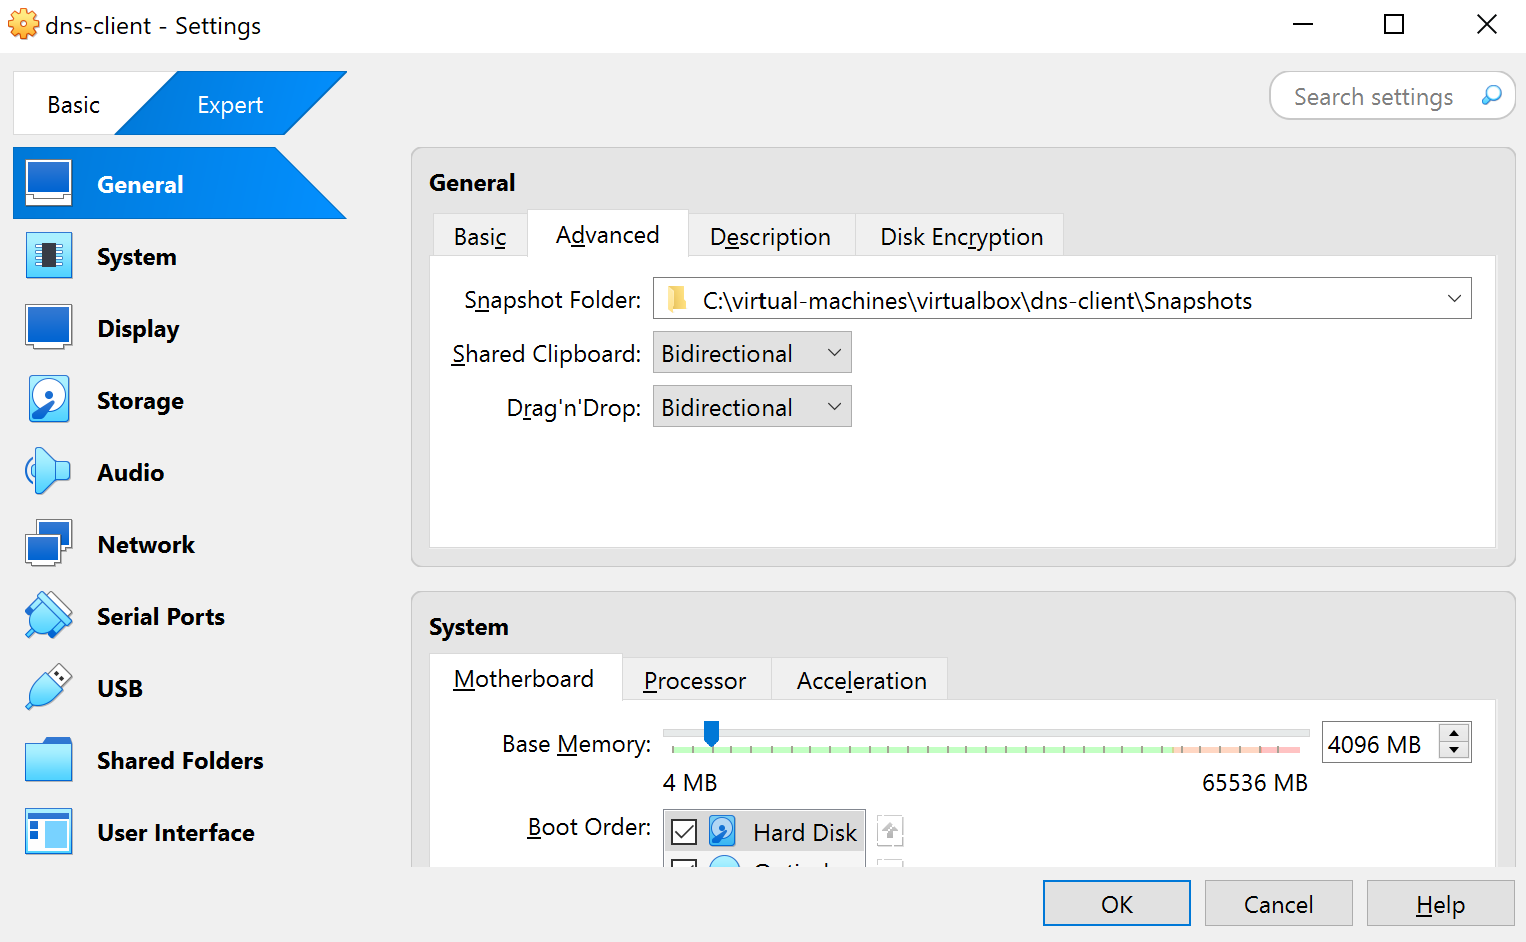
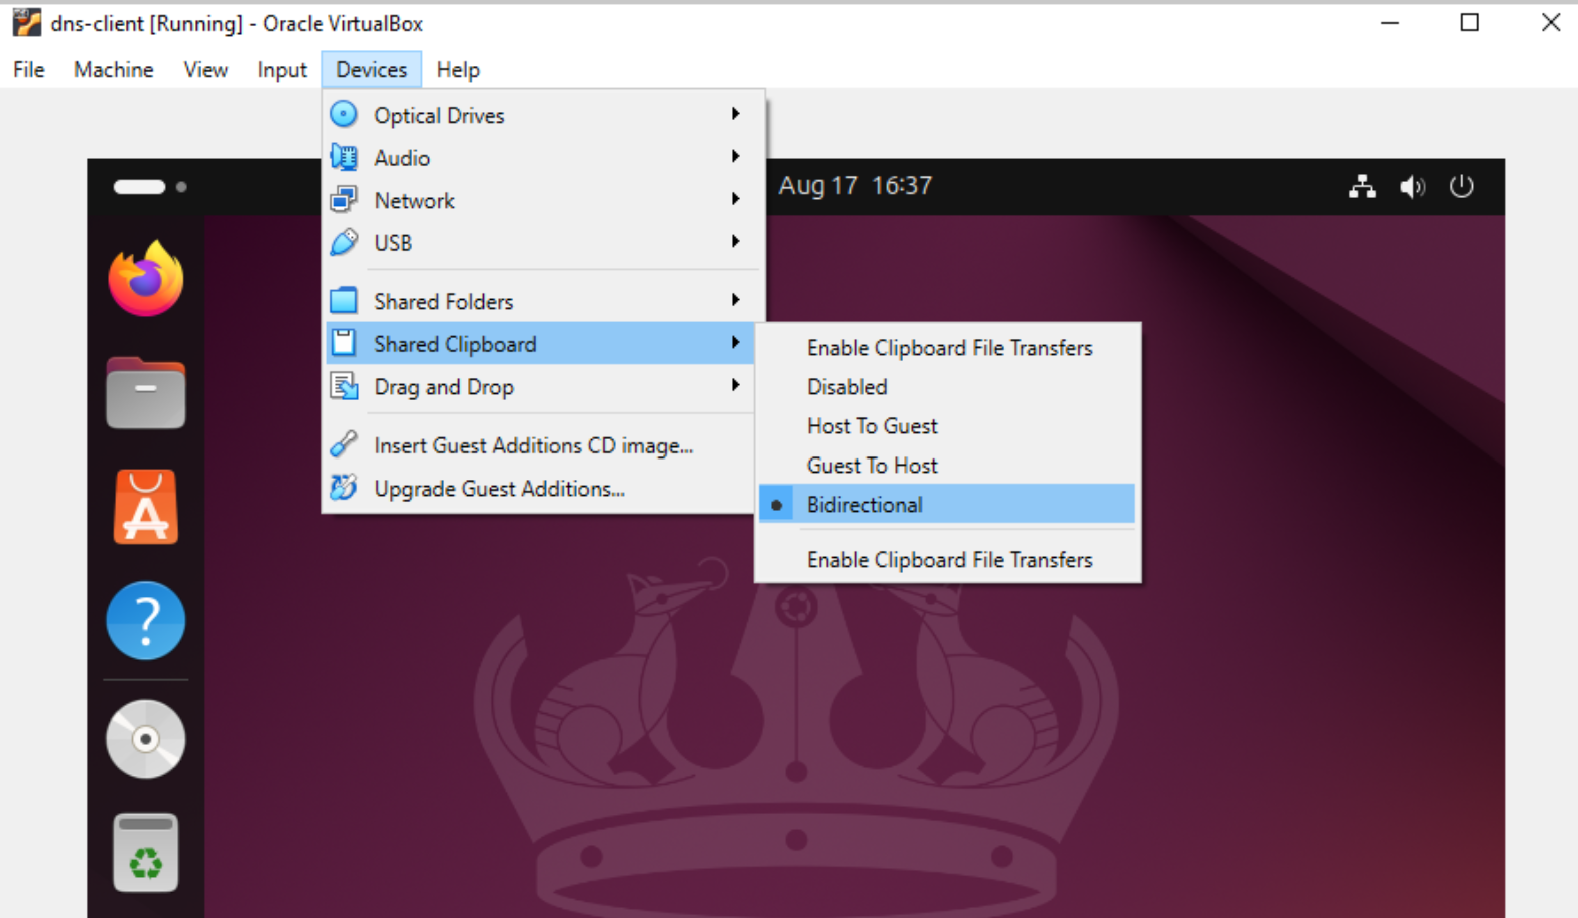
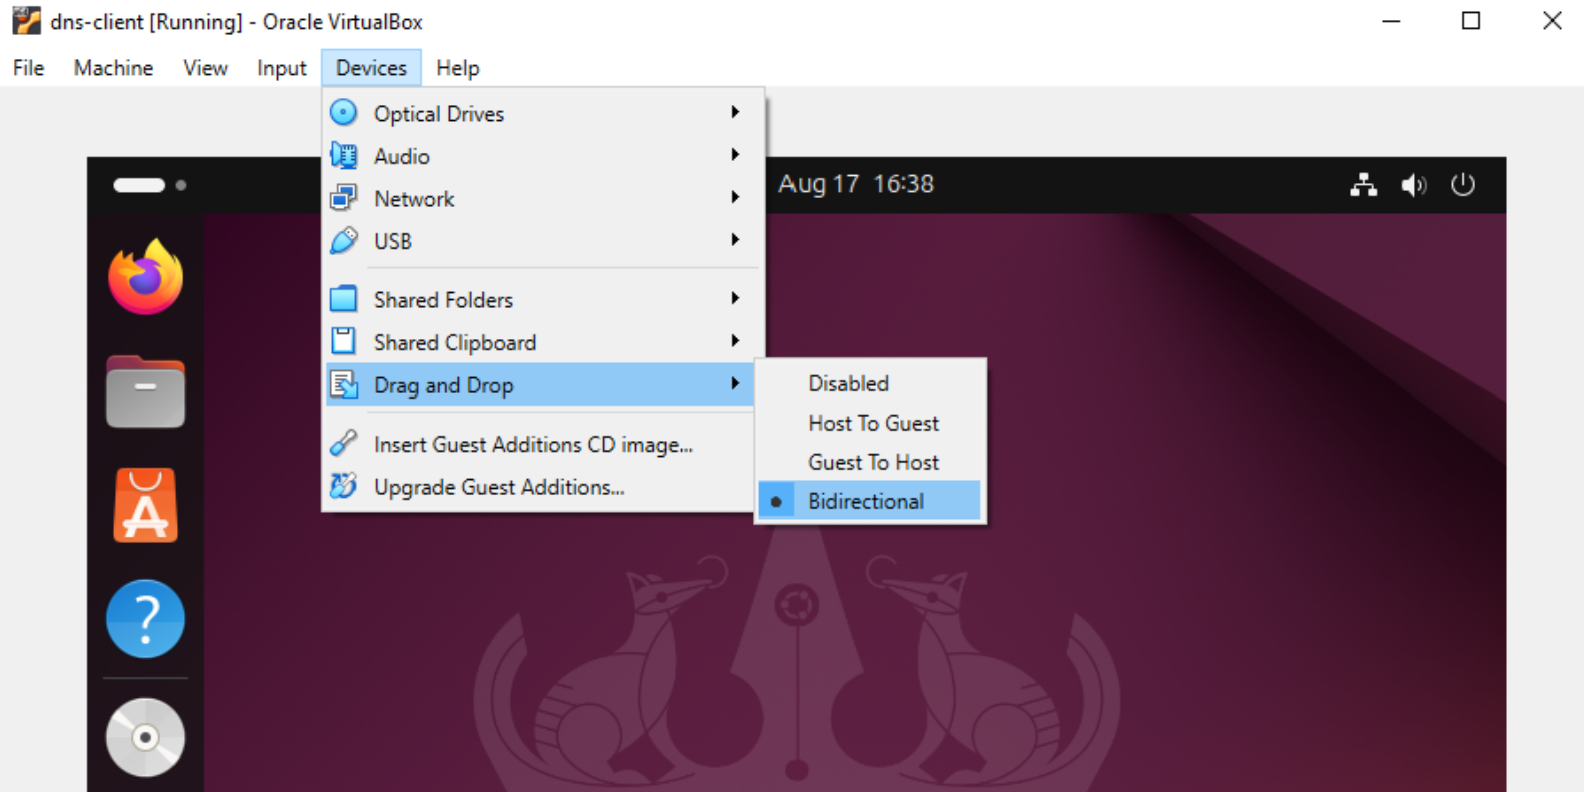
General: Choose Birectional for both Shard Clipboard and Drag'n'Drop
-
System: Set optical disk first and disable floppy

-
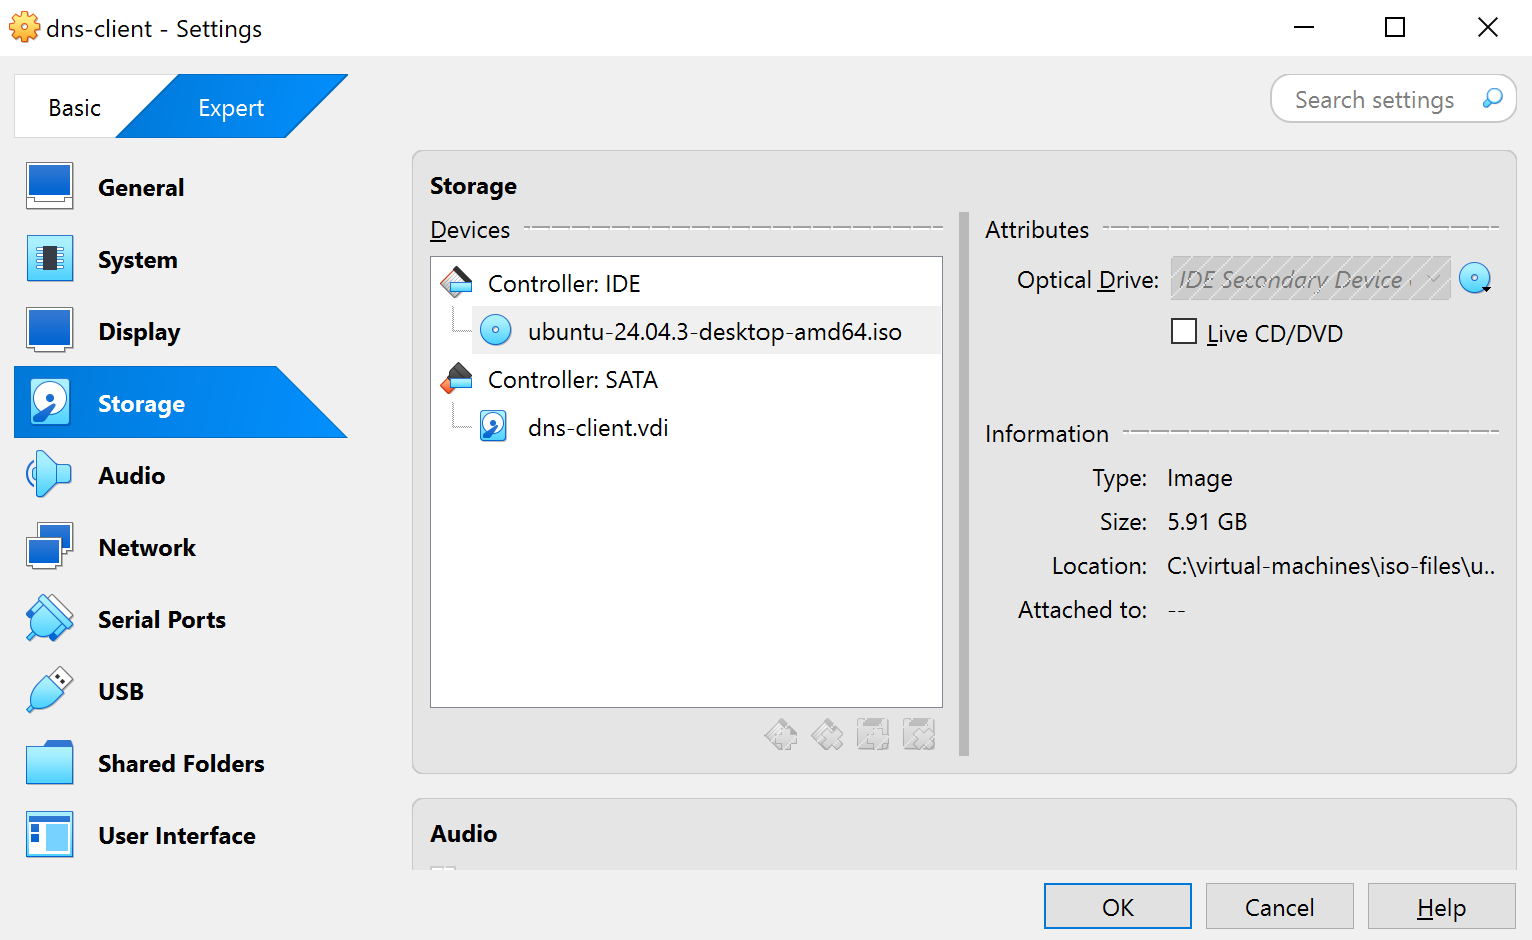
Storage: Attach the downloaded Ubuntu ISO
infoThe DNS Client and DNS Server uses different ISO files
-
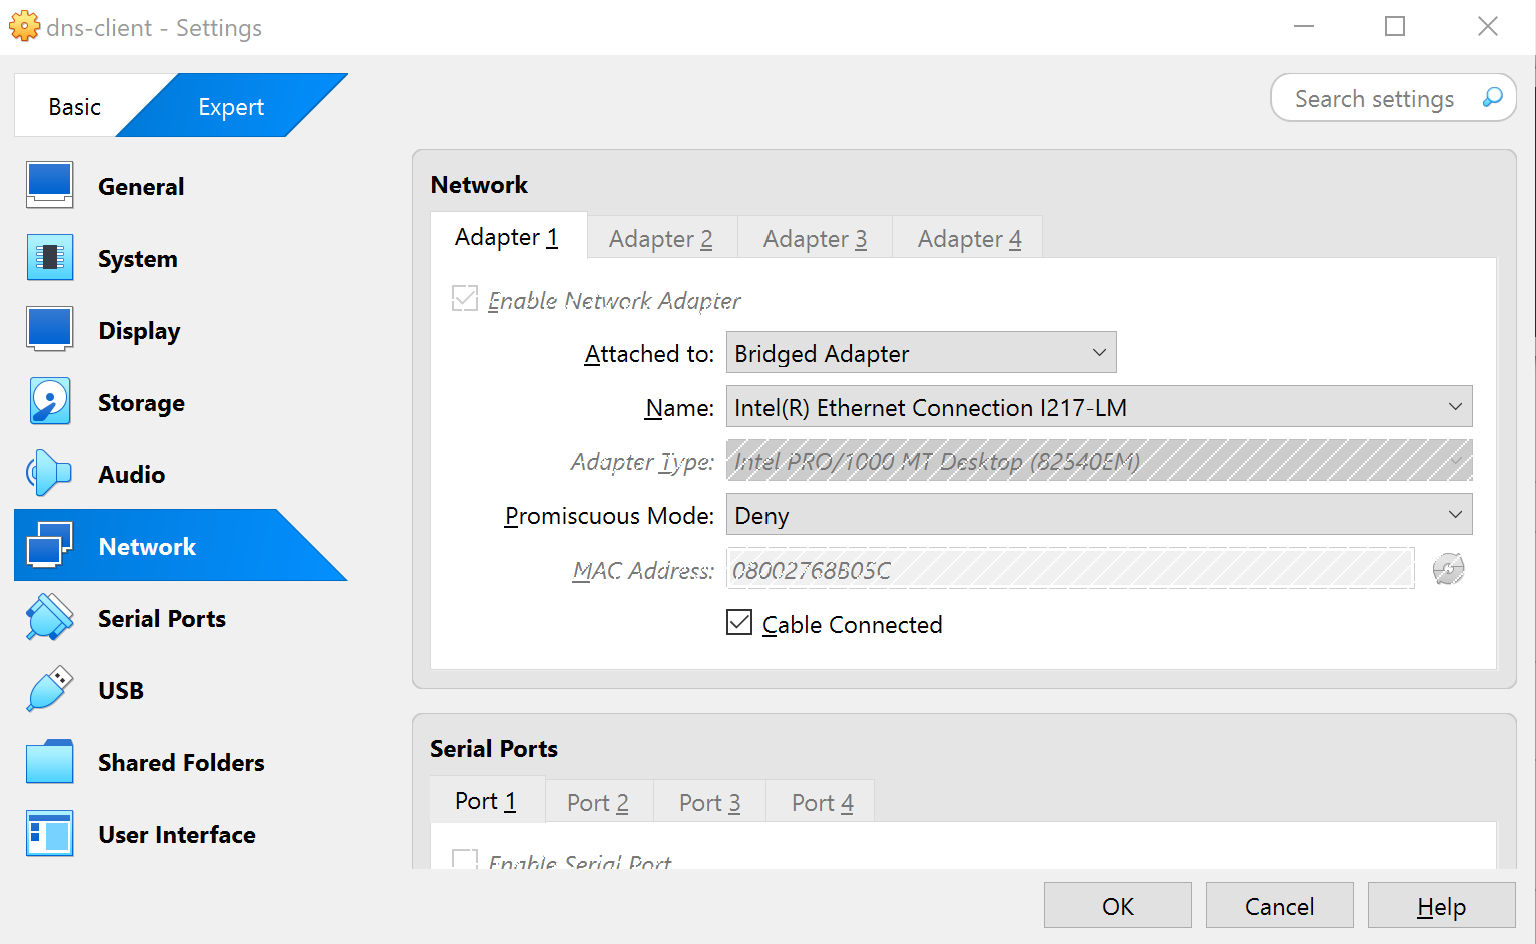
Network: Use a bridged adapter to match lab network
-
Finally, click Ok. When prompted, click Keep changes.
Setting Up the DNS Client
We will start with setting up a DNS client using Ubuntu Linux. The client will be used to test DNS queries within the lab.
Install Guest Additions
-
On the VM window, click Devices ➔ Insert Guest Additions CD image
If you get the
VERR_PDM_MEDIA_LOCKED, click Devices ➔ Optical Drives ➔ **Remove Disk from Virtual Drive. ** Then retry Devices ➔ Insert Guest Additions CD image -
Inside the VM, click the Open apps icon on the bottom left and open Terminal
-
Mount the ISO (if not already):
sudo mount /dev/cdrom /mnt
ls -la /mnt
You should see:
autorun.sh
VBoxLinuxAdditions.run
...
NOTE: The Guest Additions ISO is a read-only CD image, so Linux mounts it as read-only. The output below just tells you that you cannot write to the ISO, which is fine; you only need to read and execute the installer from it.
WARNING: source write-protected, mounted read-only -
Install required packages using the terminal:
infoCopy-paste doesn't work (yet) so you'll have to type the commands on the terminal inside the VM.
sudo apt update -y
sudo apt install -y virtualbox-guest-utils \
    build-essential \
    linux-headers-$(uname -r) \
    dkms gcc make perl
sudo /mnt/VBoxLinuxAdditions.run
If you get a message like:
Look at /var/log/vboxadd-setup.log to find out what went wrongThen its possible you encountered a Kernel issue, which could be any of these:
- Missing kernel headers or
build-essentialtools - Mismatch between VirtualBox version and Guest Additions
- Old or conflicting Guest Additions already installed
You can check the logs for more details:
cat /var/log/vboxadd-setup.log - Missing kernel headers or
-
If there are no issues, reboot the machine:
sudo reboot -
After reboot, enable full-screen mode from the View menu
Shared Clipboard and Drag-Drop
These settings should already be enabled if you folow the steps in the Install Guest Additions step. To verify:
-
On the VM window, click Devices ➔ Shared clipboard ➔ It should show Bidirectional
-
Click Devices ➔ Drag and Drop ➔ It should show Bidirectional
-
Open a terminal and run:
ps aux | grep VBoxClientYou should now see:
VBoxClient --clipboard
VBoxClient --draganddrop
VBoxClient --seamless
VBoxClient --display -
If the
ps auxdidn't return theVBoxClientprocesses, you can try:# Stop the modules temporarily
sudo systemctl stop virtualbox-guest-utils
# Removes the loaded modules.
sudo rmmod vboxsf vboxvideo vboxguest
# Re-run the Guest Additions installer
sudo /mnt/VBoxLinuxAdditions.run
# Start the services again
sudo systemctl start virtualbox-guest-utils
VBoxClient --clipboard
VBoxClient --draganddrop
VBoxClient --seamless
VBoxClient --display
Configure the VM
-
In the terminal, run
hostnamectlto give the VM a name:sudo hostnamectl set-hostname dns-client
hostname -
Next, check current interfaces:
ifconfigSample output:
enp0s3: flags=4163<UP,BROADCAST,RUNNING,MULTICAST>  mtu 1500
        inet 192.168.1.10  netmask 255.255.255.0  broadcast 192.168.1.255

lo: flags=73<UP,LOOPBACK,RUNNING>  mtu 65536
        inet 127.0.0.1  netmask 255.0.0.0
If
ifconfigis not yet installed, run:sudo apt install net-tools -
Assign static IP
192.168.1.10:sudo ifconfig enp0s3 192.168.1.10 netmask 255.255.255.0
ifconfig enp0s3 -
Set the client to query the lab's cache-only DNS server. To do this, edit
/etc/resolv.conf:sudo vi /etc/resolv.conf -
Add the following line:
nameserver 192.168.1.254
- Remove any
searchentries and save the file
This setup ensures the client is fully ready to test DNS resolution within the simulated lab environment.
Setting Up a DNS Cache Server
The DNS cache server helps the client resolve domain names faster by storing previous queries and forwarding requests as needed.
- Forwards public queries to the DNS resolver
- Forwards internal queries to authoritative servers
- Caches responses to reduce repeated queries
The cache server improves network efficiency by answering repeated requests locally while still forwarding new queries.
Installing the Server
Steps:
- Download the Ubuntu 18.04 LTS Server ISO from the official website
- Create a VirtualBox VM with Linux, 64-bit, 4GB RAM, 50GB disk
- Disable unnecessary devices like floppy and audio
- Assign a bridged network adapter
After installation:
sudo apt update -y
sudo apt install bind9 bind9utils -y
dpkg -s bind9 | more
This confirms BIND9 is installed and ready.
Configure Network Interface
Check interfaces:
ifconfig
Assign the IP address:
sudo ifconfig ens0 192.168.1.254 netmask 255.255.255.0
Verify assignment:
ifconfig ens0
This ensures the server can communicate with clients and forwarders.
Configuring BIND
BIND is the software that runs a DNS server. It handles queries from clients, forwards requests, and stores DNS records. Basically, it makes your server act as a DNS cache or authoritative server.
BIND uses configuration files to control its behavior and zones:
/etc/bindnamed.conf/etc/bindnamed.conf.options/etc/bindnamed.conf.local
Start with editing the options file:
sudo vi /etc/bind/named.conf.options
Define ACL for trusted clients:
acl "trusted" { 192.168.1.0/24; };
recursion yes;
allow-query { localhost; trusted; };
allow-query-cache { localhost; trusted; };
allow-recursion { localhost; trusted; };
forwarders { 192.168.1.1; };
forward only;
Configure internal zone:
sudo vi /etc/bind/named.conf.local
zone "intranet.local" {
  type forward;
  forwarders { 192.168.1.100; 192.168.1.101; };
  forward only;
};
Verify configuration:
sudo named-checkconf /etc/bind/named.conf
sudo systemctl restart bind9
sudo systemctl status bind9
Testing the Cache Server
Check server is listening on port 53:
sudo netstat -tulnp | grep 53
Capture traffic while querying from client:
sudo tcpdump -i any port 53
dig example.com
Notes:
- First query forwards to resolver, second query uses cached response
- Clear cache:
sudo rndc flushto test fresh forwarding again
Best Practices
- Use ACLs to restrict access to trusted clients
- Comment configuration options for clarity
- Avoid chaining forwarders to prevent delays and failures
A properly configured DNS cache server reduces repeated queries, forwards new requests efficiently, and ensures faster, reliable name resolution.