AI Prompt Template Plugin
Overview
The AI Prompt Template plugin in Kong allows you to format and structure prompts dynamically for AI services. This ensures consistency and customization in API responses for enhanced AI interactions.
- Easily apply templates to structure AI prompts.
- Customize prompts based on specific use cases.
- Improve interaction quality with AI-powered services.
Before proceeding, ensure the AI Proxy plugin is enabled in your Kong instance.
Lab Environment
This lab requires OpenAI credits. You must first create an OpenAI account and purchase credits.
This lab tests a Kong API Gateway deployment using a FastAPI endpoint. To simplify, both the containerized Kong API Gateway and the FastAPI endpoint are installed locally on a Windows 10 machine. A Docker Compose file is used to deploy Kong, along with other applications like Prometheus, Zipkin, the ELK Stack, and more.
Make sure that you have installed Docker Desktop.
Simply installing Docker in WSL2 without Docker Desktop may introduce some issue when configuring the communication between the containerized Kong API Gateway and the FastAPI application that is installed on the local host.
Pre-requisites
- Postman
- Setup the Kong API Gateway
- Kong Manager OSS Access
- Enable AI Proxy plugin
- Configure the Service and Route
Enable the Plugin
Login to the Kong Manager OSS UI and go to Plugins > New Plugin > AI Prompt Template. Set it to Scoped and in the Route field, select the route you configured for the AI Proxy plugin previously..
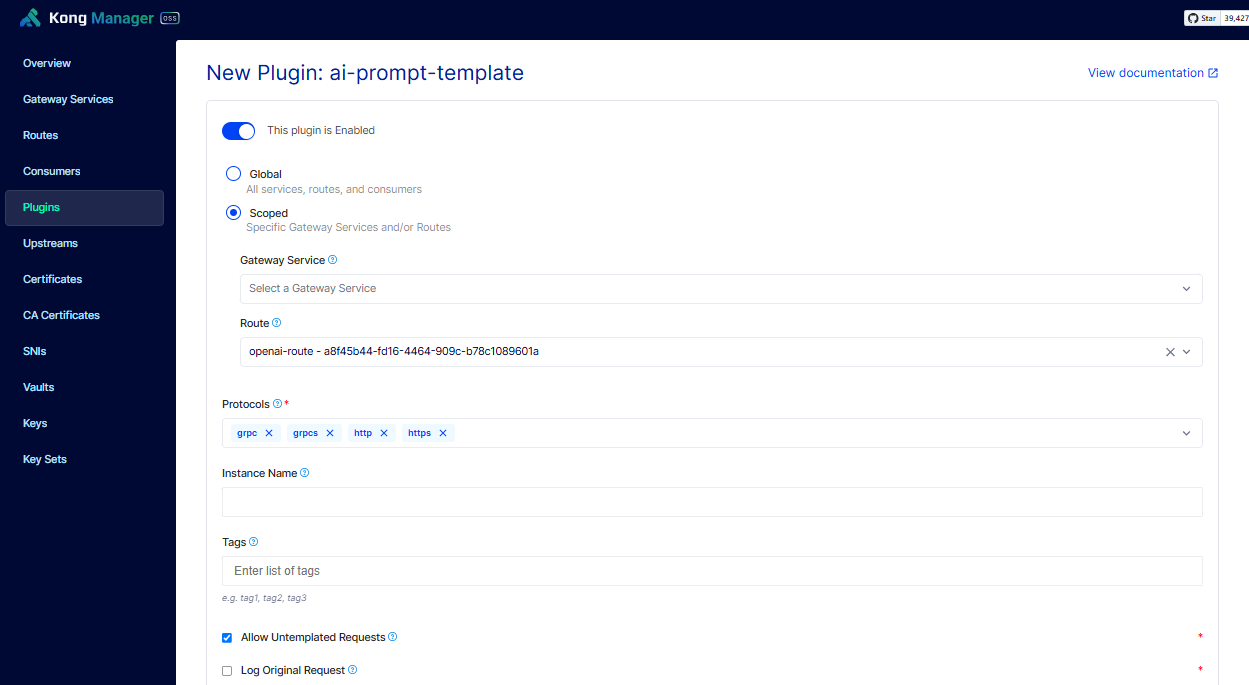
Under Templates, put "polyglot" as the Template Name and enter the following for the Template String:
{
  "messages": [
    {
      "role": "system",
      "content": "You are polyglot and an expert in the {{language}} language"
    },
    {
      "role": "user",
      "content": "Translate the {{text}} in {{language}}"
    }
  ]
}
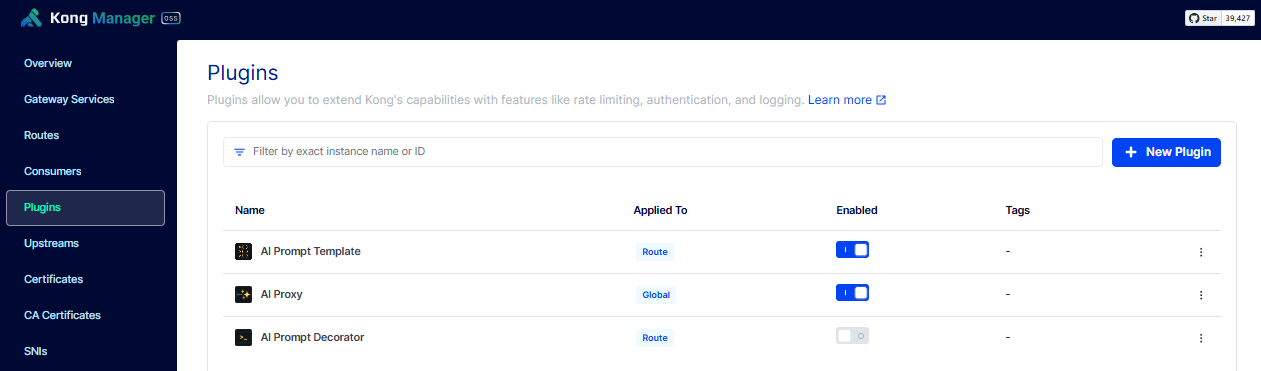
Click Save. It should now appear in the plugin list.
Test the plugin via Postman
To setup Postman, please see Testing with Postman
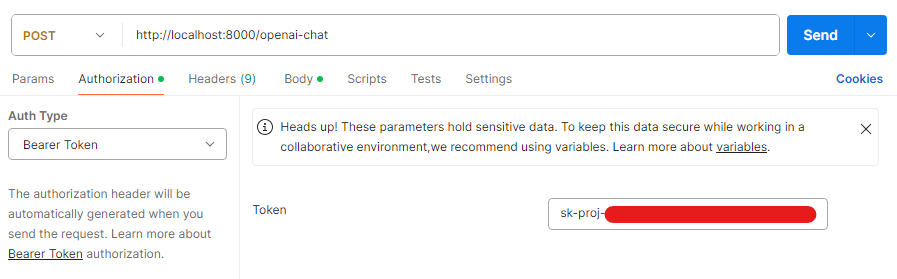
Open Postman and create a new POST request. Rename it to LLM OpenAI - AI Prompt Template. Enter the URL below.
http://localhost:8000/openai-chat
Click Authorization > Auth Type: Bearer Token, and paste your token in the Token field.
Click Body > Raw, and enter the message below:
{
    "messages": "{template://polyglot}",
    "properties": {
        "language": "spanish",
        "text": "I'm coming out of my cage and I've been doing just fine."
    }
}
Click Send.
![]()