AI Proxy Plugin
Overview
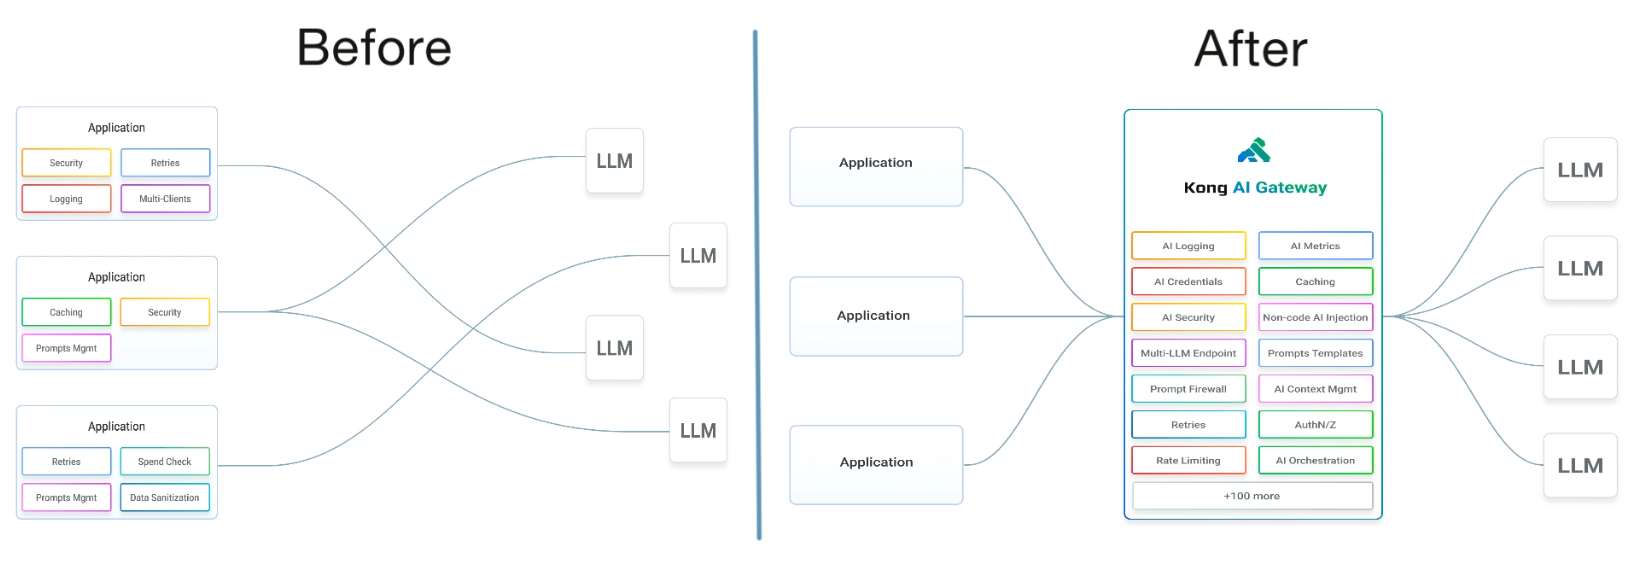
The AI Proxy Plugin simplifies and centralizes AI service integrations.
- Combines various AI-related functionalities into a single gateway.
- Manages tasks like security, caching, and retries efficiently.
- Offers advanced tools for prompt management and template creation.
- Supports rate limiting and multi-LLM endpoint integration.
- Enhances scalability and optimizes connections to LLMs.
This plugin provides a unified solution to manage AI-related operations, streamlining workflows and improving performance.
Lab Environment
This lab requires OpenAI credits. You must first create an OpenAI account and purchase credits.
This lab tests a Kong API Gateway deployment using a FastAPI endpoint. To simplify, both the containerized Kong API Gateway and the FastAPI endpoint are installed locally on a Windows 10 machine. A Docker Compose file is used to deploy Kong, along with other applications like Prometheus, Zipkin, the ELK Stack, and more.
Make sure that you have installed Docker Desktop.
Simply installing Docker in WSL2 without Docker Desktop may introduce some issue when configuring the communication between the containerized Kong API Gateway and the FastAPI application that is installed on the local host.
Pre-requisites
Get a ChatGPT API Key
First, you will need to purchase credits.
- Go to OpenAI’s official site and log in using your email.
- Proceed to the billing page.
- On the Overview page, click Add payment details.
- Choose Personal use and add your credit card information.
- Next, click Add to credit balance and specify the amount. You can start with $5.
- Click Continue.
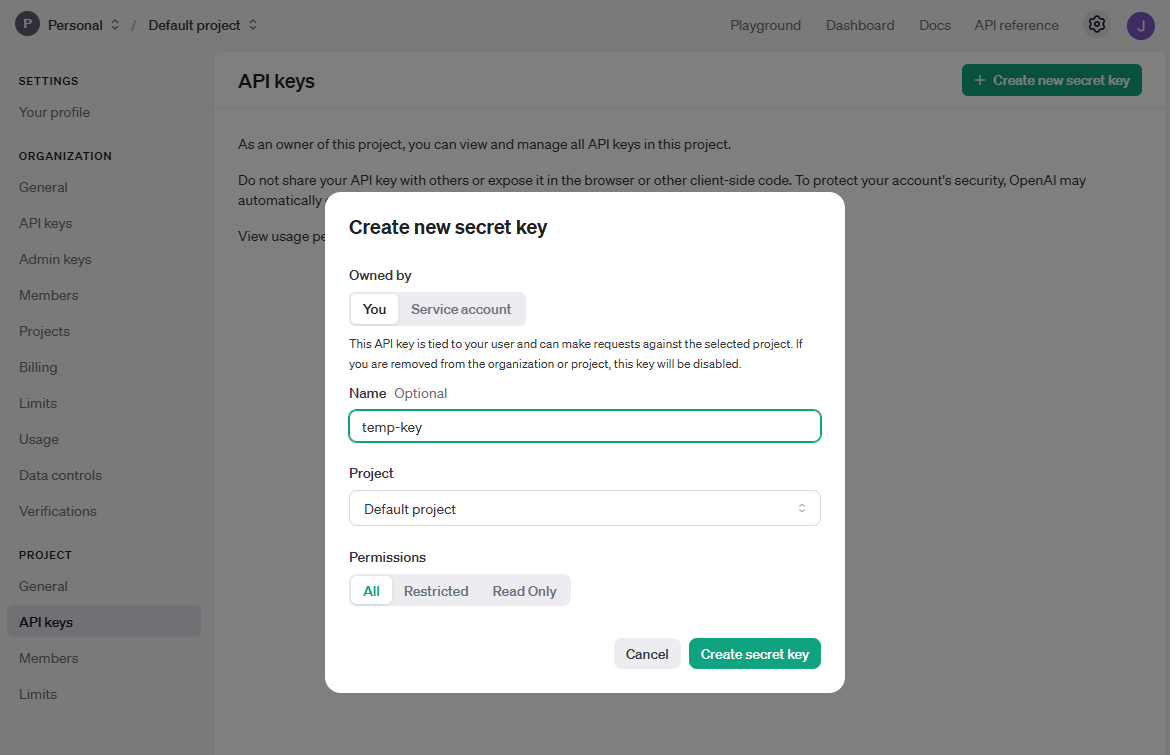
Once you see the success message, you can start using OpenAI API. Follow the steps below to get an API key:
-
Click Dashboard > API keys.
-
Click Create new secret key.
-
Copy the secret key.
Configure the Service and Route
Run the command below to create the openai-service service:
curl -i -X POST http://localhost:8001/services/ \
  --data "name=openai-service" \
  --data "url=https://api.openai.com/v1/"
Next, create the openai-route route:
curl -i -X POST http://localhost:8001/services/openai-service/routes \
  --data "name=openai-route" \
  --data "methods[]=POST" \
  --data "methods[]=GET" \
  --data "paths[]=/openai-chat"
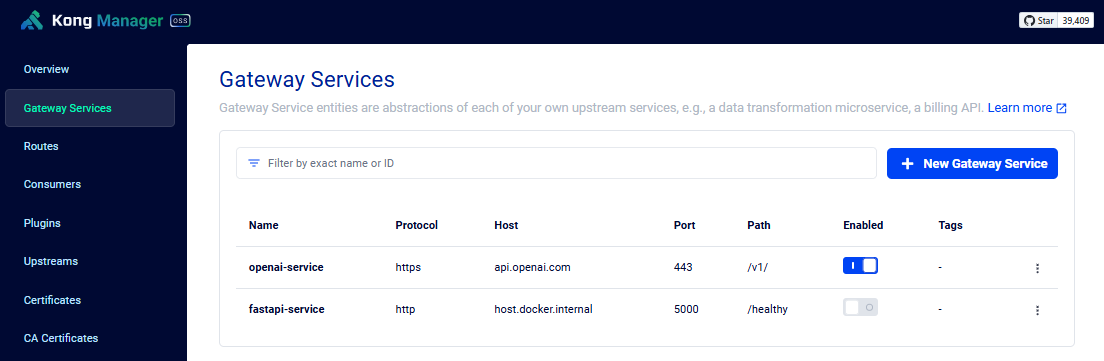
Open a web browser and access the Kong Manager UI:
http://localhost:8002/
Verify that the service and route are created.

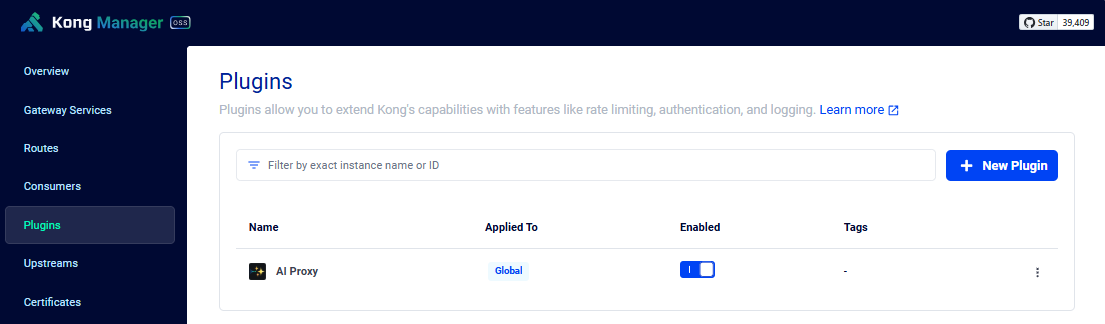
Enable the Plugin
Run the command below to enable the plugin:
curl -i -X POST http://localhost:8001/plugins \
  --data "name=ai-proxy" \
  --data "config.auth.header_name=Authorization" \
  --data "config.auth.header_value=Bearer <enter-chatgpt-api-key>" \
  --data "config.route_type=llm/v1/chat" \
  --data "config.model.name=gpt-3.5-turbo" \
  --data "config.model.options.max_tokens=512" \
  --data "config.model.provider=openai" \
  --data "config.logging.log_payloads=false" \
  --data "config.logging.log_statistics=false"
Provide your API Key in the config.auth.header_value.
Go back to the Kong Manager UI and onfirm that the plugin is enabled.
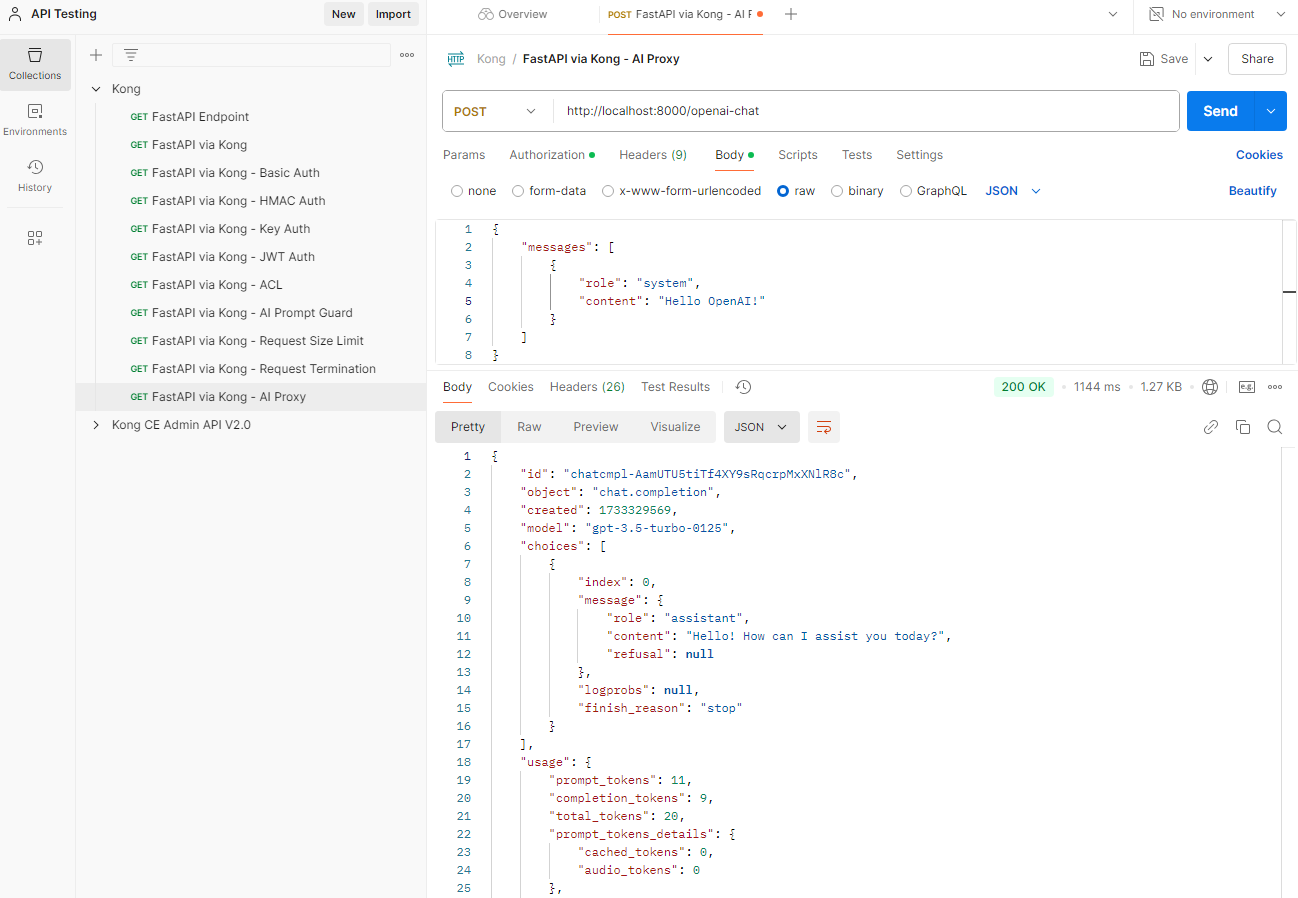
Test plugin via Postman
To setup Postman, please see Testing with Postman
Open Postman and create a new POST request. Rename it to FastAPI via Kong - AI Proxy. Enter the URL below.
http://localhost:8000/openai-chat
Click Authorization > Auth Type: Bearer Token, and paste your token in the Token field.
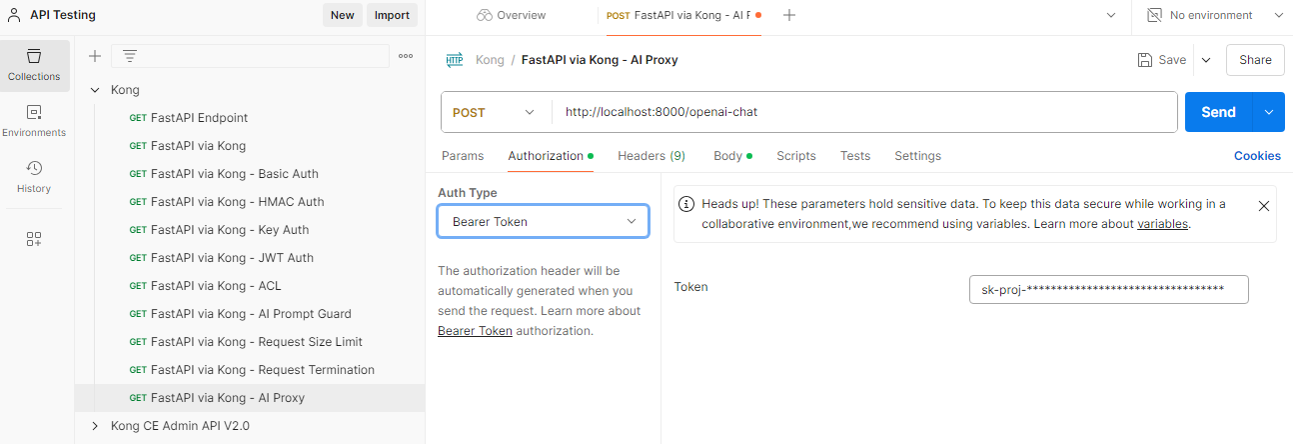
Click Body > Raw, and enter the message below:
{
    "messages": [
        {
            "role": "system",
            "content": "Hello OpenAI!"
        }
    ]
}
Click Send.