Backend
Overview
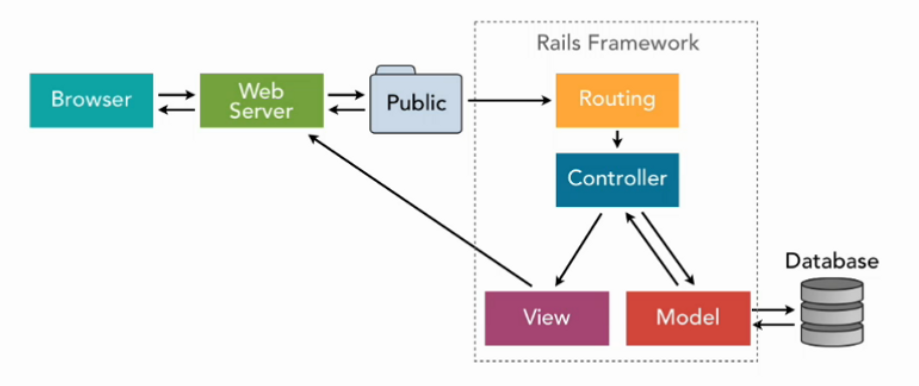
The backend of a Rails application handles data storage and data processing.
- The backend stores and manages application data
- The database and models work together behind the scenes
- Controllers connect the backend to the frontend
In short, the backend is where data lives and where most data-related logic happens.
Database and Model Layers
The database layer is the persistence layer of the application. This is where all data is stored long term.
- The database stores data in tables
- Models connect the application to the database
- Models and the database form the core backend
Think of the database and models as separate from the web interface. They can exist even without a frontend, and they focus only on storing and retrieving data.
At the storage level, data is organized into tables that group related information.
- Tables store rows of related data
- Columns describe what each piece of data represents
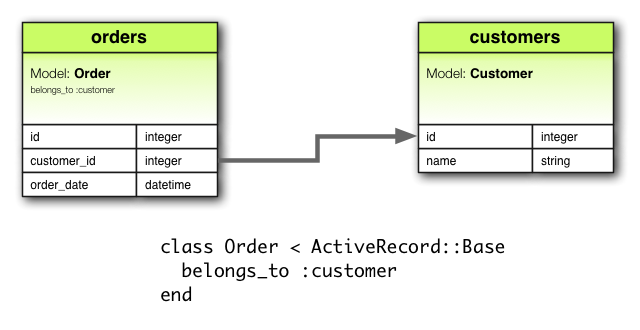
- Tables can be linked using shared columns
Each table focuses on a single type of data. Each row is one record, and each column describes a property of that record. When tables are linked using shared IDs, the database becomes relational.
Consider the sample articles table below:
| id | title | description | user_id |
|---|---|---|---|
| 1 | First post | Introduction article | 101 |
| 2 | Second post | Follow-up content | 101 |
| 3 | Third post | Another sample article | 203 |
| 4 | Fourth post | Deeper topic overview | 145 |
| 5 | Fifth post | Final example entry | 203 |
In this example, each row represents an article and stores a user_id that points to the user who created it. This link forms a clear relationship between users and their articles, and allows the application to move between related data easily.
The id is generated automatically, so it does not need manual handling.
CRUD Operations
Most database-backed application follow four basic operations, known as CRUD, to manage data consistently and safely.
- Create new records
- Read existing records
- Update existing records
- Delete records
To perform CRUD operations on the database, applications need a way to talk to it using Structured Query Language (SQL). It is the standard language for most databases and allows the application to create, read, update, and delete rows. Different database systems may have slight variations, but the basic SQL principles stay the same.
Active Record and ORM
Raills does not require you to manually write SQL. Instead, it uses a Object Relational Mapper (ORM) called Active Record which translates Ruby code into SQL queries.
From Rails 5 onward, models inherit from ApplicationRecord, which itself inherits from Active Record. This setup allows all models to automatically gain database functionality.
# app/models/application_record.rb
class ApplicationRecord < ActiveRecord::Base
  self.abstract_class = true
end
Generate a Resource with Scaffold
To follow this section, create a simple Rails application..
The sample Gemfile and config/database.yml can be found here: Github/test-rails-app
In this example, we use the scaffold generator to create an article resource. This automatically generates all components required for a complete CRUD feature:
articlestablearticlemodelarticlescontroller- All associated views
From the project directory, run:
rails generate scaffold Article title:string description:text
Here, article is the resource name, title is a string column, and description is a text column.
Output:
  invoke  active_record
  create    db/migrate/202360110114849_create_articles.rb
  create    app/models/article.rb
  invoke    test_unit
  create      test/models/article_test.rb
  create      test/fixtures/articles.yml
  invoke  resource_route
    route    resources :articles
  invoke  scaffold_controller
  create    app/controllers/articles_controller.rb
  invoke    erb
  create      app/views/articles
  create      app/views/articles/index.html.erb
  create      app/views/articles/edit.html.erb
  create      app/views/articles/show.html.erb
  create      app/views/articles/new.html.erb
  create      app/views/articles/_form.html.erb
  create      app/views/articles/_article.html.erb
  invoke    resource_route
  invoke    test_unit
  create      test/controllers/articles_controller_test.rb
  invoke    helper
  create      app/helpers/articles_helper.rb
  invoke      test_unit
  invoke    jbuilder
  create      app/views/articles/index.json.jbuilder
  create      app/views/articles/show.json.jbuilder
  create      app/views/articles/_article.json.jbuilder
After the command runs, Rails outputs a list of generated files. From this output, we can see that Active Record was invoked and a migration file named db/migrate/20230110114849_create_articles.rb was created to define the database structure.
## db/migrate/20230110114849_create_articles.rb
class CreateArticles < ActiveRecord::Migration[6.1]
  def change
    create_table :articles do |t|
      t.string :title
      t.text :description

      t.timestamps
    end
  end
end
Inside the migration file, the structure of the articles table is defined. It includes the following:
- The two columns:
titleanddescription timestampshelper, which is managed by Rails
To apply the migration and create the table in the database, run:
rails db:migrate
Output:
== 20230106171008 CreateApplicationRecords: migrating =========================
-- create_table(:application_records)
   -> 0.0077s
== 20230106171008 CreateApplicationRecords: migrated (0.0078s) ================

== 20230110114849 CreateArticles: migrating ===================================
-- create_table(:articles)
   -> 0.0107s
== 20230110114849 CreateArticles: migrated (0.0108s) ==========================
Once the migration completes, Rails updates the schema file to reflect the current database structure. The db/schema.rb file acts as a snapshot of the database and keeps it in sync with the application code.
## db/schema.rb
ActiveRecord::Schema[6.1].define(version: 2023_01_10_114849) do
  create_table "application_records", force: :cascade do |t|
    t.datetime "created_at", null: false
    t.datetime "updated_at", null: false
  end

  create_table "articles", force: :cascade do |t|
    t.datetime "created_at", null: false
    t.text "description"
    t.string "title"
    t.datetime "updated_at", null: false
  end
end
Rails also creates the Article model in app/models/article.rb. The model represents a single record in the articles table and inherits from ApplicationRecord, which in turn inherits from Active Record (See Active Record and ORM).
Note: Active Record provides the object–relational mapping layer used to interact with the database.
class Article < ApplicationRecord
end
In addition to the model, the scaffold generator updates app/controllers/articles_controller.rb. This controller includes all standard CRUD actions and handles requests. Each action corresponds to a specific HTTP request and coordinates between the model and the views.
class ArticlesController < ApplicationController
  before_action :set_article, only: %i[ show edit update destroy ]

  # GET /articles or /articles.json
  def index
    @articles = Article.all
  end

  # GET /articles/1 or /articles/1.json
  def show
  end

  # GET /articles/new
  def new
    @article = Article.new
  end

  # GET /articles/1/edit
  def edit
  end

  # POST /articles or /articles.json
  def create
    @article = Article.new(article_params)

    respond_to do |format|
      if @article.save
        format.html { redirect_to @article, notice: "Article was successfully created." }
        format.json { render :show, status: :created, location: @article }
      else
        format.html { render :new, status: :unprocessable_entity }
        format.json { render json: @article.errors, status: :unprocessable_entity }
      end
    end
  end

  # PATCH/PUT /articles/1 or /articles/1.json
  def update
    respond_to do |format|
      if @article.update(article_params)
        format.html { redirect_to @article, notice: "Article was successfully updated.", status: :see_other }
        format.json { render :show, status: :ok, location: @article }
      else
        format.html { render :edit, status: :unprocessable_entity }
        format.json { render json: @article.errors, status: :unprocessable_entity }
      end
    end
  end

  # DELETE /articles/1 or /articles/1.json
  def destroy
    @article.destroy!

    respond_to do |format|
      format.html { redirect_to articles_path, notice: "Article was successfully destroyed.", status: :see_other }
      format.json { head :no_content }
    end
  end

  private
    # Use callbacks to share common setup or constraints between actions.
    def set_article
      @article = Article.find(params.expect(:id))
    end

    # Only allow a list of trusted parameters through.
    def article_params
      params.expect(article: [ :title, :description ])
    end
end
Finally, Rails updates config/routes.rb by adding a resources :articles entry. This line defines all RESTful routes for the Article resource, and provides URLs for every CRUD operation without requiring manual route definitions.
## config/routes.rb
Rails.application.routes.draw do
  resources :articles
  root "pages#home"
  get "about", to: "pages#about"
  get "up" => "rails/health#show", as: :rails_health_check
end
Routes and URL mapping
As shown in config/routes.rb, Rails automatically added route definitions for the articles resource when the scaffold was generated. These routes define how incoming HTTP requests are mapped to controller actions.
To view all generated routes and see how GET, POST, PATCH, and DELETE requests are handled within the application, run:
rails routes --expanded
This command displays a detailed list of routes, including the HTTP verb, URL pattern, and the controller action each request maps to.
--[ Route 1 ]--------------------------------------------------------------------------------------------------------------------------------------------------------------------------------------------------Prefix            | articles
Verb              | GET
URI               | /articles(.:format)
Controller#Action | articles#index
Source Location   | /test-rails-app/config/routes.rb:2
--[ Route 2 ]--------------------------------------------------------------------------------------------------------------------------------------------------------------------------------------------------Prefix            |
Verb              | POST
URI               | /articles(.:format)
Controller#Action | articles#create
Source Location   | /test-rails-app/config/routes.rb:2
--[ Route 3 ]--------------------------------------------------------------------------------------------------------------------------------------------------------------------------------------------------Prefix            | new_article
Verb              | GET
URI               | /articles/new(.:format)
Controller#Action | articles#new
Source Location   | /test-rails-app/config/routes.rb:2

(Output truncated)
Each route connects a specific URL and HTTP method to a controller action. For example:
-
Route 1: a
GETrequest to/articlesis routed to theindexaction and is used to display a list of articles. -
Route 2: A
POSTrequest to/articlesis used to submit a form and create a new article. -
Route 3: A
GETrequest to/articles/newdisplays the form for creating a new article.
Example: articles
Create and Read Articles
To test the routes, start the Rails server:
rails server
Open a web browser and navigate to:
localhost:3000

Route 1: From the main page, visit the articles index page by appending /articles:
localhost:3000/articles
At this stage, no articles exist yet, so the page appears empty.

Route 2: The POST /articles route does not have a page of its own because it is triggered when a form is submitted.
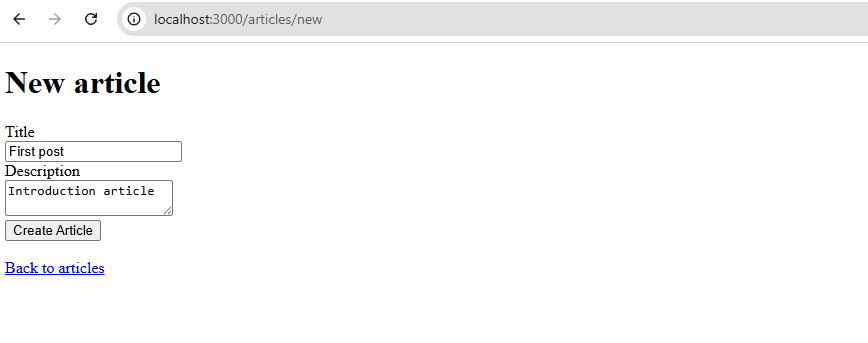
Route 3: Going to /articles/new allows you to access the form for creating a new article:
localhost:3000/articles/new
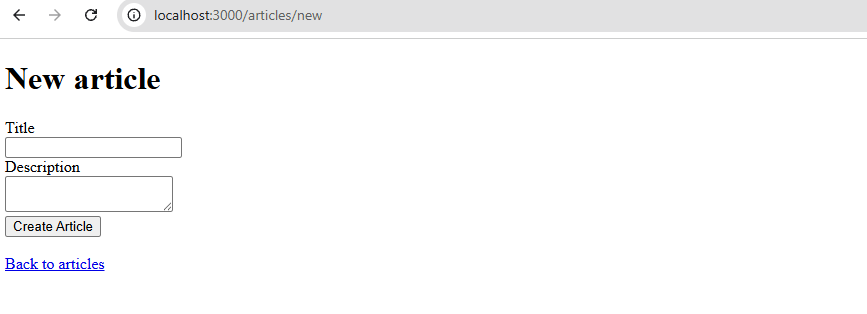
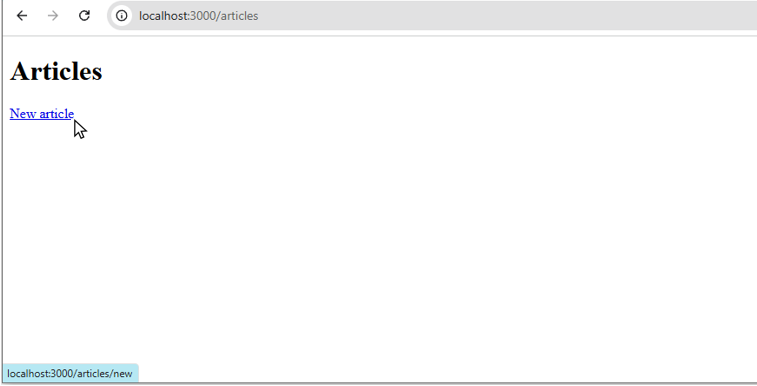
You can also get there by going back to /articles and hovering over the New Article link. You’ll see the destination link appear at the bottom-left of the browser. Clicking New Article takes you to the /articles/new page.
For the new article, enter a title and description, then click Create Article.
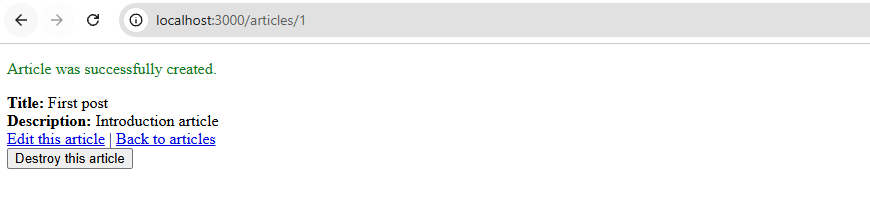
When the Create Article button is clicked, the browser sends a POST request to /articles. If the request succeeds, Rails displays the message Article was successfully created and redirects you to the article’s detail page.
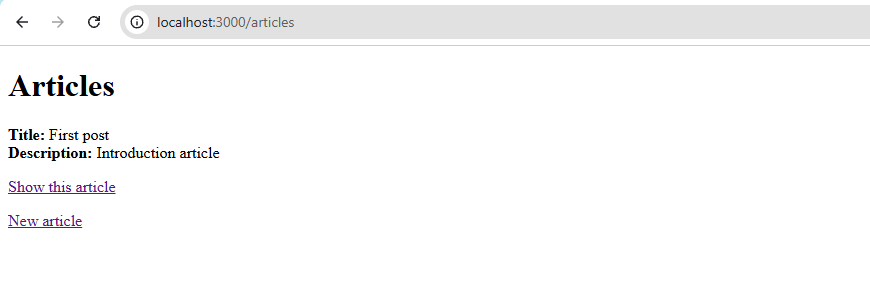
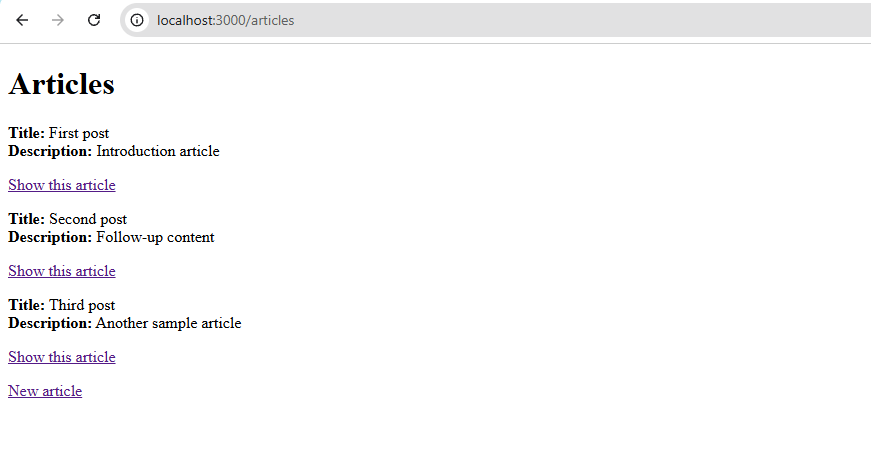
Click Back to articles to return to /articles, where the newly created article now appears.
Repeat this process to create the following sample articles:
| id | title | description |
|---|---|---|
| 1 | First post | Introduction article |
| 2 | Second post | Follow-up content |
| 3 | Third post | Another sample article |
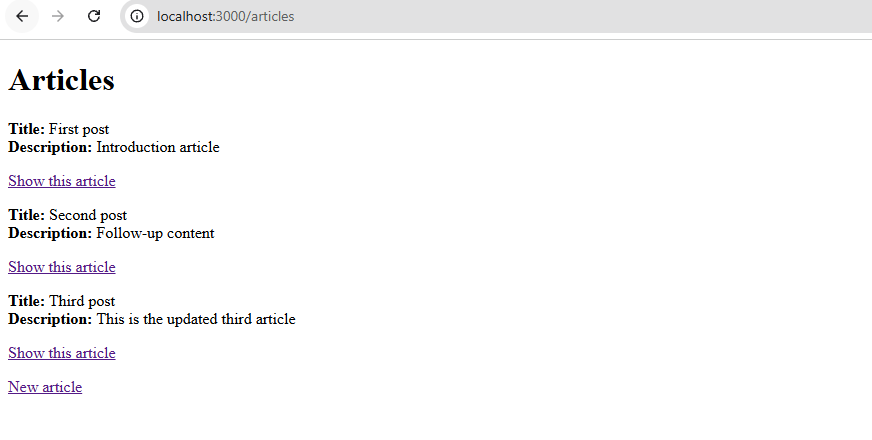
Once completed, the articles index page should display all three entries.
Update Articles
We can also update an existing article.
Looking at the routes again, we’ll focus on routes 4 and 6. Route 4 is a GET request that displays the edit form for a specific article. When the form is submitted, it is sent to route 6, which uses a PATCH request to apply the updates to the article.
$ rails routes --expanded

--[ Route 4 ]--------------------------------------------------------------------------------------------------------------------------------------------------------------------------------------------------Prefix            | edit_article
Verb              | GET
URI               | /articles/:id/edit(.:format)
Controller#Action | articles#edit
Source Location   | /test-rails-app/config/routes.rb:2
--[ Route 5 ]--------------------------------------------------------------------------------------------------------------------------------------------------------------------------------------------------Prefix            | article

--[ Route 6 ]--------------------------------------------------------------------------------------------------------------------------------------------------------------------------------------------------Prefix            |
Verb              | PATCH
URI               | /articles/:id(.:format)
Controller#Action | articles#update
Source Location   | /test-rails-app/config/routes.rb:2
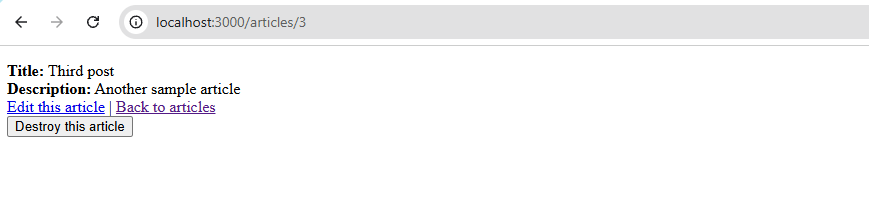
From the /articles page, select the third article and click Show this article.
Notes: In older versions of Rails, articles were commonly displayed in a table with Edit and Destroy buttons visible on the index page. In newer versions, Rails intentionally uses a minimal UI and avoids destructive actions on the index page to reduce the risk of accidental changes.
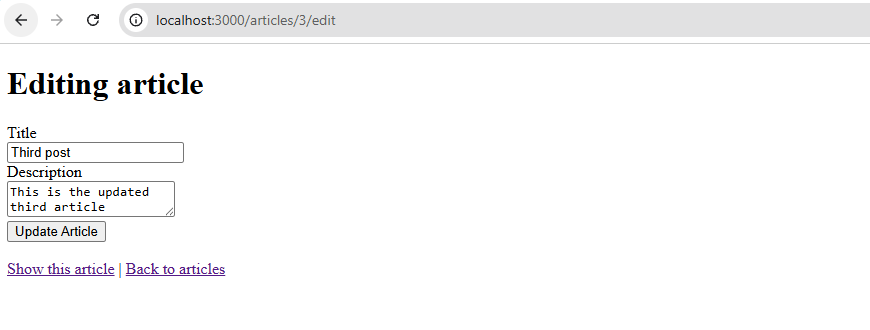
On the article detail page, click Edit this article:
Modify the description, and then click Update Article:
If the update is successful, Rails displays the message Article was successfully updated.
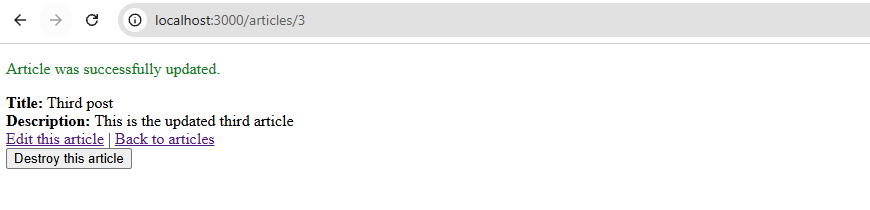
Click Back to articles to confirm that the updated content is now reflected on the index page.
Delete Articles
Deleting an article uses the DELETE /articles/:id route, which maps to the destroy action in the controller.
$ rails routes --expanded

--[ Route 8 ]----------------------------------------------------------------------------------------Prefix            |
Verb              | DELETE
URI               | /articles/:id(.:format)
Controller#Action | articles#destroy
Source Location   | /test-rails-app/config/routes.rb:2
From the /articles page, open the third article and click Show this article:
Notes: In older versions of Rails, the Destroy buttons visible on the index page. In newer versions, Rails intentionally uses a minimal UI and avoids destructive actions on the index page to reduce the risk of accidental changes.
Next, click the Destroy this article button:

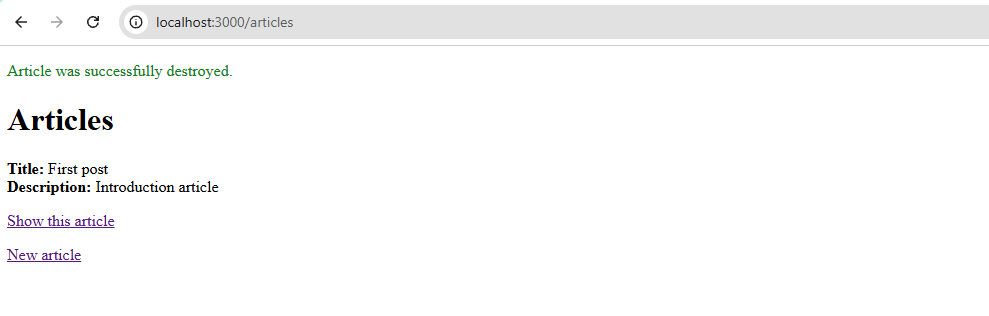
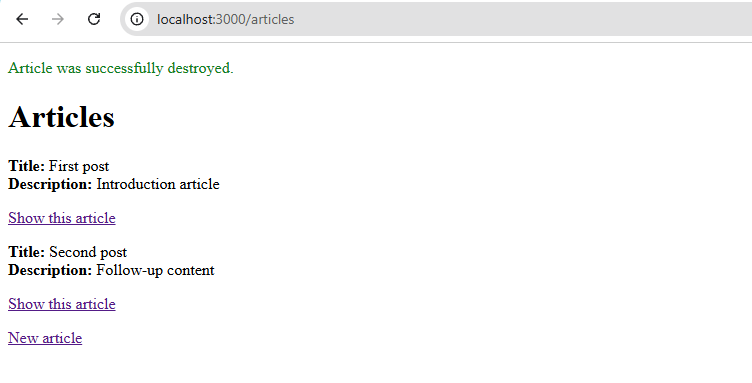
The article is deleted, and Rails redirects back to the articles index with the message Article was successfully destroyed.
Adding a Confirmation Prompt
By default, the delete button may not show a confirmation prompt. Although the confirmation exists in the code, Turbo does not intercept the request when the legacy data-confirm attribute is used.
In older Rails versions, confirmations were handled by rails-ujs. In modern Rails, Turbo handles method spoofing and confirmations, and it expects the turbo_confirm attribute instead.
data: { turbo_confirm: "Are you sure?" }
The button do have a confirmation, but the attribute is ignored, and the DELETE request goes through immediately.
To add a confirmation prompt, update app/views/articles/show.html.erb and add the data with the turbo_confirm attribute:
## app/views/articles/show.html.erb
<p style="color: green"><%= notice %></p>

<%= render @article %>

<div>
  <%= link_to "Edit this article", edit_article_path(@article) %> |
  <%= link_to "Back to articles", articles_path %>

  <%= button_to "Destroy this article",
        @article, method: :delete,
        data: { turbo_confirm: "Are you sure?" } %>
</div>
Rails automatically reloads view files in development mode, so there is no need to restart the server. Refresh the browser, open an article, and click Destroy this article. A confirmation prompt will now appear.

Clicking OK proceeds with the deletion, and Rails displays the success message as before.