Windows Server Core
Overview
Windows Server is a robust operating system designed for managing network resources, hosting applications, and providing enterprise services. Using VirtualBox, you can set up a virtual environment to install and explore Windows Server features for safe and flexible testing or training without affecting physical systems.
To download the Window Server ISO file, go to Microsoft Evaluation Center..
Windows Server Core (No GUI)
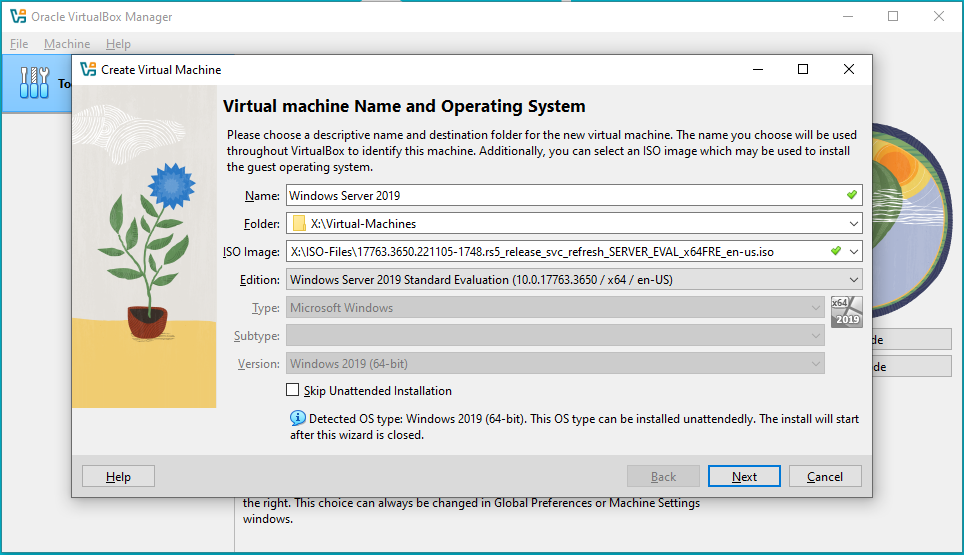
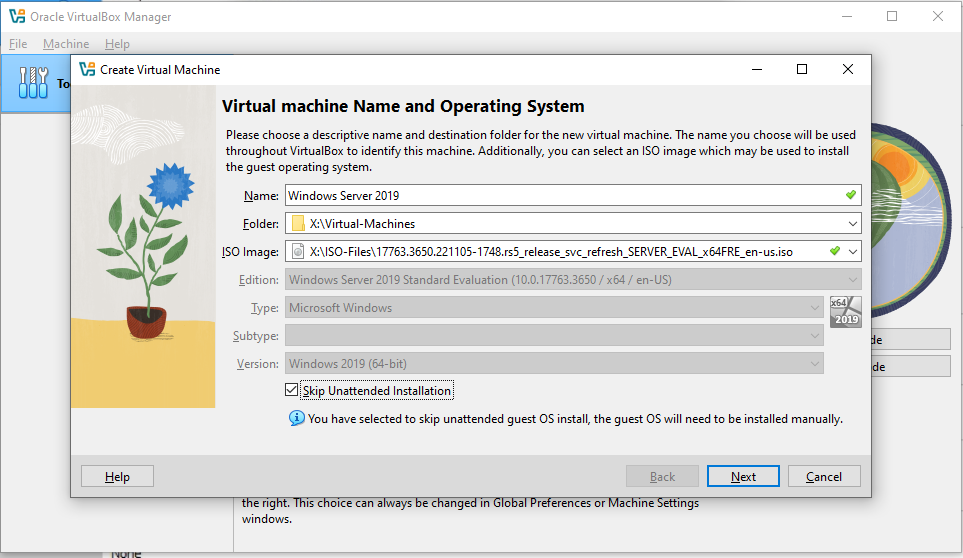
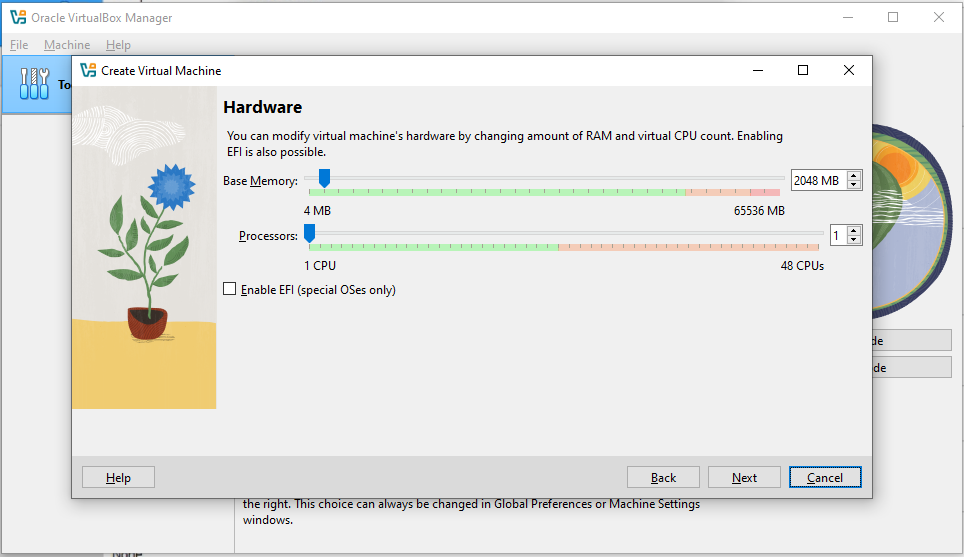
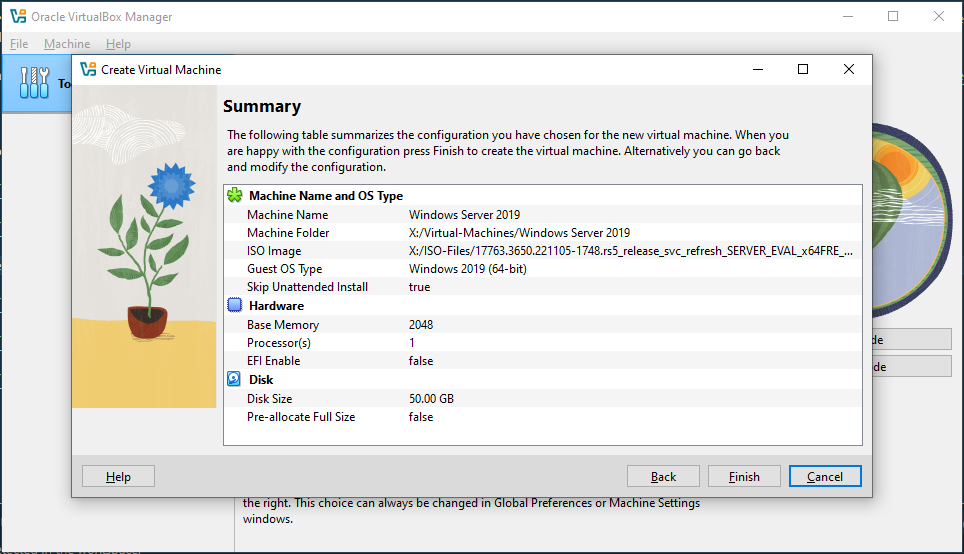
Open VirtualBox > New > Enter the name and choose the ISO image.
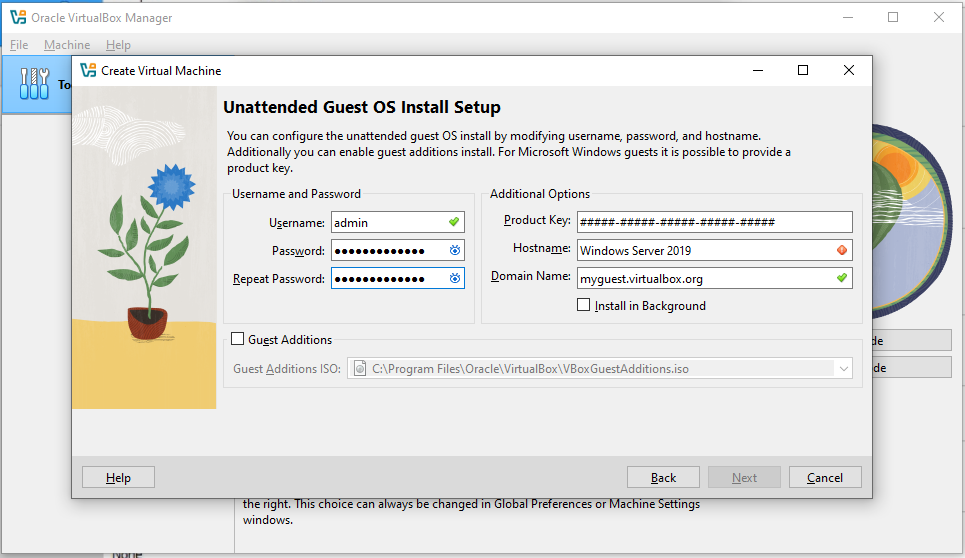
Enter username and password. Click Next > Next > Finish
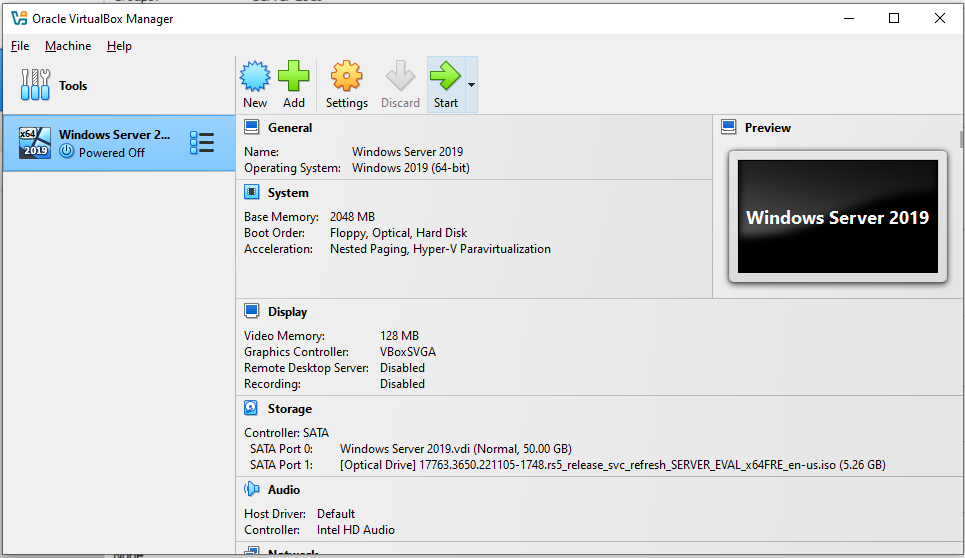
Setup the Windows Server VM
Start the VM:
A new window will open. In the startup page, select the Language, Time, and Keyboard method, and click Next > Install Now.

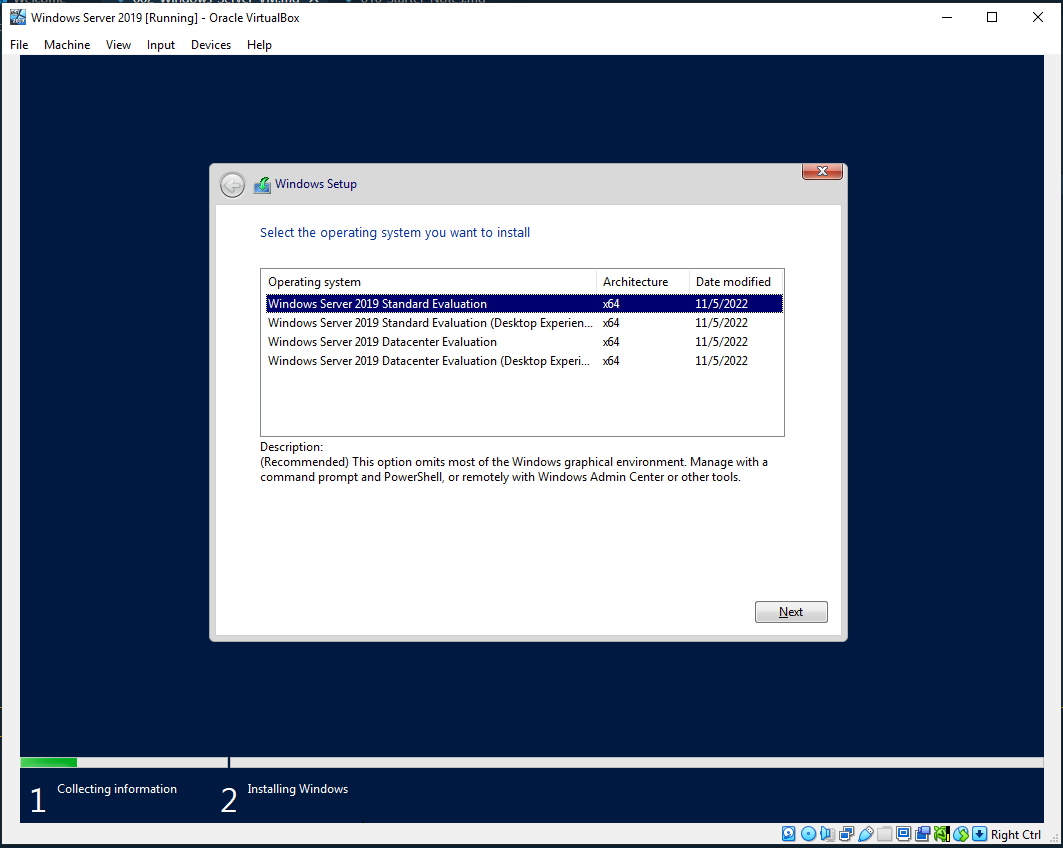
Select the Windows Server 2019 Standard Evaluation. Accept the licensing agreement and click Next.
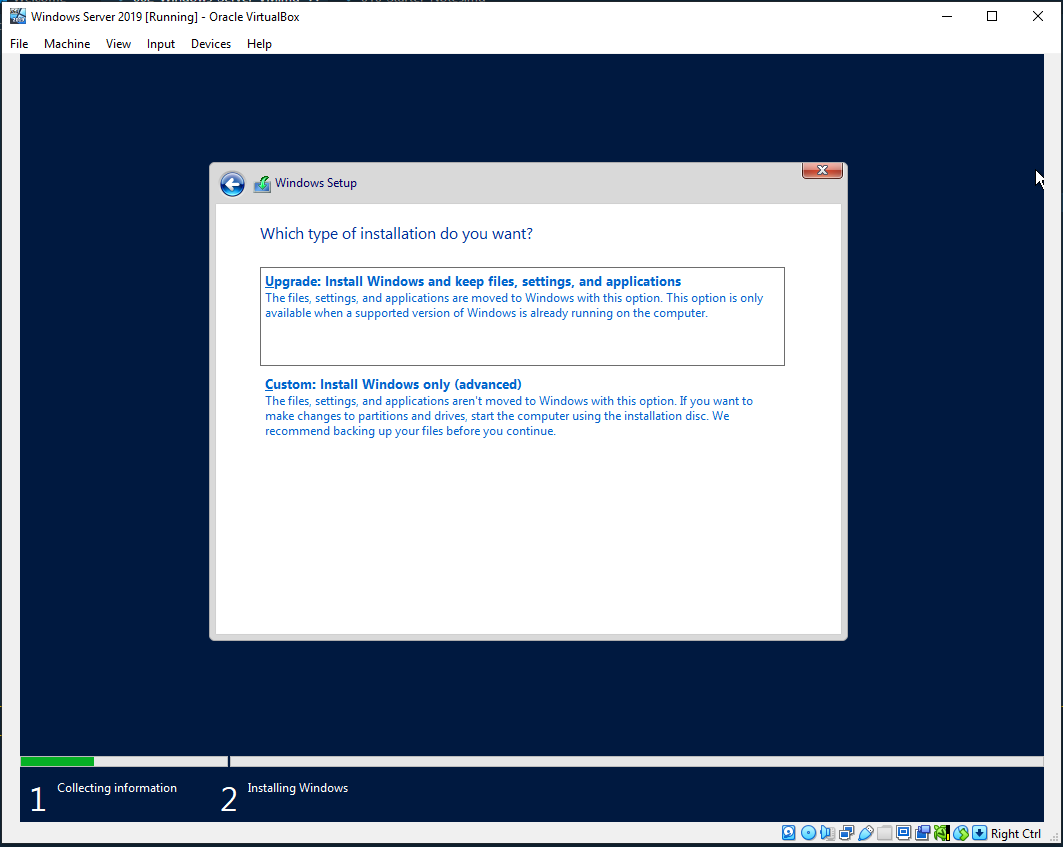
Select Custom Install > Next. It will now go through the installation. Once done, the VM will reboot.
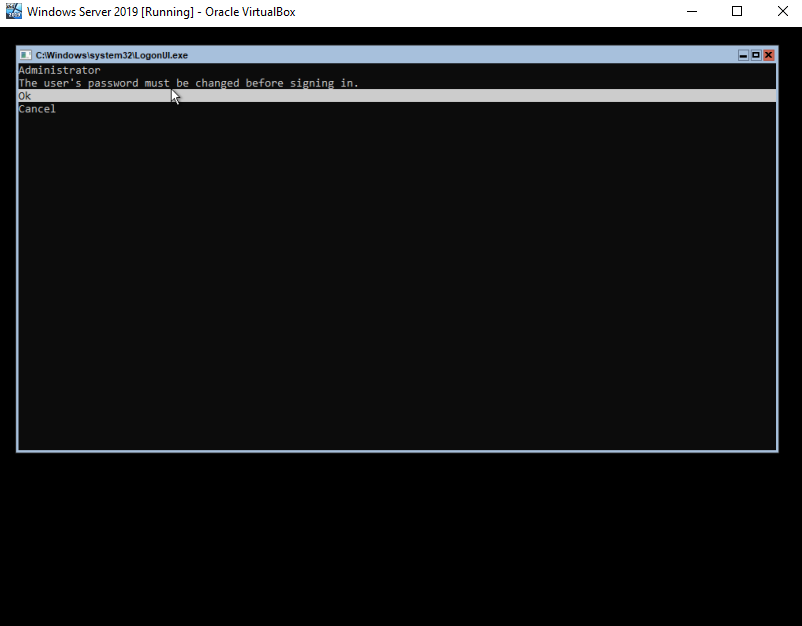
After reboot, you'll be prompted to change the administrator's password. Click OK.
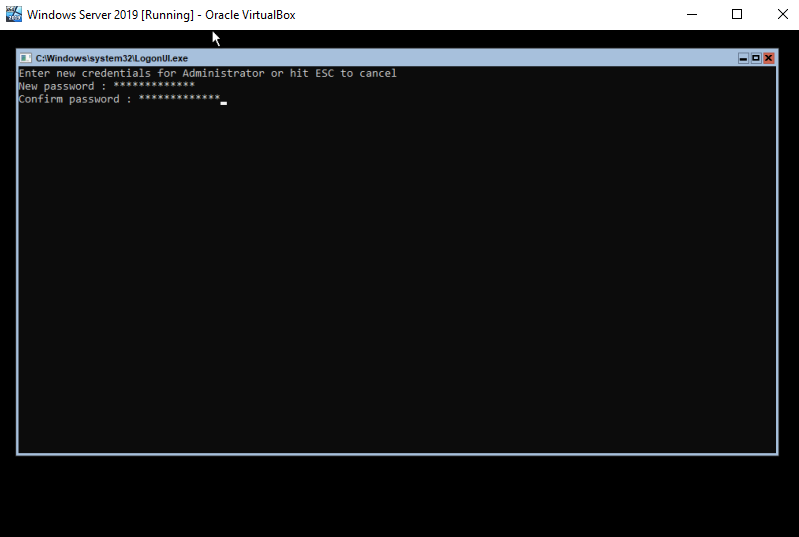
Enter the password, then press Tab to proceed to the next line. Confirm the password by typing again, then hit Enter.
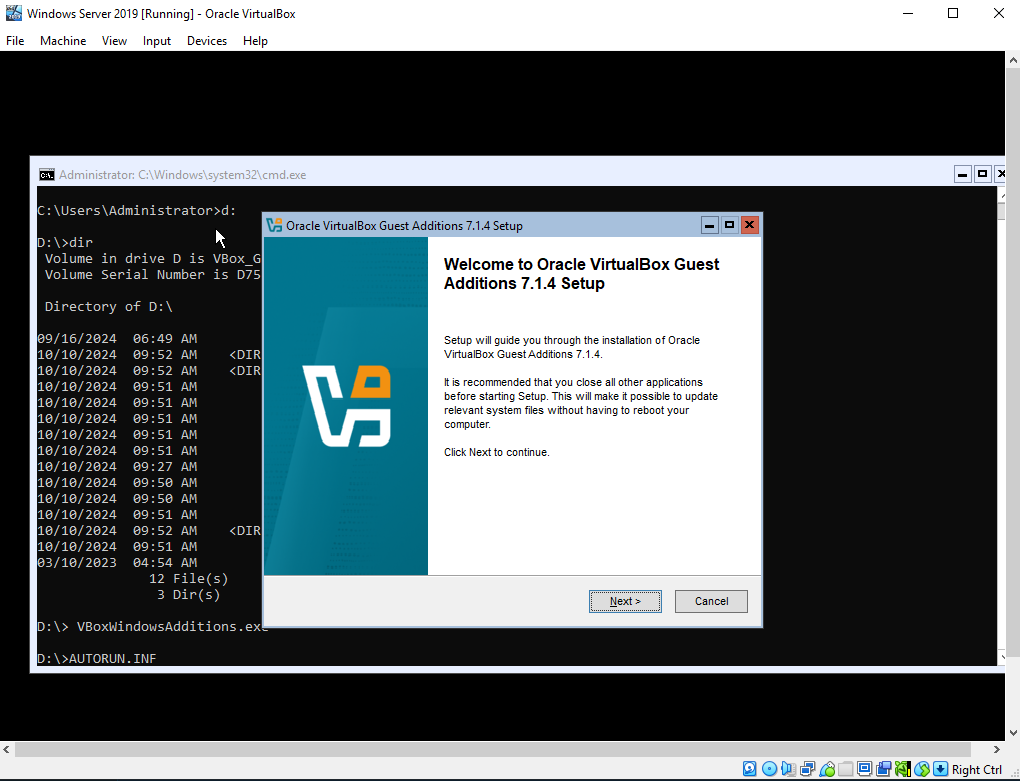
Next, click Devices > Insert Guest Additions CD Image. Then on the command prompt, type d: to switch to the D drive. Type in `VBOxWindowsAdditions.exe' and hit enter.
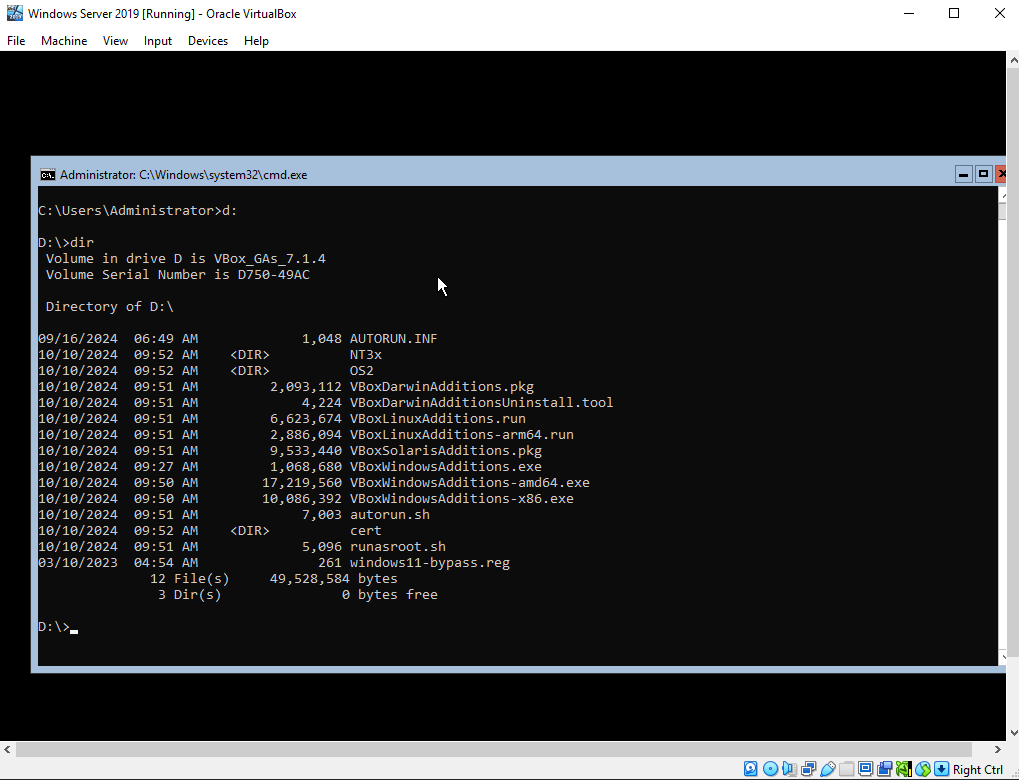
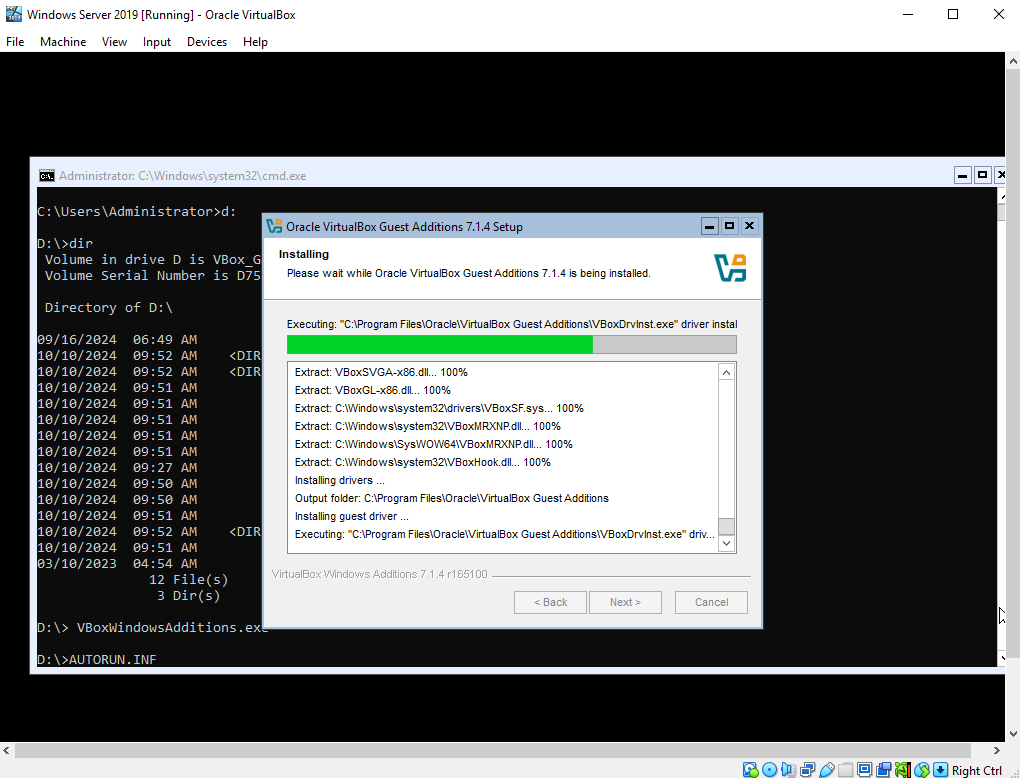
Type in `VBOxWindowsAdditions.exe' and hit enter. Click Next > Next > Install.
It will go through the installation process.
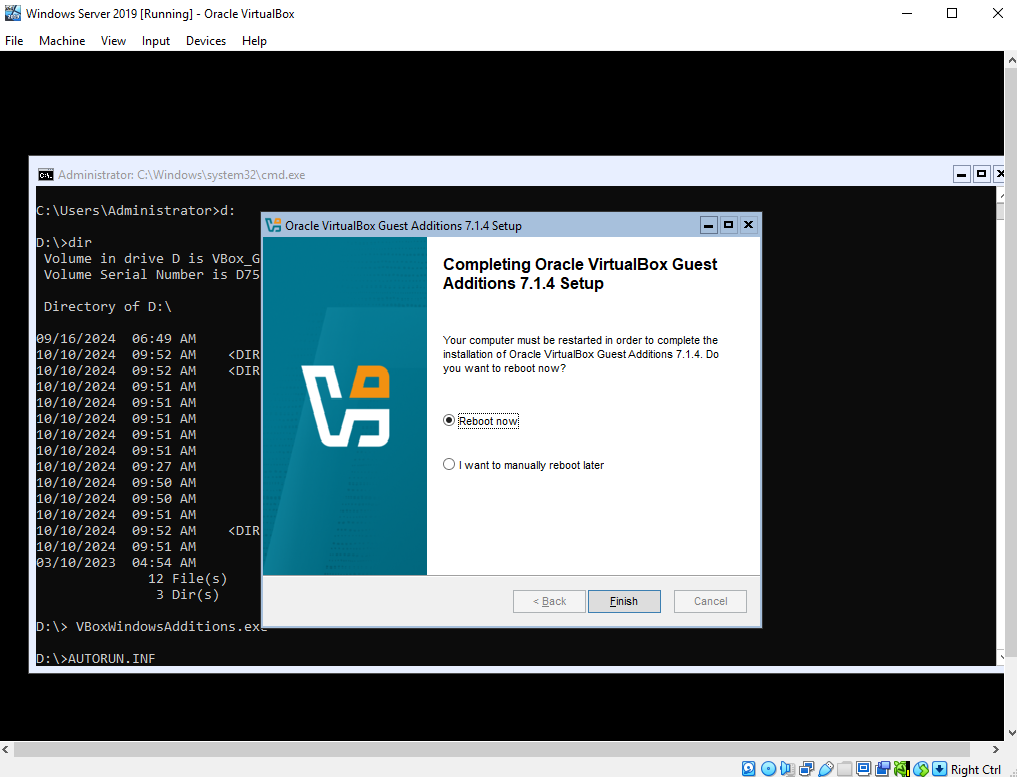
Select Reboot now > Finish
Server Configuration Utility
After reboot, you'll see the command prompt again. Type in sconfig to open the Server Configuration utility. You can do different things using this utility.
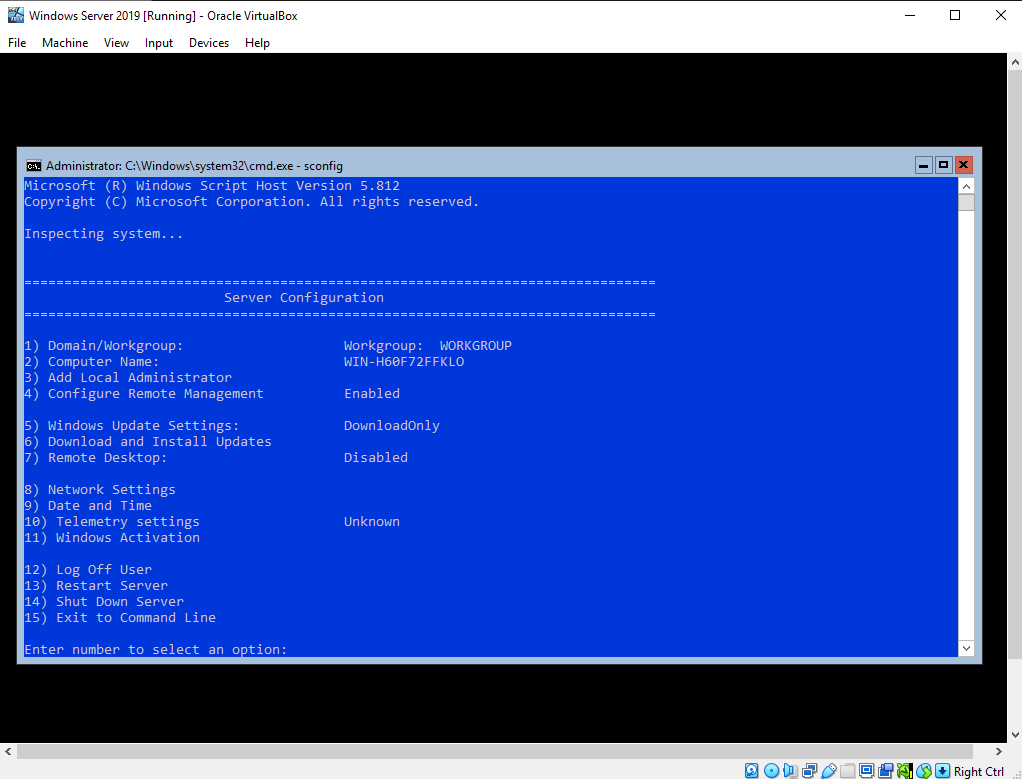
Enter 2 to rename the computer. Set the name to ServerCore. Restart computer when prompted.

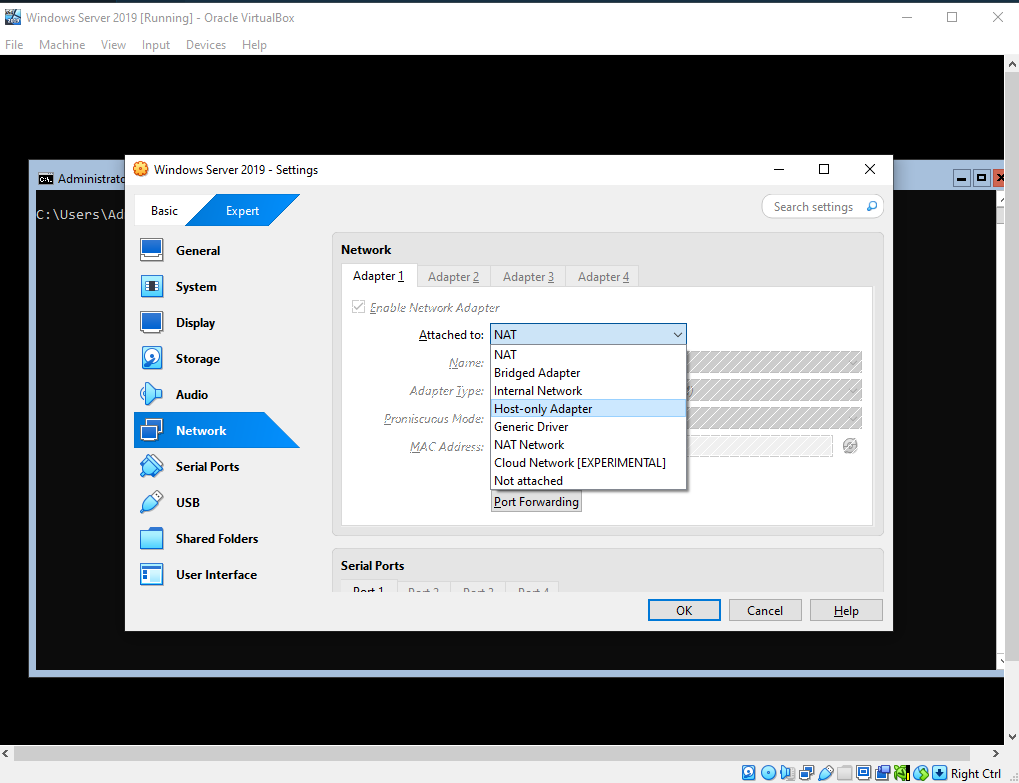
Isolate the VM
Since the VM is for testing, we can disable its internet access. To do this, go to Machine > Settings > Network. On adapter 1, set Attached to to Host-only Adapter, then click OK.