Setting up
Overview
This guide shows how to set up the DEVASC virtual machine (VM) in Oracle VirtualBox and prepare it for the labs.
- Install the VM
- Create necessary accounts
- Set up Webex Teams for communication.
Requirements
Before starting, ensure you have the following:
- Host computer with at least 4 GB RAM and 15 GB free disk space
- high-speed internet to download VirtualBox and the DEVASC VM
Download VirtualBox
Start by installing the virtualization software and importing the DEVASC VM.
- Download VirtualBox from https://www.virtualbox.org
- Choose the correct installation file for your operating system
- Run the installer and accept default settings
- Open VirtualBox after installation
Import the DEVASC VM
Next, import the DEVASC VM into VirtualBox.
-
Download the pre-build OVA file: Google Drive
-
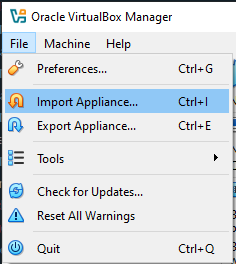
In VirtualBox, go to File > Import Appliance
-
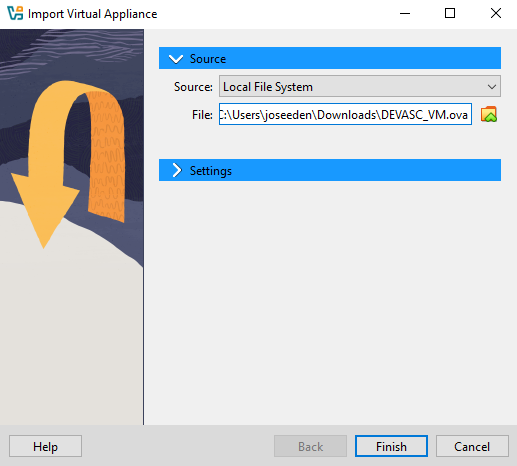
Select Local File System and browse to the downloaded VM.
-
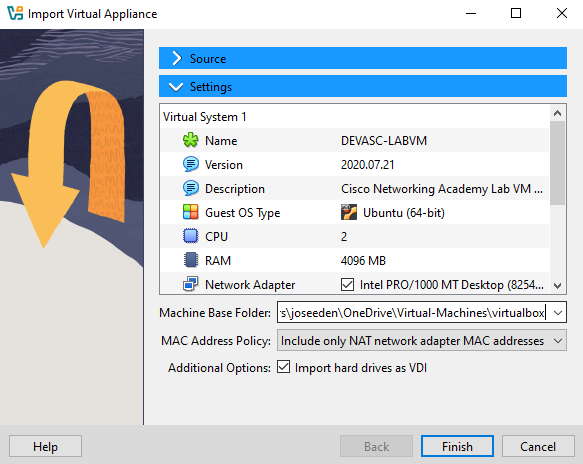
Review the details, then click Finish
-
Wait a few minutes for the VM to finish importing
-
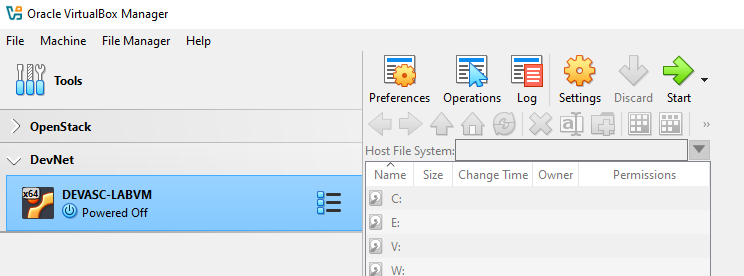
Select the VM and click Start to launch the VM.
-
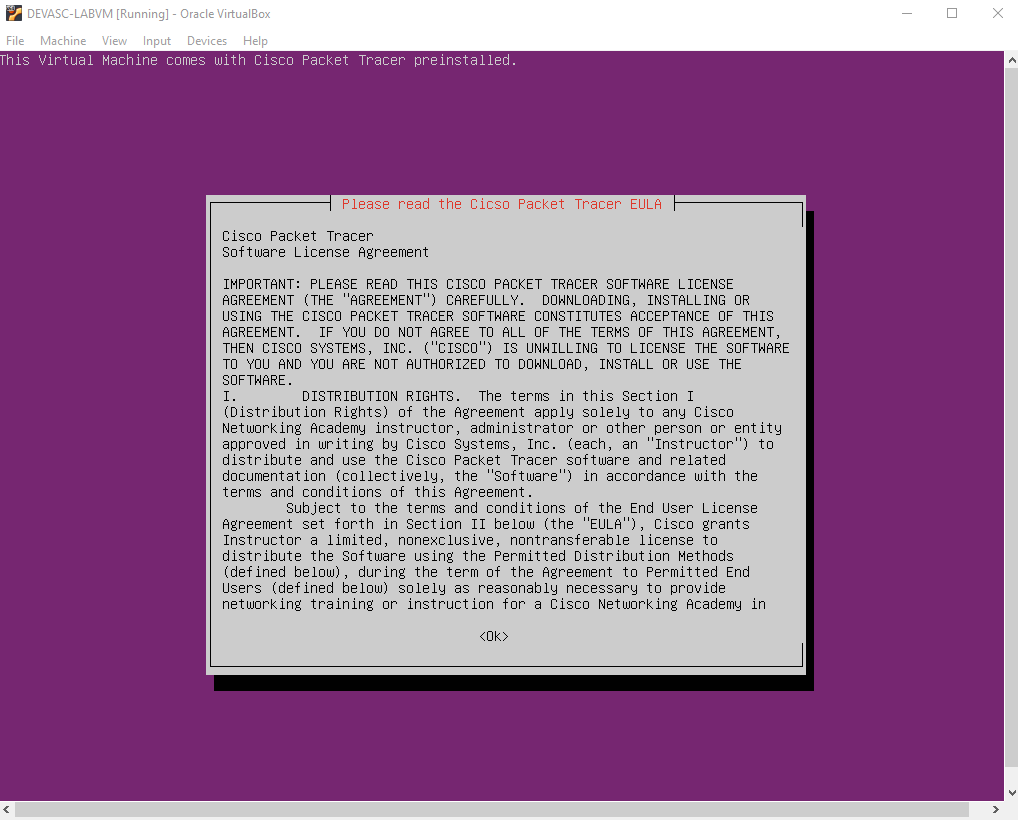
Continue starting the virtual machine and accept the Cisco Packet Tracer license to proceed.
- Use arrow keys to scroll the license text
- Press Right Arrow to select
<OK>after reading - Press Space Bar to move to the Agreement screen
- Press Left Arrow to select
<I Agree>
-
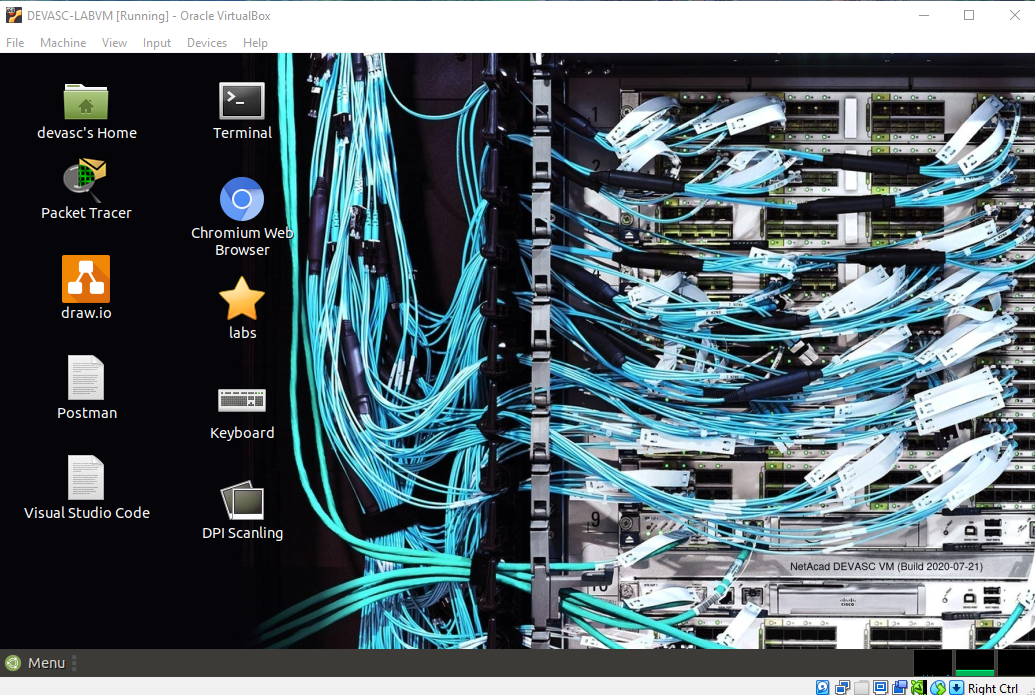
The Ubuntu image will continue to load. Close any popup messages.
After the desktop loads, the VM is ready is to use for the labs.