Install Terraform on Windows Server
Overview
In this lab, we'll be using Powershell to install Terraform on a Windows Server. Before we start, make sure to launch a Windows Server through the AWS Console. Similarly, you can follow the next step on how to launch a Windows Server.
Launch a Windows instance
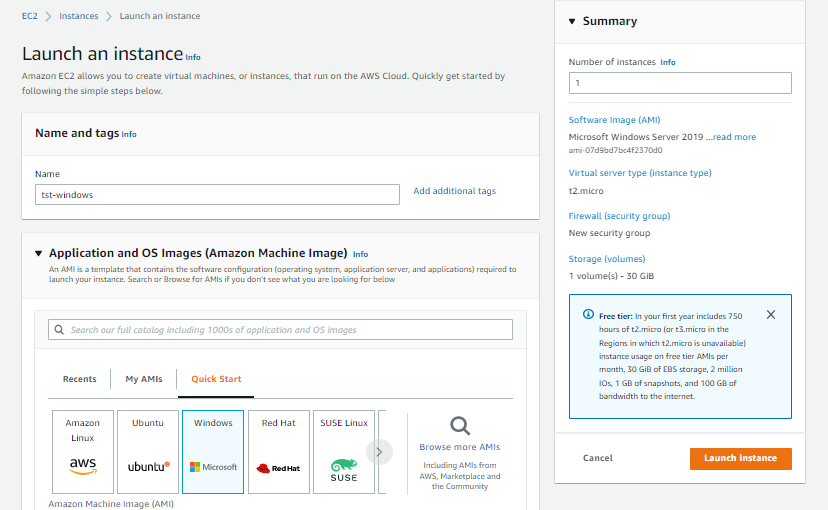
To launch a Windows instance, go to the EC2 console and click Launch instances.
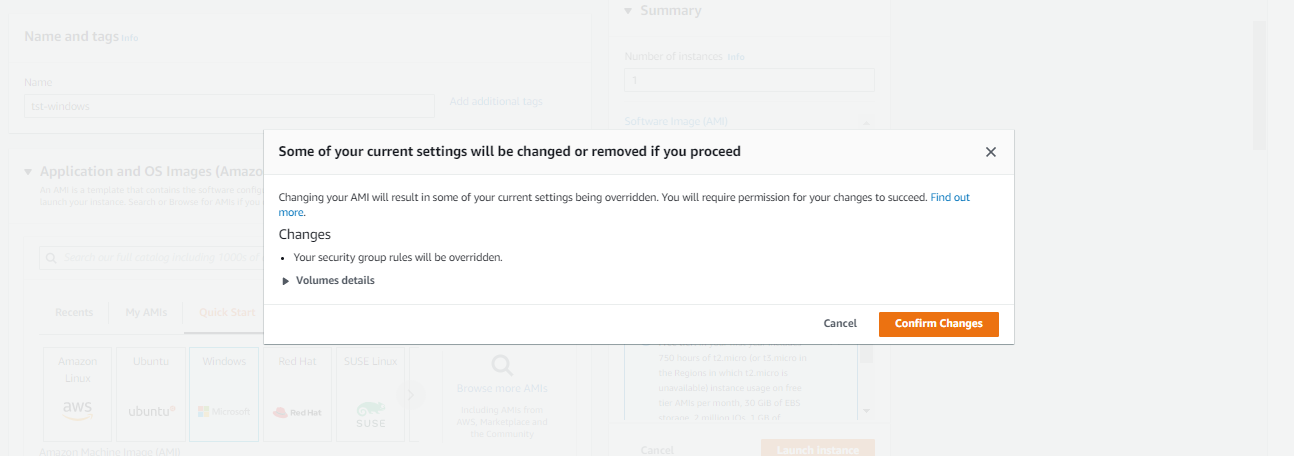
Give your instance a name and choose Windows under the Application and OS Images section. Click Confirm changes in the prompt window.
In the Keypair section, you can choose to create a new one or use an existing keypair.
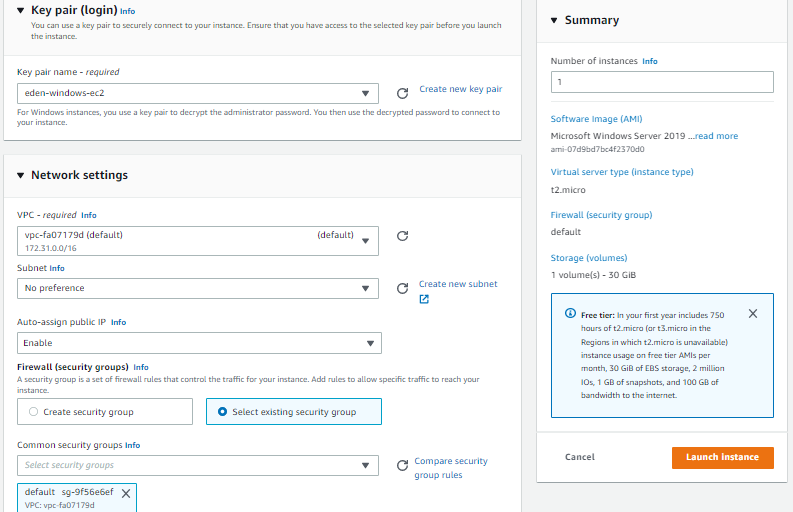
Under the Network settings, click edit and choose the default VPC for your region. Make sure Auto-assign public IP is set to "Enable". Next, choose Select existing security group
Click Launch instance.
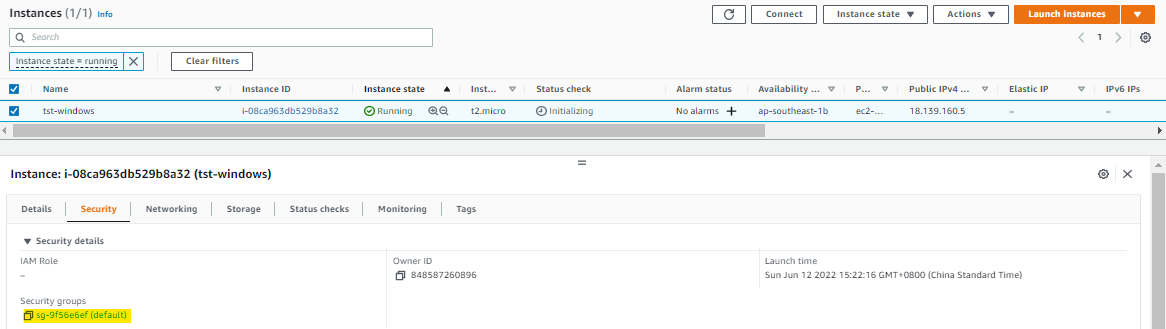
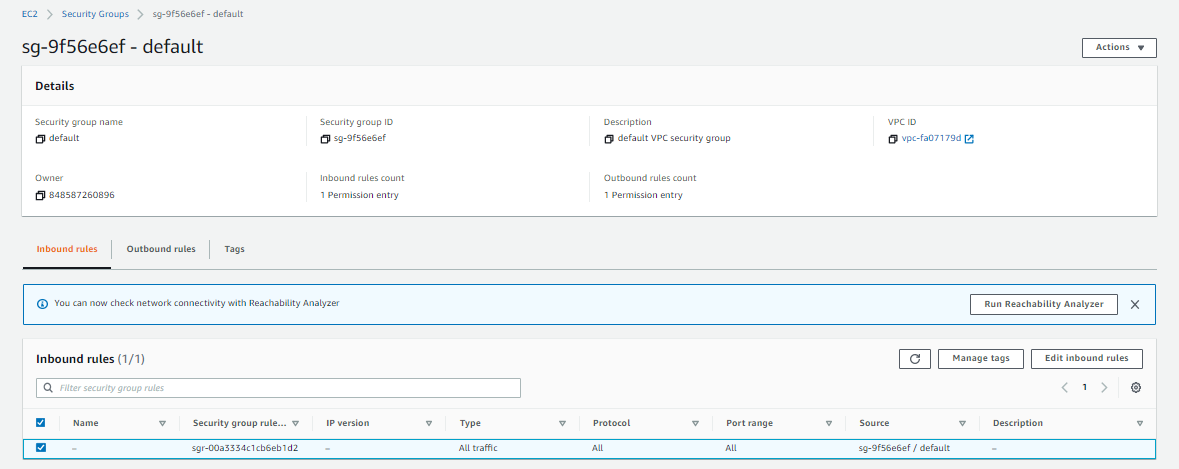
Note that we need to configure the existing security group to allow RDP connection from our local machine. Select your instance and click the Security tab. Click the security group name under the Security groups
In the security group page, click the Edit inbound rules at the lower right.
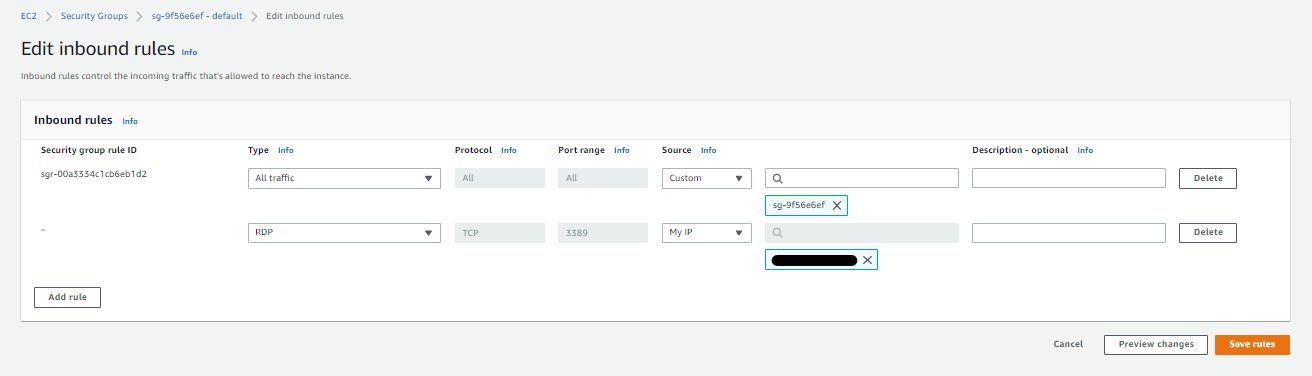
In the Edit inbound rules page, click Add rule and set the type of the new rule to RDP and the source to My IP. Click Save rules
Connect to your instance
Once your Windows instance is up and running, select it and hit Connect. Choose the Session Manager and click Connect.
It should open a Powershell terminal in a new tab.

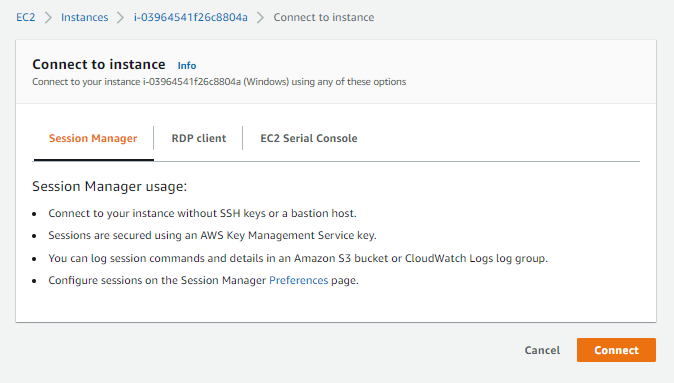
Note that you can only connect through the Session Manager if you have an SSM agent installed on the instance. Another option is to connect by choosing the RDP Client.
Connection Type --> Connect using RDP client --> Download remote desktop file
To get the password,
Password --> Get password --> Browse to your keypair --> Decrypt password
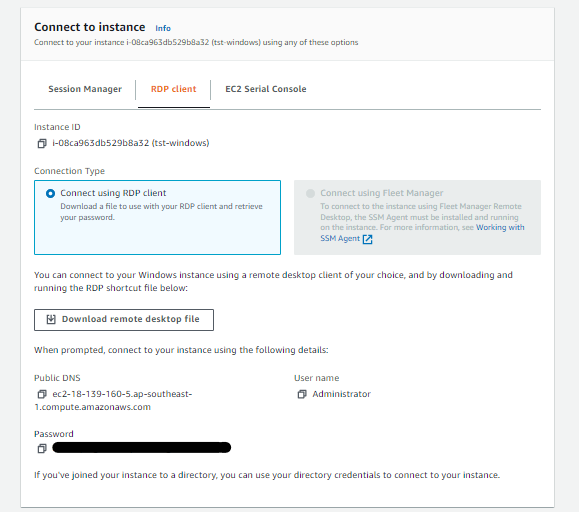
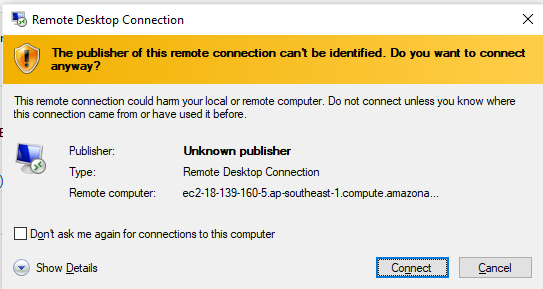
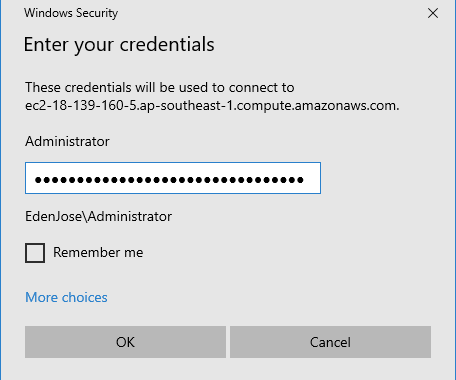
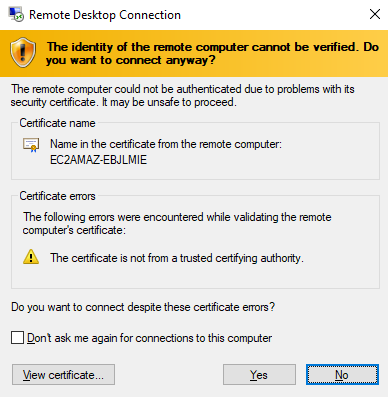
Open the RDP file that you just downloaded. Click Connect and enter the password in the next window. It will return an "identity unverified" warning, click Yes.
You should now be able to access the Windows Server. Open a Powershell terminal from the Start menu and proceed with the next step.
Install Terraform
In the Powershell terminal, create a new directory where the Terraform binary will be saved.
mkdir C:\terraform
cd C:\terraform
Download the binary zip file and then extract the binary. Remove the zip once the binary is extracted.
Invoke-WebRequest -Uri https://releases.hashicorp.com/terraform/0.13.4/terraform_0.13.4_windows_amd64.zip -outfile terraform_0.13.4_windows_amd64.zip
Expand-Archive -Path .\terraform_0.13.4_windows_amd64.zip -DestinationPath .\
rm .\terraform_0.13.4_windows_amd64.zip -Force
To ensure Terraform commands are read when we execute them, we need to add the Terraform binary to the PATH variable. Make sure to update the current session with the newly added variable.
setx PATH "$env:path;C:\terraform" -m
env:Path = [System.Environment]::GetEnvironmentVariable("Path","Machine") + ";" + [System.Environment]::GetEnvironmentVariable("Path","User")
Verify the version installed.
terraform version
Cleanup
To delete the resources, close the RDP session and go back to the EC2 console.
Select your instance --> Instance state --> Terminate instances
