Create the VMs
Overview
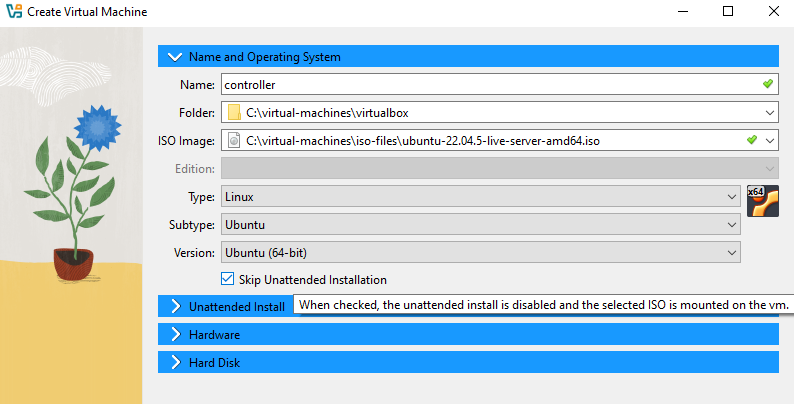
We'll use VirtualBox to create three VMs with the specifications outlined in the lab architecture. Each VM will have:
- Ubuntu Server 22.04 LTS
- Headless (no GUI)
NOTE: It is recommended to select "Skip unattended install" during VM creation because there is a chance the OS installation will fail.
Create the Virtual Machines
Open Oracle VirtualBox and click the "+" button to create the virtual machines. Follow the details for each node.
Controller VM
| Setting | Configuration | Notes |
|---|---|---|
| Name | controller | |
| RAM (Base Memory) | 6 GB (6144 MB) | Enough for Keystone, Glance, Nova API, Neutron |
| CPU (Processors) | 2 cores | Minimum 2 |
| Storage | 20 GB | System disk only |
| Display | 16 MB | Only needed for console access, no GUI |
| Network Adapters | 3 | |
| Adapter 1 | Host-Only | Select the created Host-Only Adapter network |
| Adapter 2 | NAT Network (ProviderNetwork) | Set Promiscuous Mode: Allow All |
| Adapter 3 | NAT Network (Internet) | Enable DHCP |
Make sure to select the Host-Only Adapter (Management Network) created from previous step
- Adapter 1 (Host-Only) is mandatory; all OpenStack nodes communicate here.
- Adapter 3 (NAT) allows the VM to reach Ubuntu repositories.
- The IP address and Gateway will be set in the next step (step 3).
- Display memory is minimal; no GUI needed.
Compute VM
| Setting | Configuration | Notes |
|---|---|---|
| Name | compute1 | |
| RAM (Base Memory) | 4 GB (4096 MB) | Enough for running VMs via Nova |
| CPU (Processors) | 2 cores | At least 2 |
| Storage | 10 GB | System only; ephemeral VM disks handled by Cinder/Glance |
| Display | 16 MB | Console only |
| Network Adapters | 3 | |
| Adapter 1 | Host-Only | Select the created Host-Only Adapter network |
| Adapter 2 | NAT Network (ProviderNetwork) | Set Promiscuous Mode: Allow All |
| Adapter 3 | NAT Network (Internet) | Enable DHCP |
Notes:
- Only 2 adapters needed, compute doesn’t need internet unless for updates.
- Adapter 1 (Host-Only) ensures communication with controller and other nodes.
- Adapter 2 (NAT Network) connect VMs launched by OpenStack to provider network
Storage (Block Storage) VM
| Setting | Configuration | Notes |
|---|---|---|
| Name | block1 | |
| RAM | 4 GB (4096 MB) | Minimum for Cinder services |
| CPU | 2 cores | Minimum 1, more if heavy testing |
| Storage | 20 GB | Storage space for volumes |
| Display | 16 MB | Console only |
| Network Adapters | 2 | Each adapter has a purpose |
| Adapter 1 | Host-Only | Select the created Host-Only Adapter network |
| Adapter 2 | Disabled | |
| Adapter 3 | NAT Network (Internet) | Enable DHCP |
Notes:
- Primary disk larger because it hosts Cinder volumes for testing.
- Adapter 1 (Host-Only) allows communication with controller for service API.
Configure the VM Settings
Once you launch the VMs, it will go through the installation wizard. Use the arrow keys to select the option and press Enter.
NOTE: The configurations are the same for all three nodes except for the network and hostname configurations.
OS Installation Options
| Option | Recommended | Actual |
|---|---|---|
| Language | English | English |
| Installation mode | Minimal VM | Minimal VM |
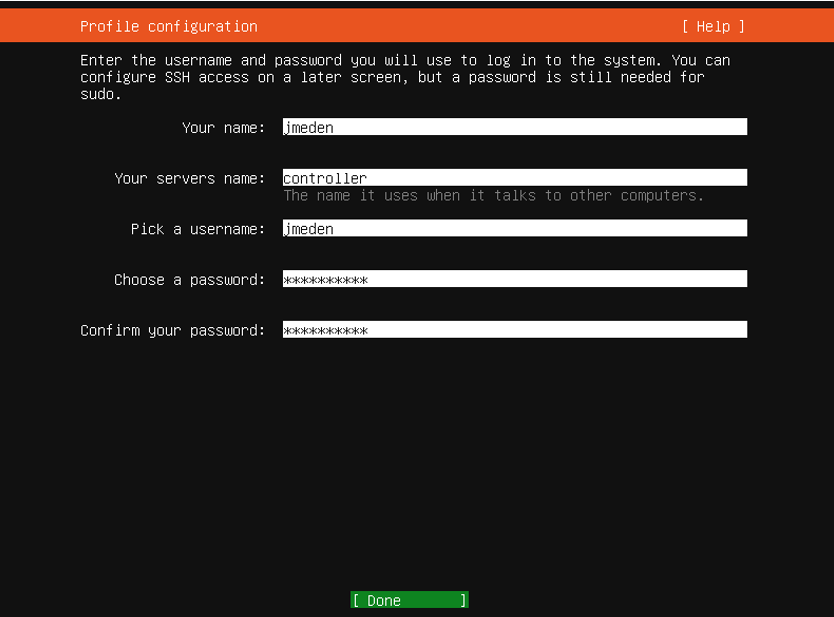
| Hostname | controller | controller |
| User | jmeden | jmeden |
| Password | openstack | openstack |
| Partitioning | Entire disk + LVM | Entire disk + LVM |
| SSH | OpenSSH Server | OpenSSH Server |
| GRUB | Yes | Yes |
Language

Keyboard

Installation Type

Network Configurations
The network configurations will be different for each node. There will be three interface for each node:
enp0s3➔ Host-Only (Management)enp0s8➔ NAT Network “Provider” (10.10.10.0/24, DHCP OFF)enp0s9➔ NAT Network “Internet” (DHCP ON)
Use the configurations below:
| Node | Interface | Subnet | Address | Gateway | Name Servers |
|---|---|---|---|---|---|
| Controller | enp0s3 (Host-Only) | 10.0.0.0/24 | 10.0.0.11 | — | — |
| Controller | enp0s8 (Provider NAT) | 10.10.10.0/24 | 10.10.10.11 | — | — |
| Controller | enp0s9 (Internet NAT) | 10.0.2.0/24 | DHCP | Auto (DHCP) | Auto (DHCP) |
| Compute | enp0s3 (Host-Only) | 10.0.0.0/24 | 10.0.0.21 | — | — |
| Compute | enp0s8 (Provider NAT) | 10.10.10.0/24 | 10.10.10.21 | — | — |
| Compute | enp0s9 (Internet NAT) | 10.0.2.0/24 | DHCP | Auto (DHCP) | Auto (DHCP) |
| Storage | enp0s3 (Host-Only) | 10.0.0.0/24 | 10.0.0.31 | — | — |
| Storage | enp0s9 (Internet NAT) | 10.0.2.0/24 | DHCP | Auto (DHCP) | Auto (DHCP) |
Use the arror keys to select and press Enter to edit the field.

To set a static IP, select IPV4 Method -> Manual:

Enter the required fields, navigate to Save, and press Enter.

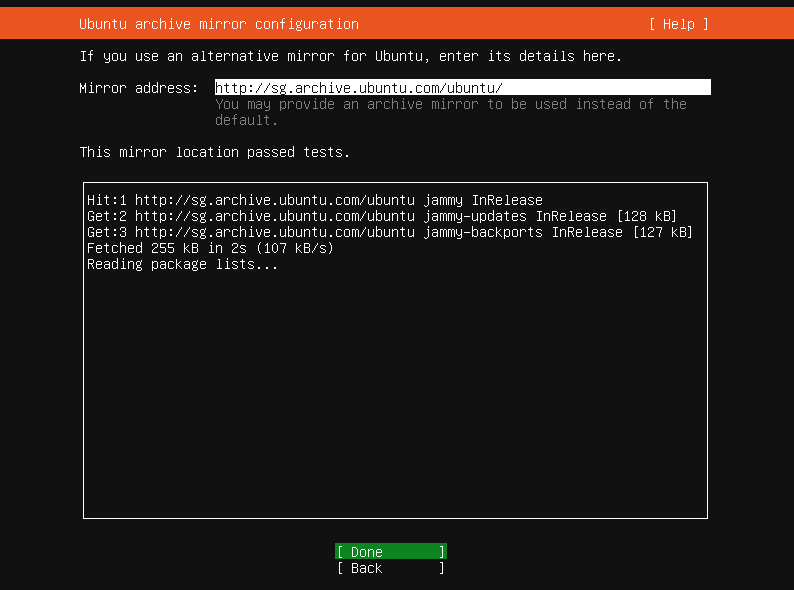
Proxy and Mirror Configurations
You can leave the proxy configuration blank.

For the mirror, you can wait for the mirror location test passes then press Enter on Done
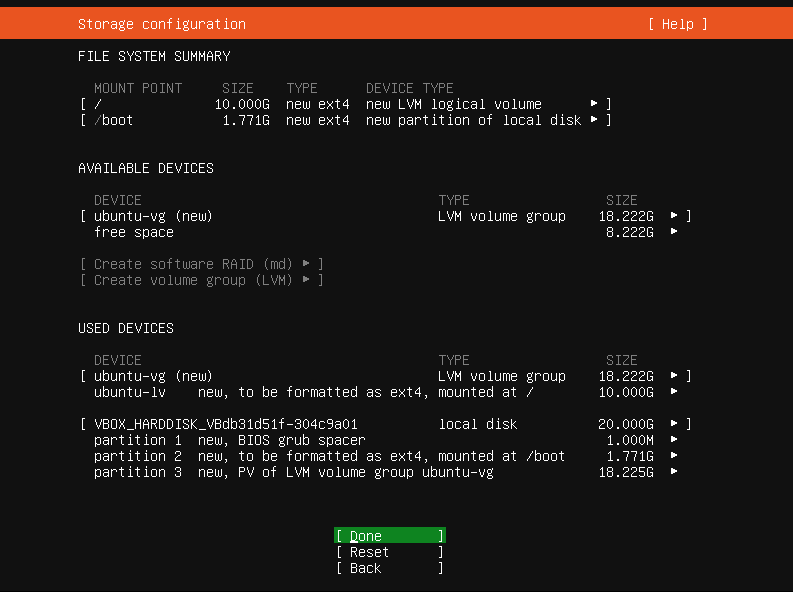
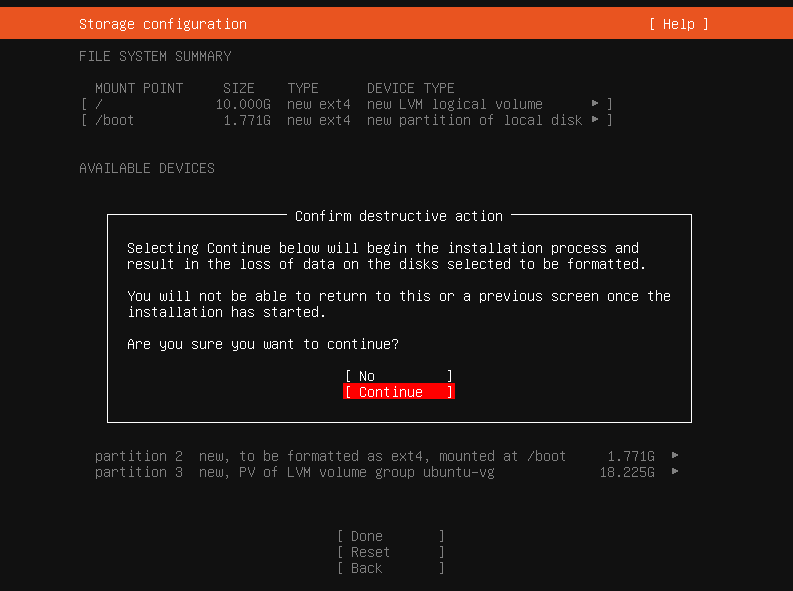
Storage Configuration
Select Use an entire disk -> Set up this disk as an LVM group and press Enter on Done.
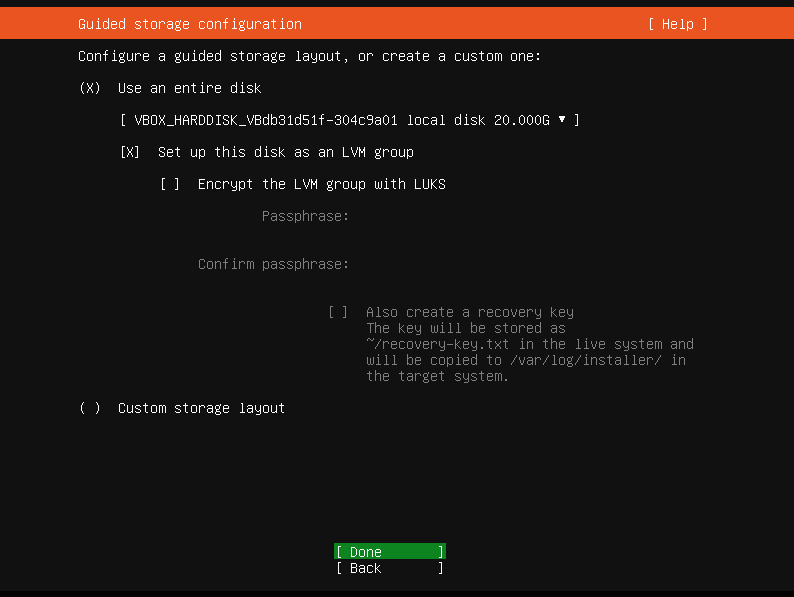
When prompted to confirm destructive action, select Continue.
Username
SSH Configuration
Make sure to install OpenSSH so you can SSH to the VM from your host machine.
You can import the SSH key later.

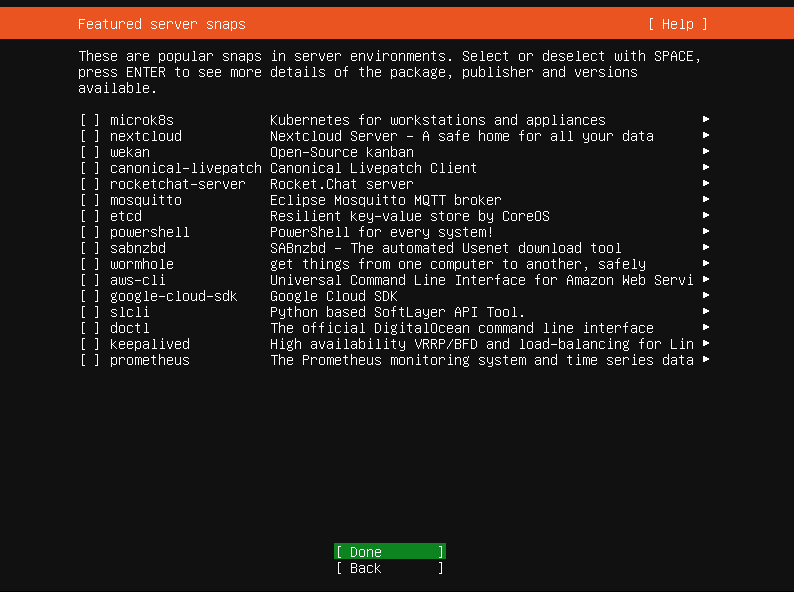
Featured Snaps
You can skip the snaps for now. Choose Done.
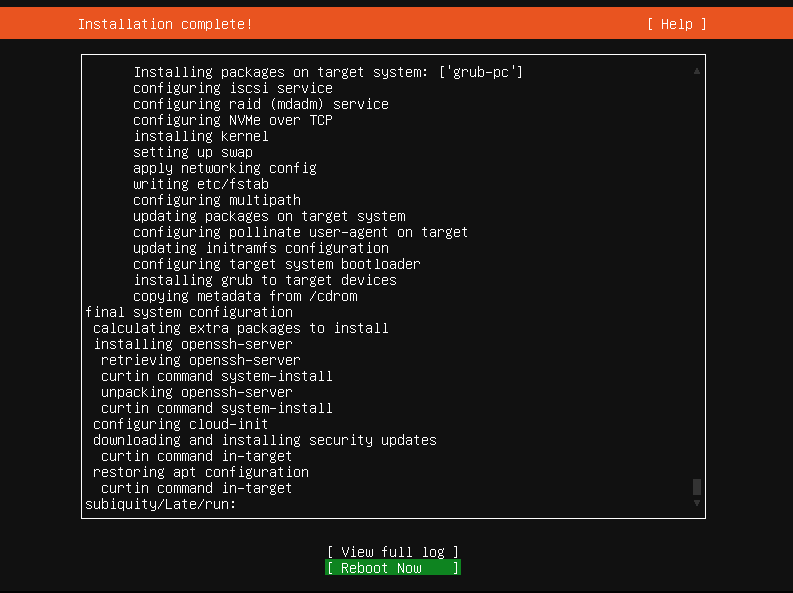
Installation Complete
Once the installation is finished, you should see the Installation Complete message.
Choose Reboot Now.
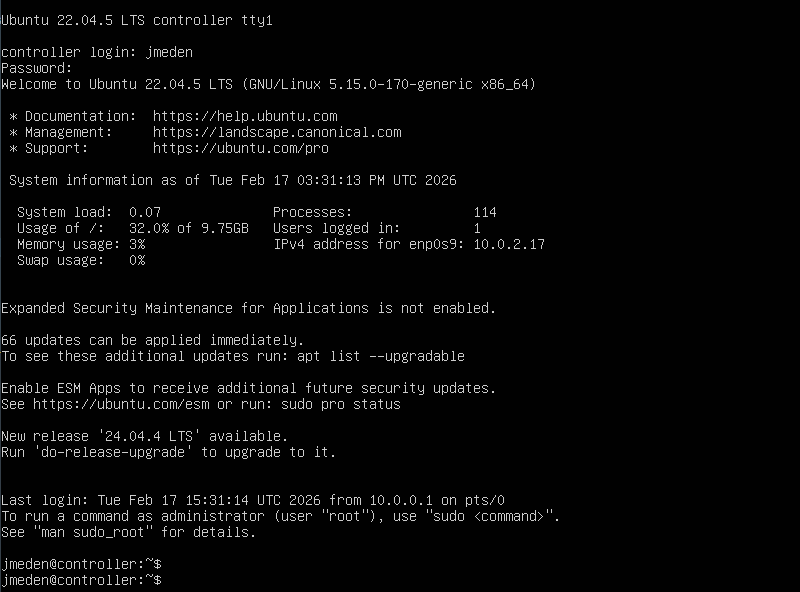
After rebooting, login with the user you created.
From a terminal in your host machine, try to SSH to the virtual machine. Enter password when prompted.
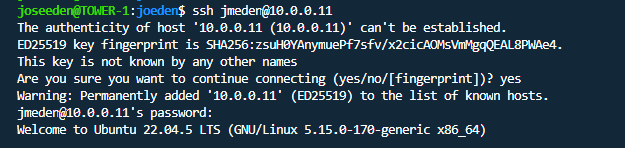
Exit back to your host machine and proceed to create the SSH key.

Add an SSH Key
From your host machine, generate SSH Key:
ssh-keygen -t ed25519 -C "jmeden@host"
You can change the key name, or press Enter to accept default file location (~/.ssh/id_ed25519)
Verify key was created:
$ ls -l ~/.ssh/vbox*

-rw------- 1 user user 505 Feb 14 17:40 /home/user/.ssh/vbox
-rw-r--r-- 1 user user 178 Feb 14 17:40 /home/user/.ssh/vbox.pub
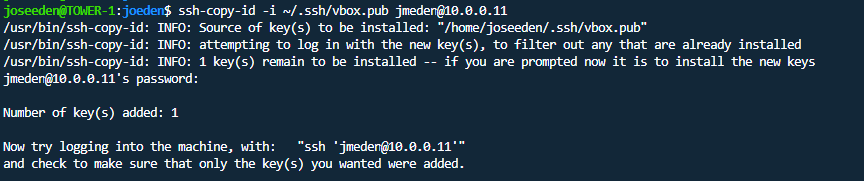
Copy public key to each node.
ssh-copy-id jmeden@<VM-IP>
Example for controller node:
ssh-copy-id -i ~/.ssh/vbox.pub jmeden@10.0.0.11
This installs your public key into ~/.ssh/authorized_keys on the VM.
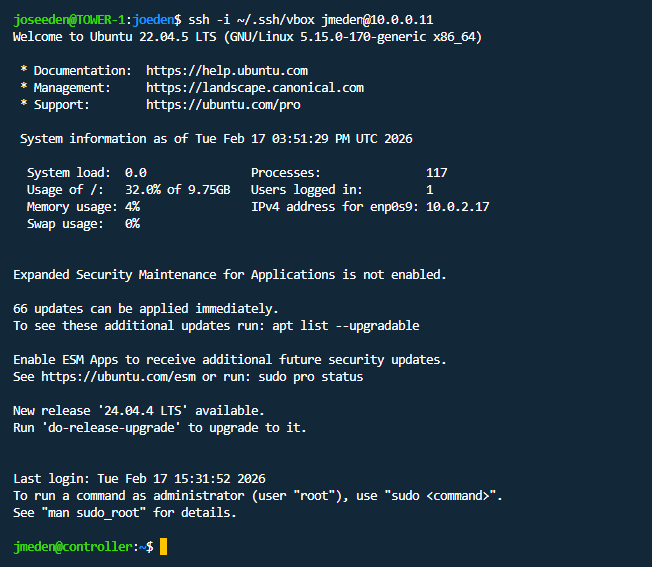
Test the connection:
ssh -i ~/.ssh/vbox jmeden@10.0.0.11
Next Steps
Next, configure the networking and security settings on each node.