Install Horizon
Overview
Horizon provides the web dashboard for OpenStack. It allows administrators and users to manage instances, networks, volumes, and other resources through a browser instead of using the CLI.
- Installed only on the controller node
- Runs through the Apache web server
- Configured mainly through
local_settings.py
After installation and configuration, the dashboard becomes available through a web browser.
NOTES: The hostnames of all the nodes in this lab are configured in the /etc/hosts file in each node (See Networking and Security).
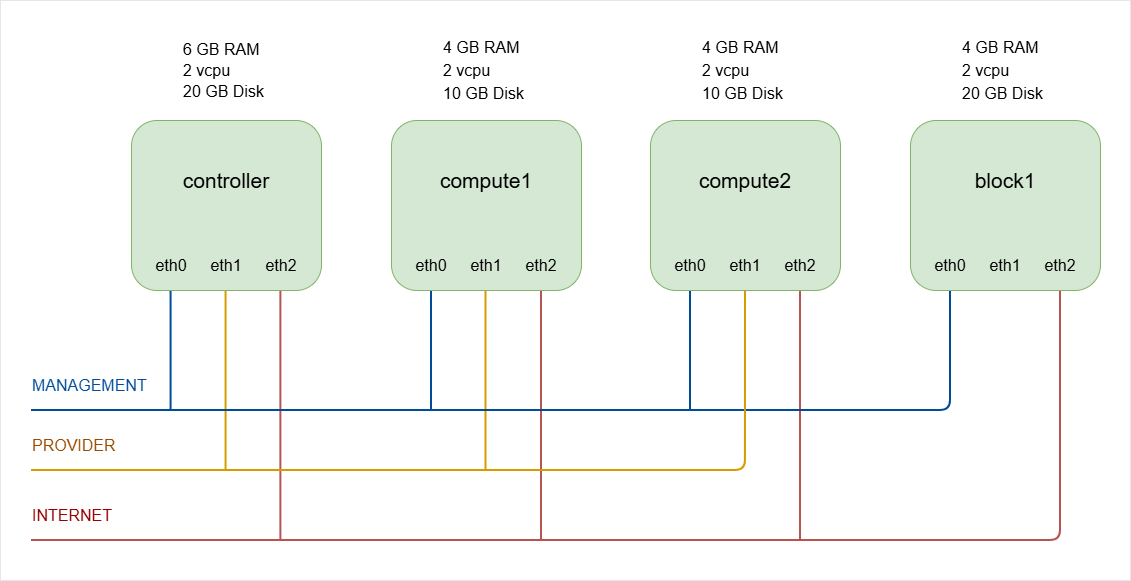
As a recap, below is the lab diagram.
Install the Horizon Dashboard�
Start by installing the Horizon package on the controller node.
-
Log in to controller node and switch to root.
ssh -i ~/.ssh/vbox jmeden@10.0.0.11sudo su -
Install the required package.
sudo apt install -y openstack-dashboardThis installs:
- Horizon dashboard
- Required Python components
- Apache configuration for the web interface
Once installed, the main configuration file will be located at:
/etc/openstack-dashboard/local_settings.pyThis file controls how Horizon connects to OpenStack services.
Configure the Horizon Settings
Horizon uses a Python configuration file instead of the usual standard .conf format used by most OpenStack services. Because of this, tools like crudini are usually not used.
Edit the configuration file using an editor.
sudo vi /etc/openstack-dashboard/local_settings.py
Several parameters must be adjusted so Horizon can communicate with the OpenStack controller.
CACHES = {
    'default': {
        'BACKEND': 'django.core.cache.backends.memcached.MemcachedCache',
        'LOCATION': 'controller:11211',
         #'LOCATION': '127.0.0.1:11211',
    },
}

OPENSTACK_HOST = "controller"
#OPENSTACK_HOST = "127.0.0.1"

OPENSTACK_KEYSTONE_URL = "http://%s:5000/v3" % OPENSTACK_HOST
#OPENSTACK_KEYSTONE_URL = "http://%s/identity/v3" % OPENSTACK_HOST

OPENSTACK_KEYSTONE_MULTIDOMAIN_SUPPORT = True
OPENSTACK_KEYSTONE_DEFAULT_ROLE = "user"
OPENSTACK_API_VERSIONS = {
    "identity": 3,
    "image": 2,
    "volume": 3,
}

SESSION_ENGINE = 'django.contrib.sessions.backends.cache'
#SESSION_ENGINE = 'django.contrib.sessions.backends.signed_cookies'
These parameters allow Horizon to connect to the controller node, authenticate users through Keystone, and communicate with other OpenStack services.
| Setting | Description |
|---|---|
OPENSTACK_HOST | Defines the controller node that Horizon connects to. Older configs used 127.0.0.1, but hostname is recommended so Horizon can correctly reach the OpenStack APIs. |
CACHES | Horizon stores session data in memcached, and the LOCATION value points to the memcached service running on the controller node. |
SESSION_ENGINE | Tells Horizon to store login sessions using the cache backend so user sessions are managed efficiently. |
OPENSTACK_KEYSTONE_URL | Defines the Keystone authentication endpoint used by Horizon for user login. |
OPENSTACK_KEYSTONE_MULTIDOMAIN_SUPPORT | Enables multi-domain authentication. When enabled, the login screen allows users to specify a domain name during login. |
OPENSTACK_KEYSTONE_DEFAULT_ROLE | Defines the default role assigned to users in Horizon. Older configs used "member", but "user" is standard role in modern deployments. |
UPDATE: Modern OpenStack versions use Keystone API v3, so the /v3 path must be included in the OPENSTACK_KEYSTONE_URL.
Horizon must also know which API versions to use when communicating with OpenStack services.
| API Setting | Service |
|---|---|
identity: 3 | Refers to the Keystone Identity API v3 |
image: 2 | Refers to the Glance Image API |
volume: 3 | Refers to the Cinder Block Storage API |
UPDATE: Some older documentation used volume: 2, but newer OpenStack releases such as Zed recommend using volume API v3.
Configure Apache for Horizon
Horizon runs through the Apache web server, so Apache must include the correct configuration.
Edit the Apache configuration file.
sudo vi /etc/apache2/conf-available/openstack-dashboard.conf
Check for the following:
WSGIProcessGroup horizon
WSGIApplicationGroup %{GLOBAL}
If it is missing, add it to the configuration file.
This setting helps prevent Python application conflicts when running Horizon under Apache.
After editing the file, reload the Apache service.
sudo systemctl reload apache2
sudo systemctl status apache2
Reloading Apache applies the Horizon configuration changes.
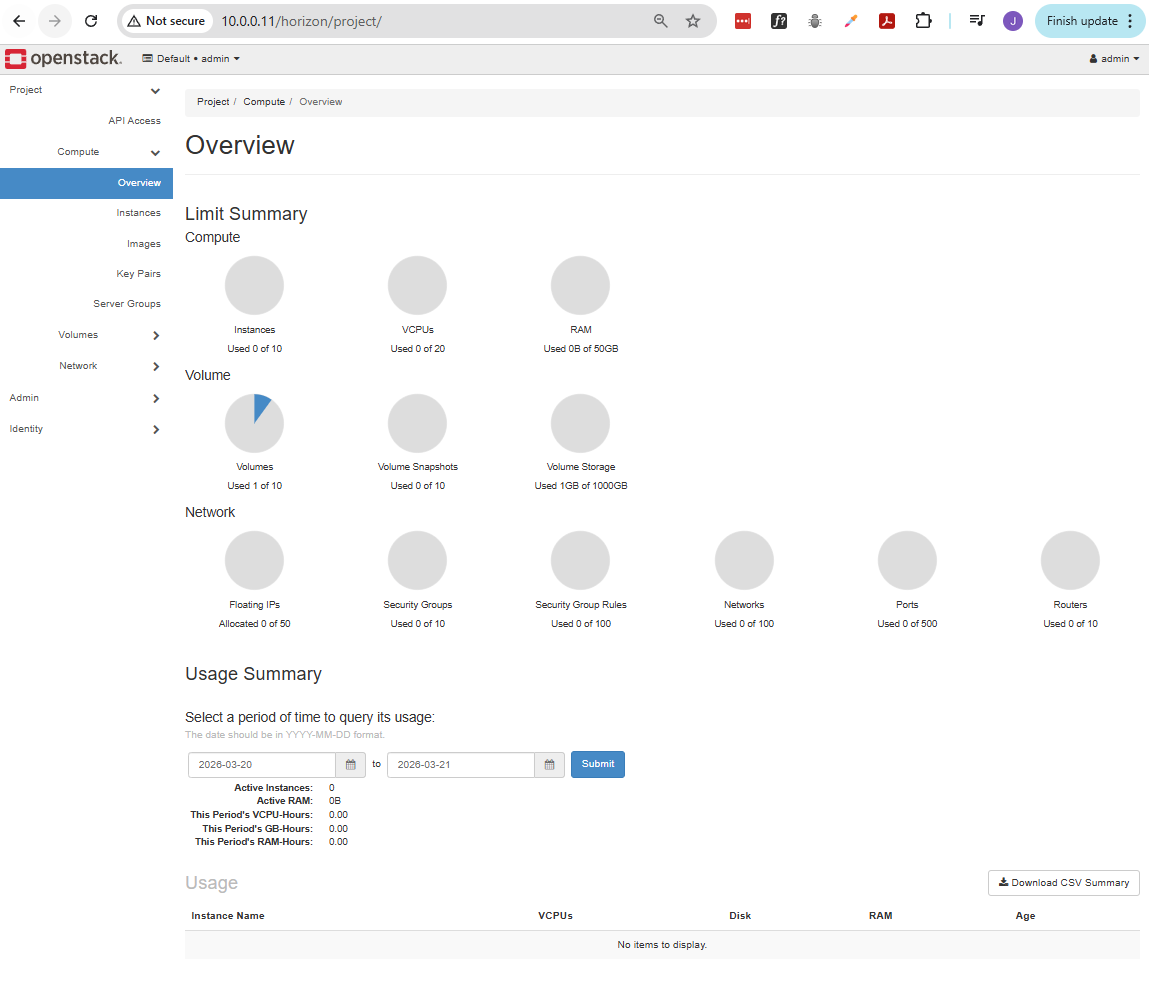
Verify the Horizon Dashboard
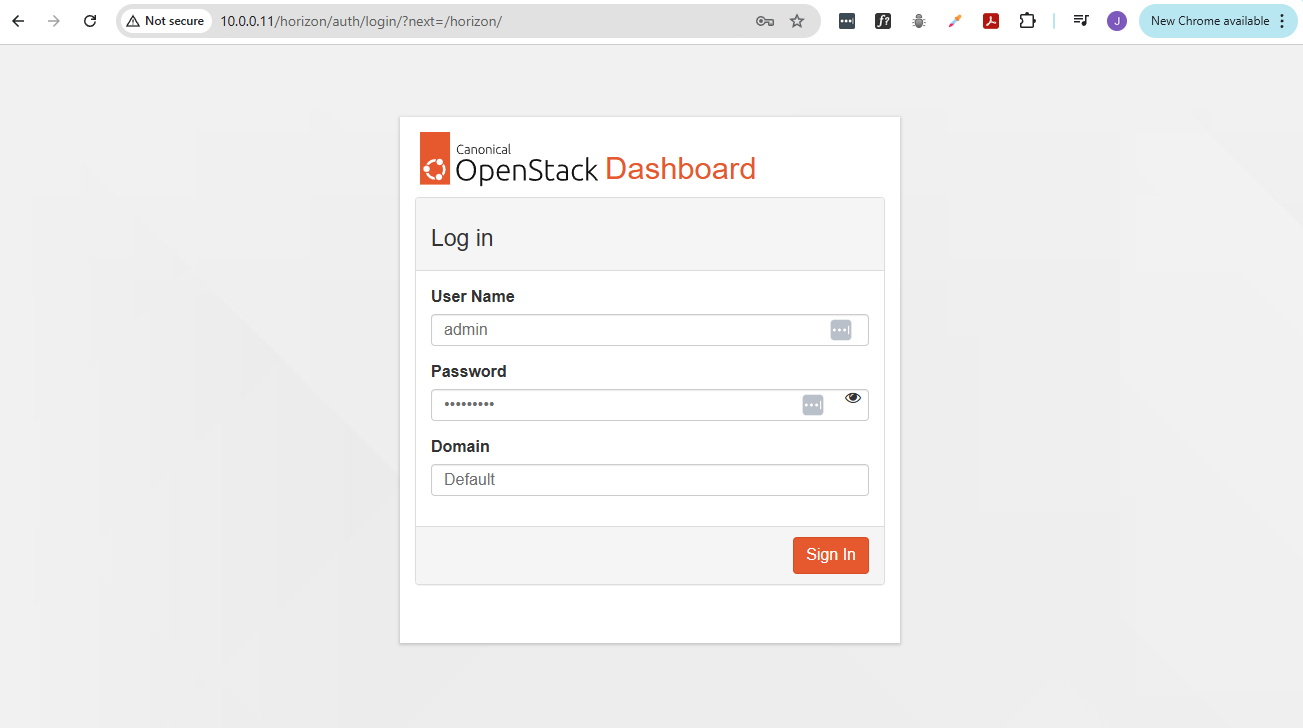
Once installation and configuration are complete, open a web browser and access the dashboard.
http://CONTROLLER_IP/horizon
Since we're testing this in VirtualBox, we can use the VM's management IP:
http://10.0.0.11/horizon
You should see the OpenStack login page.
Example login details:
- Username:
admin - Password:
ENTER-YOUR-PASSWORD - Domain:
Default
If the login page loads successfully, the Horizon dashboard is installed correctly.
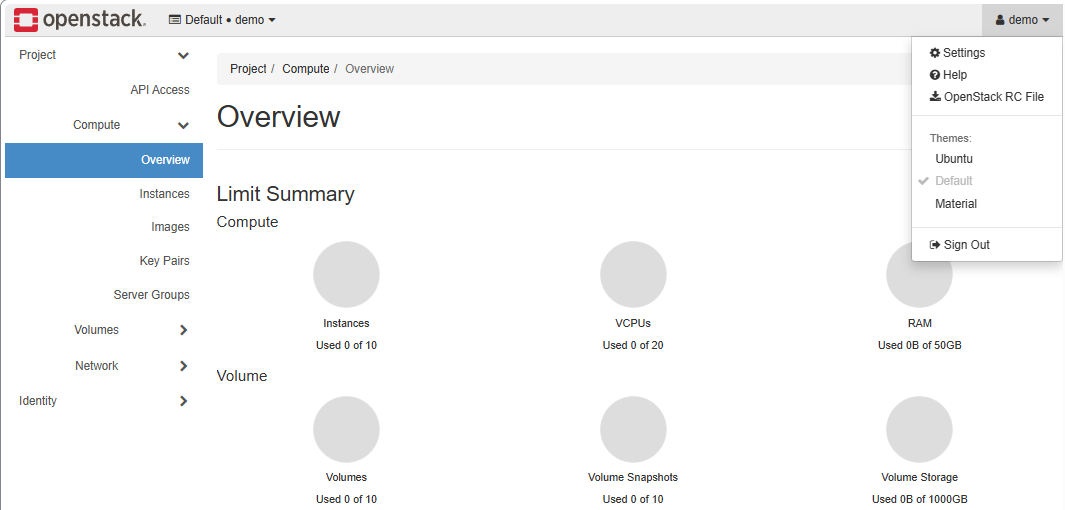
The dashboard now provides a graphical interface to manage the OpenStack environment, which confirms that Horizon is properly integrated with the controller node.
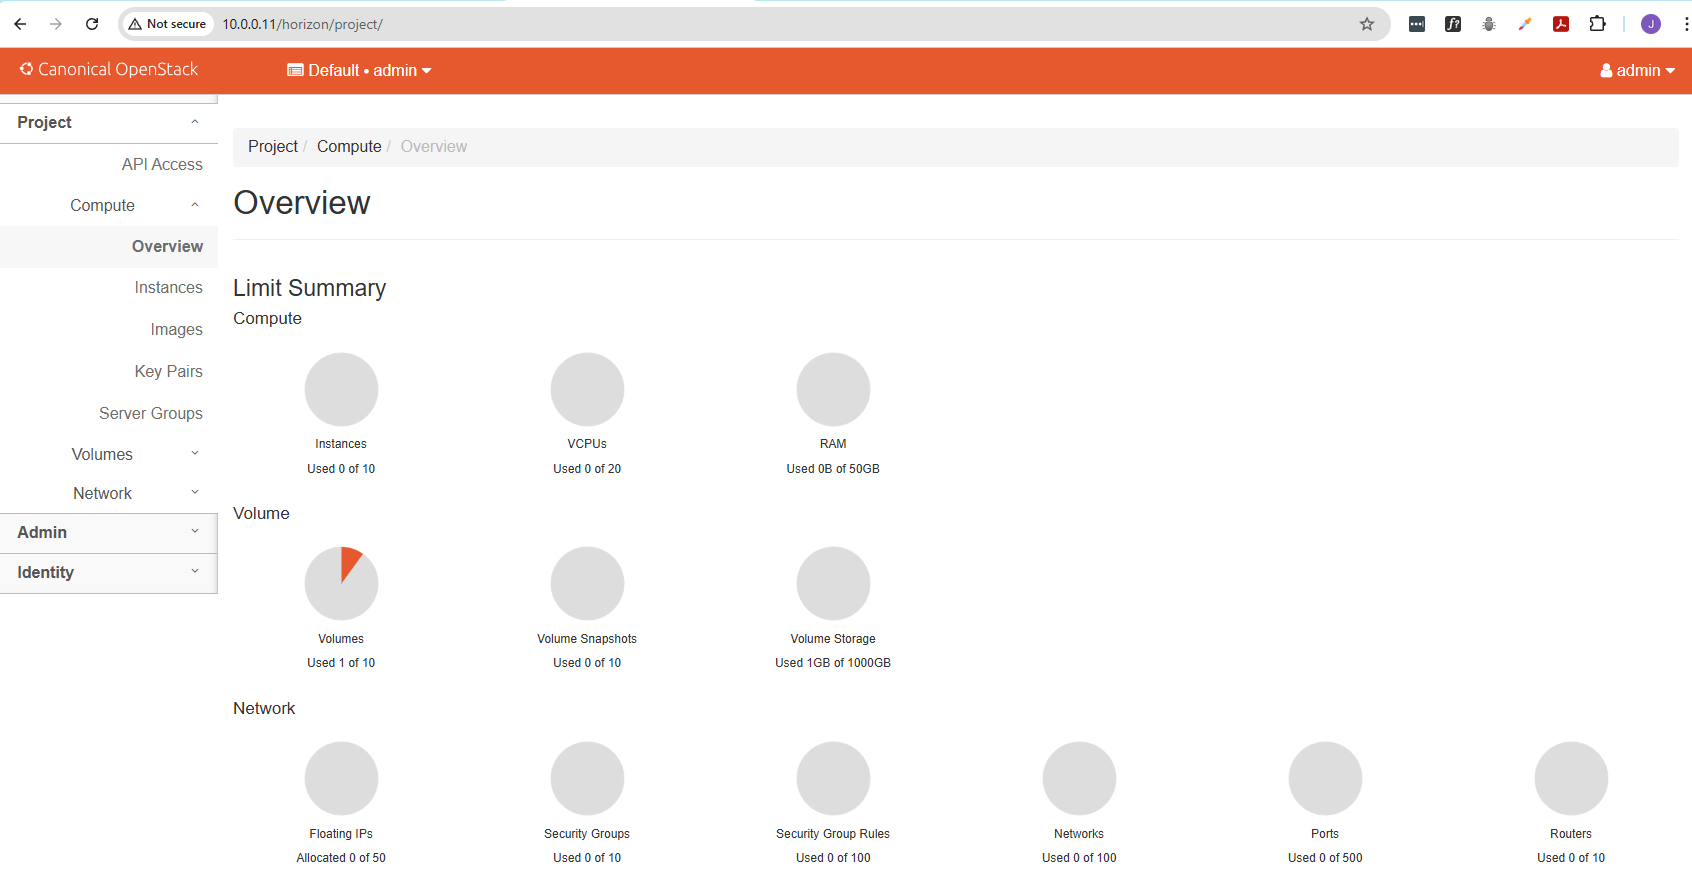
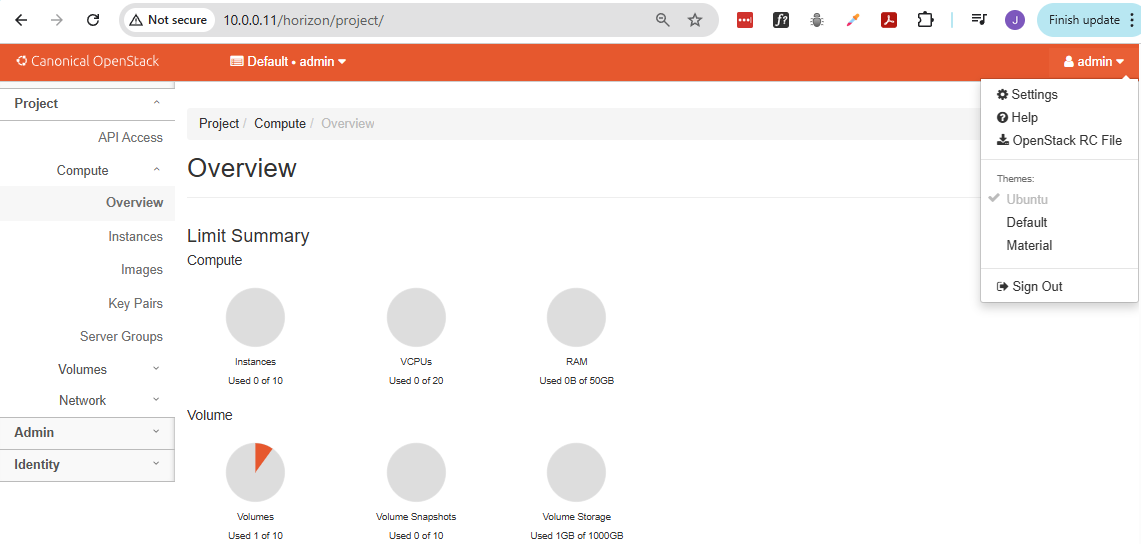
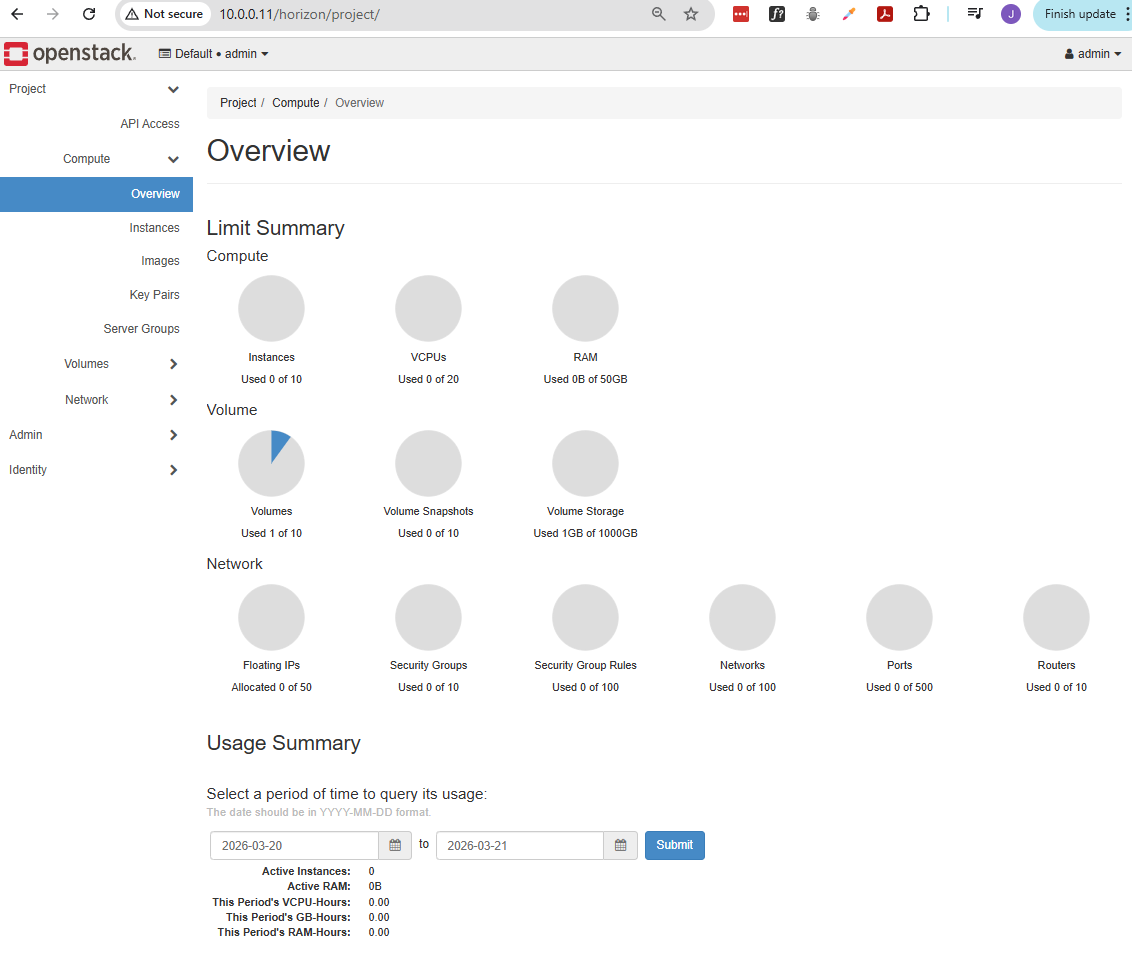
This is the default theme for Ubuntu installation. To set it to the default theme, select your user at the top right and choose Default.
The default theme will look like this:
Going to Identity ➔ Projects, we can see three projects in our domain.
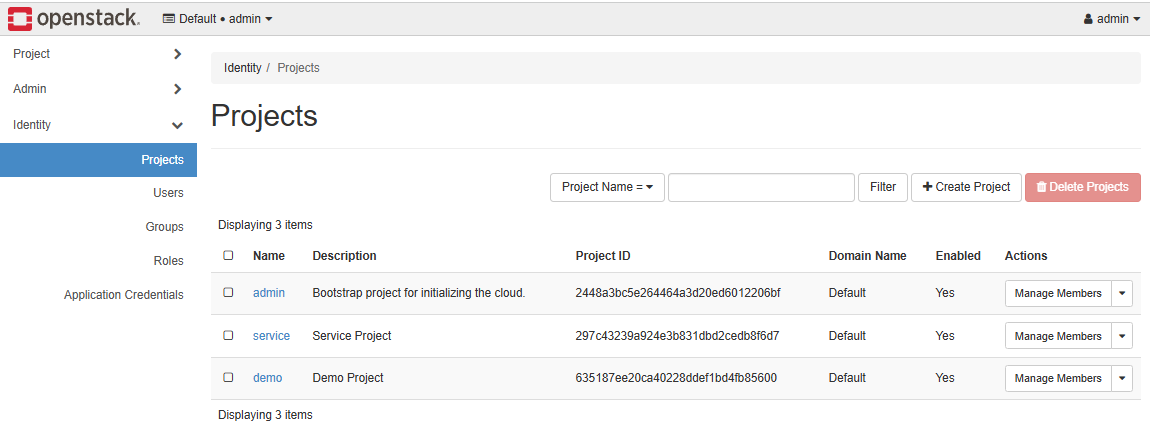
The Users tab shows all the users. All of these are system users, except for demo which was created during the installation.

Project vs Admin in the Left Panel
The left panel is split by scope. The same services appear multiple times because they are viewed from different perspectives.
- Project is for working inside a specific project
- Admin is for managing the entire cloud
- Same services appear in both but with different access levels
The difference is not the service itself, but what you are allowed to see and control.
Project Tab
The Project section is for day-to-day usage within your assigned project.
- Limited to your project resources
- Used to create and manage your own VMs
- Cannot see other projects
For example under Compute in Project:
- You see only your instances
- You launch and manage your VMs
- You view your quotas and usage
This is the normal user view. Everything is scoped only to your project.
Admin Tab
The Admin section is for cloud-wide management.
- Can see all projects and users
- Can manage infrastructure settings
- Has full visibility and control
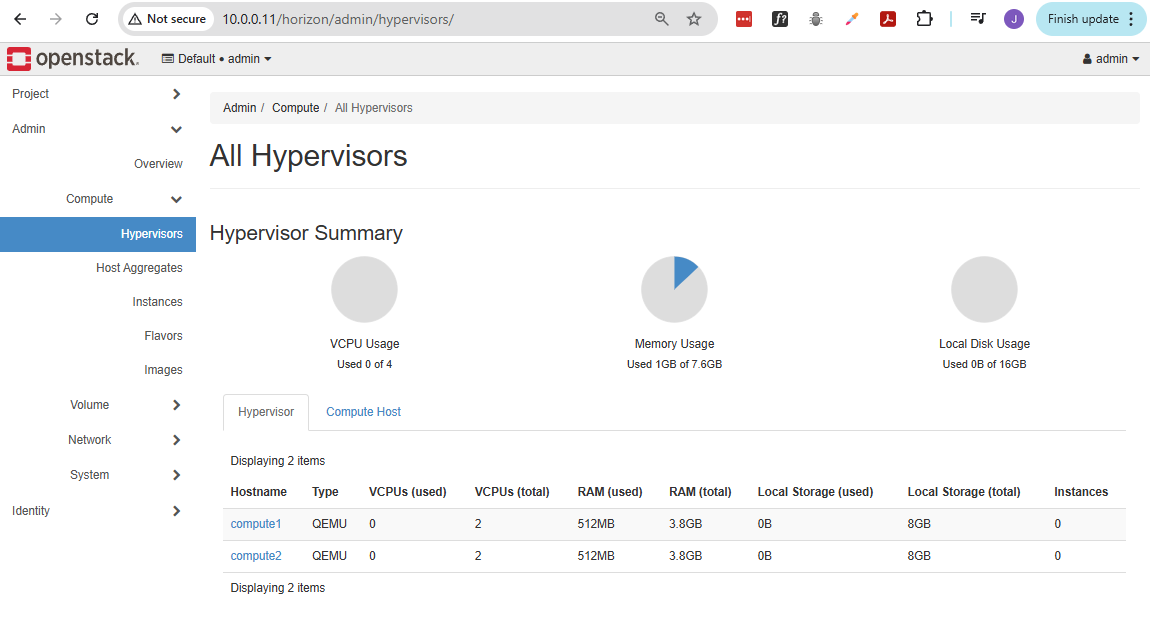
For example under Compute in Admin:
- You see all instances across all projects
- You can manage hypervisors and hosts
- You can monitor overall resource usage
This is the administrator view. It is used to manage the whole OpenStack environment.
Note: When we say "instances" here, we're referring to the underlying hosts (virtual machines or the baremetal servers.)
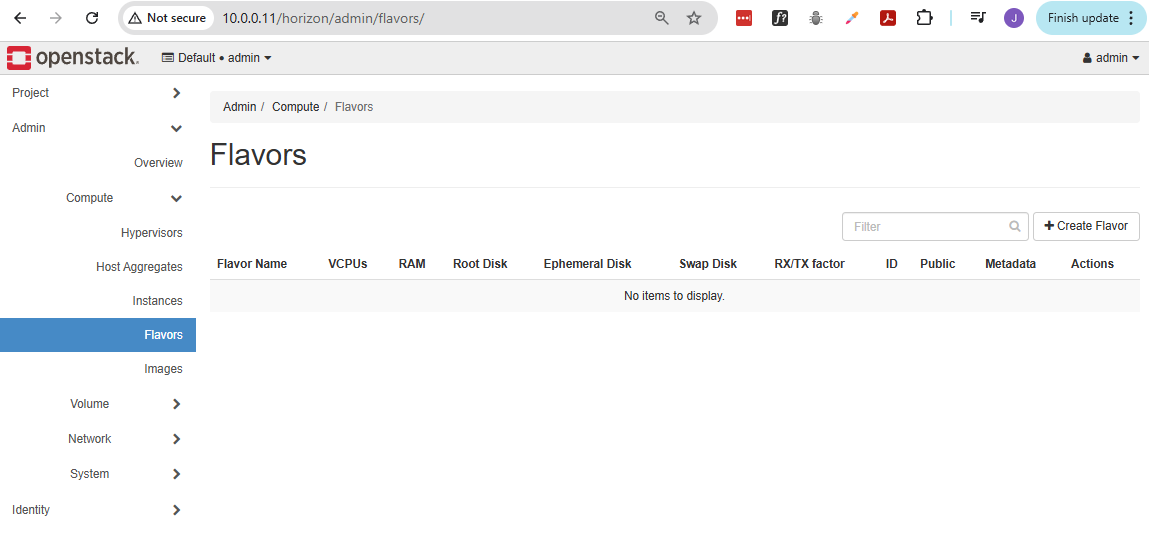
Create a Flavor
Flavors define the size of virtual machines. You need at least one to launch instances. They define the CPU, RAM, and disk.
In AWS EC2 terminology, this is equivalent to instance type.
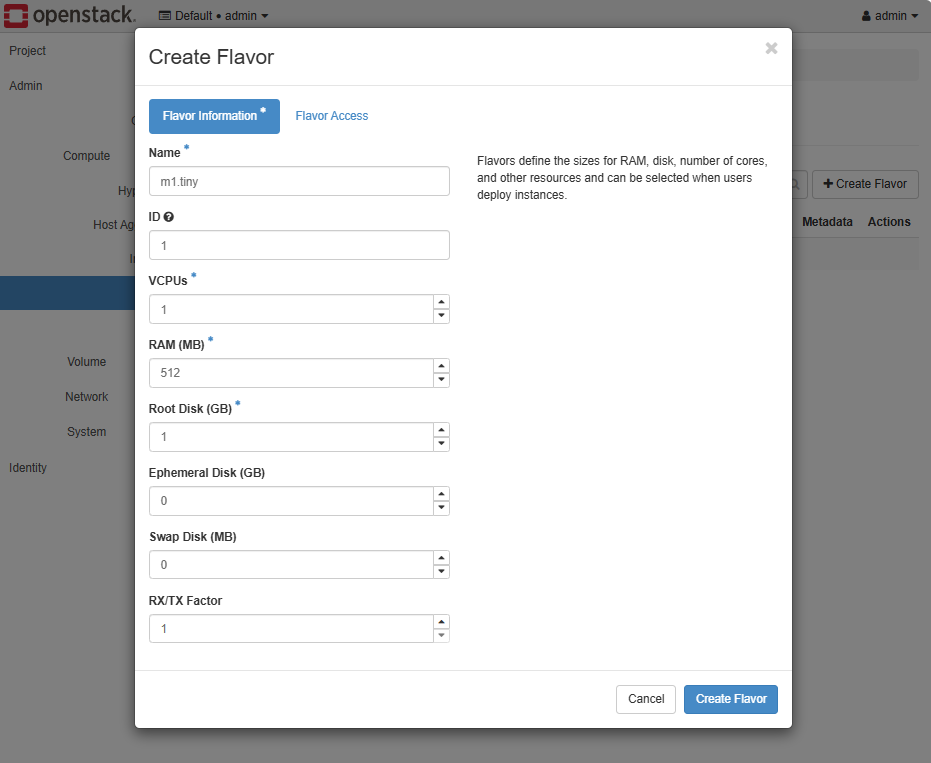
To create a flavour:
-
Go to Admin ➔ Compute ➔ Flavors ➔ Create Flavor.
-
Provide the details below, then click Create Flavor.
-
You can also create a flavor using the OpenStack CLI. Open a terminal and login to your controller node.
ssh -i ~/.ssh/vbox jmeden@10.0.0.11Before running OpenStack commands, make sure to source the client environment script.
source admin-openrc.shWe can create another flavor which uses a slightly higher specs:
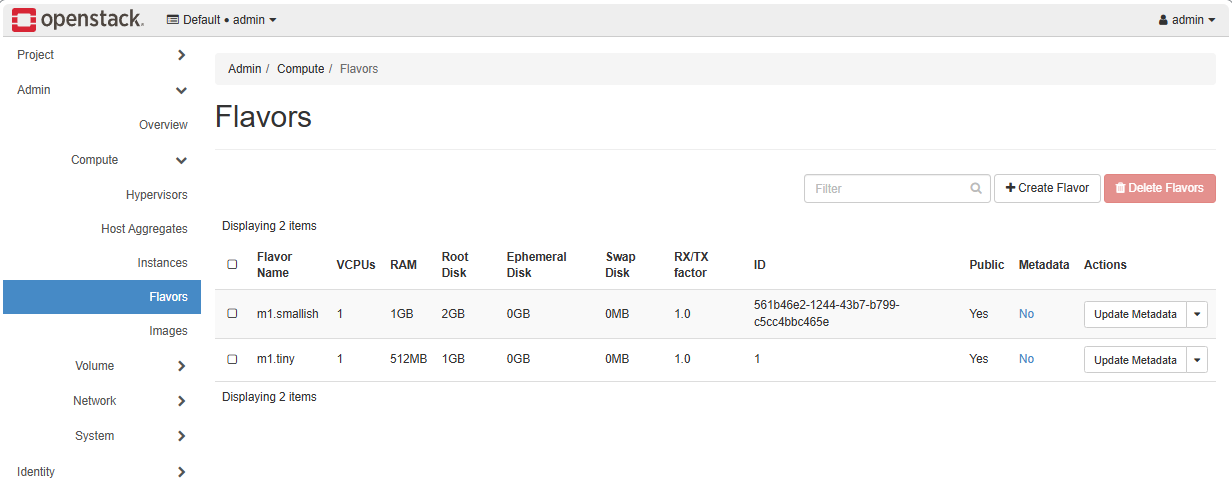
openstack flavor create --vcpus 1 --ram 1024 --disk 2 m1.smallishOutput:
+----------------------------+--------------------------------------+| Field | Value |+----------------------------+--------------------------------------+| OS-FLV-DISABLED:disabled | False || OS-FLV-EXT-DATA:ephemeral | 0 || description | None || disk | 2 || id | 561b46e2-1244-43b7-b799-c5cc4bbc465e || name | m1.smallish || os-flavor-access:is_public | True || properties | || ram | 1024 || rxtx_factor | 1.0 || swap | || vcpus | 1 |+----------------------------+--------------------------------------+ -
Going back to the Horizon dashboard, we should see both flavors:
Create the Provider Network (External)
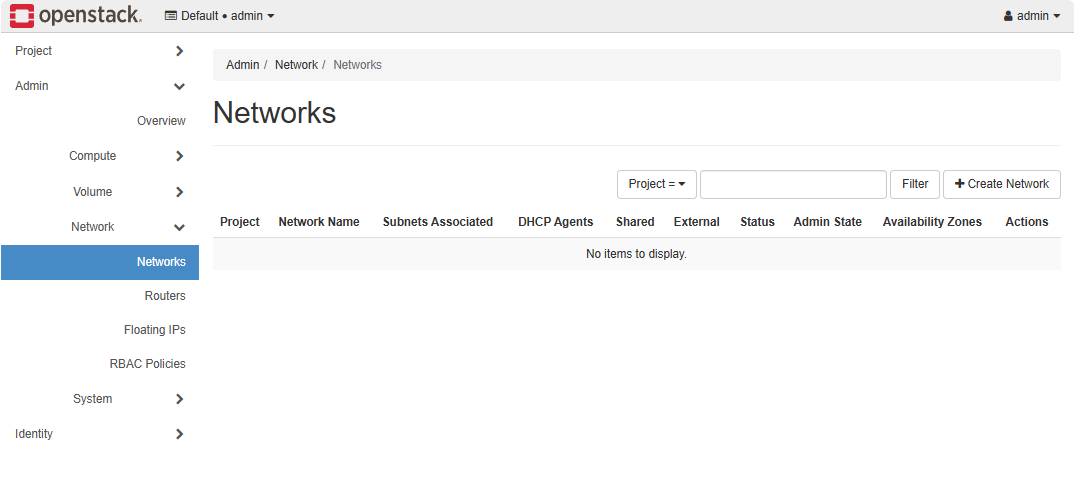
Checking Networks, we notice that no networks exist yet. There are three types of networks in OpenStack:
| Network Type | Description | Notes |
|---|---|---|
| Provider (External) | Connects the cloud to the outside world | Needed for instances to access external networks |
| Private (Project) | Used for internal communication within a project | Only visible to the project that owns it |
| Demo/Test Network | Optional network for testing or lab purposes | Can be created for experiment VMs |
Before instances can communicate, you need to configure at least the provider network. The private and demo networks are created per project as needed.
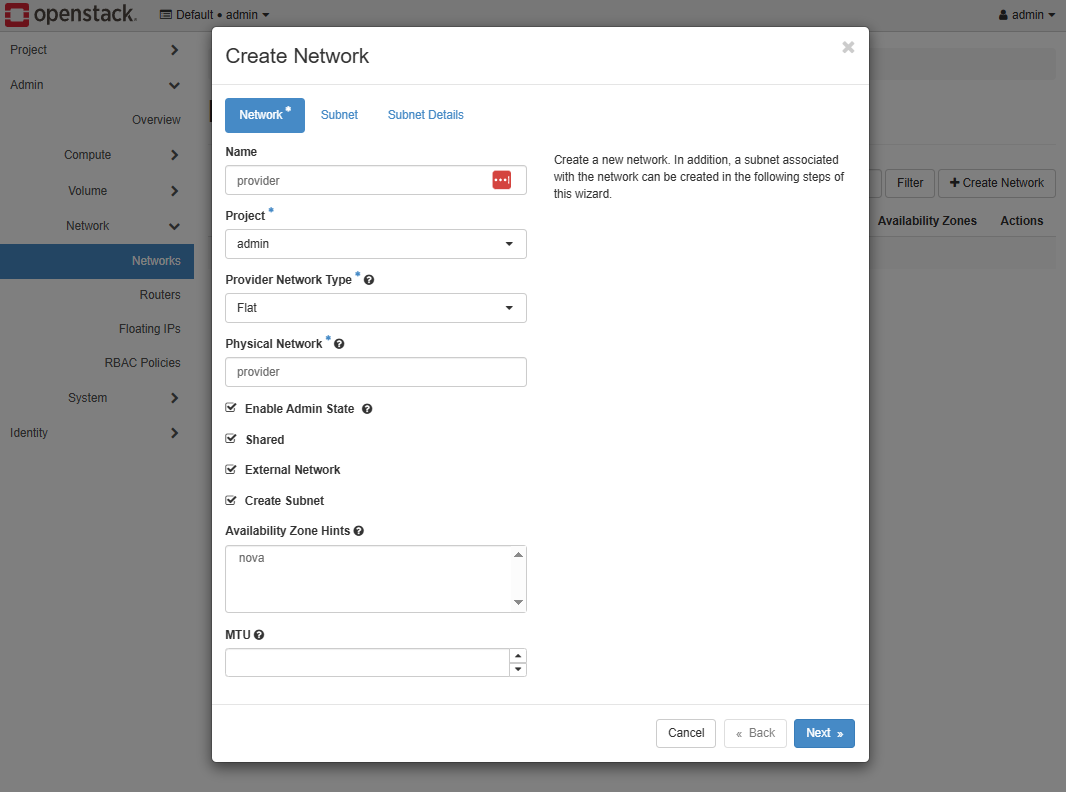
-
First, create external provider network.
Click Create Network.
-
Set up the network configurations.
Start with the basic settings:
Add the subnet configurations:
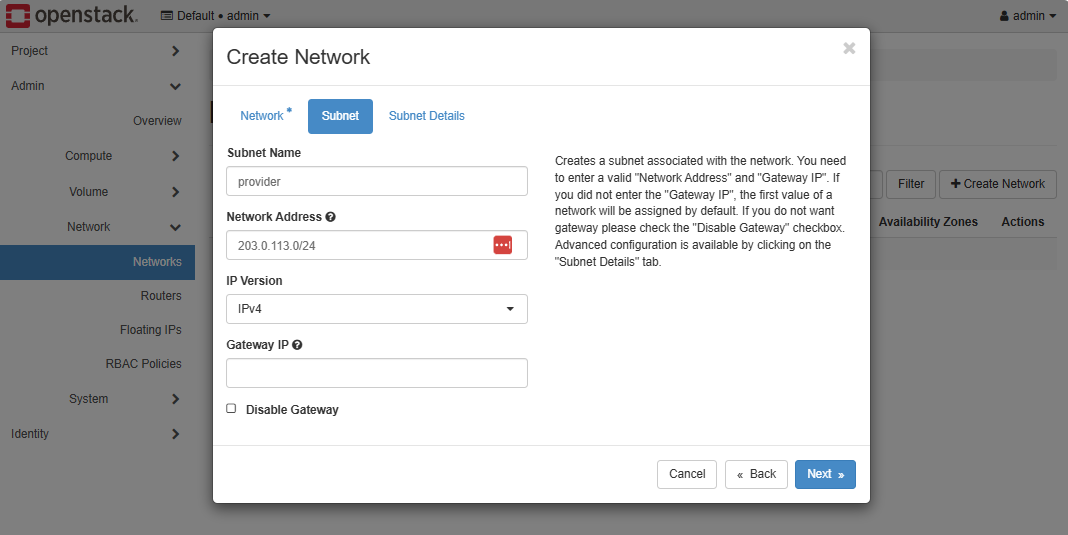 info
infoThe
203.0.113.0/24subnet is a reserved IP block for documentation and examples. It doesn’t belong to any real network on the internet, so it’s safe to use in labs or private cloud setups without conflicting with real IP addresses.You can replace it with any private or internal range such as
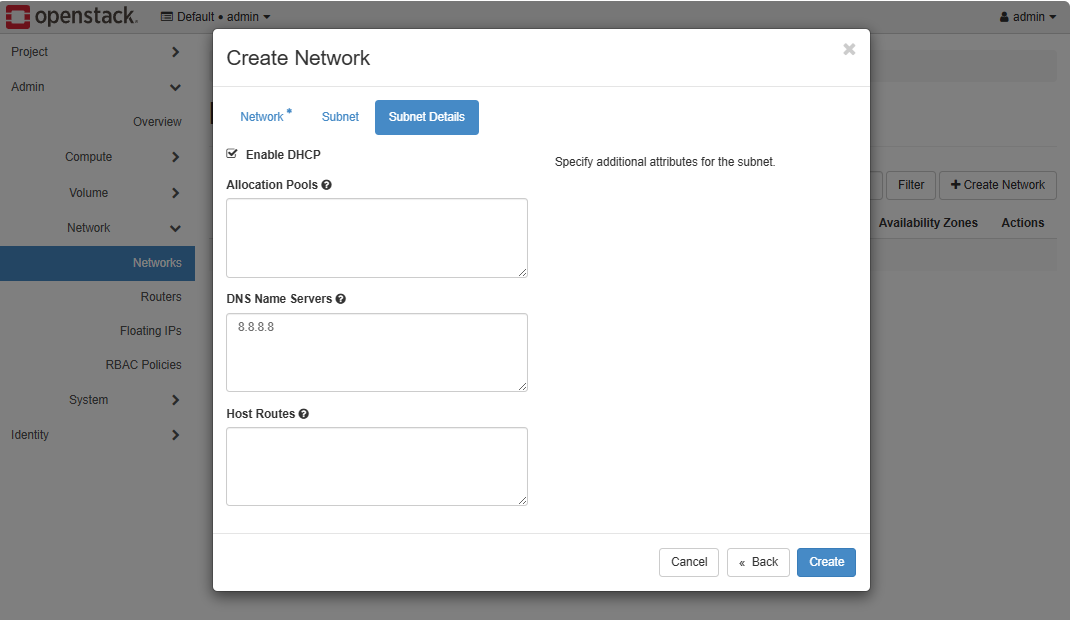
192.168.100.0/24or10.10.0.0/24if you plan to integrate with a real network.Finally, set the subnet detail, then click Create.
Create the Private Network (Internal)
After setting up the provider network as admin, each project needs its own private network so instances can communicate internally. To create a private network, switch to the demo user.
-
Logout and re-login using the
demouser.
-
We can create the network through the GUI, but for this example, we'll use the OpenStack CLI.
infoIf you follow Installing Keystone, then you should already have the
demo-openrc.shscript. If you used your own installation, you will need to download the script from Horizon.Click your profile on the top right and click OpenStack RC File to download it.
Copy the RC file to your controller node and source it.
Note: I access the Horizon dashboard from my Windows machine while the OpenStack nodes run in VirtualBox. After downloading the RC file, I transferred its contents to a file on the controller node.
Once you have the
demo-openrc.shscript in the controller node, source it.source demo-openrc.sh -
After authenticating, use OpenStack CLI to create the private network.
openstack network create privateCreate a subnet for the private network.
openstack subnet create private-subnet \--network private \--subnet-range 192.168.100.0/24 \--dns-nameserver 8.8.8.8infoThe
192.168.100.0/24subnet is a sample private internal network usesed for the project. It is used by the project’s instances to communicate with each other and is separate from the external provider network.You can choose any unused private range for your project.
-
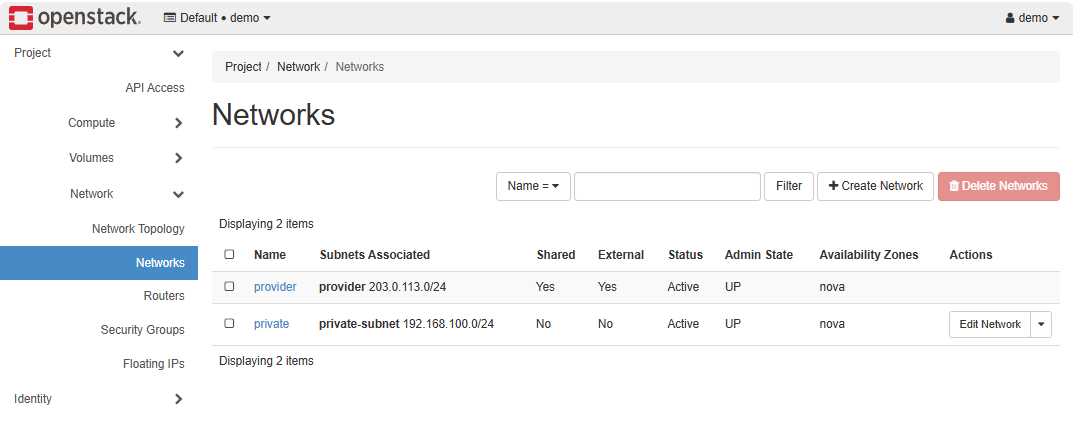
In Project ➔ Network ➔ Networks, we should see both the provider and private networks.
Create the Router
Note: Make sure you are signed in as the demo user when creating the resources.
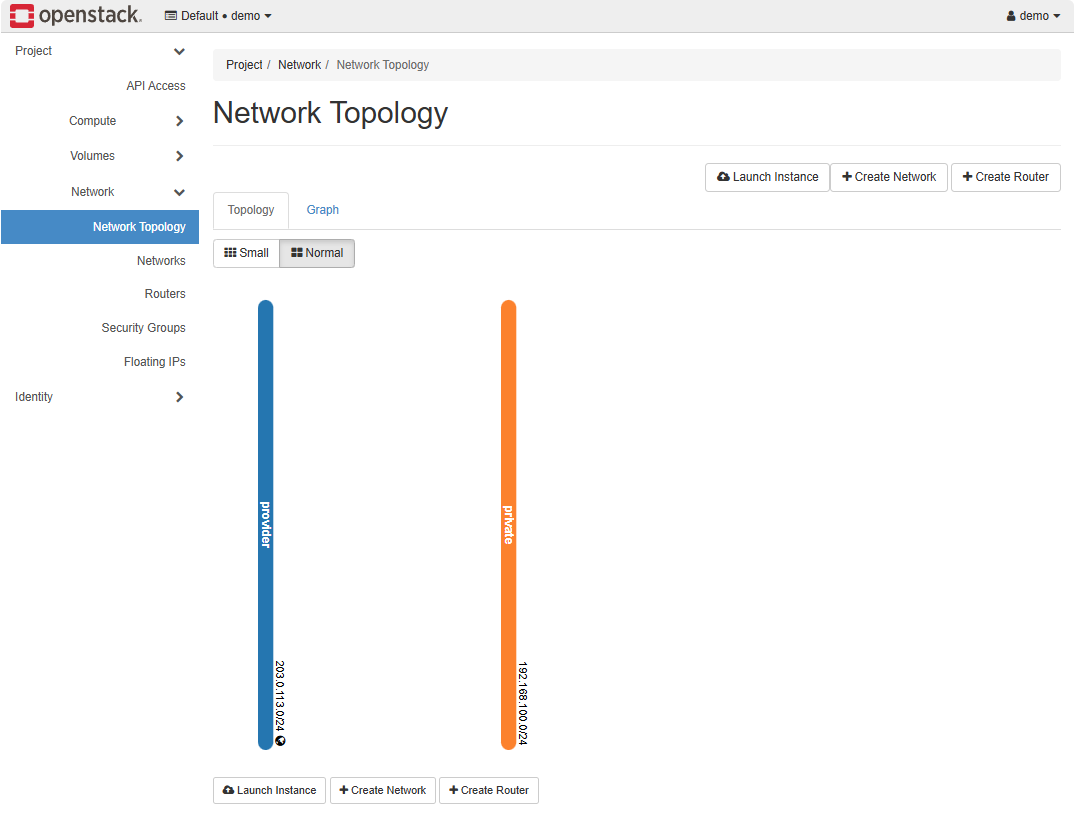
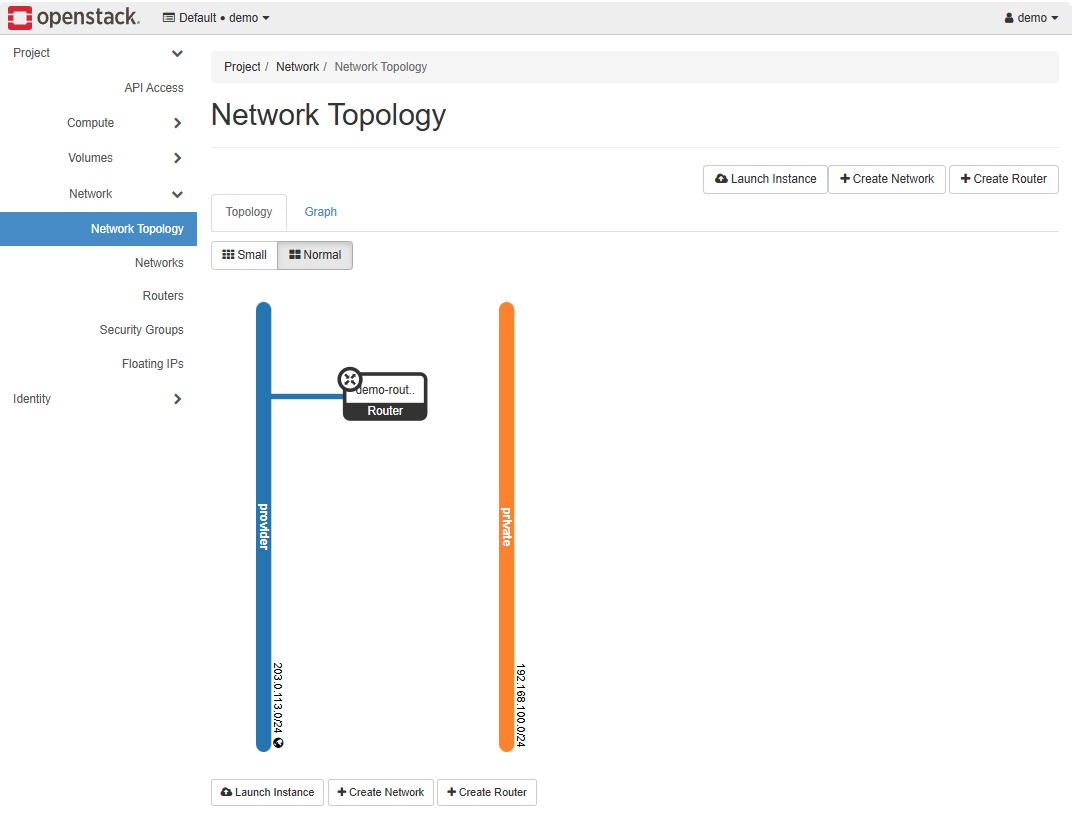
Even though both the private and external networks exist, there is no connectivity between them yet, as shown in the Network Topology tab.
To enable communication between the private and external networks, we need to create a router.
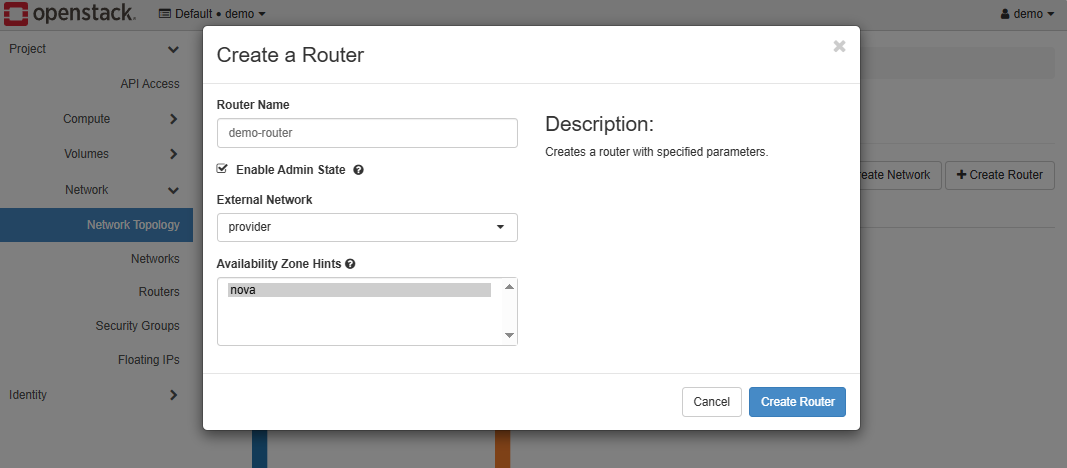
-
Click Create Router and provide a name for the router.
Make sure to set the external network as the Provider network.
Click Create Router.
-
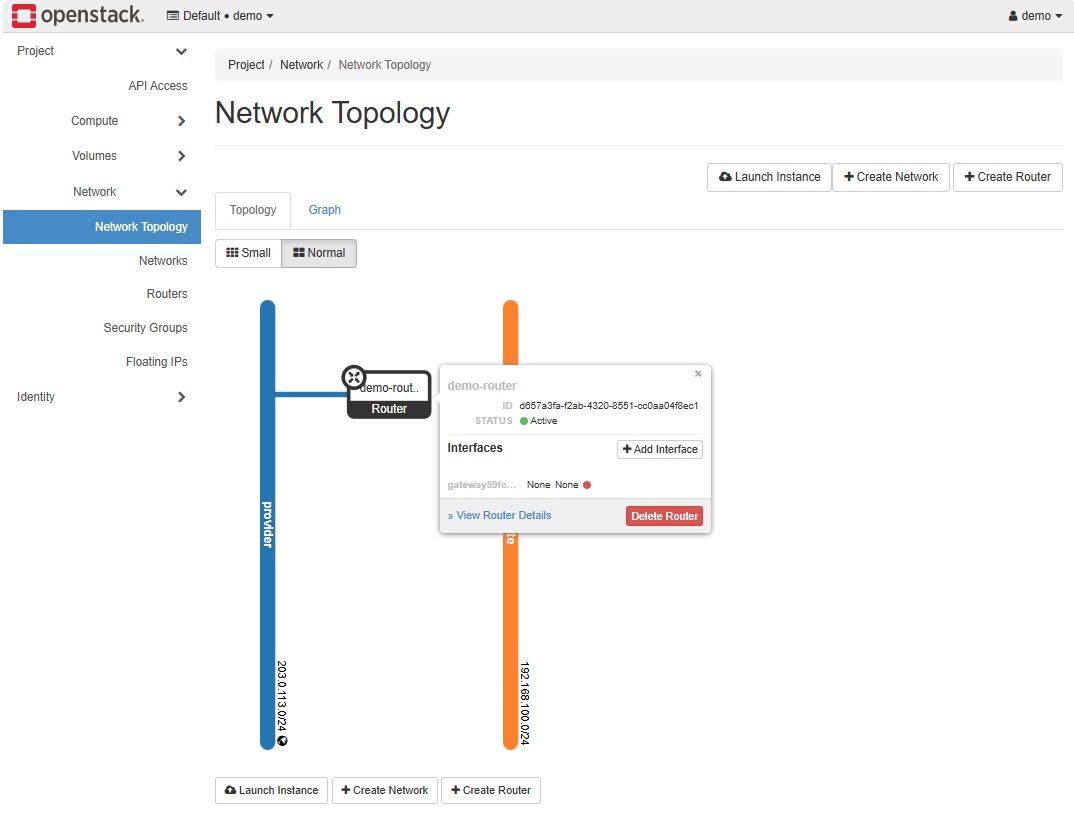
We should now see a router connected to the Provider network.
-
To connect it to the Private network, click Add interface.
-
In the interface configuration, set the subnet to the private subnet.
Click Submit.

-
Going back to the Network Topology, we can see the two networks are now connected.

Create the Security Group
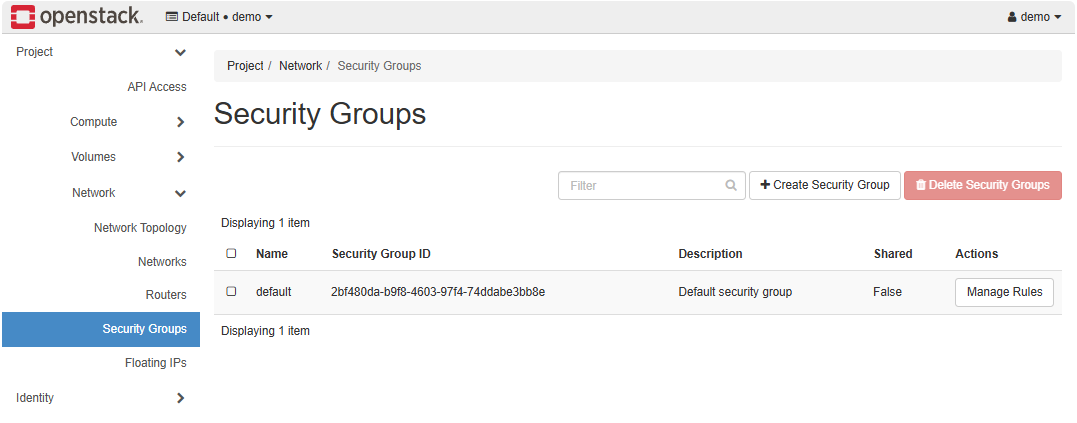
There is a default security group created during setup. This group allows all inbound and outbound traffic between its members, and all outbound traffic to any destination.
To better control traffic, we need to create a custom security group. This lets us define specific rules, such as allowing ICMP for ping tests or SSH for remote access, while restricting other traffic as needed.
-
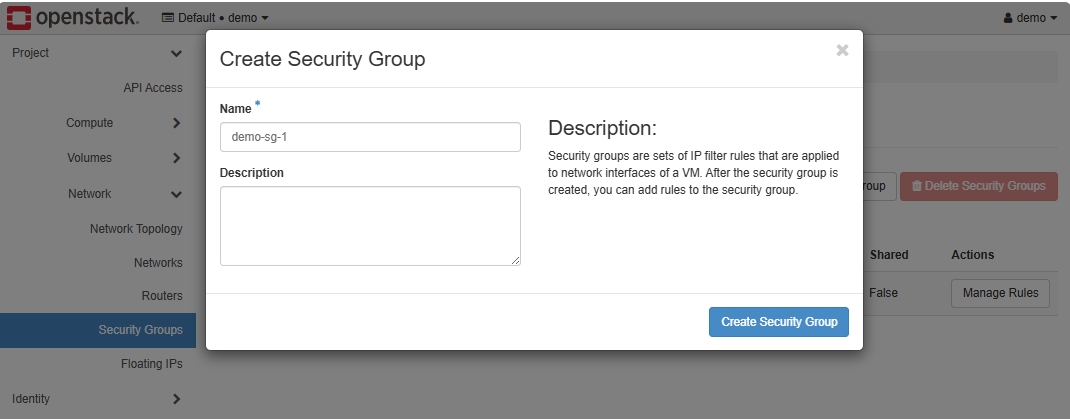
In the Security Groups tab, click Create Security Group.
-
Provide a name for the security group and click Create Security Group.
-
Add ingress rules to allow ping and SSH.
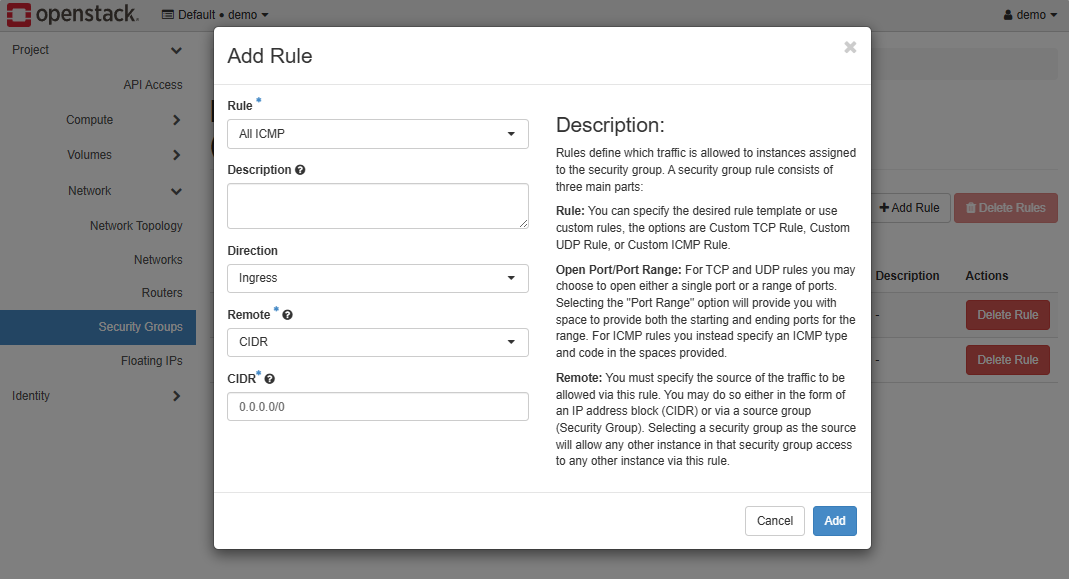
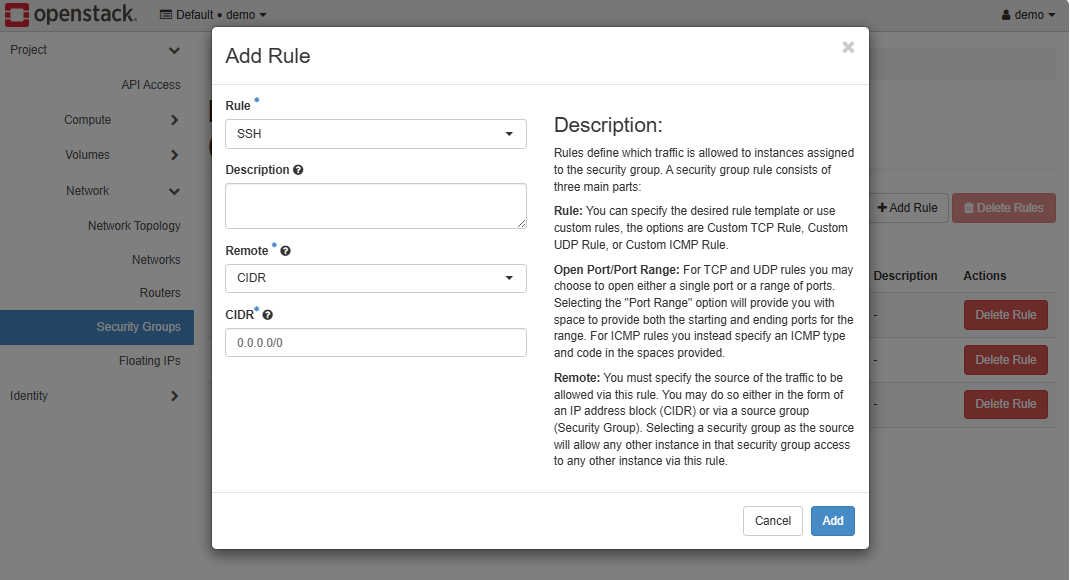
-
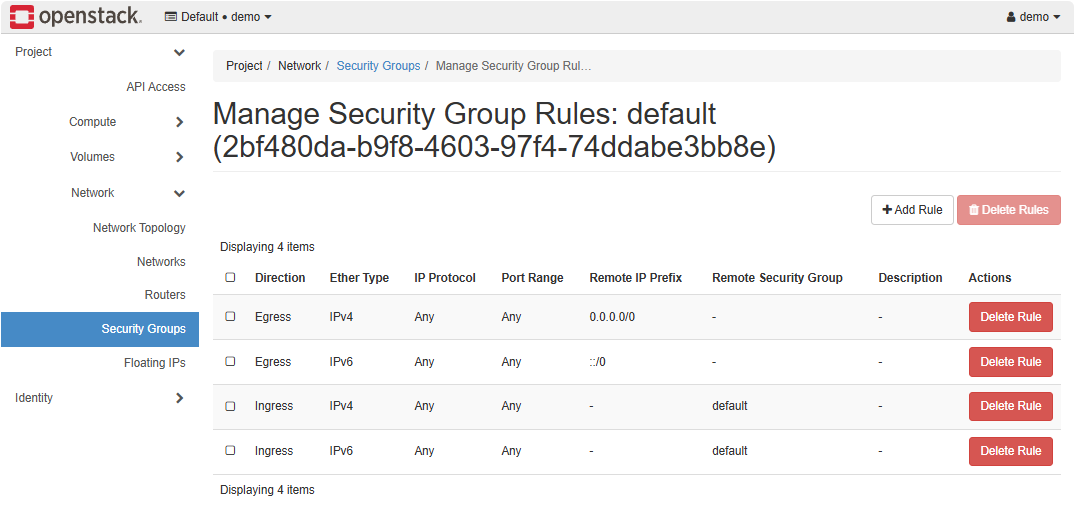
The custom security group should have the following rules.
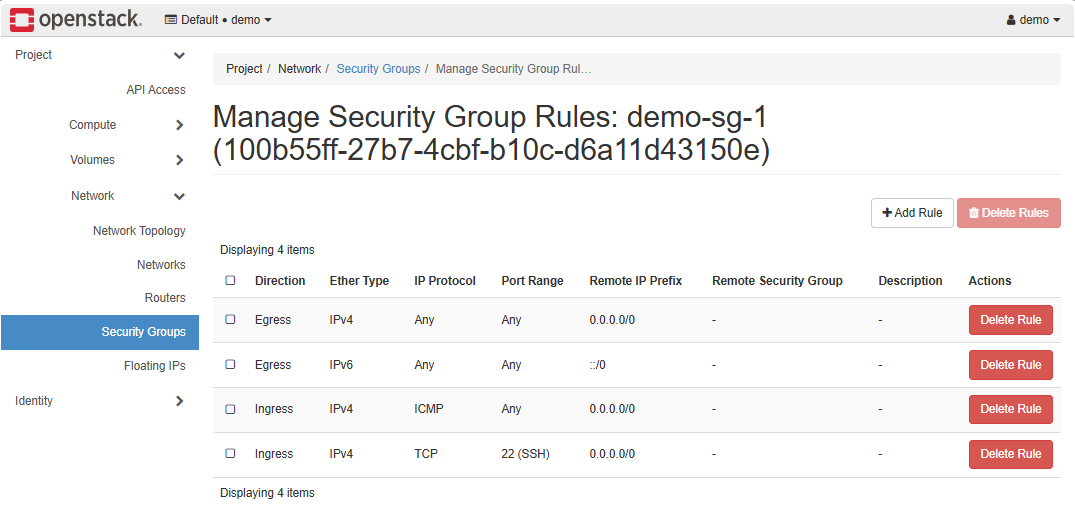
In the example below, the security group demo-sg is configured.
openstack security group create demo-sg
openstack security group rule create --proto icmp demo-sg
openstack security group rule create --proto tcp --dst-port 22 demo-sg
Expected result:
Security group demo-sg created with rules
This allows basic connectivity and remote access.
Launch an Instance
Now that the networks, flavors, and security groups are ready, we can create an instance. To simplify the process, we will use the OpenStack CLI.
Note: Make sure you have sourced the demo-openrc.sh script.
openstack server create vm1 \
--image cirros-0.3.5 \
--flavor m1.tiny \
--network private \
--security-group demo-sg-1
Additional: By default, if you boot directly from an image (without creating a root volume), OpenStack uses an ephemeral disk, and you cannot retroactively mark it for deletion. It will just disappear with the instance, depending on your hypervisor.
If you want to want to set delete_on_termination property after the instance is created, you will need to:
- Create a volume from your image.
- Create the instance booting from that volume.
- Set the volume to delete on termination.
Depending on your OpenStack version, step 3 may not be supported via CLI. In that case, the property must be set when creating the instance with --block-device`.
Verify Instance, Compute, and Storage
Once the instance is running, open a console to it and run a ping test:
ping -c 3 google.com
Output:
# (expected ping responses here)
A successful ping indicates that networking is working correctly and the instance is connected to the external provider network, which allows access to the internet.
Next, login to each compute node and check the status of deployed instances:
sudo virsh list --all
This lists all instances on the compute node; they should show as running.
Finally, on the block/volume node, display all volumes:
sudo lvdisplay
This returns all volumes currently served from the storage node.
This confirms that compute and storage services are functioning.