First Jenkins Job
Lab Environment
In this lab, we have the following Linux machines, and we will use a local computer (laptop) to connect to them.
- jenkinsmaster
You can choose to set up a virtual machine on your computer or create instances in the cloud. In this case, EC2 instances are used.
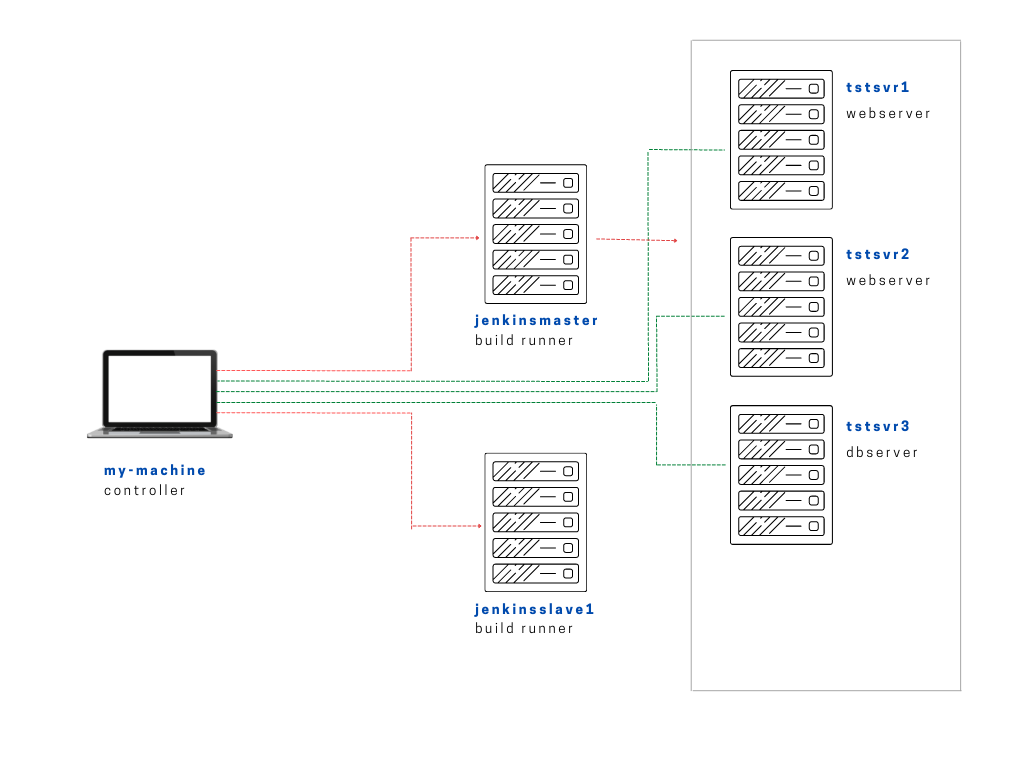
Note that for this lab, we'll only be using jenkinsmaster and you can disregard the other tstsvrs and jenkinsslave1 for now.
Setting Up Jenkins
If you have your Jenkins server already setup, you can skip this section. There's an option to manually install Jenkins on a Linux machine or you can also use Ansible playbooks to perform the entire installation of Jenkins on this machine.
To setup Jenkins:
Create the Job
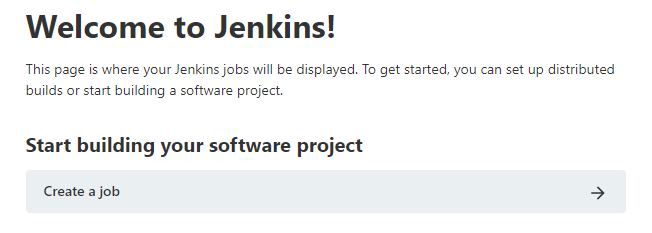
To create a job, we can click the New Item on the left panel or simply click the Create a job.
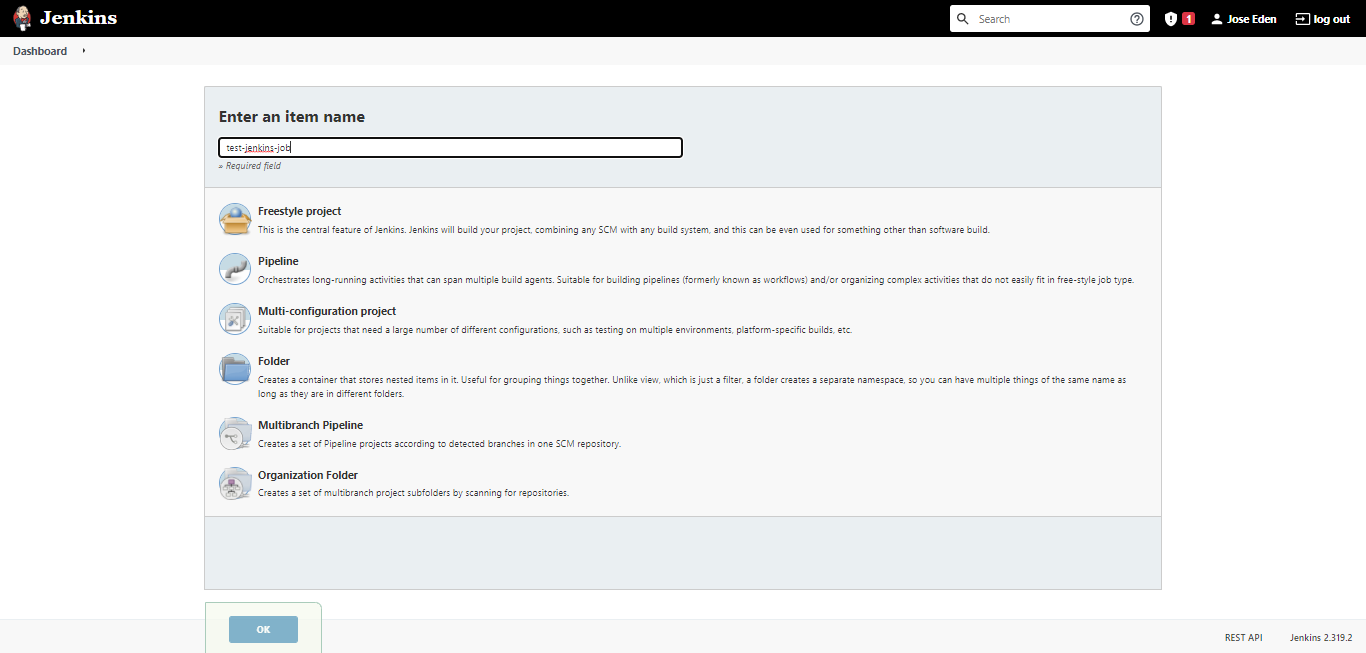
Enter a project name in the field. For this example, we'll just select Freestyle project and then Ok.
You can then configure the job in the next page where you will see different sections.
-
Discard old builds - this allows limiting the number of builds stored in history. This ensures that the builds doesn't take up space/memory.
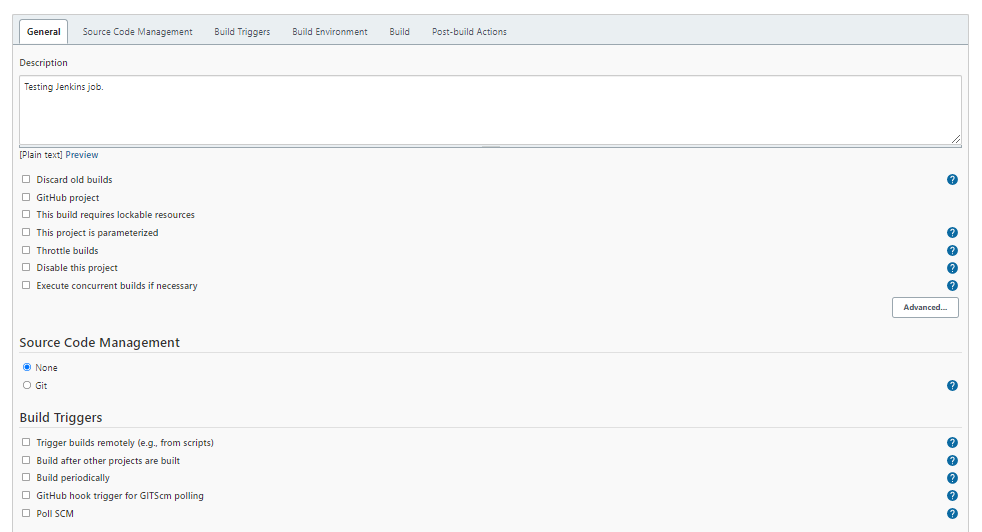
-
Source code management - you can specify the git URL and the branch here. For now we'll just leavee it to None.

-
Build Triggers - if no option is selected, then the build will be triggered manually. In our example, we'll trigger the job manually.

-
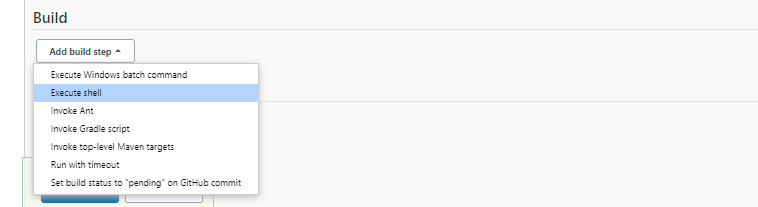
Build Steps - here we can define what we want the job to do.

In our example, we'll select execute shell. Then in the command field, enter echo "hello world!".

The last section is the Post-build - this is where we normally configure the notification. For this example, we'll leave this section blank. Click Save.

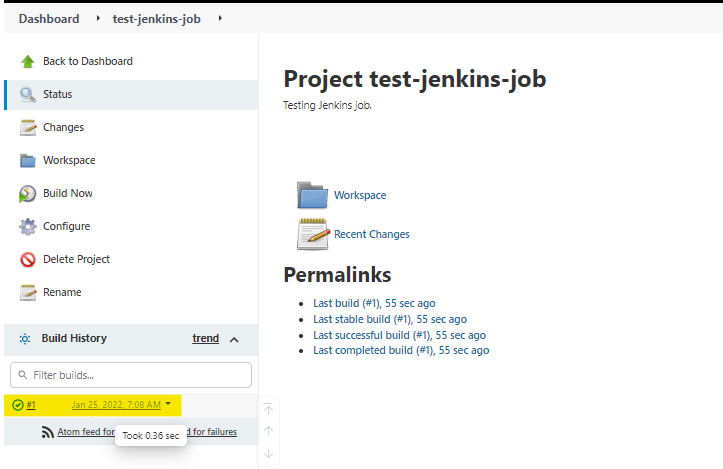
Going back to our dashboard, we see our first job.

To run our first Jenkins job, select the job and click Build Now on the left panel.

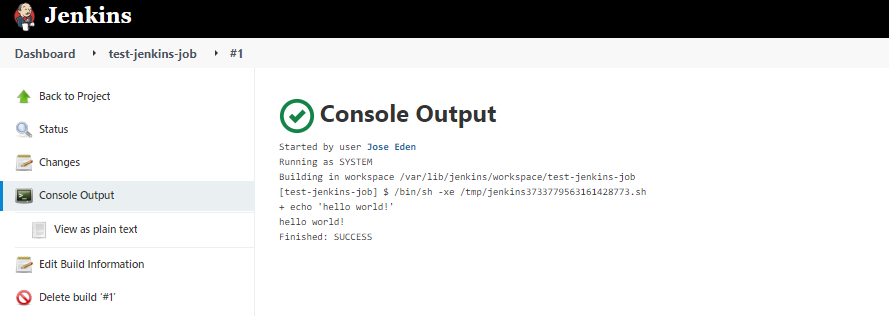
Check the finished build under the Build History.
On the build page, click the Console Output on the left panel to see the output.