Setup Ansible and Jenkins
Overview
To speed up the creation of testing environment for Jenkins, you can use Ansible playbooks. This playbook contains the configuration that will be used by Jenkins. You just need to run the playbook and Ansible will take care of the entire installation process.
Lab Environment
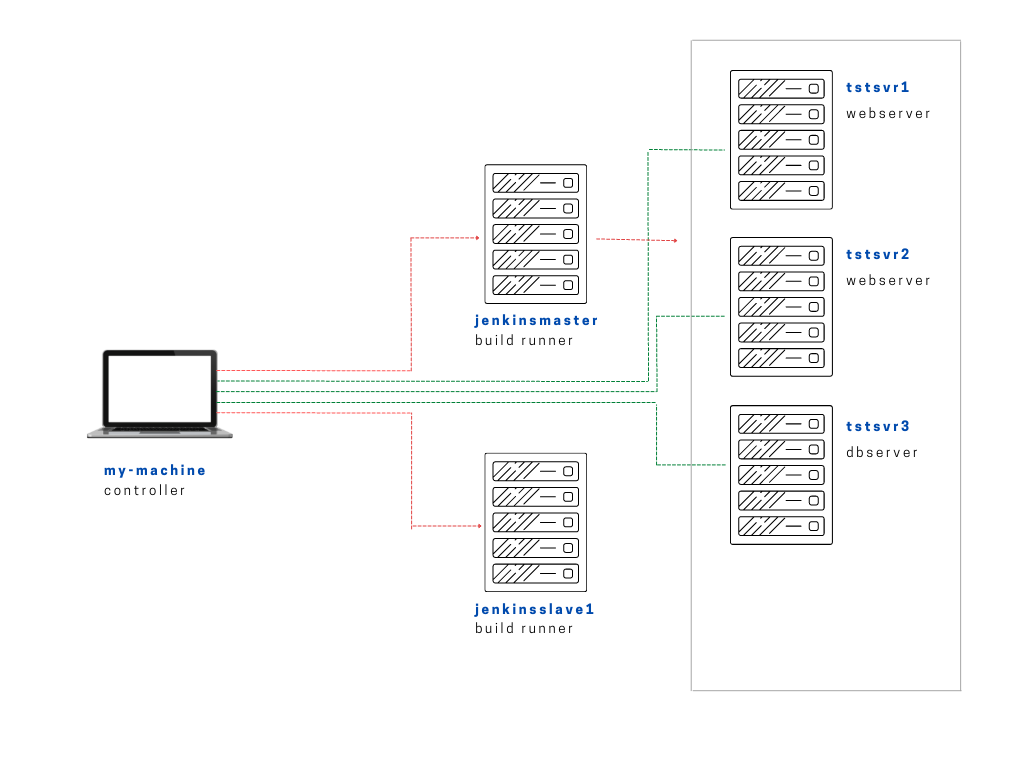
In this lab, we have the following Linux machines, and we will use a local computer (laptop) to connect to them.
- jenkinsmaster
You can choose to set up a virtual machine on your computer or create instances in the cloud. In this case, EC2 instances are used.
Configuration Files
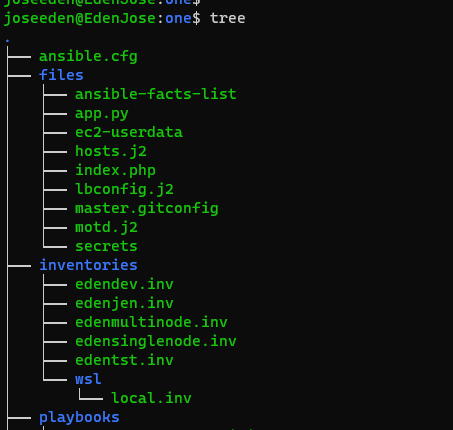
We also used Ansible playbooks to setup the Jenkins lab. Currently we have Project One. The tree-structure of our Project One currently looks like this. These are the files from the previous labs.
-
Project One
Note that we have alot of inventory files (.inv) inside the inventories folder. The file that will be using for this lab is edenjen.inv which is also shown next.
-
ansible.cfg
You can replace the edendev.inv with edenjen.inv with the path since that is the inventory file that we'll be using. If you rename the file, replace the inventory with the /path/to/your/inventoryfile.
# ansible.cfg

[defaults]
# E: variables for my personal lab
inventory = ~/proj-ansible-1/one/inventories/edendev.inv
remote_user = eden
private_key_file = ~/.ssh/id_rsa
host_key_checking = False
retry_files_enabled = False
timeout = 24
gather_facts = smart

[privilege_escalation]
become_method = sudo
become=True
become_user=root
become_ask_pass=True

#ansible_managed = "# This file is managed by Ansible, all local changes will be lost !"
#allow_world_readable_tmpfiles = True
#precedence = all_plugins_play, all_inventory, groups_plugins_play, groups_inventory, all_plugins_inventory, groups_plugins_inventory
#any_errors_fatal = True
#timeout = 24

[paramiko_connection]
#record_host_keys = False

[ssh_connection]
scp_if_ssh = True
pipelining = True -
edenjen.inv
We have an option to set this inventory file as our default one but since our uses different inventory files, we'll just specify the inventory when we run the playbook.
[webservers]

[jenkins]
jenkinsmaster  ansible_host=13.228.99.157

[jenkinsslave]
jenkinsslave1   ansible_host=54.255.28.202

localhost       ansible_connection=local
Create Symlink (optional)
To shorten the commands, you can also create a symlink in your root directory that points to the projects folder:
$ ls -la | grep "\->"
lrwxrwxrwx  1 joseeden joseeden    70 Jan 14 23:03 proj-ansible-1 -> /mnt/c/Users/Eden Jose/4-Projects
Install Ansible
Make sure Ansible installed on your local machine before you can run any Ansible playbooks. Follow the link provided and install Ansible based on your operating system.
To confirm if Ansible is successfully installed:
$ ansible --version
ansible 2.9.6
  config file = /mnt/c/Users/Eden Jose/Desktop/Git/3-Devops_Tools/4-Ansible_Jenkins/4-Projects/one/ansible.cfg
  configured module search path = ['/home/joseeden/.ansible/plugins/modules', '/usr/share/ansible/plugins/modules']
  ansible python module location = /usr/lib/python3/dist-packages/ansible
  executable location = /usr/bin/ansible
  python version = 3.8.10 (default, Jun  2 2021, 10:49:15) [GCC 9.4.0]
Next, create your inventory file. You can simply use/copy the edenjen.inv file and just replace the IP of the jenkinsmaster with the IP of your remote machine.
Install Jenkins
Create the playbook.
# installs jenkins
---

- name: Install jenkins
  hosts: jenkins
  become: true
  tasks:

    - name: Download files
      get_url:
        url: https://pkg.jenkins.io/redhat-stable/jenkins.repo
        dest: /etc/yum.repos.d/jenkins.repo

    - name: Download apt_key
      ansible.builtin.rpm_key:
        key: https://pkg.jenkins.io/redhat-stable/jenkins.io.key
        state: present

    - name: Upgrade all packages
      dnf:
        name: '*'
        state: latest

    - name: Ensure epel repo is present
      yum:
        name: https://dl.fedoraproject.org/pub/epel/epel-release-latest-8.noarch.rpm
        state: present

    - name: Install Jenkins and Java using yum
      yum:
        name:
          - jenkins
          - java-11-openjdk-devel
        state: present

    - name: Change shell for user 'jenkins'
      ansible.builtin.user:
        name: jenkins
        shell: /bin/bash
        state: present

    - name: Force systemd to reread configs
      systemd:
        daemon_reload: yes

    - name: Ensures Jenkins is started
      systemd:
        name: jenkins
        enabled: yes
        state: started

    # Uncomment play below if you have firewalld
    # - name: FirewallD rules
    #   firewalld:
    #     permanent: yes
    #     immediate: yes
    #     service:
    #       - jenkins
    #       - http
    #     port: 8080/tcp
    #     zone: public
    #     state: enabled
To run the playbook, run the command below. Note that my playbook is inside the playbooks folder while my inventory file is inside the inventories folder.
ansible-playbook playbooks/install-jenkins.yml -i inventories/edenjen.inv
Install Jenkins Slave
The Jenkins slave is used for distributed builds, which are agents running on nodes separate from the master. This additional nodes helps in running builds in parallel. For more information, please see Distributed Builds.
Create the playbook.
# install-jenkins-slave.yml
---

- name: Run steps on Jenkins slave
  hosts: jenkinsslave
  become: true
  tasks:

    - name: Create group "jenkins"
      ansible.builtin.group:
        name: jenkins
        state: present
        system: true

    - name: Add user and change shell for user 'jenkins'
      ansible.builtin.user:
        name: jenkins
        group: jenkins
        comment: Jenkins Automation Server
        home: /var/lib/jenkins
        shell: /bin/bash
        state: present

    - name: Create a workspace directory
      ansible.builtin.file:
        path: /var/lib/jenkins/jenkins_workspace
        state: directory
        mode: '0755'
        owner: jenkins
        group: jenkins

    - name: Download files for Maven
      get_url:
        url: https://www-eu.apache.org/dist/maven/maven-3/3.6.3/binaries/apache-maven-3.6.3-bin.tar.gz
        dest: /opt

    - name: Extract downloaded archive
      ansible.builtin.unarchive:
        src: /opt/apache-maven-3.6.3-bin.tar.gz
        dest: /opt
        remote_src: yes

    - name: Create symbolic link
      file:
        src: "apache-maven-3.6.3"
        dest: "/opt/maven"
        state: link

    - name: Create file
      ansible.builtin.blockinfile:
        path: /etc/profile.d/maven.sh
        create: yes
        mode: '0755'
        insertbefore: BOF
        block: |
          export M2_HOME=/opt/maven
          export PATH=${M2_HOME}/bin:${PATH}

    - name: Source the maven script
      shell: "source /etc/profile.d/maven.sh"

    - name: Installs git, java
      yum:
        name:
          - git
          - java-11-openjdk-devel
        state: present
To run the playbook, run the command below.
ansible-playbook playbooks/install-jenkins-slave.yml -i inventories/edenjen.inv
Install Packages
Next, create another playbook that will install other packages on the Jenkins server. You can simply copy the playbook provided below. These are additional packages that will be used in the other labs.
# install-maven-others.yml
---

- name: Install other packages on the Jenkins server
  hosts: jenkins
  become: true
  tasks:

    - name: Download files for Maven
      get_url:
        url: https://www-eu.apache.org/dist/maven/maven-3/3.6.3/binaries/apache-maven-3.6.3-bin.tar.gz
        dest: /opt

    - name: Extract downloaded archive
      ansible.builtin.unarchive:
        src: /opt/apache-maven-3.6.3-bin.tar.gz
        dest: /opt
        remote_src: yes

    - name: Create symbolic link
      file:
        src: "apache-maven-3.6.3"
        dest: "/opt/maven"
        state: link

    - name: Create file
      ansible.builtin.blockinfile:
        path: /etc/profile.d/maven.sh
        create: yes
        mode: '0755'
        insertbefore: BOF
        block: |
          export M2_HOME=/opt/maven
          export PATH=${M2_HOME}/bin:${PATH}

    - name: Source the maven script
      shell: "source /etc/profile.d/maven.sh"

    - name: Installs git
      yum:
        name:
          - git
          - tidy
        state: present
Run the playbook:
ansible-playbook playbooks/install-maven-others.yml -i inventories/edenjen.inv
Set Password for Jenkins User
Since this is for labbing purposes only, I enabled shell login for the jenkins user. After you've run the playbook, login to your Jenkins server, switch to root, and set the password for the jenkins user.
passwd jenkins
Add User on Slave Node
On jenkinsslave1, add the jenkins user. Set the user to NOPASSWD through visudo since this is for labbing purposes only.
sudo useradd jenkins
sudo passwd jenkins
$ visudo

## Allow root to run any commands anywhere
root    ALL=(ALL)       ALL
jenkins ALL=(ALL)       NOPASSWD: ALL
Setup Jenkins Console
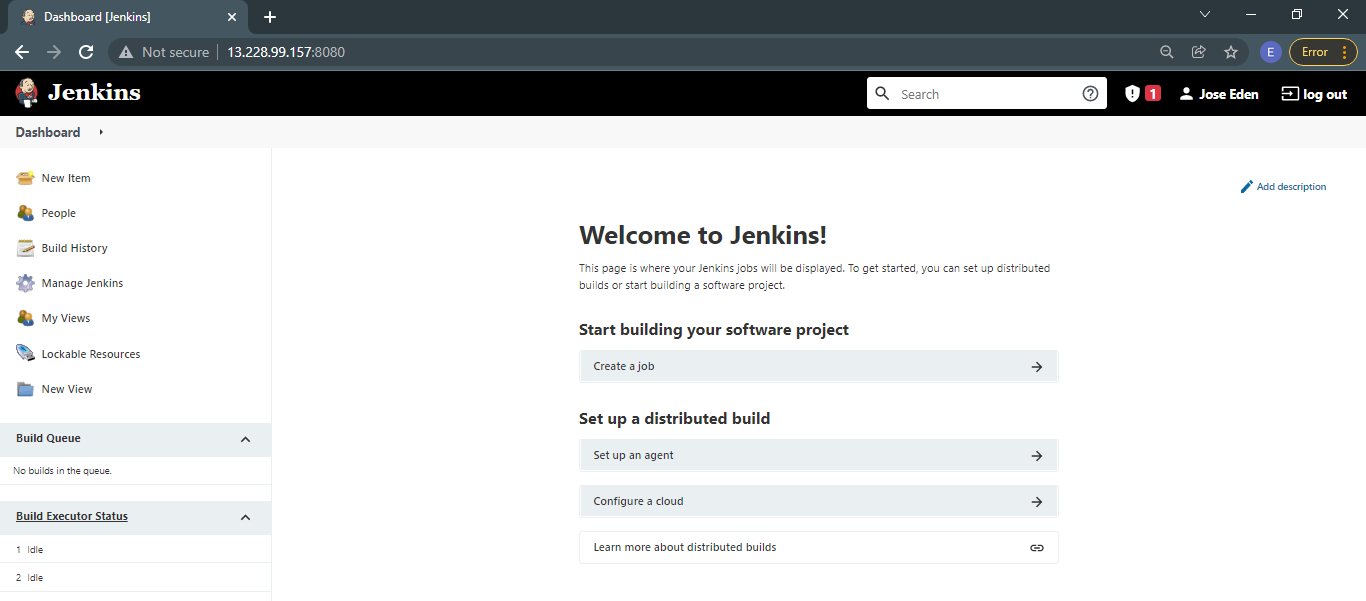
Once done, get the IP of the machine and paste it to your web browser, followed by ":8080". It should look like this.
http://13.228.99.157:8080/
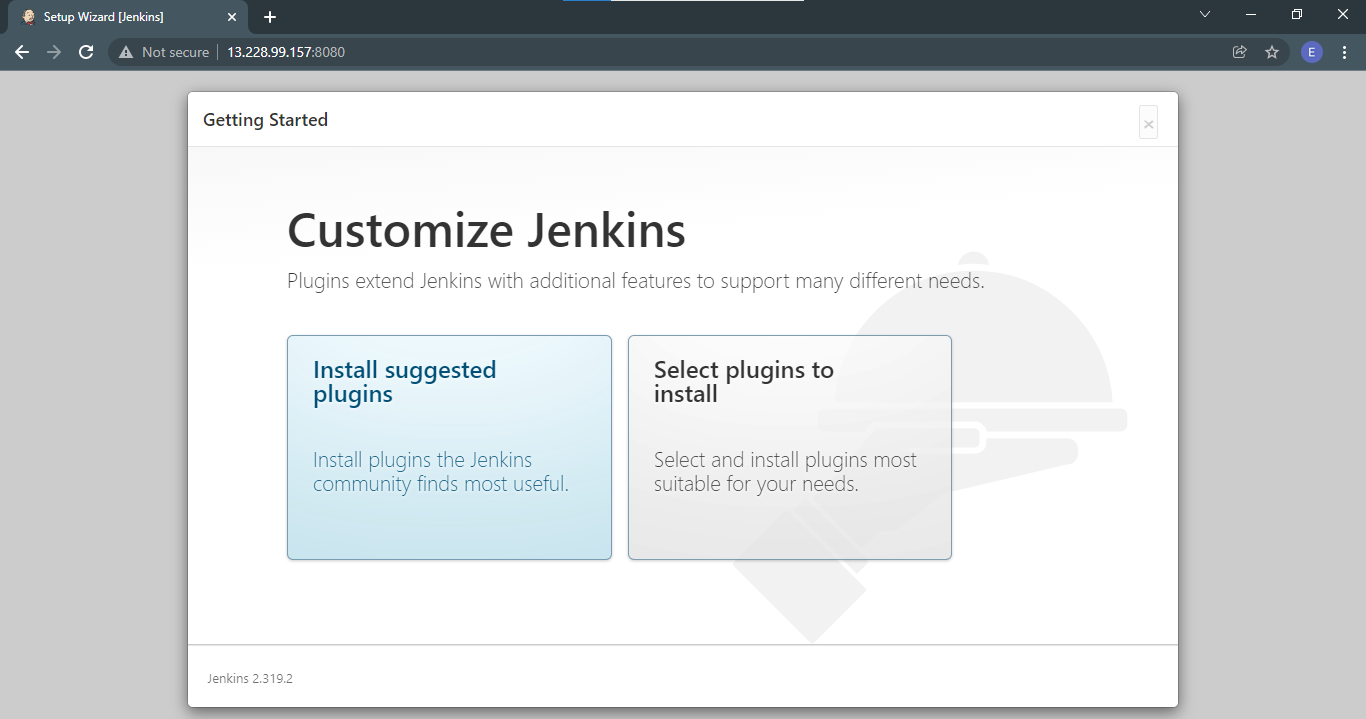
During the first time, Jenkins will display a Getting Started page where you will need to follow an instruction. Paste the password in the field.

On the next page, you're given a choice to select the plugins to install or go with the suggested ones. For now we'll go with the suggested plugins.
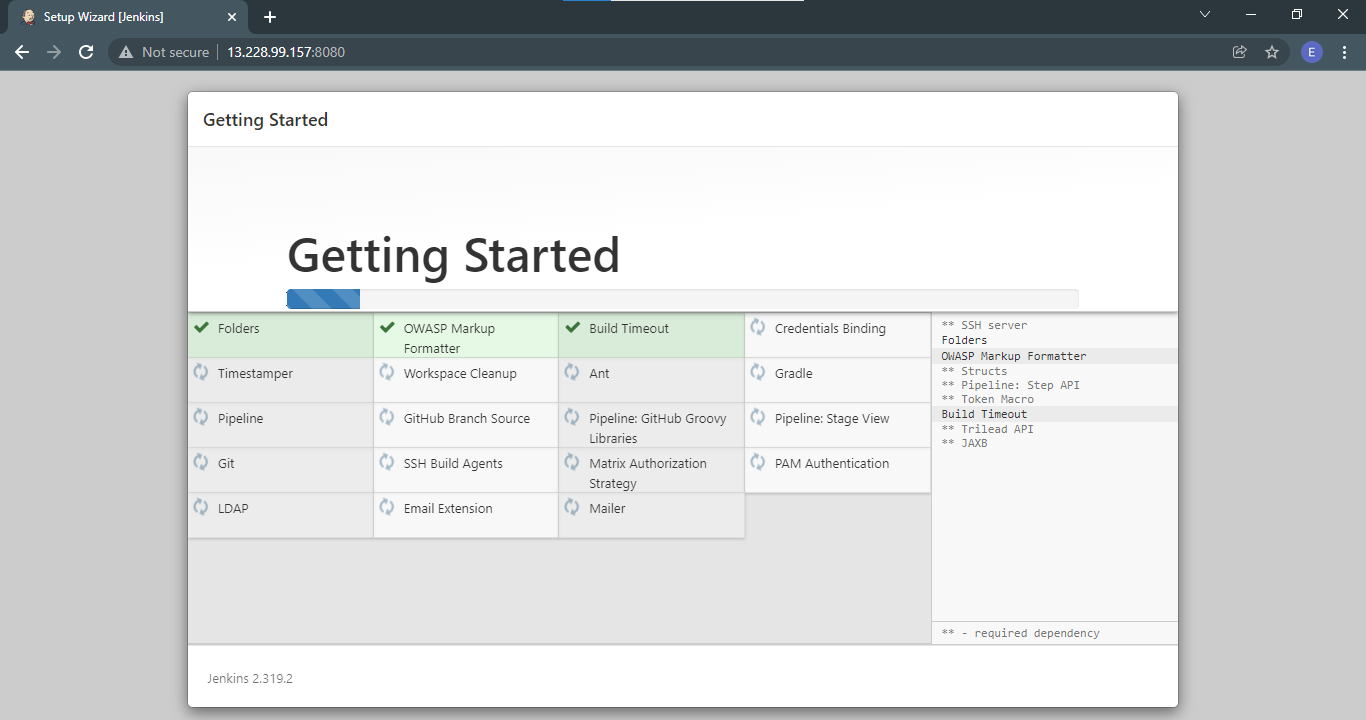
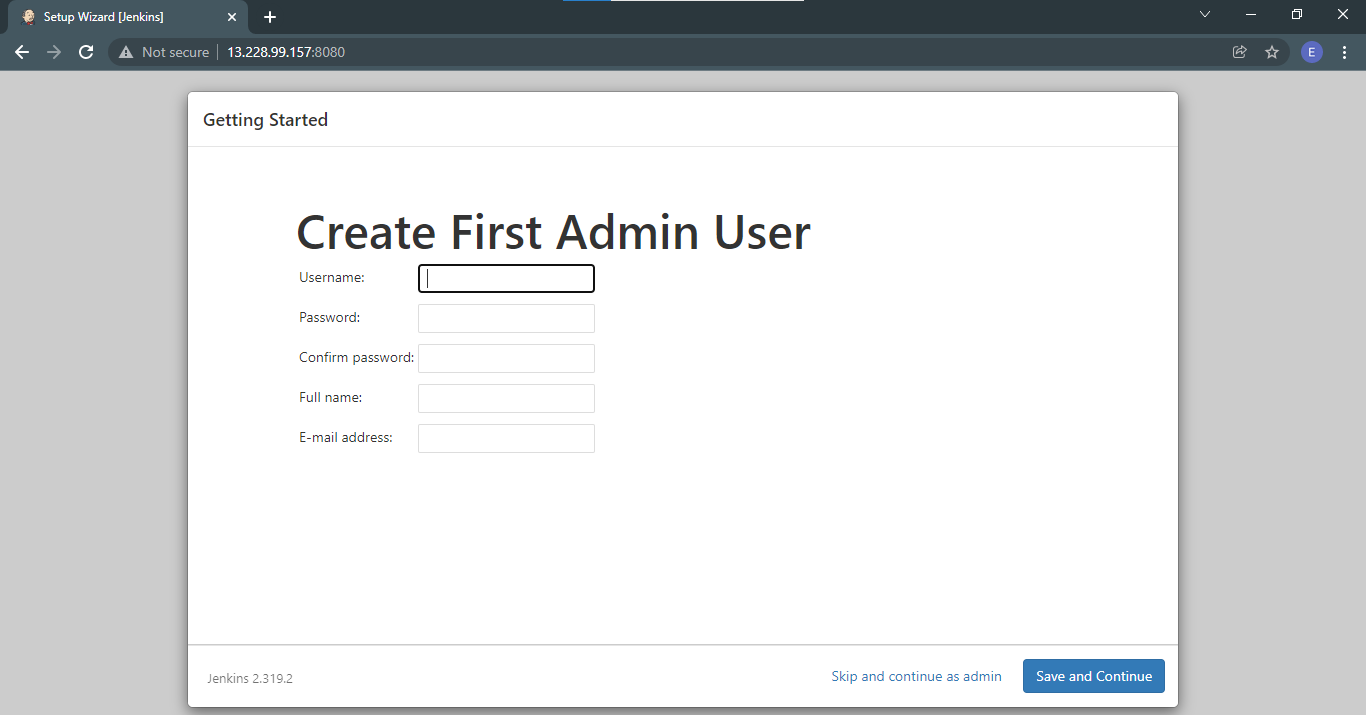
After the plugins are installed, Jenkins will now prompt you to create the first admin user.
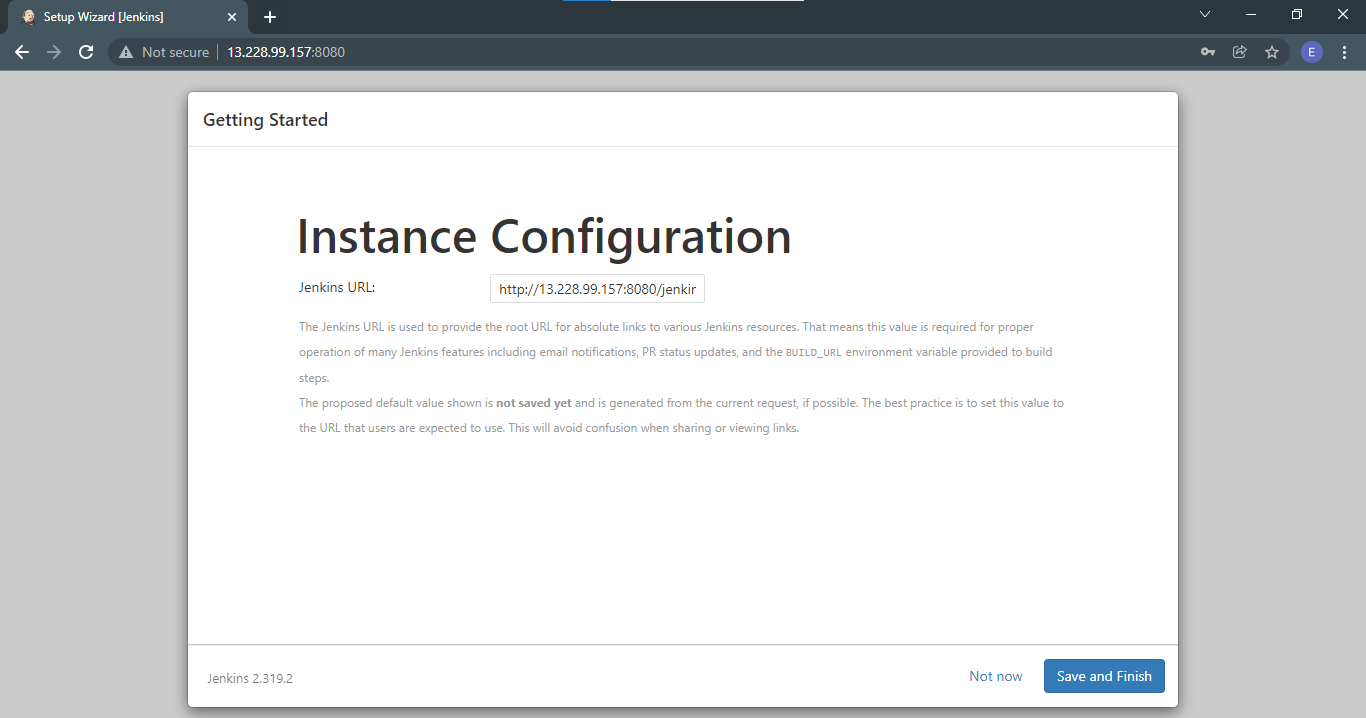
Next, you will need to configure the URL. Afterwards click Save and Finish. It should look like this.
http://13.228.99.157:8080/jenkins-lab
Once the setup is done, you should be brought to the Jenkins landing page.