CI/CD Pipeline for Flask Application
Overview
This lab demonstrates how to deploy a sample Flask application to a single server using Jenkins. The pipeline automates the process from code checkout to application deployment.
- Checkout code
- Install dependencies
- Test code
- Package code
- Copy code to server
- Install dependencies on the server
- Deploy the Flask application
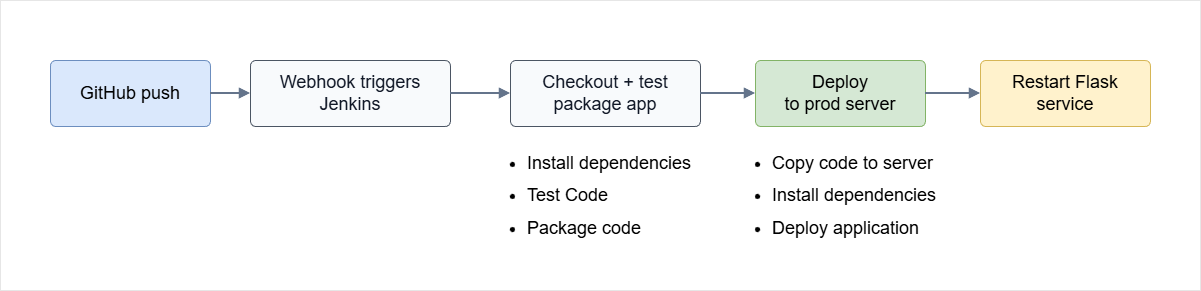
Workflow Diagram
The diagram below summarizes the CI/CD path from a GitHub change to the Flask application running on the production server.
Lab Environment
In this lab, we use two Linux machines and connect to them from a local computer such as a laptop. The application code is stored in a remote GitHub repository, which is cloned locally for development and testing.
jenkinsmasterprodserver
You can either run virtual machines on your local system or provision instances in the cloud. In this setup, EC2 instances are used.
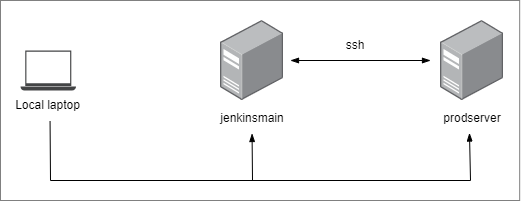
I'm using a single keypair or pem file to access all servers. This pem file will also be used when configuring the pipeline.
Setting Up Jenkins
If you have your Jenkins server already setup, you can skip this section. There's an option to manually install Jenkins on a Linux machine or you can also use Ansible playbooks to perform the entire installation of Jenkins on this machine.
To setup Jenkins:
Pre-requisites
Pre-requisites:
-
A Github account.
-
Install the following on the the servers:
-
Python
## These commands are for Ubuntu Linuxsudo apt-get updatesudo apt-get install python3.6 -
Python Virtual Environment
sudo apt install -y python3.12-venv -
Pip
sudo apt install -y python3-pip -
Zip
sudo apt updatesudo apt install zip -y
-
If you're using EC2 instances, make sure the security group:
- Allows SSH from within the subnet
- Allows SSH from your IP
- Allows 5000 from your IP
- Allows 8080 from
0.0.0.0/0
You may encounter some network connectivity issues when connecting to the Linux machines and when attempting to trigger the webhook.
- SSH connections (from local to Linux machines) - uses port 22
- Access Jenkins UI (from local to Jenkins) - uses port 8080
- Access application UI (from local to Prod) - uses port 5000
- Trigger webhook (from Github to Jenkins) - uses port 8080
If specifying your IP doesn't work, you can use a wider range like 0.0.0.0.
Pre-Deployment Steps
Perform the following in the production server:
-
Create a directory for the application and go to the project directory.
mkdir /tmp/appcd /tmp/app -
Create a python virtual environment. This is to ensure the application will not interfere with other applications running inside the produserver.
python3 -m venv venvls -la /tmp/app/venv ## Verify -
Depending on the machine you're using, you need configure firewall to allow port 500. If you're using a virtual machine in the cloud, you need to allow the port in the security group.
-
Create a systemd unit file. This will be used to start and stop the service. If you're using a containerized Jenkins or if
systemctlis not working, proceed to the Without Systemd section.vi /etc/systemd/system/flaskapp.service[Unit]Description=flask appAfter=network.target# Service will only start after network is initialized.[Service]User=ubuntuGroup=ubuntuWorkingDirectory=/tmp/app/Environment=PATH=/tmp/app/venv/binExecStart=/tmp/app/venv/bin/python3 /tmp/app/app.py[Install]WantedBy=multi-user.target -
Reload the systemd configuration manager. Then enable service on start on boot and start service. At this point, it will still fail because the application is not yet copied to the directory.
sudo systemctl daemon-reloadsusdo systemctl enable flaskapp.servicesudo systemctl status flaskapp.service
Without Systemd
If you're in an environment without systemd (like many Docker containers), many of the commands will not work because because there’s no systemd process managing services. As an alternative, you can run the following:
-
Create the Init script. This will be similar to the Systemd unit file.
sudo nano /etc/init.d/flaskapp#!/bin/bash# /etc/init.d/flaskapp# Init script for managing Flask app### BEGIN INIT INFO# Provides: flaskapp# Required-Start: $network# Required-Stop: $network# Default-Start: 2 3 4 5# Default-Stop: 0 1 6# Short-Description: Start flask app at boot# Description: Enable service for Flask app### END INIT INFOAPP_PATH="/tmp/app"APP_USER="Ubuntu"APP_GROUP="Ubuntu"VENV_PATH="/tmp/app/venv/bin"PYTHON_EXEC="$VENV_PATH/python3"APP_SCRIPT="$APP_PATH/app.py"start() {echo "Starting flaskapp..."su -c "cd $APP_PATH && PATH=$VENV_PATH:$PATH $PYTHON_EXEC $APP_SCRIPT &" $APP_USER}stop() {echo "Stopping flaskapp..."pkill -f "$PYTHON_EXEC $APP_SCRIPT"}status() {if pgrep -f "$PYTHON_EXEC $APP_SCRIPT" > /dev/null; thenecho "flaskapp is running."elseecho "flaskapp is not running."fi}case "$1" instart)start;;stop)stop;;restart)stopstart;;status)status;;*)echo "Usage: /etc/init.d/flaskapp {start|stop|restart|status}"exit 1;;esacexit 0 -
After saving the script, make it executable:
sudo chmod +x /etc/init.d/flaskapp -
Then, manage it with:.
sudo service flaskapp startsudo service flaskapp stopsudo service flaskapp restartsudo service flaskapp status
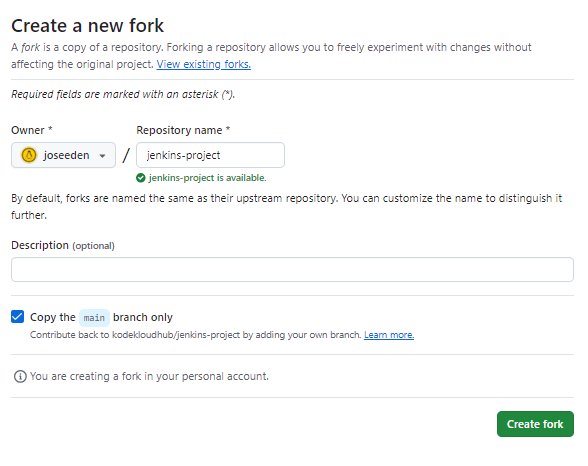
Fork the Repository
The sample project can be found here:
https://github.com/joseeden/test-jenkins-project
In August 2021, Github removed support for using your account password from the cli. You can either use Personal Access Tokens (PAT) or SSH keys.
After you sign in to Github, fork the repo and confirm the details.
Clone it to your local computer.
Configure Web Hook
On your Github repository, go to Settings > Webhooks > Add webhook. Specify the payload URL as:
http://jenkins-ip:8080/github-webhook/
Specify the details and click Update webhook.
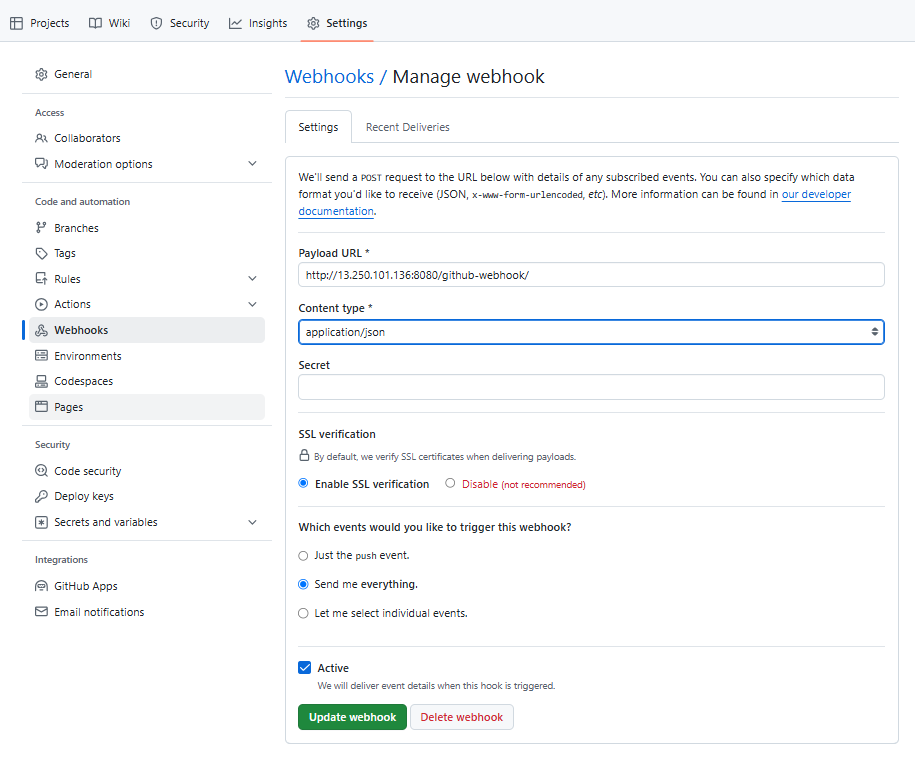
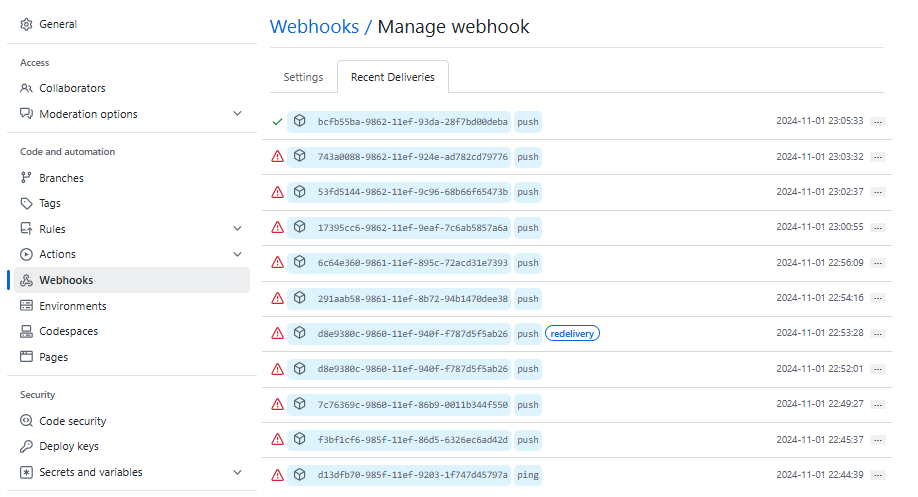
Once you configure the pipeline in the succeeding steps, you can check the Recent Deliveries.
Configuration Steps
The pipeline steps:
- Checkout code
- Install dependencies
- Test code
- Package code
- Copy code to server
- Install dependencies on the server
- Restart flask app
Note that the Jenkins server will need SSH access to the production server.
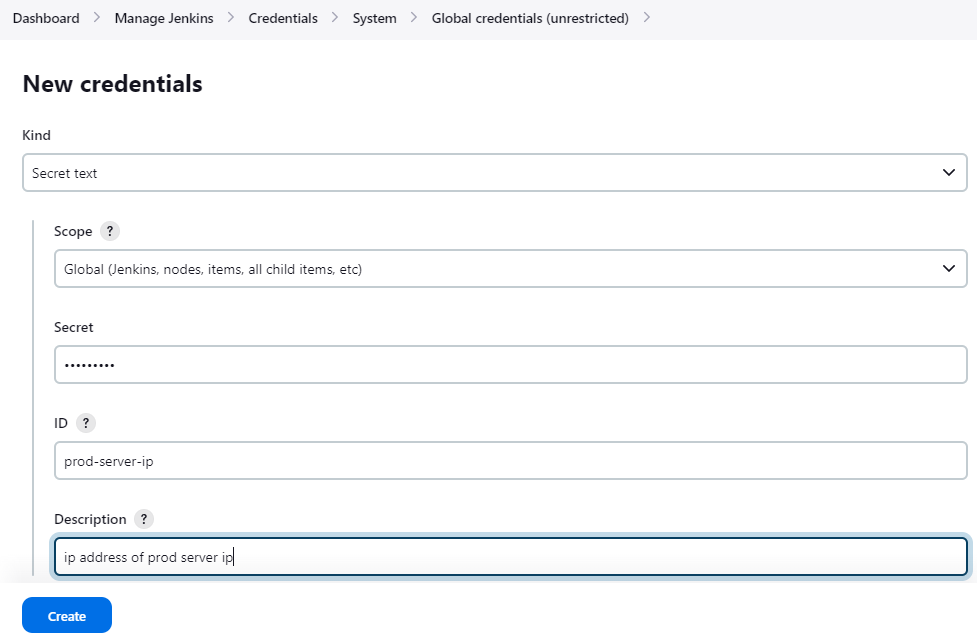
Setup Credentials
Configure the following as credentials that will be pulled by the Jenkinsfile.
- ssh-key
- prod-server-ip
On the Jenkins dashboard, go to:
Manage Jenkins > Credentials > global > Add credentials
Configure the following details. For the Secret field, enter the public IP address of the production server.
Add a second credentials with the following details. Change the username based on the username in your production server. in my case, the Ubuntu user is the default user in my production server.
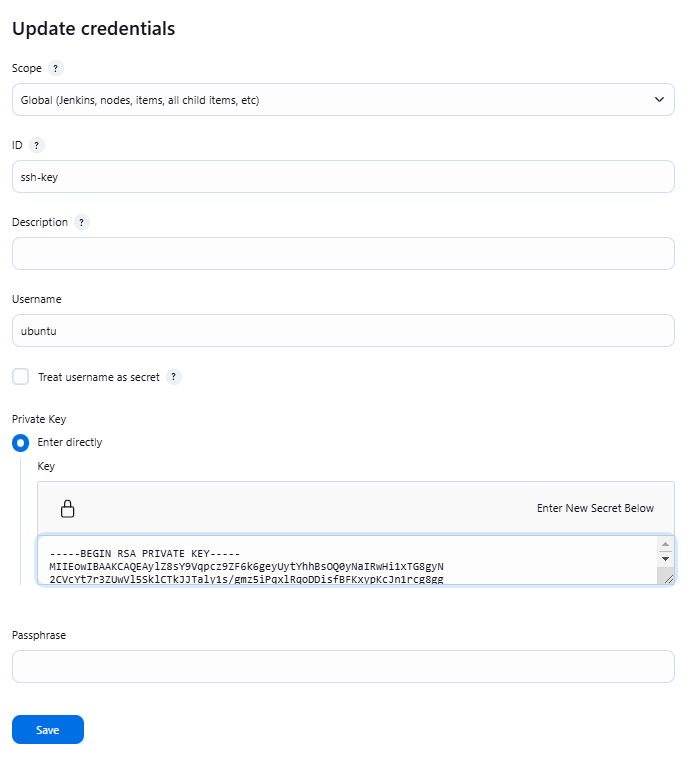
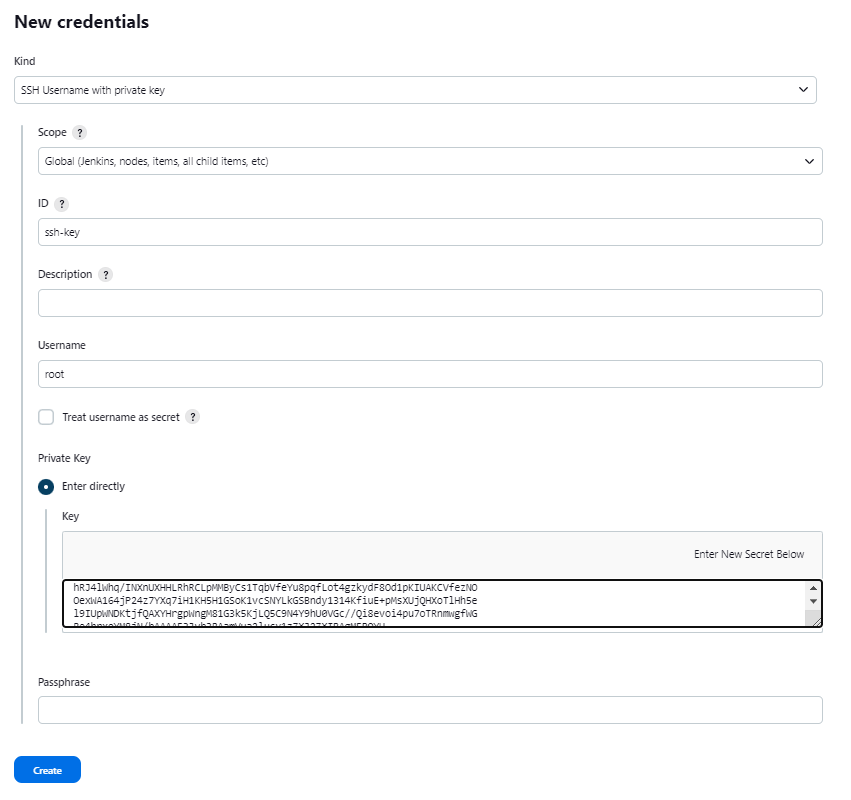
For the SSH key, you can use the same keypair or .pem file you used to access the servers.
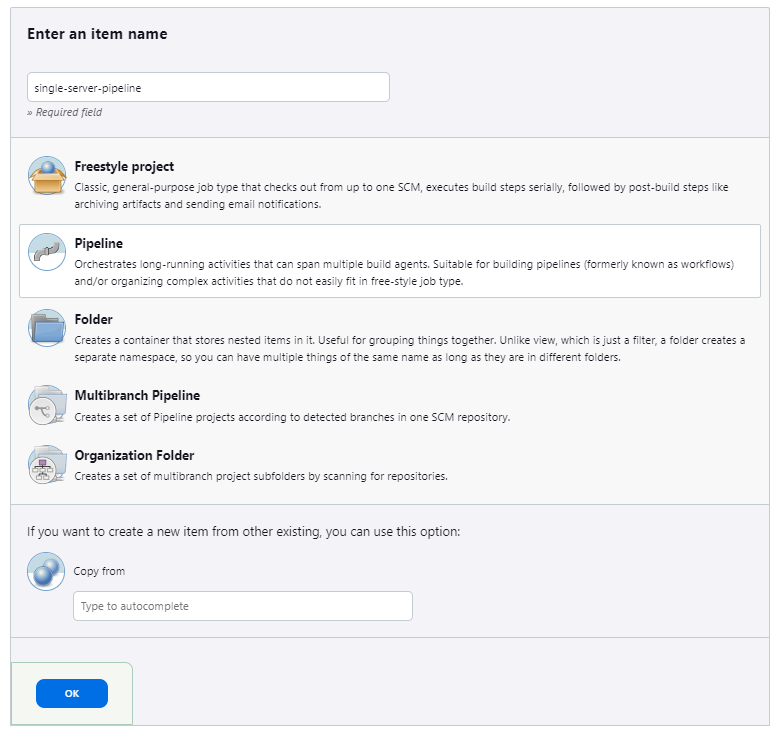
Setup the Pipeline
Back on the Jenkins dashboard, click New Item and enter "single-server-pipeline" for the Item name. Select Pipeline and click OK.
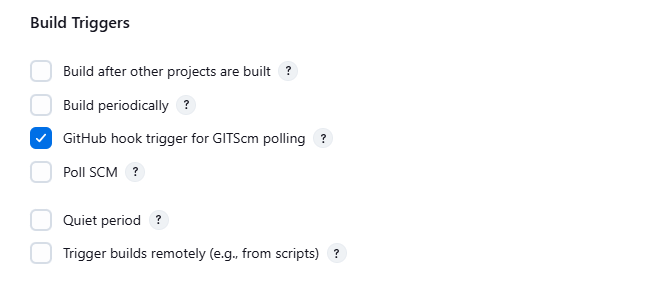
Check the box for the following and then click Save.
Build Triggers > Github hook trigger for GITScm polling
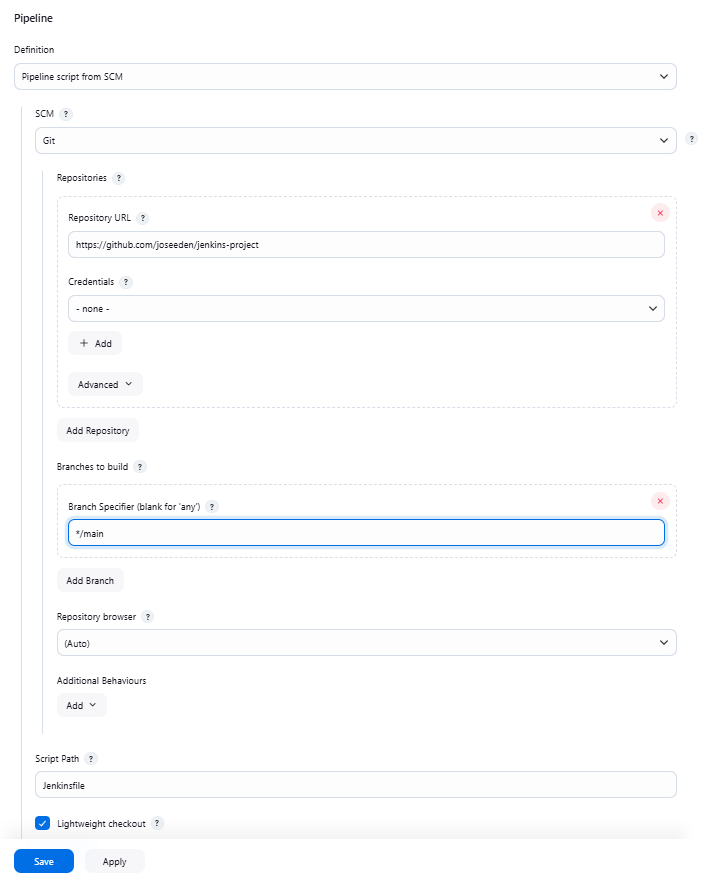
Next, configure the pipeline section. Note the branch name. The common name is main but your branch could be using master. You can also specify a different branch name here.
Click Create afterwards.
Pipeline > Pipeline script from SCM > SCM > Git > Repository URL > Enter URL
Set the branch to main
Set the ScriptPath > Jenkinsfile
Create the Jenkinsfile
Create the Jenkinsfile inside the project directory. Note that if you're not using systemd, change the systemd command to `sudo service flaskapp restart'. DO NOT push yet.
See file here: Jenkinsfile
Commit and Push
Back in your local machine, commit and push the changes you did.
git add .
git commit -m "Added changes"
git push
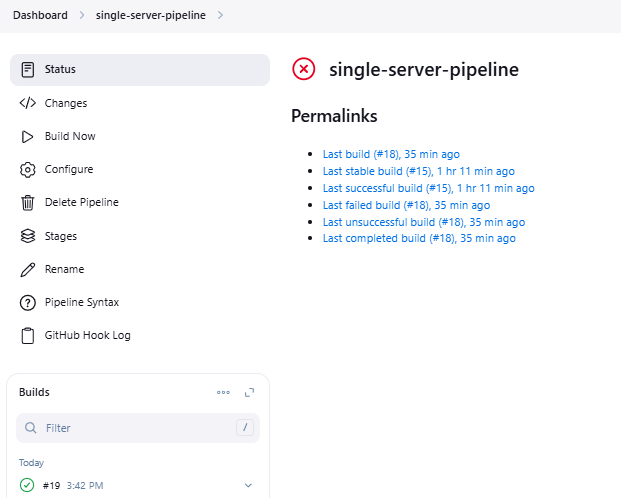
Go to the your job in the Jenkins dashboard. You should now see a job getting triggered.
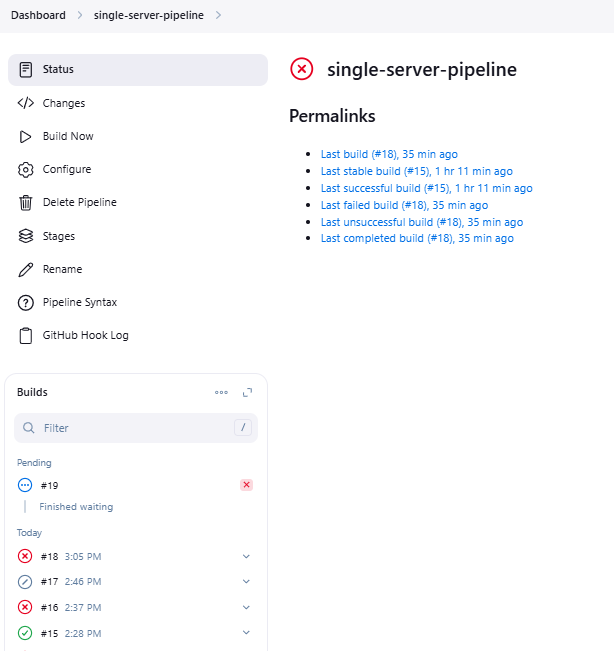
If successful, you should see a green check mark.
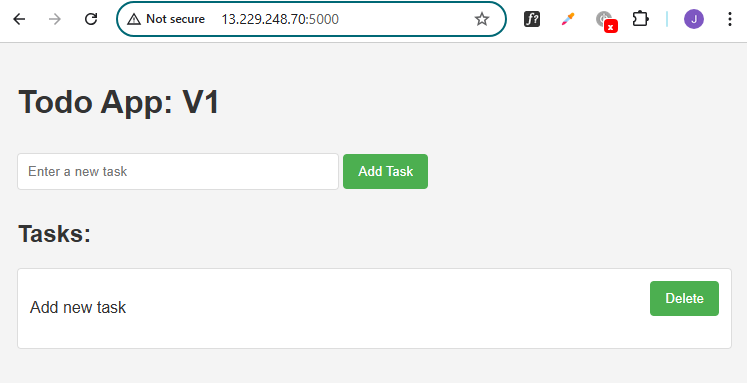
Test the App
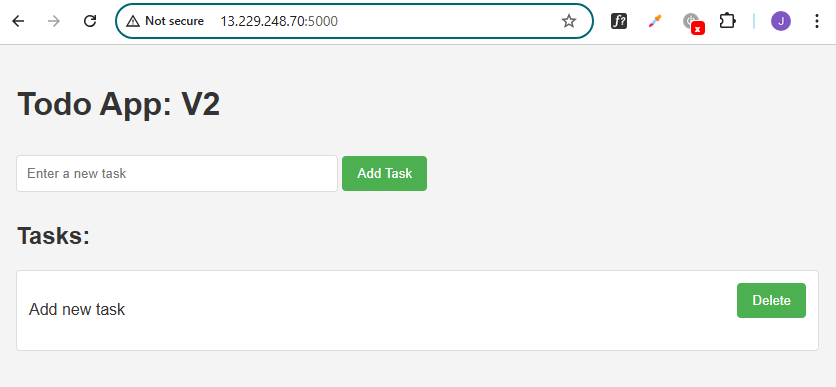
Copy the server IP and open it a web browser. You should be able to access the sample application. Try adding a new task by clicking the "Add Task".
Verify Triggers
Go back to the project directory in your local machine and modify the templates/index.html file. Add a V2 in the line:
<title>Todo App: V2</title>
Commit and push.
git add .
git commit -m "Updated to v2"
git push
Back in the pipeline, a second build should be triggered. Once done, click the build number to view the details.
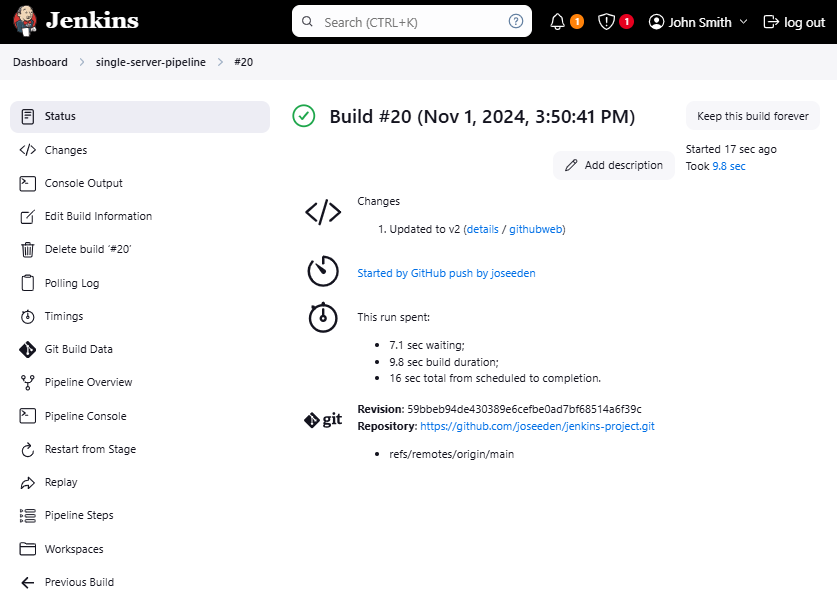
Open the web browser and refresh. It should now show version 2.