Jenkins CICD with Github
Lab Environment
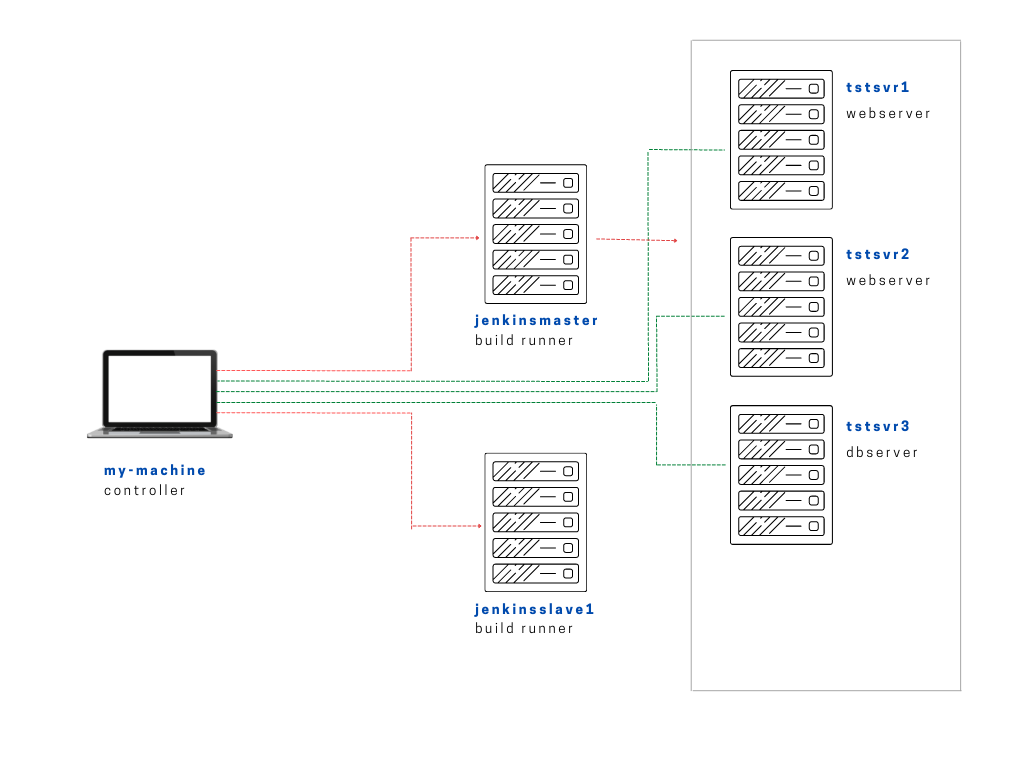
In this lab, we have the following Linux machines, and we will use a local computer (laptop) to connect to them.
- jenkinsmaster
- jenkinsslave1
You can choose to set up a virtual machine on your computer or create instances in the cloud. In this case, EC2 instances are used.
Setting Up Jenkins
If you have your Jenkins server already setup, you can skip this section. There's an option to manually install Jenkins on a Linux machine or you can also use Ansible playbooks to perform the entire installation of Jenkins on this machine.
To setup Jenkins:
Clone the Github Repo
If you don't have Github account yet, you can simply create one. Once done, go to this sample repo, click the Code tab, then HTTPS, and then copy the link provided.
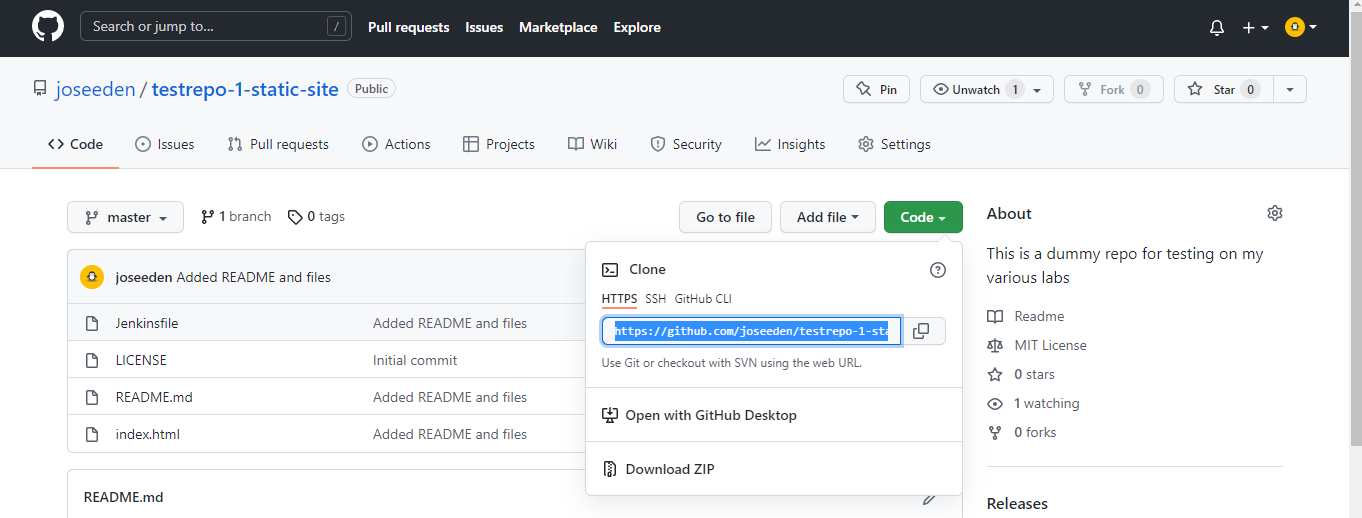
Open a terminal on your local machine, and run the following command to clone the repository.
git clone https://github.com/joseeden/testrepo-1-static-site.git
This repository will be used on the succeeding steps.
Install the Plugins
Before we begin, we need to have the following plugins on our Jenkins server. Plugins are like "extensions" that allows certain functionalities to be used on Jenkins.
Click the Manage Jenkins on the left panel and then Manage Plugins.
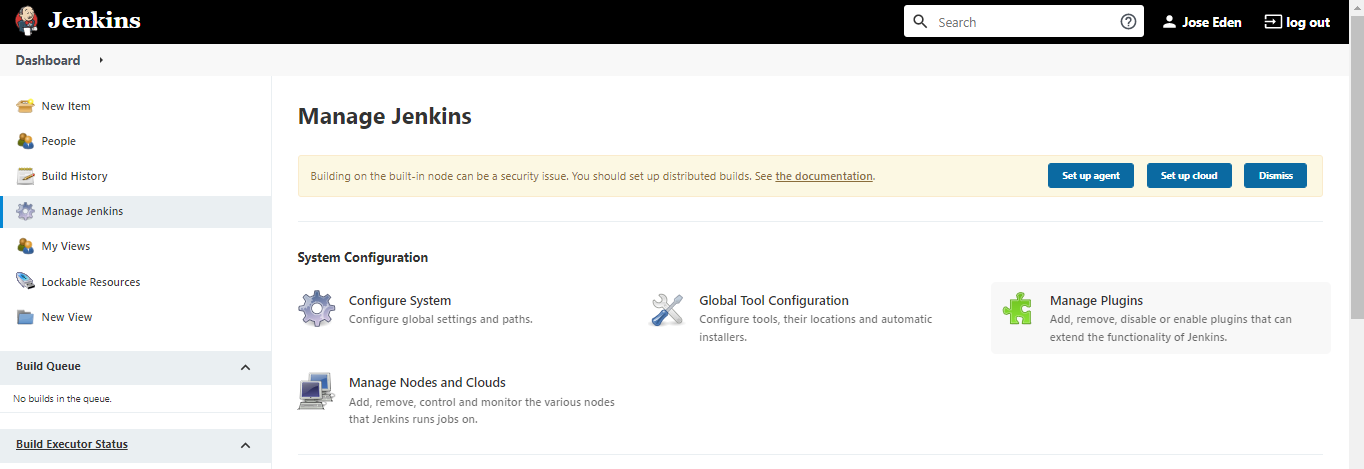
Click the Available tab and then search for Blue Ocean and Pipeline: AWS Steps. Check the boxes for both and hit Download now and isntall after restart.

Scroll to the bottom of the page and tick the checkbox for Restart Jenkins when installation is complete and no jobs are running*.

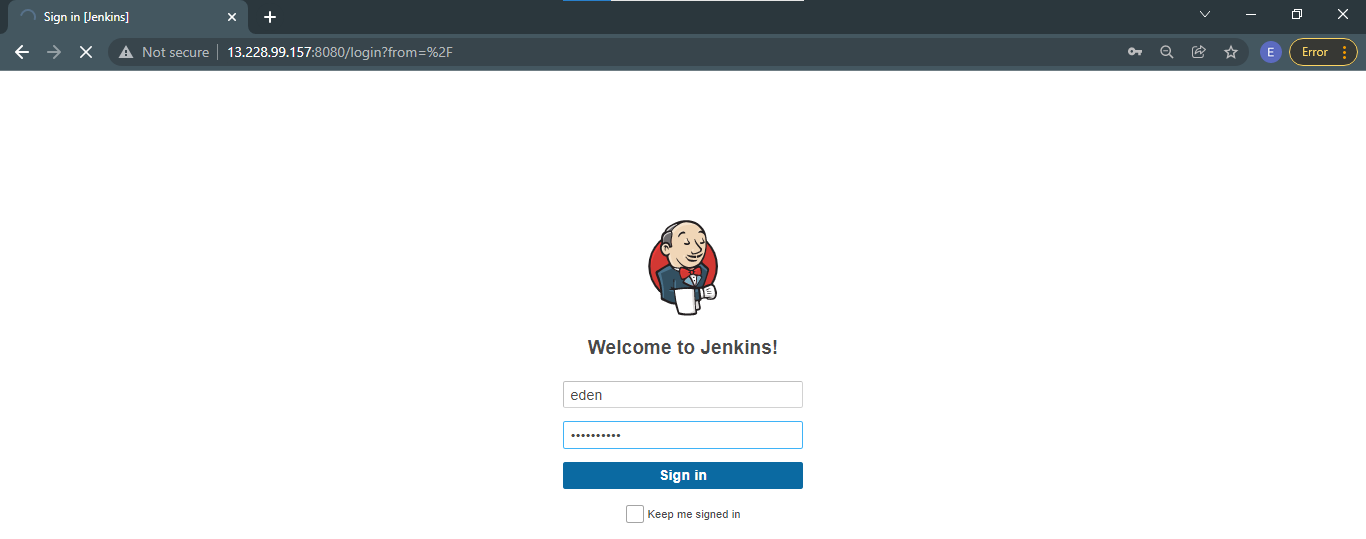
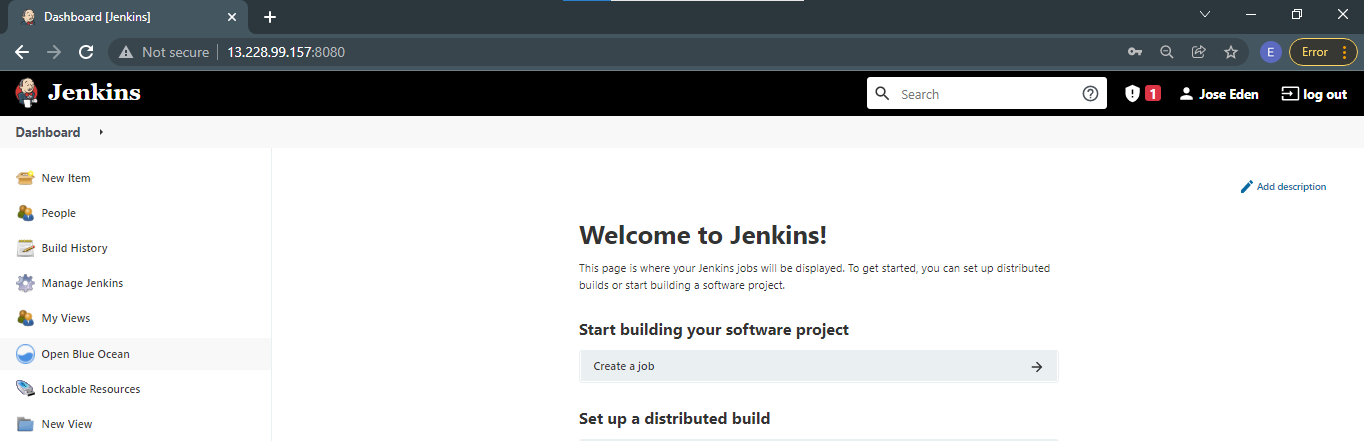
Refresh the page to go back to the Jenkins login page and enter your credentials. You should now see a new tab "Open Blue Ocean" on the left panel.
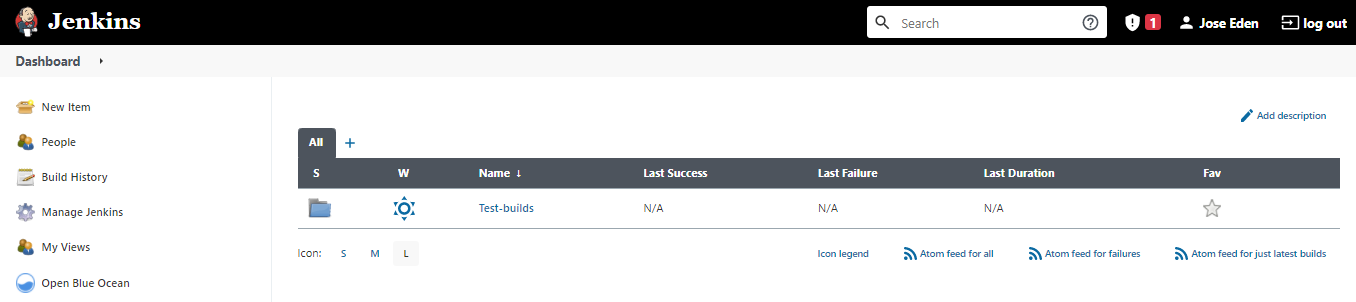
Create Folder for Test builds
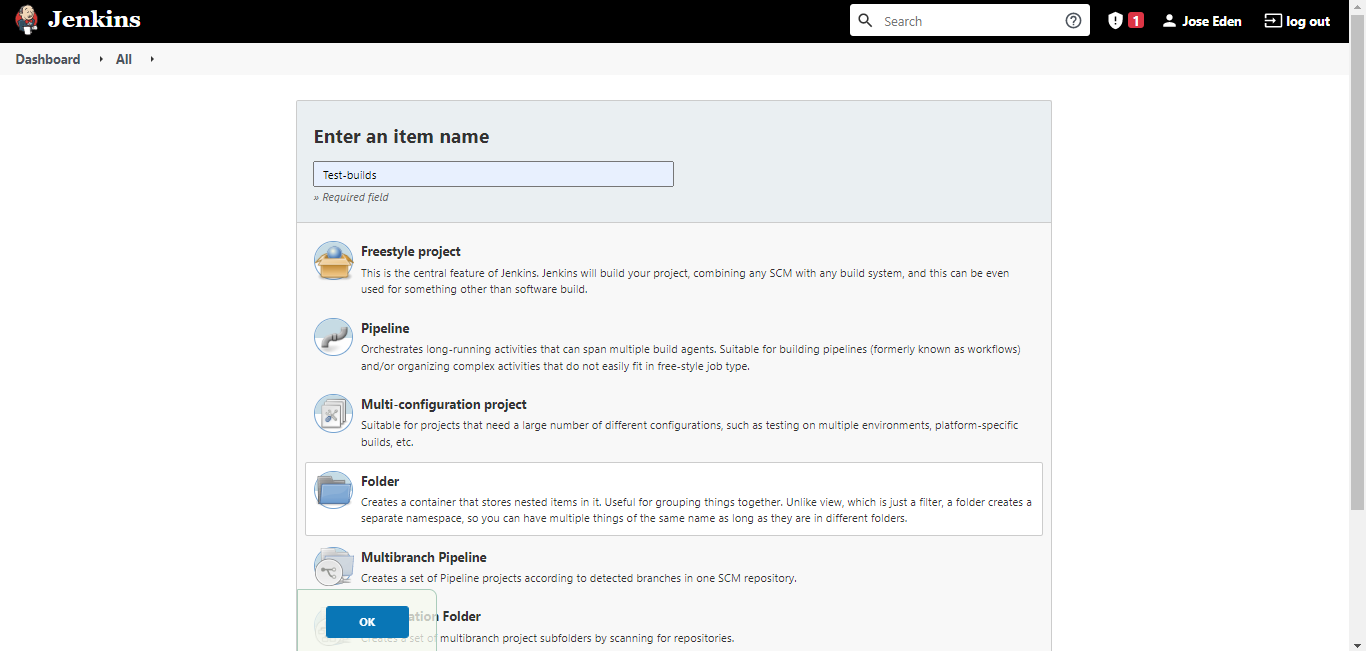
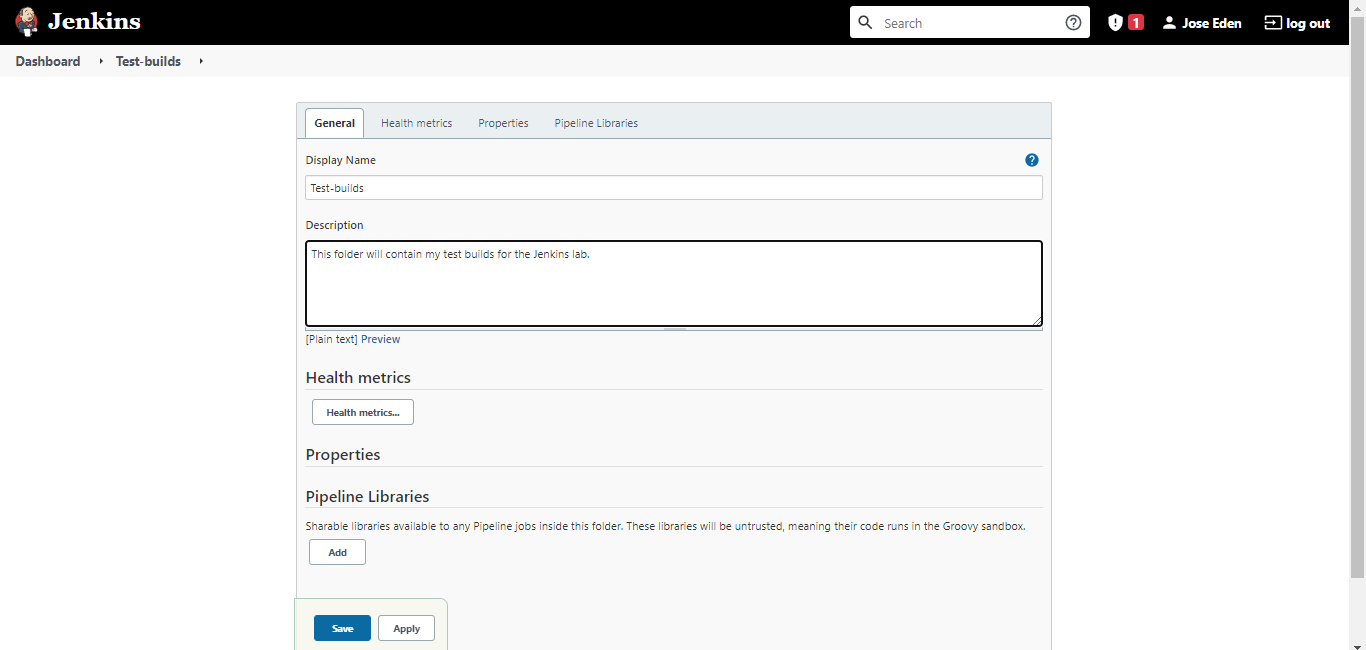
Before proceeding to the next step, create a folder that will contain all the succeeding test builds. To do this, just click the New Item on the left panel and then on the next page, enter a folder name. Click folder then Ok.
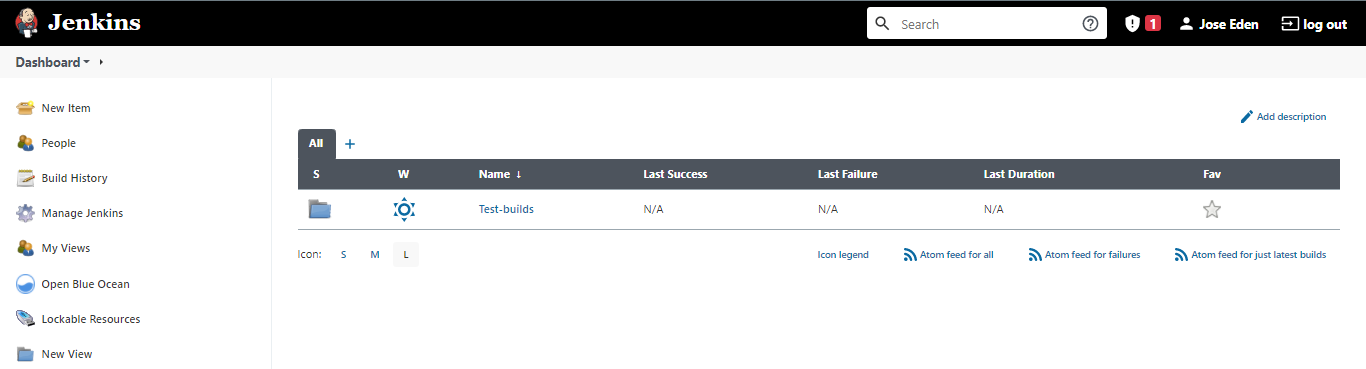
Back on the dashboard, you should now see the new folder created.
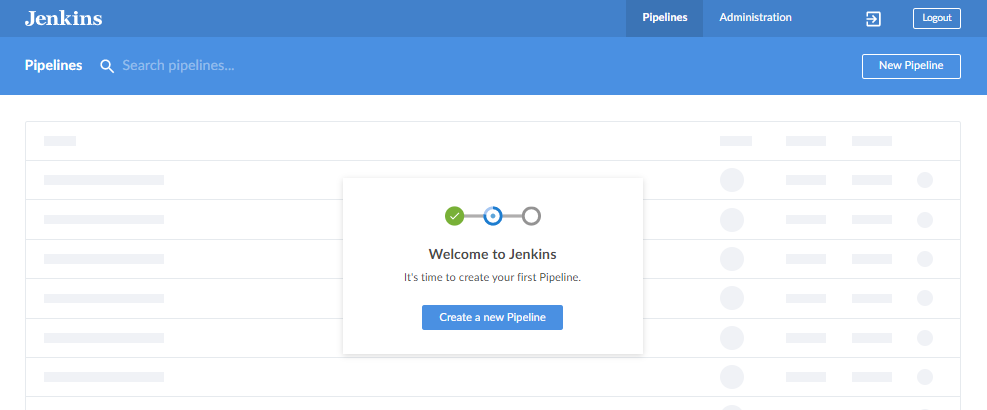
Create the Pipeline in Blue Ocean
Click Open Blue Ocean on the left panel. On the next page, click Create new pipeline.
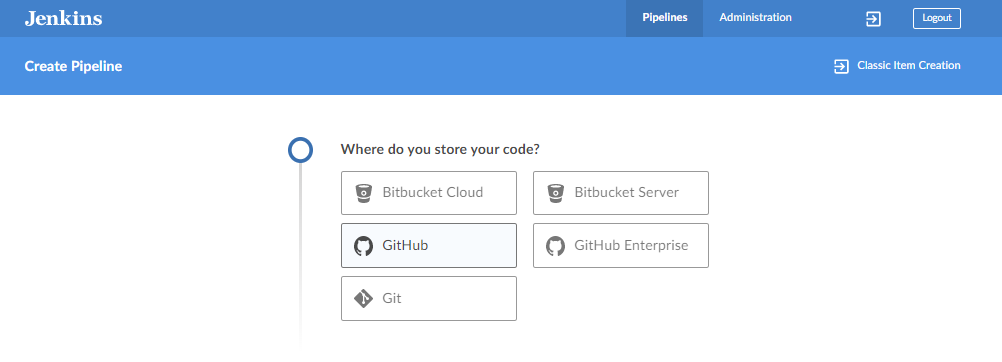
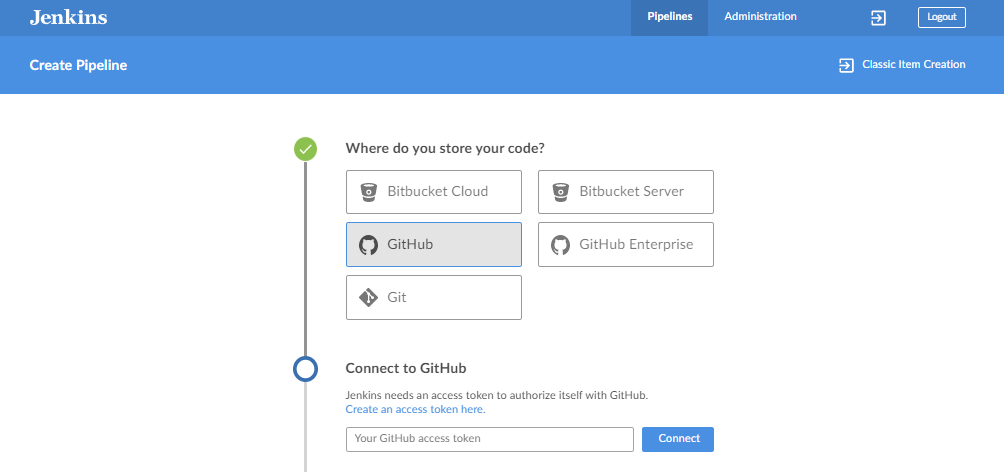
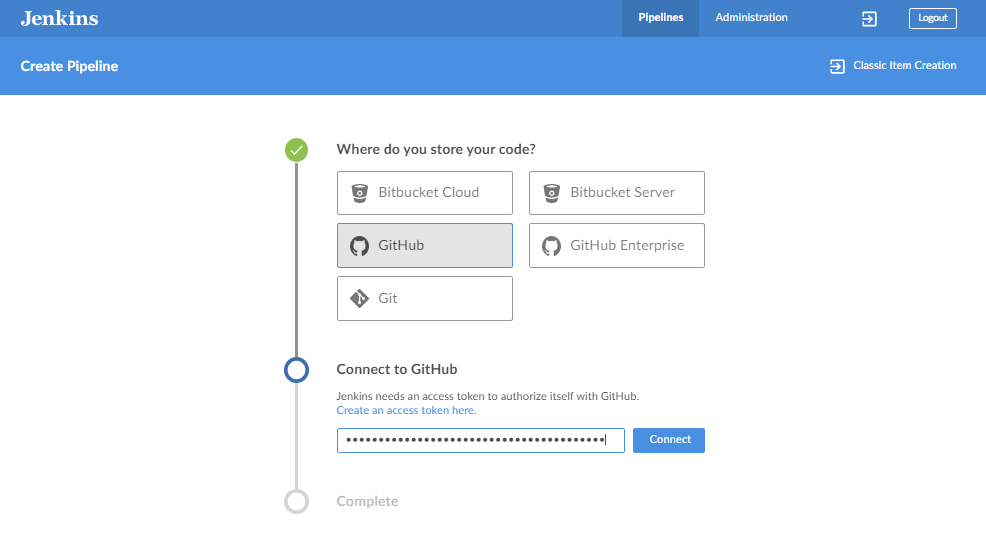
You can follow the step=by-step instruction on how to configure your pipeline. The first step is to select where you store your code. For this one, I'm using Github. After you select Github, the button on its left will turn to a green checkmark and the next step will appear below.
On the next step, You will need an access token to authorize Blue Ocean to connect to your repository. CLick the Create an access token here and it should lead you to your Github account.
Login to your Github account.

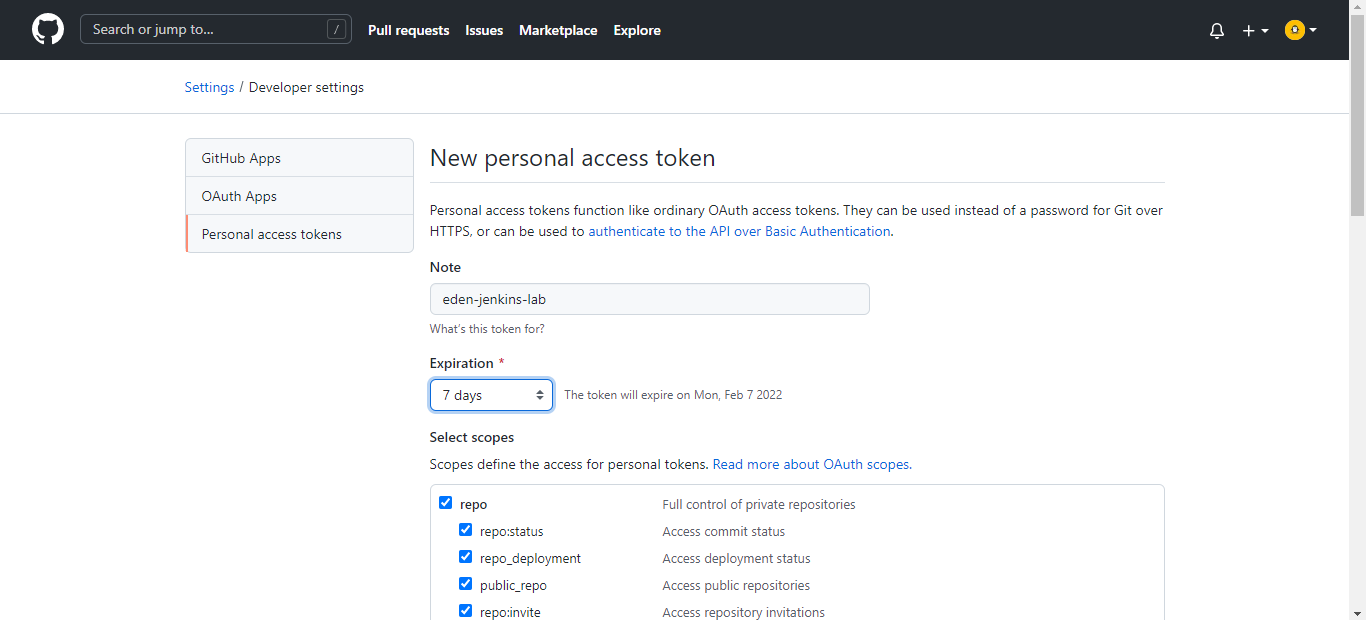
Enter a token name in the Note field and set the Expiration to 7 days. Let the other default settings, scroll down to the bottom, and hit Generate token.
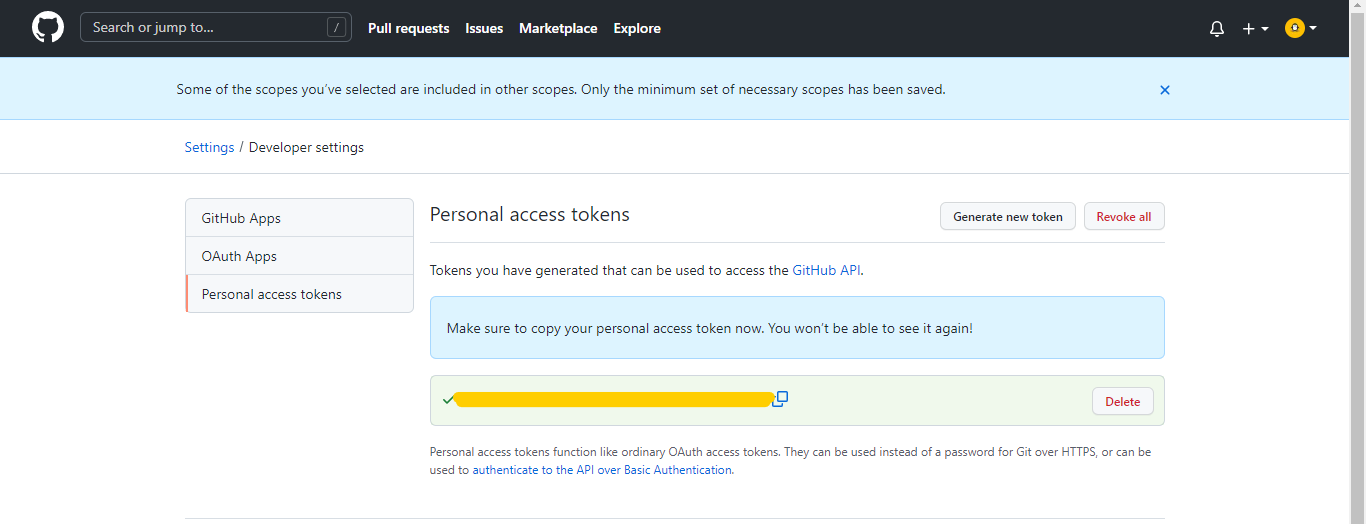
Copy the token. Make sure that you store it somewhere safe and that no one can except you access it.
Go back to the Jenkins page and paste the token and click Connect.
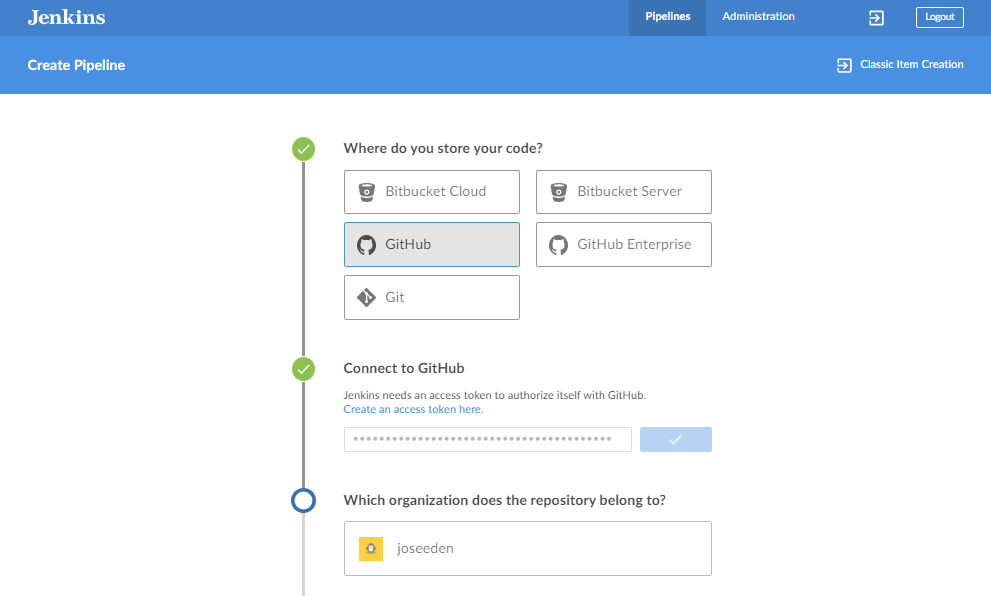
Next, select the organization where the repository belongs to. Since it's a peronal repository, I just selected my username.
Select the repository to be used. This is the repo that you just cloned in the previous step. Afterwards, click Create Pipeine.

If you used Ansible to setup Jenkins, the pipeline should be created successfully. If you already have a Jenkins server set up, you might encounter an error when creating the pipeline in Blue Ocean.
Don't worry, you just need to install the git and tidy package on your Jenkins server. Note that since I'm using a RHEL 8 machine, I'm using yum and/or dnf for any package installation. If you're using Ubuntu, use apt.
Once the pipeline is finished, it should look like this.

Click the pipeline. You should see the stages. Note that all the stages are green. Click the Upload to AWS.

Go back to your repo in Github and click the jenkinsfile. You'll see that there's two stages. The first one lints the html file, then if it passess, it will proceed to the second stage which will echo 'Hello World with AWS'.
pipeline {
    agent any
    stages {
        stage('Lint HTML') {
            steps {
                sh 'tidy -q -e index.html'
            }
        }
        stage('Upload to AWS') {
            steps {
		    sh 'echo "Hello World with AWS creds"'
            }
        }
    }
}
Note that you can further configure the steps by modifying the jenkinsfile. You can check out more details on the AWS Pipeline documentation.
As an example, one of the plugins that the Pipeline: AWS Steps used is the withAWS which we can add in the second stage in the jenkinsfile.
pipeline {
    agent any
    stages {
        stage('Lint HTML') {
            steps {
                sh 'tidy -q -e index.html'
            }
        }
        stage('Upload to AWS') {
            steps {
              withAWS(region: 'ap-southeast-1', credentials:'aws-static')
              {
		            sh 'echo "Hello World with AWS creds"'
                s3Upload(
                  pathStyleAccessEnabled: true,
                  payloadSigningEnabled: true,
                  file: 'index.html',
                  bucket: 'sample-s3-bucket')
              }
            }
        }
    }
}
For more details on how to use the withAWS, please refer to the documentation.